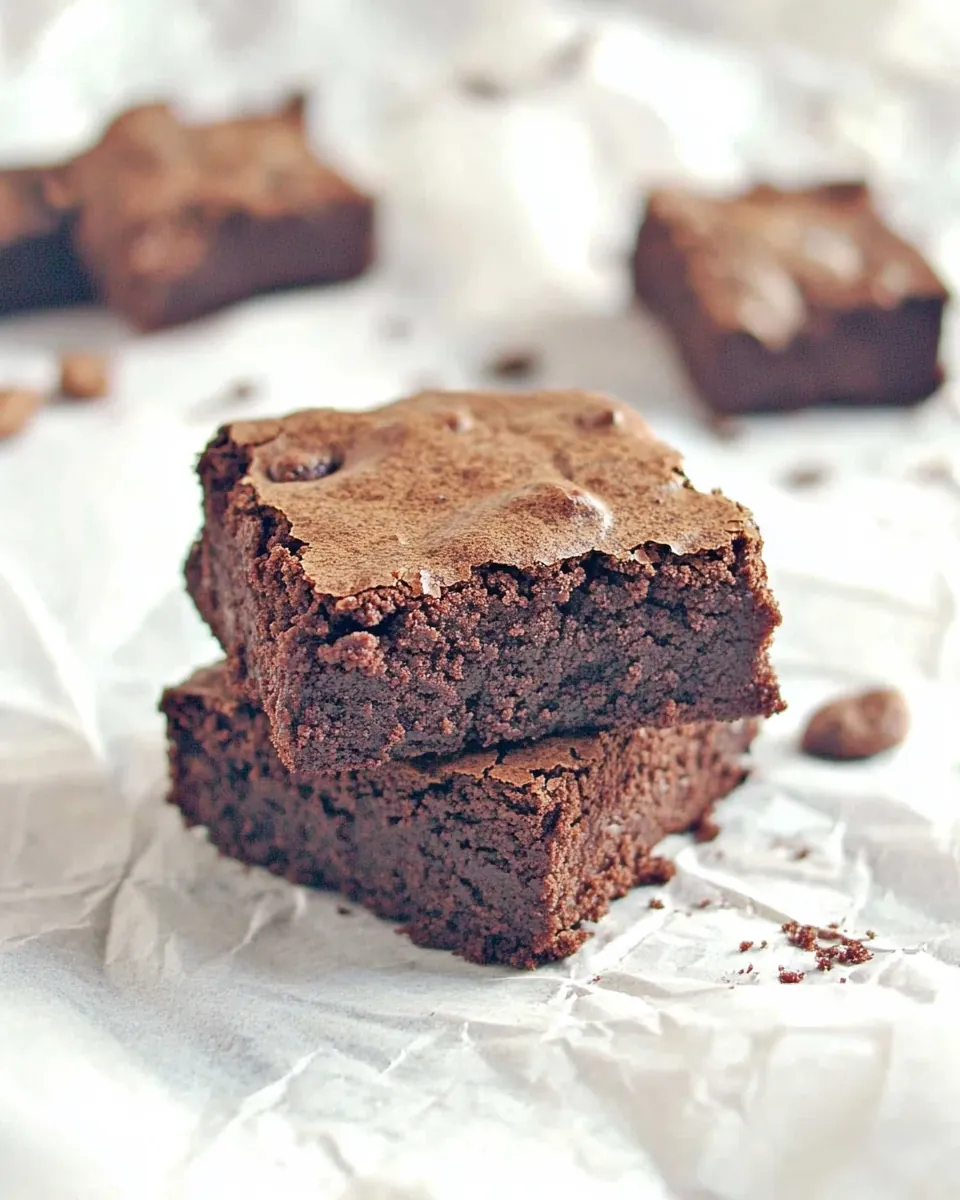
Cocoa Brownies
There’s something truly special about a batch of Cocoa Brownies fresh out of the oven. I remember the first time I baked them; the rich aroma of melting butter and chocolate filled my kitchen, teasing my family as they waited eagerly. These brownies have become a staple in my home—perfect for any occasion, be it a cozy family gathering or a spontaneous dessert craving. There’s nothing quite like indulging in a warm brownie, with its fudgy center and crisp edges, accompanied by a scoop of vanilla ice cream. It’s simple moments like these that bring us together, and I’m excited to share my beloved Cocoa Brownies recipe with you.
Recipe Snapshot
40 mins
15 mins
25 mins
Medium
180 kcal
2 g
Gluten-Free, Low FODMAP
8 g
Large Pot, Oven, Baking Sheet, Frying Pan, Wooden Spoon, Whisk, Mixing Bowl
What Sets This Cocoa Brownies Apart
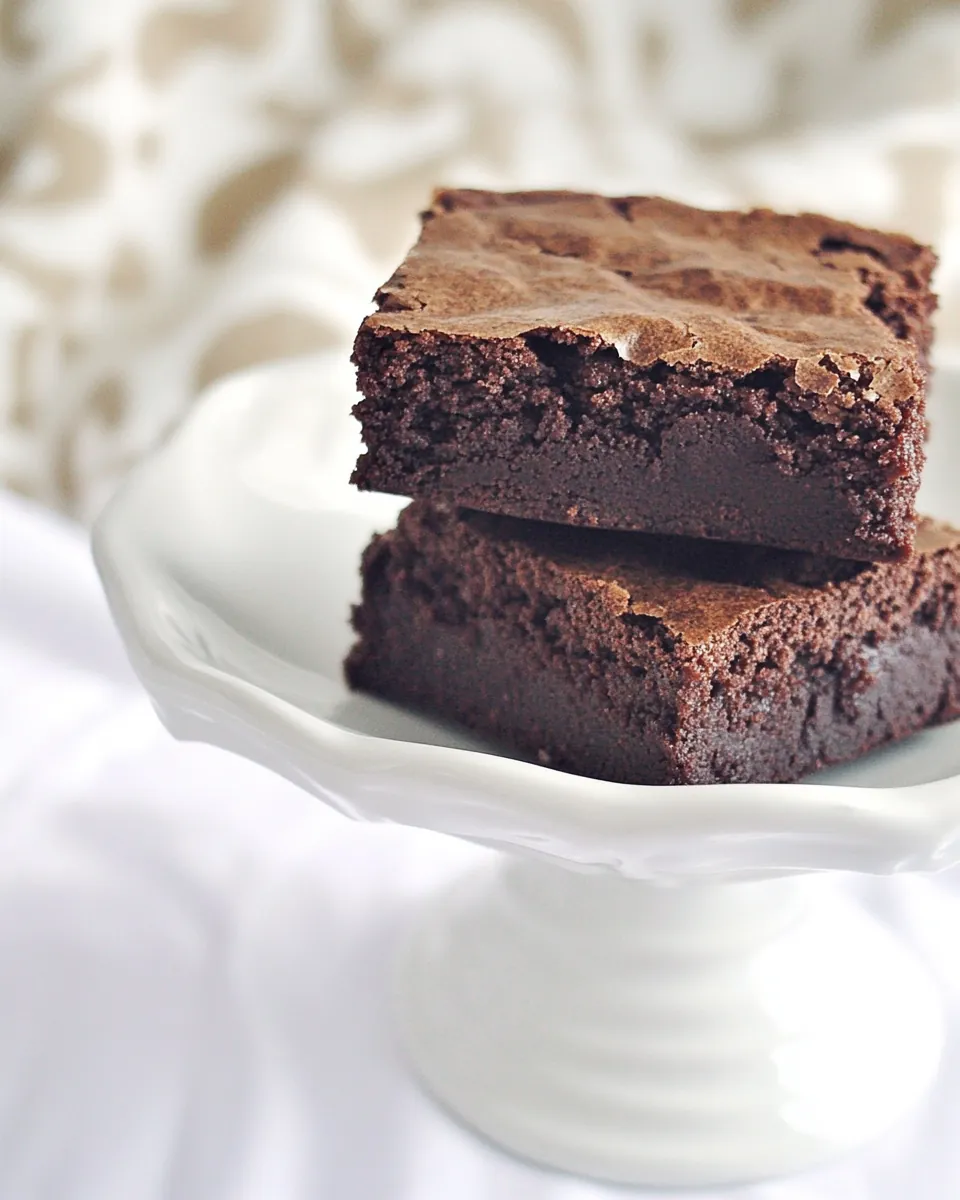
Decadent Flavor
One of the reasons I absolutely adore these Cocoa Brownies is the depth of flavor they provide. The combination of rich cocoa powder and unsalted butter creates a moist and fudgy texture that’s hard to resist. Every bite bursts with chocolatey goodness, making them a treat that satisfies even the most discerning chocolate lover.
Easy to Make
If you’re looking for a dessert that doesn’t demand a lot of time or complex techniques, this recipe is for you. With just a few simple ingredients, you can whip up a batch of Cocoa Brownies in no time. Even if you’re a baking novice, you’ll feel like a pro by the end of this process. Trust me; it’s hard to mess these up!
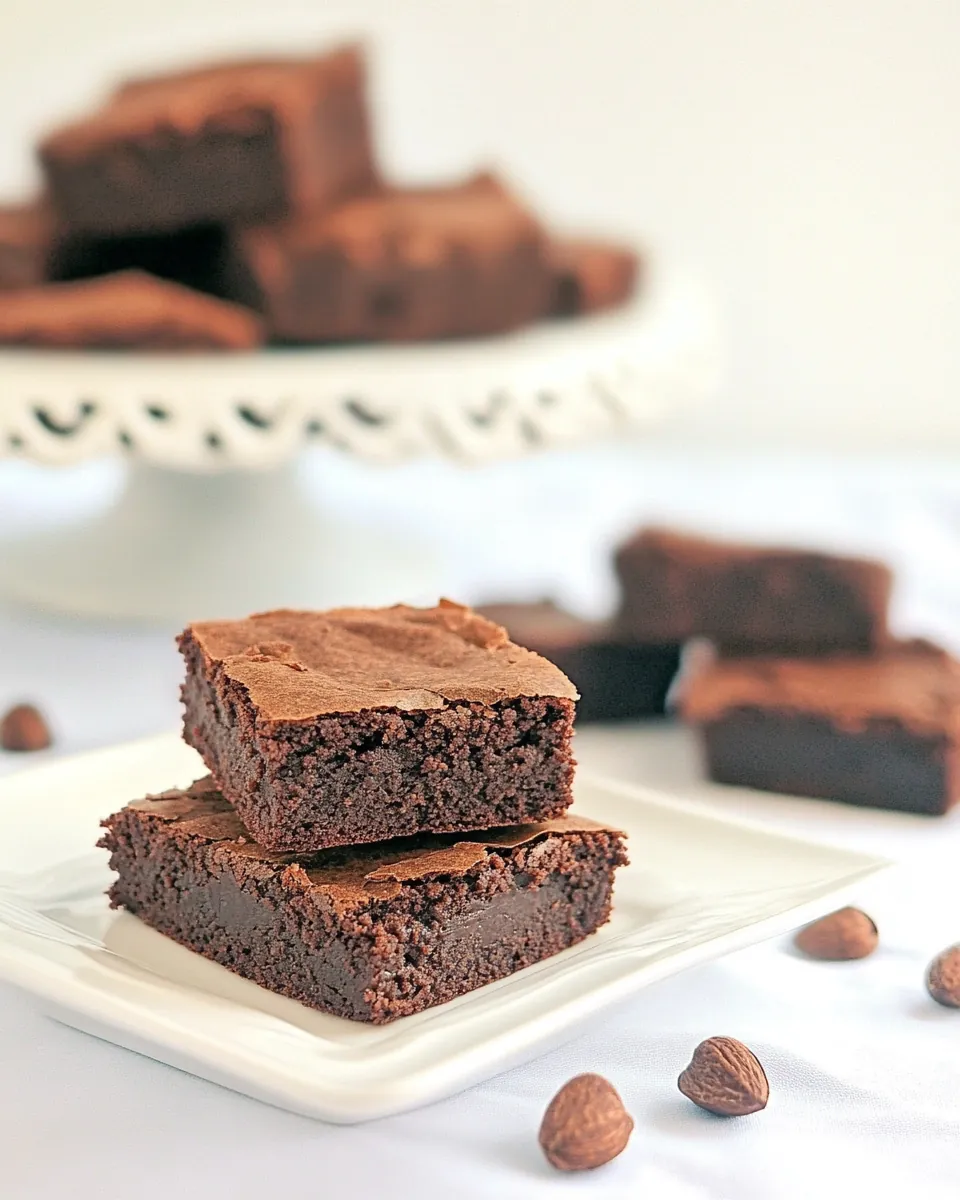
Perfect for Any Occasion
These brownies are incredibly versatile—they’re perfect for birthday parties, holiday celebrations, or just a casual dessert at home. Whenever I have guests over, I often serve them warm with a sprinkle of powdered sugar or a dollop of whipped cream. They’re sure to impress, no matter the occasion!
Customizable
What I love about these Cocoa Brownies is the ability to customize them to your liking. Feel free to add in some chopped nuts, swirl in some peanut butter, or even mix in chocolate chips for extra sweetness. The possibilities are endless, and you can easily make them your own!
Family Favorite
Many of my happiest memories have been made around a plate of these brownies. My family often requests them for special occasions, and they never fail to bring smiles and compliments. There’s something heartwarming about sharing homemade treats with loved ones, and these brownies have a special place in our hearts.
Leftovers (if any!)
If by chance you have leftovers, these brownies keep well. They stay moist and delicious for days, making them the perfect treat to enjoy throughout the week. I always make a double batch just so I can savor them a little longer!
Recipe Ingredients for Cocoa Brownies
When it comes to making the best Cocoa Brownies, the quality of your ingredients truly matters. Each component plays a crucial role in delivering that perfect combination of fudgy texture and rich flavor. The star ingredients, such as unsalted butter and unsweetened cocoa powder, work together seamlessly to create a decadent brownie that’s sure to satisfy your sweet tooth.
- 10 tablespoons unsalted butter – The foundation that provides richness and moisture.
- 1 ¼ cups granulated sugar – Sweetness that balances the bitterness of cocoa.
- ¾ cup + 2 tablespoons unsweetened cocoa powder – The key ingredient for that chocolate flavor.
- ¼ teaspoon salt – Enhances flavors and balances sweetness.
- ½ teaspoon vanilla extract – Adds a warm, aromatic depth.
- 2 large eggs – Binds the ingredients and gives structure.
- ½ cup all-purpose flour – Provides the right texture, keeping the brownies fudgy.
Making This Cocoa Brownies
Now that you have your ingredients ready, let’s dive into the delicious journey of making Cocoa Brownies. The process is straightforward, and I’m here to guide you every step of the way. With a few simple actions, you’ll transform those ingredients into a batch of heavenly brownies that will have everyone asking for the recipe!
- Preheat your oven to 325 degrees. This is an important step to ensure even baking.
- Line an 8-inch by 8-inch baking pan with foil. This makes for easy removal later on. Set the pan aside.
- In a double boiler, melt together butter, sugar, cocoa powder, and salt. Stir occasionally until everything is well combined and smooth. This gentle heating helps prevent the eggs from cooking prematurely.
- Once the mixture is melted and mixed well, remove the bowl from the heat. Allow it to cool for a few minutes. You want it to be warm but not hot, or it may scramble your eggs in the next step.
- Pour the cooled mixture into your stand mixer bowl. Turn it on low and mix for about 2 minutes. If you don’t have a stand mixer, a whisk or wooden spoon works perfectly fine as well.
- Add in the vanilla extract and stir it into the mixture. This will infuse the brownies with a lovely aroma.
- Next, add the eggs, one at a time. Make sure to beat well after each addition until the mixture is shiny and smooth. This is where the magic happens!
- When your batter looks shiny, it’s time to add the flour. Add it all at once and mix until just combined. You don’t want to overmix, as that can lead to tough brownies.
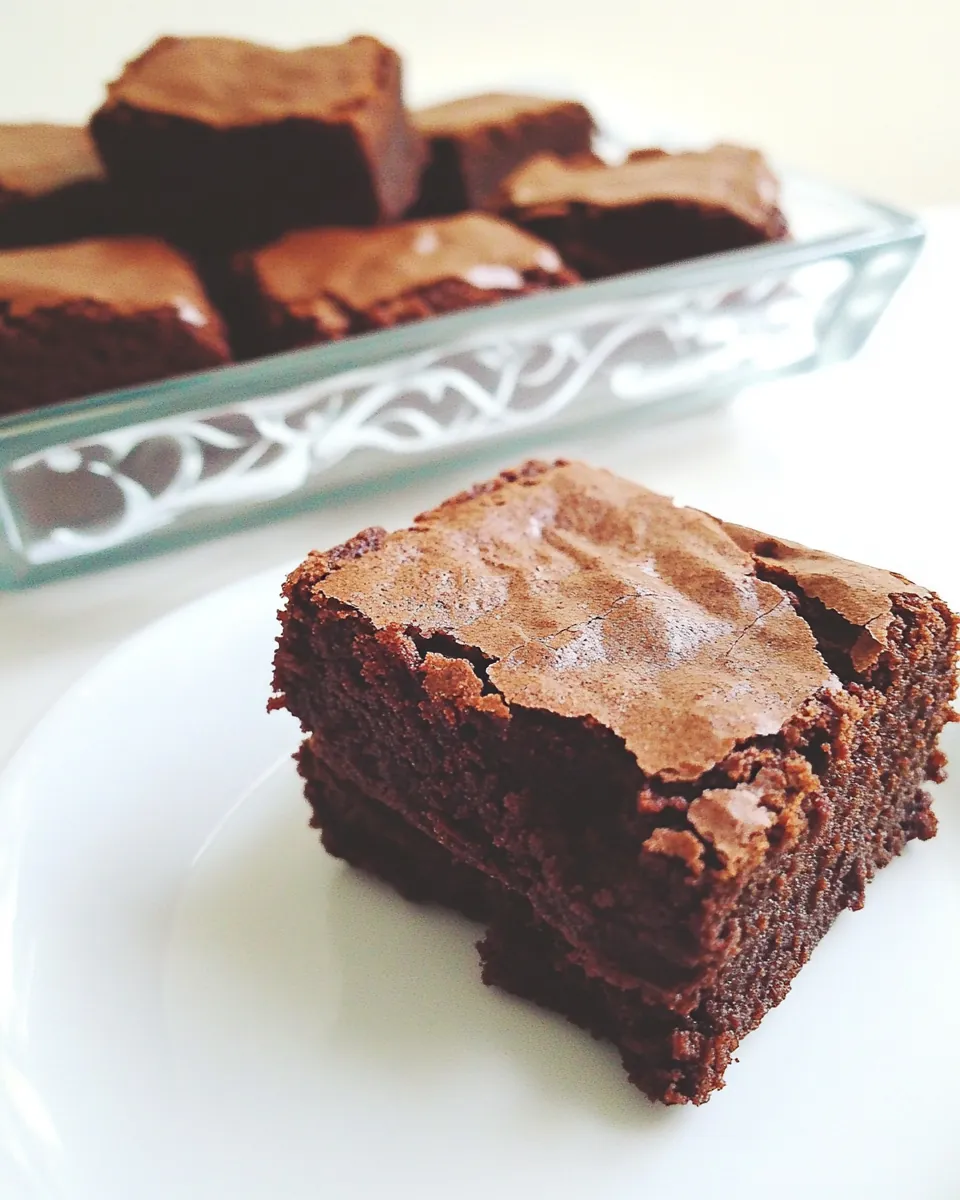
- Pour the batter into your prepared pan. Use a spatula to spread it evenly. Look for that beautiful glossy top; it’s a good sign!
- Bake in your preheated oven for 25 to 30 minutes. Keep an eye on them; you want them to be set but not overcooked. A toothpick inserted in the center should come out with a few moist crumbs, not clean.
- Once baked, cool the brownies completely in the pan before cutting them into squares. This helps them firm up and makes slicing easier!
Things Worth Knowing
- Always use room temperature eggs. They incorporate better into the batter and help achieve a smooth texture.
- For extra fudginess, try to underbake the brownies slightly. They’ll continue to cook in the residual heat.
- Letting the brownies cool completely before cutting will ensure clean edges and manageable squares.
- If you prefer a more intense chocolate flavor, consider using dark cocoa powder instead of regular.
Substitutions and Tips
Whether you’re adapting the recipe or just looking for some handy tips, here are a few suggestions to help you along the way:
- Storage: Keep the brownies in an airtight container at room temperature for up to five days.
- Freezing: You can freeze the brownies. Just wrap them tightly in plastic wrap and then in foil, and they’ll last for up to three months.
- Pairing: These brownies are fantastic with a scoop of vanilla ice cream for a decadent dessert.
- Variation: Add a handful of nuts or chocolate chips for added texture and flavor.
- Serving: Serve warm for an ooey-gooey treat or at room temperature for a firmer texture.
Serving Options for Cocoa Brownies
When it comes to serving Cocoa Brownies, the options are endless. Here are a few delightful ideas:
- Warm Brownies: Try serving them warm with a scoop of ice cream for a classic dessert experience.
- Coffee Pairing: Pair these brownies with a rich cup of coffee for an afternoon treat.
- Picnic Treat: Cut them into squares and take them along for a picnic; they travel well and are always a hit!
- Birthday Parties: Perfect for celebrations! Decorate with colorful sprinkles or drizzle melted chocolate on top.
- Seasonal Occasions: Add seasonal touches, like peppermint extract during the holidays for a festive twist.
- Storage Tips: Always store them in an airtight container to keep them fresh and fudgy.
FAQ
Conclusion
The Cocoa Brownies recipe is a delightful treat that showcases rich, chocolatey flavors and a fudgy texture that’s hard to resist. I encourage you to try making them yourself; you won’t regret it! They’re perfect for any occasion and are guaranteed to bring joy to your table. So go ahead, whip up a batch, and enjoy the smiles they bring to your family and friends.
Cocoa Brownies
Ingredients
Equipment
Method
- Preheat your oven to 325 degrees. This is an important step to ensure even baking.
- Line an 8-inch by 8-inch baking pan with foil. This makes for easy removal later on. Set the pan aside.
- In a double boiler, melt together butter, sugar, cocoa powder, and salt. Stir occasionally until everything is well combined and smooth. This gentle heating helps prevent the eggs from cooking prematurely.
- Once the mixture is melted and mixed well, remove the bowl from the heat. Allow it to cool for a few minutes. You want it to be warm but not hot, or it may scramble your eggs in the next step.
- Pour the cooled mixture into your stand mixer bowl. Turn it on low and mix for about 2 minutes. If you don’t have a stand mixer, a whisk or wooden spoon works perfectly fine as well.
- Add in the vanilla extract and stir it into the mixture. This will infuse the brownies with a lovely aroma.
- Next, add the eggs, one at a time. Make sure to beat well after each addition until the mixture is shiny and smooth. This is where the magic happens!
- When your batter looks shiny, it’s time to add the flour. Add it all at once and mix until just combined. You don’t want to overmix, as that can lead to tough brownies.
- Pour the batter into your prepared pan. Use a spatula to spread it evenly. Look for that beautiful glossy top; it’s a good sign!
- Bake in your preheated oven for 25 to 30 minutes. Keep an eye on them; you want them to be set but not overcooked. A toothpick inserted in the center should come out with a few moist crumbs, not clean.
- Once baked, cool the brownies completely in the pan before cutting them into squares. This helps them firm up and makes slicing easier!