Peppermint Bark
There’s something magical about the holidays, and when it comes to treats, Peppermint Bark is at the top of my list. I remember the first time I made it; the entire kitchen filled with the sweet aroma of melting chocolate and crushed candy canes. It instantly transported me back to childhood, where peppermint and chocolate mingled as the ultimate festive duo. This delightful treat not only satisfies my sweet tooth but also brings a wave of nostalgia with every bite. It’s perfect for sharing with friends and family or even gifting to neighbors and coworkers. The process is simple yet rewarding, making it a go-to recipe whenever I want to spread some cheer. So, whether it’s a holiday gathering or a cozy night in, Peppermint Bark is the treat that never fails to impress.
Recipe Snapshot
25 mins
25 mins
0 mins
Medium
150 kcal
1 g
Keto, Paleo, Whole30
8 g
8 x 8-inch baking pan, 9 x 9-inch baking pan, Parchment paper
The Beauty of This Peppermint Bark
1. It’s a Festive Treat
During the winter season, nothing echoes the spirit of the holidays quite like Peppermint Bark. The combination of rich chocolate and refreshing peppermint captures the essence of festive cheer. It’s the perfect dessert to bring to holiday parties or serve at family gatherings, instantly elevating the celebration.
2. Simple to Make
You don’t have to be a professional baker to create this delightful treat. The process is straightforward and requires minimal effort. With just a few quality ingredients, you can whip up a batch in no time. Plus, it’s a great activity to do with kids or friends, making it both fun and interactive.
3. Customizable
The beauty of Peppermint Bark lies in its versatility. You can easily adjust the chocolate ratios or add more or less crushed candy canes to suit your taste. Whether you prefer dark chocolate, milk chocolate, or a combination, each variation brings a unique twist to the classic recipe.
4. A Visual Delight
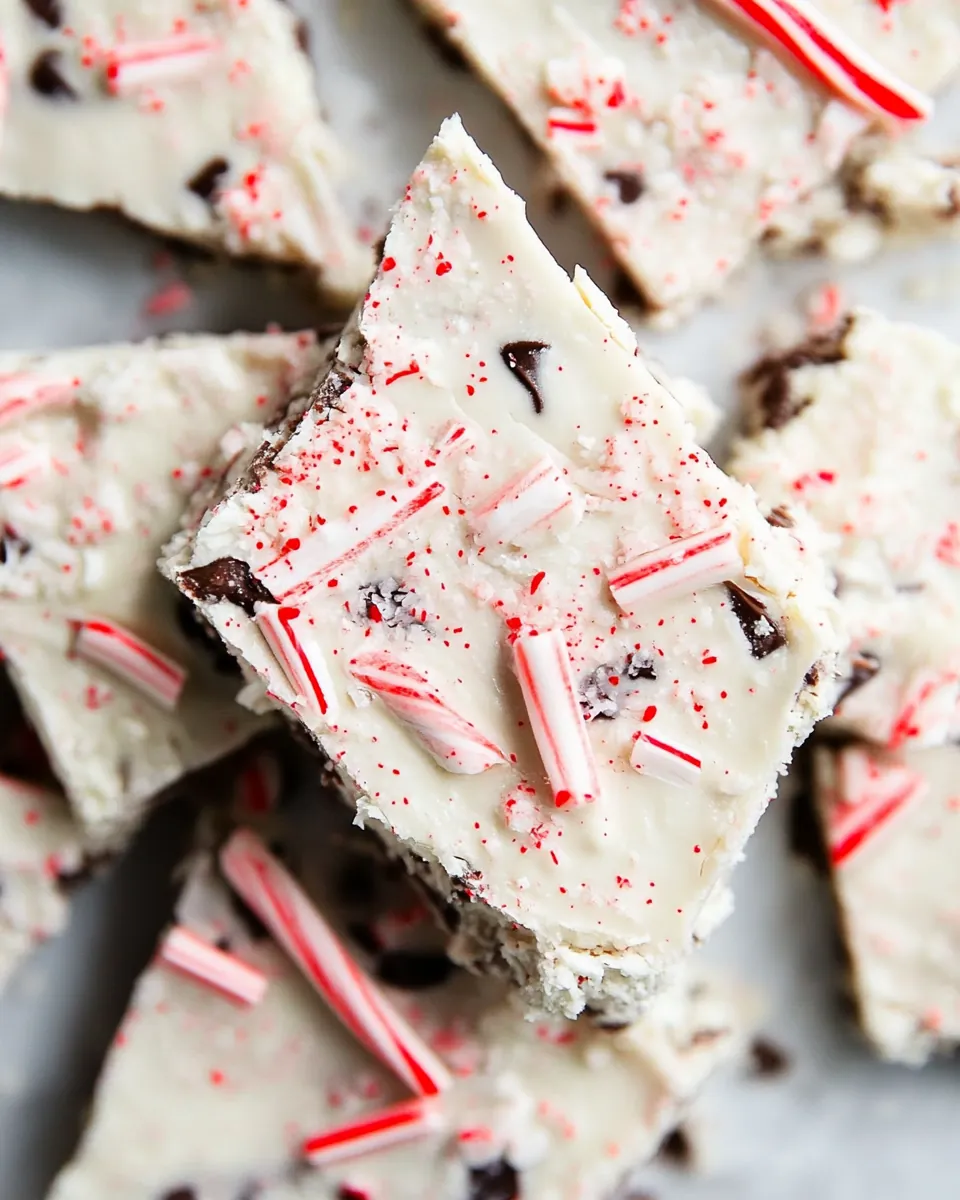
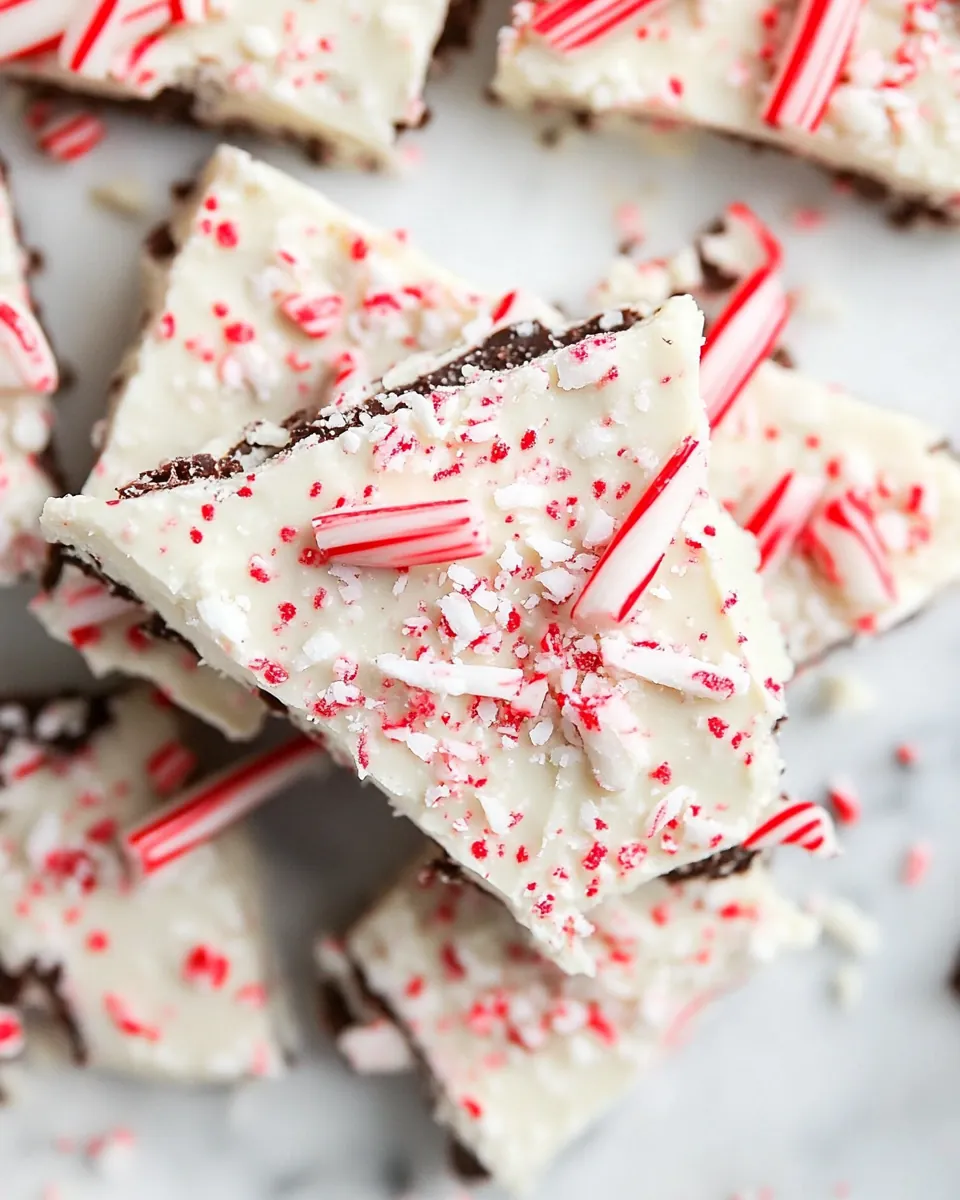
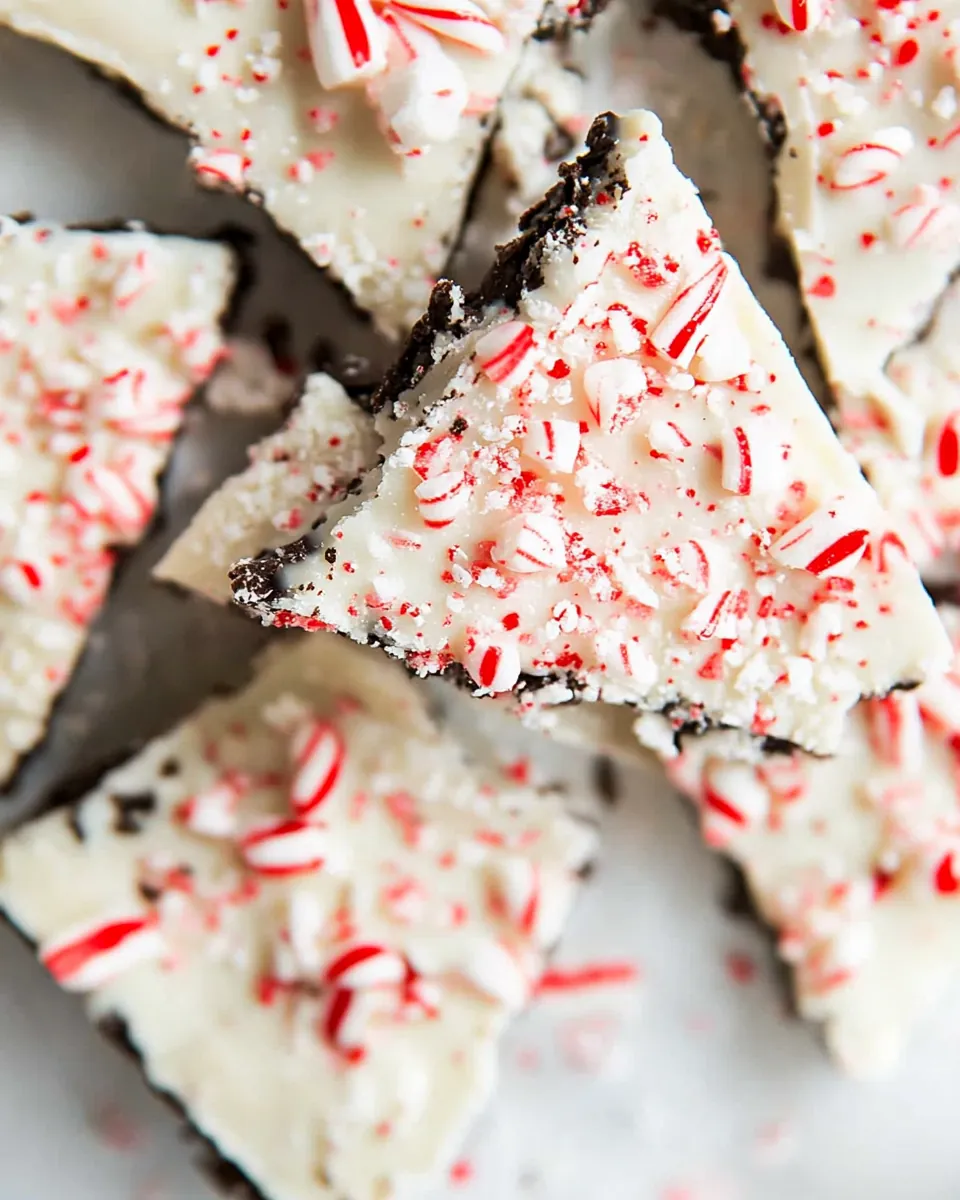
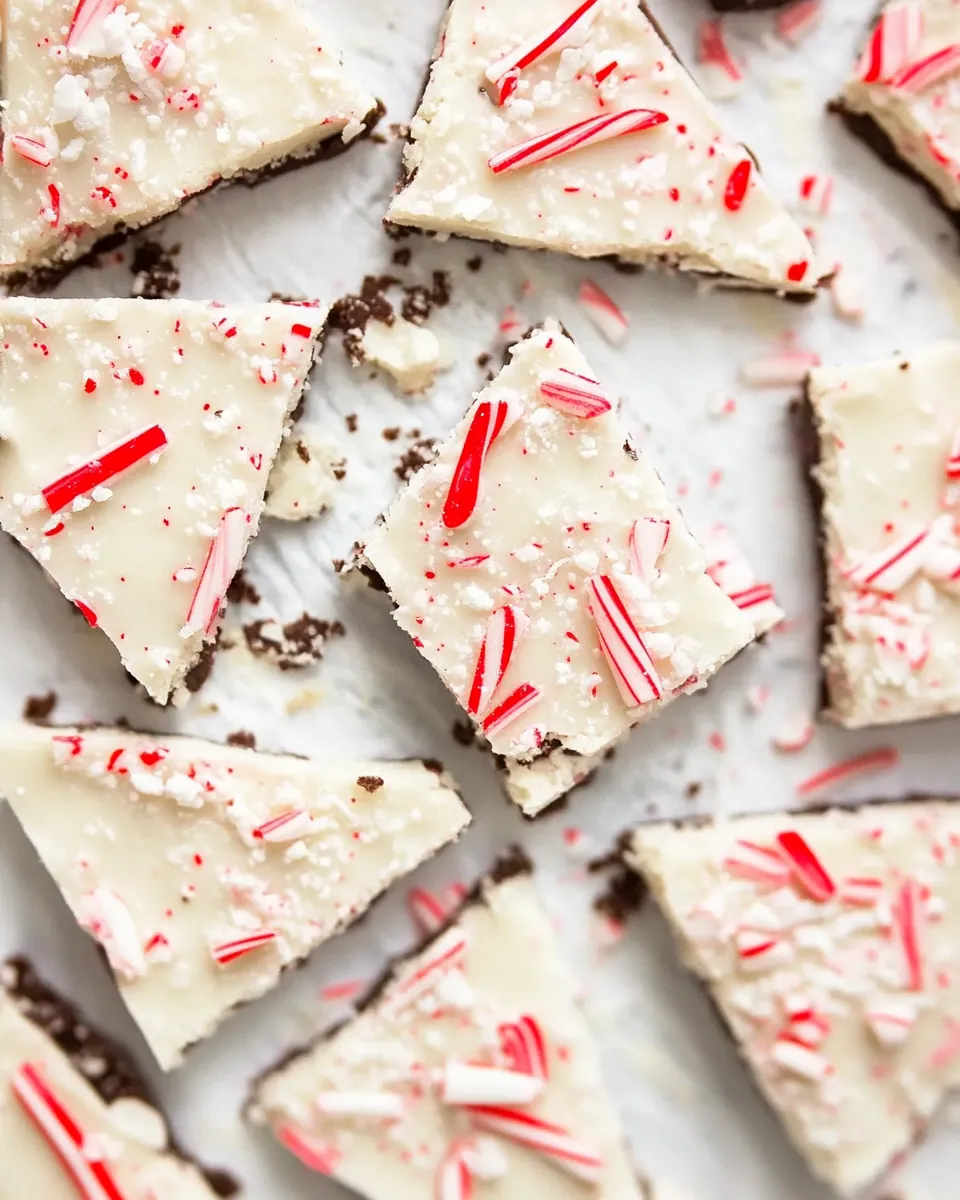
Not only does Peppermint Bark taste amazing, but it also looks stunning. The vibrant red and white of the crushed candy canes against the glossy chocolate layer creates a beautiful contrast. It’s a dessert that’s sure to impress visually and will have everyone reaching for seconds.
5. Perfect for Gifting
This treat makes for delightful gifts. Imagine beautifully wrapped pieces of Peppermint Bark, perfect for sharing with friends, family, or coworkers. It’s a thoughtful gesture that shows you care, and anyone who receives it will appreciate the homemade touch.
6. A Nostalgic Flavor
For many, Peppermint Bark is reminiscent of childhood holidays filled with sweet treats. Each bite evokes memories of festive gatherings, making it a nostalgic flavor that connects us to our past. It’s not just a dessert; it’s a sweet reminder of those cherished moments.
What to Buy for Peppermint Bark
When crafting the perfect Peppermint Bark, the choice of ingredients is essential. High-quality ingredients not only enhance the flavor but ensure a smooth texture and delightful finish. The key players include a selection of chocolates and, of course, candy canes. Together, they create a deliciously balanced treat that’s both sweet and refreshing.
- Candy Canes: You’ll need 2 to 3 full-sized candy canes, which add a wonderful crunch and a burst of peppermint flavor. Crushing them releases their sweet fragrance, filling the kitchen with a holiday scent.
- White Chocolate Baking Bar: Using 8 ounces of high-quality white chocolate ensures a creamy base that pairs beautifully with the peppermint. Look for baking bars rather than chips for a smoother melt.
- Semi-Sweet Baking Bar: 4 ounces of semi-sweet chocolate adds a rich depth of flavor that balances the sweetness of the white chocolate. It’s essential for achieving that classic Peppermint Bark taste.
- Milk Chocolate: Adding 2 ounces of milk chocolate (or more semi-sweet or dark) introduces a delightful creaminess that complements the other chocolates beautifully.
- Vegetable Oil: You’ll need 1 teaspoon of vegetable oil, which helps to achieve a smooth melt and glossy finish on your chocolate layers.
- Peppermint Extract: Just a touch of peppermint extract (1/4 to 1/2 teaspoon) intensifies the minty flavor, making your Peppermint Bark irresistibly refreshing.
Preparation Steps for Peppermint Bark
Making Peppermint Bark is an enjoyable process that results in a delightful treat. Follow these detailed steps to ensure your bark comes out perfectly. Let’s get started!
Begin by unwrapping the candy canes. Place them in a large plastic bag, sealing it tightly while removing as much air as possible. Using a rolling pin or a meat mallet, crush the candy canes until you achieve coarse crumbs. Make sure to set them aside for later use.
Next, line an 8×8 or 9×9-inch baking pan with parchment paper, ensuring you leave an overhang. This will help you easily remove the bark later. Set this aside as well.
Coarsely chop the white chocolate, semi-sweet chocolate, and milk chocolate. Be patient, as you want the pieces to be uniform for even melting.
Take all but 2 tablespoons of the chopped semi-sweet and milk chocolate and add them to a large microwave-safe bowl. Pour in 1/2 teaspoon of vegetable oil and microwave the mixture for 15 seconds. Stir vigorously for 15 seconds afterward.
Continue to microwave in 15-second intervals, stirring each time, until the chocolate is mostly melted. Ensure it doesn’t get hot; it should only be warm enough to melt gradually. Once mostly melted, add the reserved 2 tablespoons of chocolate and stir until completely melted and smooth.
At this point, pour in the peppermint extract, stirring to combine it well. This will create a fragrant chocolate mixture.
Now, pour the chocolate mixture into your prepared baking pan. Use a spatula to smooth it into an even layer. Avoid refrigerating it; let it sit at room temperature to set.
Repeat the melting process for the remaining white chocolate. Once melted and smooth, drizzle it over the chocolate base layer until fully covered. Make sure to smooth the white chocolate layer evenly with the back of a spoon.
Immediately sprinkle the crushed candy canes over the top of your bark, adding as much or as little as you desire. This will provide a delightful crunch.
Finally, allow the bark to sit at room temperature until completely hardened, which typically takes about 3 to 5 hours. Once set, remove it from the pan using the parchment overhang and break or cut it into pieces.
Things Worth Knowing
- Quality Ingredients: Opt for high-quality baking chocolate to ensure a smooth melt and no separation. This is crucial for achieving a perfect texture.
- Melting Method: When melting chocolate, avoid rapid temperature changes. Stir frequently and be patient; this helps prevent the chocolate from seizing.
- Layering Tips: Allow each layer of chocolate to set slightly before adding the next. This prevents them from mixing and maintains a beautiful layered effect.
- Storage Guidance: Store Peppermint Bark in an airtight container at room temperature. This keeps it fresh and prevents it from becoming too hard or losing its texture.
Variations to Try
While the classic Peppermint Bark is delicious on its own, there are several fun variations you can try to elevate it even further. Here are some ideas to inspire your next batch:
- Dark Chocolate Twist: Replace the milk and semi-sweet chocolate with dark chocolate for a richer flavor.
- Nuts for Crunch: Add chopped nuts, like pecans or almonds, for an extra layer of flavor and crunch.
- Holiday Sprinkles: Use festive sprinkles instead of crushed candy canes for a colorful touch that’s sure to brighten your dessert table.
- White Chocolate Drizzle: Drizzle melted white chocolate on top after the peppermint layer for a beautiful finish.
- Flavored Extracts: Experiment with other extracts, such as vanilla or almond, to create unique flavor profiles that complement the chocolate.
- Different Candies: Substitute the candy canes with other crushed candies, like toffee or chocolate-covered pretzels, for different textures and tastes.
- Seasonal Variations: For Halloween, try using orange and black sprinkles, or for Easter, pastel colors and bunny-shaped candies.
Perfect Pairings for Peppermint Bark
When serving your Peppermint Bark, there are numerous ways to enjoy it, especially around the holidays. Here are some ideas for pairing and serving:
- Hot Chocolate: Serve alongside a warm mug of hot chocolate to create a cozy dessert experience that warms the soul.
- Holiday Parties: This treat is perfect for holiday gatherings, potlucks, or as part of a dessert table filled with other festive goodies.
- Gift Giving: Wrap pieces of Peppermint Bark in festive packaging for a thoughtful homemade gift that’s sure to impress anyone.
- Snack Time: Enjoy it as a sweet snack during movie nights or game days with friends and family.
- Seasonal Celebrations: Whether it’s Christmas, New Year’s, or even Valentine’s Day, this bark fits right in with any festive occasion.
- Storage in a Cool Place: Keep leftovers in a cool, dark place where they can stay fresh for up to two weeks.
- Pair with Ice Cream: Crumble it over vanilla ice cream for a delightful dessert that combines textures and flavors.
FAQ
Conclusion
Peppermint Bark is a delightful holiday treat that combines the rich flavors of chocolate with the refreshing taste of peppermint. It’s not only easy to make but also a fantastic way to share the holiday spirit with others. I encourage you to give this recipe a try, whether for a festive gathering or simply to enjoy at home. The joy it brings is truly special!
Peppermint Bark
Ingredients
Equipment
Method
- Add unwrapped candy canes to a large plastic bag. Seal the bag without air, and crush with a rolling pin or meat mallet until coarse crumbs are formed. Set aside.
- Line an 8×8 or 9×9-inch pan with parchment paper, leaving an overhang for easy removal. Set aside.
- Coarsely chop the white chocolate, semi-sweet chocolate, and milk chocolate. Tip: Be patient when melting the chocolate and avoid rapid temperature changes.
- Add all except 2 tablespoons of the chopped semi-sweet and milk chocolate to a large microwave-safe bowl. Add 1/2 teaspoon vegetable oil. Microwave for 15 seconds, then stir vigorously for 15 seconds. Continue until chocolate is mostly melted.
- Once chocolate is mostly melted, add the set-aside 2 tablespoons of chocolate and stir until it melts. Pour in the peppermint extract and mix to combine.
- Pour the chocolate mixture into the prepared pan and smooth in an even layer with a spatula. Do not refrigerate. Set aside at room temperature.
- Add all except 2 tablespoons of the chopped white chocolate to a large microwave-safe bowl. Add 1/2 teaspoon vegetable oil. Follow the directions above for melting.
- Add the reserved 2 tablespoons white chocolate and mix until melted. Once smooth, drizzle evenly on top of the chocolate base layer. Immediately sprinkle the crushed candy canes on top. Set aside at room temperature until hardened, about 3–5 hours.
- Once hardened, remove from the pan using the overhang. Break or cut into pieces as big or small as you'd like. Enjoy!
Notes
- Note 1: To make peppermint bark that doesn’t separate or become crumbly, grab high quality baking bars.
- Note 2: Melting the chocolate slowly and stirring frequently prevents streaks by keeping the cocoa butter from separating.
- Note 3: If you’d prefer to cut the bark instead of break it, use a large, sharp knife and run it under very hot water for easy cutting.
- Storage: Store in a tightly sealed container in a cool, dark place at room temperature for up to 2 weeks. It does not need to be refrigerated.