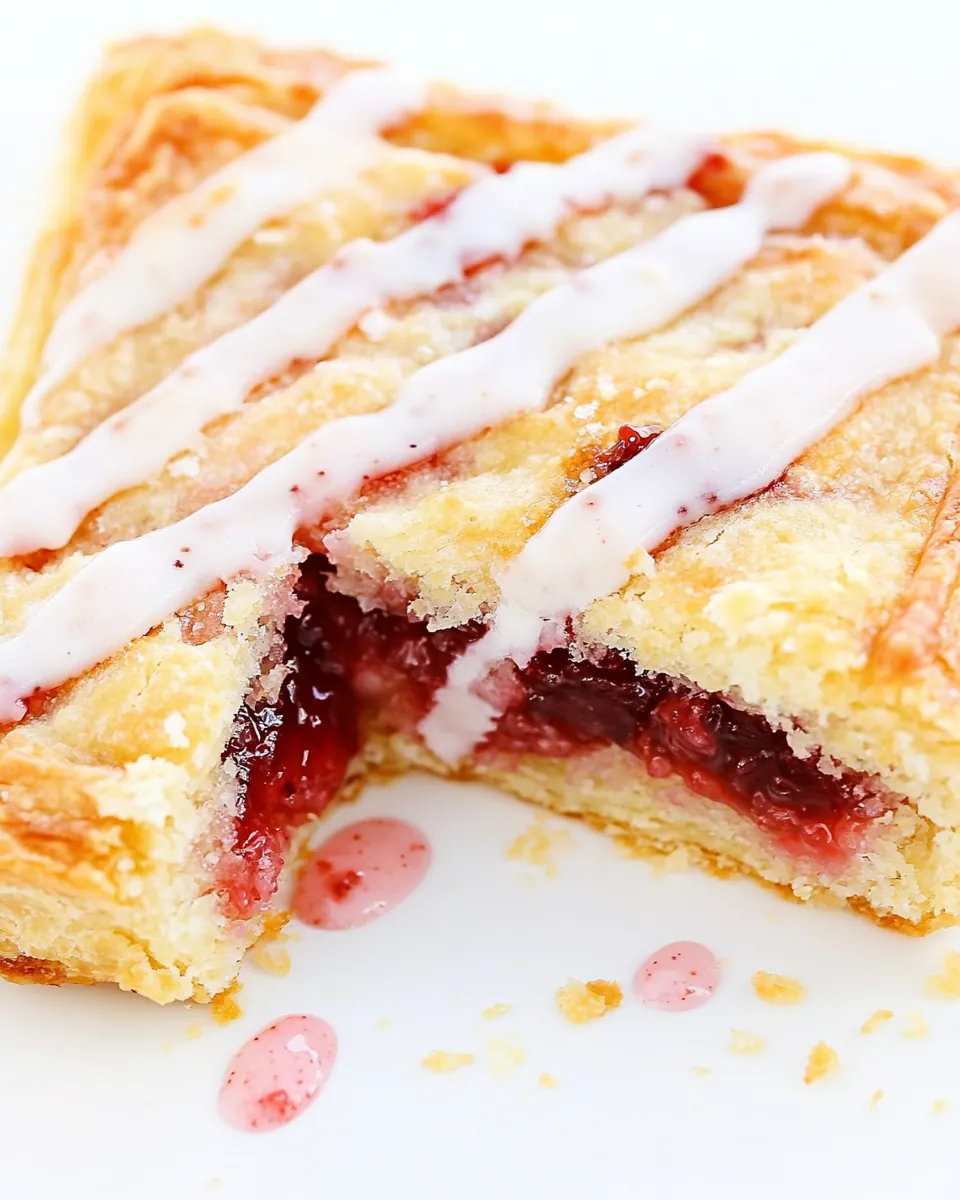
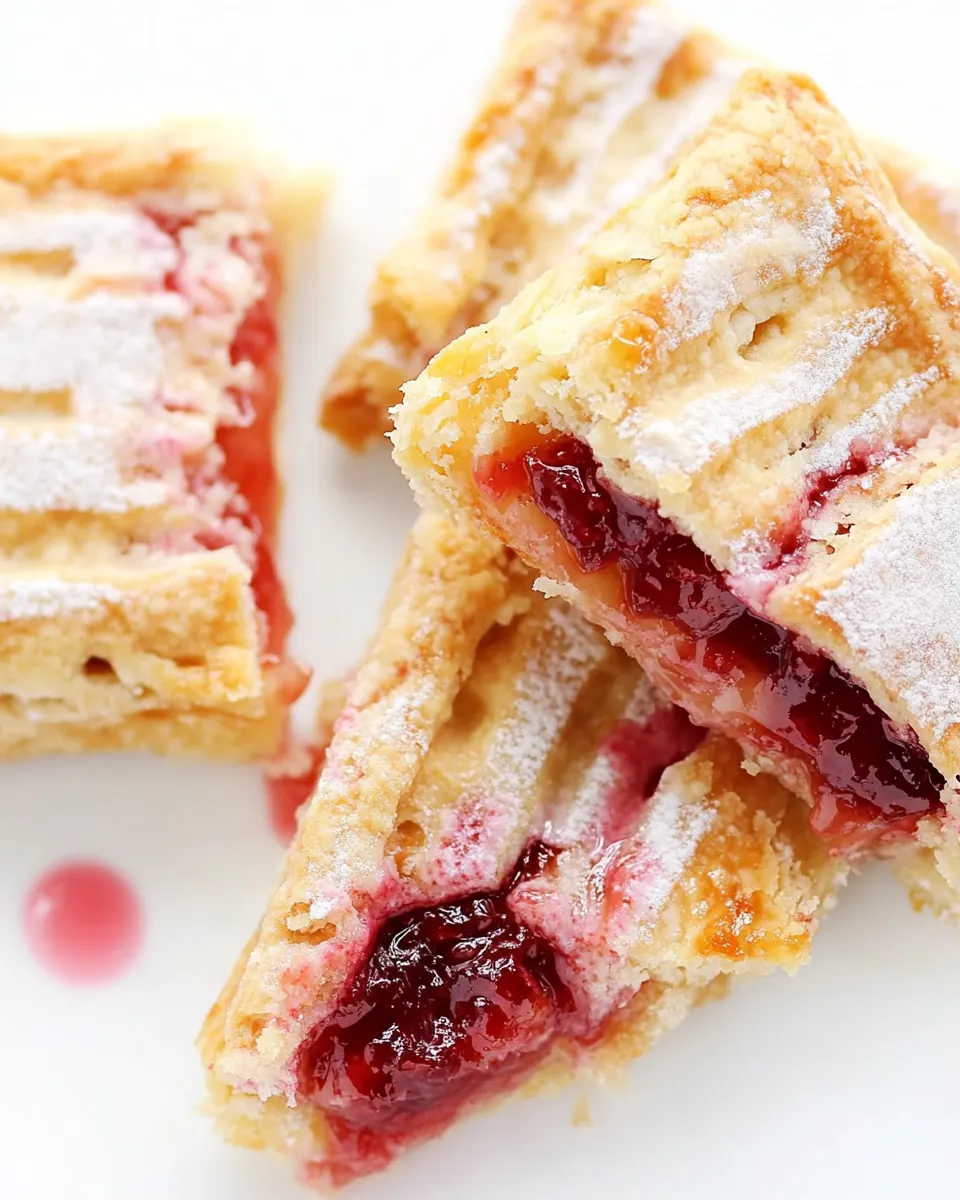
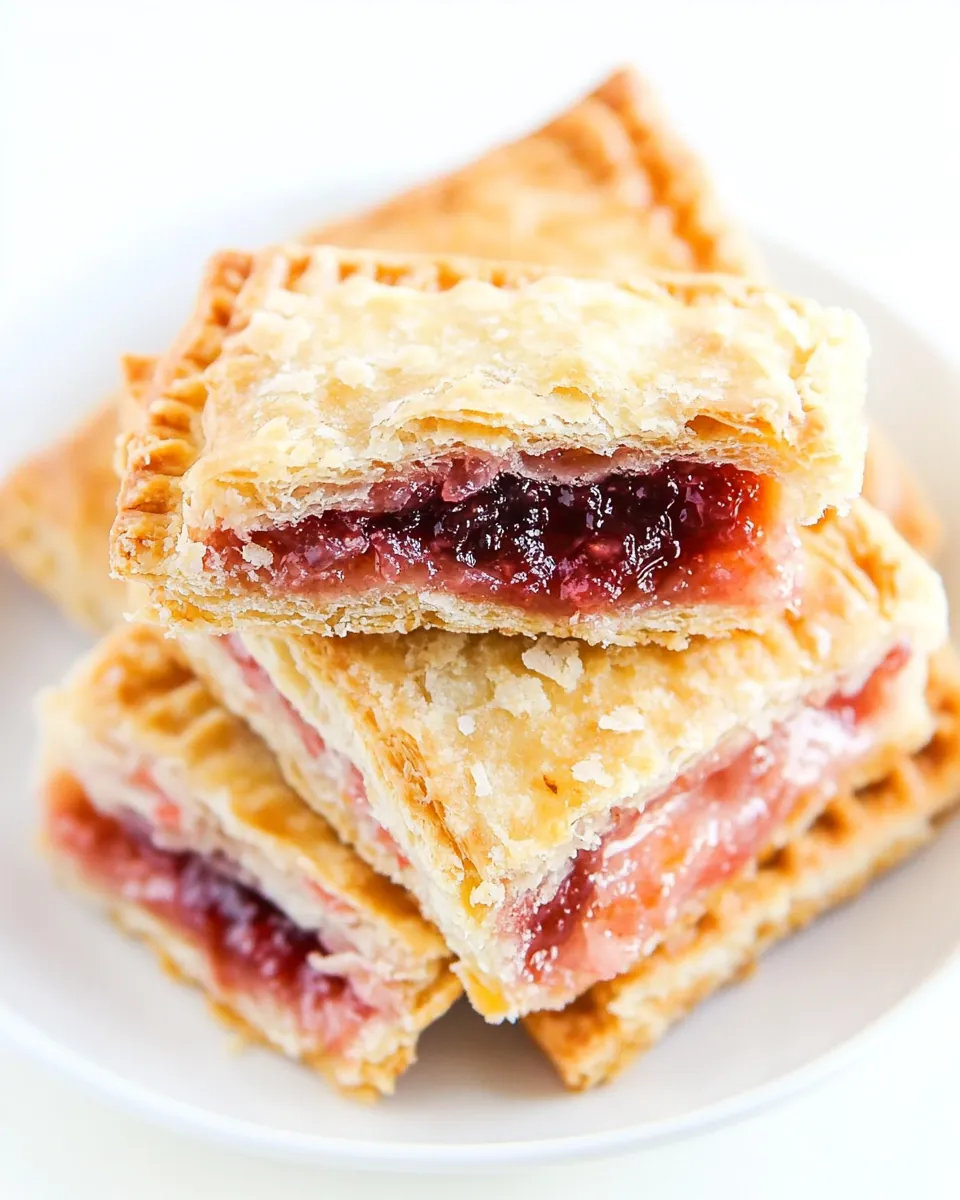
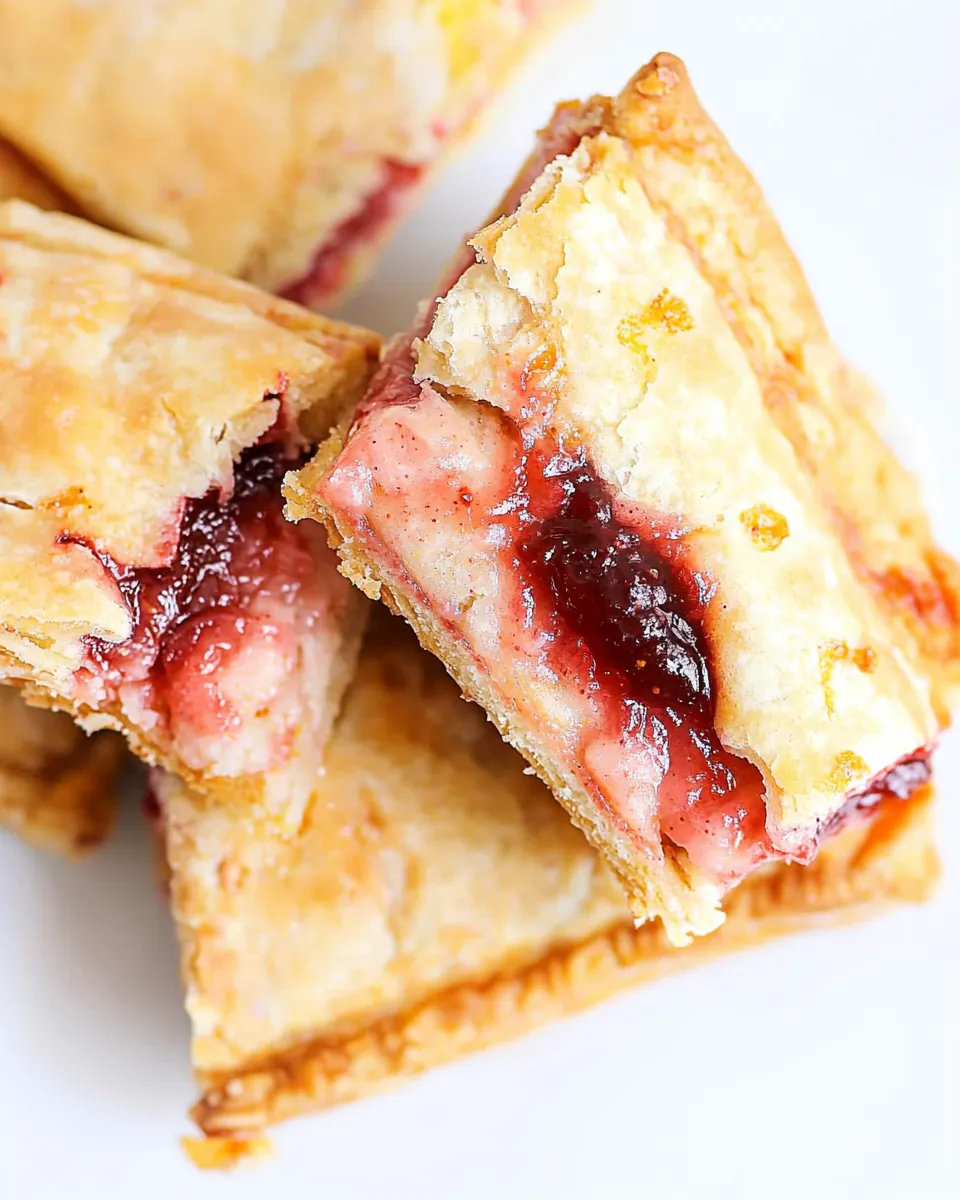
Strawberry Jam Toaster Pastries
There’s something magical about waking up to the smell of freshly baked pastries wafting through the house, particularly those that are filled with a luscious fruit filling. That’s where my Strawberry Jam Toaster Pastries come in! They remind me of lazy Sunday mornings spent with family, where we’d gather around the kitchen table, eagerly awaiting a warm treat. I still remember my first attempt at making these pastries; the excitement of folding the buttery dough and the sweet surprise of strawberry filling brought me pure joy. Each bite is a delightful explosion of flavors and textures that truly warms the heart.
Recipe Snapshot
60 mins
0 mins
0 mins
Easy
290 kcal
3 g
Gluten-Free, Low FODMAP
15 g
Oven, Baking Sheet, Blender, Frying Pan, Wooden Spoon, Whisk, Chef’s Knife, Mixing Bowl
What You’ll Enjoy About This Strawberry Jam Toaster Pastries
They Are Insanely Delicious
To start with, there’s nothing quite like biting into a freshly baked Strawberry Jam Toaster Pastry. The flaky, buttery crust is perfectly complemented by the sweetness of the strawberry jam. It’s a simple pleasure that can elevate any breakfast or snack time to gourmet status. Trust me, once you try these, store-bought pastries will never be the same again!
Perfect for Any Occasion
Whether it’s a cozy brunch with friends, a sweet treat for your kids after school, or a special occasion, these pastries fit right in. They are versatile enough to be served hot out of the oven or even enjoyed cold. I love baking a batch before a gathering; they always disappear faster than I can keep track!
Customizable to Your Liking
One of the best things about my Strawberry Jam Toaster Pastries is how adaptable they are. If you’re feeling adventurous, swap out the strawberry jam for your favorite fruit preserves or even chocolate spread. You can personalize these pastries to suit your taste or the tastes of your guests, making them a fun and interactive treat for everyone.
Simple Ingredients, Big Flavor
With just a handful of basic ingredients, you can create these delicious pastries. The combination of all-purpose flour, butter, and sugar creates a tender, flaky pastry that melts in your mouth. Adding in the sweet and tangy strawberry jam gives it that signature flavor that we all love.
Easy to Make
Don’t let the word ‘pastry’ intimidate you; these toaster pastries are surprisingly easy to make! With a little bit of patience and some simple steps, you’ll have a batch of these pastries ready in no time. You don’t need to be a professional baker to impress your family and friends with your culinary skills!
Great for Meal Prep
If you’re like me and enjoy meal prepping for the week, these pastries are a fantastic option. Bake a batch and store them in the freezer. They reheat beautifully and make for a quick breakfast or snack option on busy days.
Shopping List for Strawberry Jam Toaster Pastries
Let’s take a moment to appreciate the magic of the ingredients in these delightful pastries. The simple combination of basic pantry staples creates a wonderful pastry that everyone will adore. The butter lends a rich flavor while the flour provides the perfect base. Meanwhile, the strawberry jam adds that sweet, fruity note that ties everything together beautifully.
- All-Purpose Flour: The foundation of our pastry dough, providing structure and texture.
- Sugar: Adds sweetness to the dough and helps create that golden crust.
- Salt: A pinch enhances the flavors of all the other ingredients.
- Cold Unsalted Butter: Key for creating a flaky texture, it should be cut into cubes and kept cold.
- Egg: Provides richness and helps bind the pastry dough together.
- Milk: Adds moisture to the dough and helps achieve the right consistency.
- Fruit Preserves: The star of this recipe, providing the sweet filling; strawberry is a classic choice!
- Confectioners’ Sugar: Perfect for glazing and adding a sweet finishing touch.
- Additional Milk: Used in the glaze to achieve the desired consistency.
- Pink Food Coloring: Optional, for a fun visual twist on your glaze.
- Coarse Decorating Sugar: Optional, for a sparkly finish.
Recipe Directions for Strawberry Jam Toaster Pastries
Get ready to create some delightful pastries! The process is straightforward, and I’ll guide you through each step to make it easy and fun. Just follow along, and soon you’ll be enjoying your homemade Strawberry Jam Toaster Pastries.
In a bowl, combine flour, sugar, and salt. Whisk these dry ingredients together to ensure an even distribution of flavors. This step is crucial for a balanced taste in your pastry.
Using a fork or pastry blender, work in the butter until it forms pea-sized crumbles. You want to incorporate the butter without melting it, as this is what gives your pastry that desired flakiness.
Whisk together egg and milk. Then, stir this mixture into the flour mixture with a fork until the dough just comes together. Avoid overworking the dough to keep it tender.
Divide the dough in half and shape each half into discs. Wrap tightly in plastic wrap and refrigerate for at least 30 minutes or up to 2 days. This chilling time allows the gluten to relax, making it easier to roll out later.
Preheat the oven to 350 degrees F. While the oven is heating, remove the dough from the refrigerator. Allow it to soften for 10 to 15 minutes or until it’s workable. You want it to be pliable yet still cool.
On a lightly floured work surface, roll out the dough to a rectangle about 1/8 inch thick and 9-by-12 inches in size. Use a rolling pin to evenly stretch the dough, keeping it as even as possible for uniform pastries.
Using a ruler and a rotary or pizza cutter, cut the rolled dough into nine rectangles measuring 3-by-4 inches. Arrange these rectangles on a baking sheet lined with parchment paper or a silicone mat to prevent sticking.
Beat the egg white with a splash of water. Brush this mixture around the edges of each rectangle to help seal the pastries. This ensures that your filling doesn’t leak out during baking.
Place a heaping tablespoon of your chosen filling into the center of each rectangle. Be careful not to overfill, as that can lead to mishaps. Less is often more with these pastries!
Roll out the second piece of dough just like the first. Top each filled pastry with a second rectangle of dough. Press firmly around all sides to seal the pastries well.
Prick the top of each tart with a fork or make a few small slices with a pairing knife to allow steam to escape while baking. This step is important to prevent the pastries from puffing up too much.
Refrigerate the pastries for 30 minutes or freeze for 10 minutes before baking. This chilling helps them hold their shape better during baking.
Bake for 25 to 35 minutes or until they are light golden brown. Keep an eye on them, as oven temperatures can vary.
Once baked, remove them from the oven and let them cool on the pan for 10 minutes before transferring to a wire rack to cool completely. This cooling time is essential before glazing.
To prepare the glaze, sift confectioners’ sugar into a bowl. Whisk together strawberry jam with a bit of milk, then stir into the sugar until it flows off a spoon. Spread or drizzle this glaze over the cooled pastries.
Immediately sprinkle with coarse decorating sugar, if desired, for an extra festive touch!
Things Worth Knowing
- Chill Your Dough: Always refrigerate your dough before rolling it out. This helps prevent it from becoming too sticky and ensures that your pastries hold their shape.
- Watch Baking Time: Keep an eye on your pastries as they bake. They can go from perfectly golden to burnt quickly.
- Customize Fillings: Feel free to experiment with different fruit preserves or fillings. Each variation can bring a new twist to this classic treat!
- Proper Sealing: Make sure to seal the edges well to keep the filling inside. You can crimp with a fork for a decorative touch.
Ways to Customize
There are so many fun ways to put your twist on these pastries! Here are some ideas that can help you make the Strawberry Jam Toaster Pastries even more delightful.
- Storage: Once baked, these pastries can be stored in an airtight container for up to 3 days. For longer storage, freeze them before baking.
- Freezing: You can freeze the pastries before baking. Just pop them in the oven straight from the freezer; they may take a few extra minutes to bake.
- Pairing: Serve your pastries with a side of whipped cream or ice cream for a delicious dessert option!
- Flavor Variations: Try using different fruit jams like raspberry, apricot, or even chocolate hazelnut spread for a fun twist.
- Garnishing: Top your pastries with a sprinkle of nuts or coconut flakes for added texture and flavor.
Serve This Strawberry Jam Toaster Pastries With
When it comes to serving your Strawberry Jam Toaster Pastries, the options are endless! Here are some delightful ideas to complement your pastries:
- Fresh Fruit: Pair your pastries with a side of fresh berries or sliced fruit for a refreshing contrast.
- Hot Beverages: These pastries are fantastic with coffee, tea, or even hot chocolate, making them perfect for breakfast or afternoon tea.
- Yogurt: Serve with a dollop of yogurt for added creaminess and a hint of tang.
- Brunch Spread: Include these pastries in a brunch spread alongside scrambled eggs and other breakfast treats.
- Picnics: They are ideal for picnics or outdoor gatherings, easy to transport and always a hit!
FAQ
Conclusion
The Strawberry Jam Toaster Pastries are not just a treat; they’re a warm hug in pastry form! These delightful pastries are perfect for breakfast or a sweet snack any time of the day. I encourage you to try making them at home; the joy of biting into a freshly baked pastry is simply unmatched. Gather your ingredients and bake a batch tonight—you won’t regret it!
Strawberry Jam Toaster Pastries
Ingredients
Equipment
Method
- In a bowl, combine flour, sugar, and salt. Using a fork or pastry blender, work in the butter until it forms pea-sized crumbles. Whisk together egg and milk; stir into flour mixture with a fork until dough just comes together. Divide in half and shape into discs; wrap tightly in plastic wrap and refrigerate for at least 30 minutes or up to 2 days.
- Preheat oven to 350 degrees F. Remove dough from the refrigerator and allow it to soften 10 to 15 minutes or until workable. Roll out on a lightly floured work surface to a rectangle about 1/8 inch thick and 9-by-12 inches in size. Using a ruler and a rotary or pizza cutter, cut into nine 3-by-4 inch rectangles. Arrange on a baking sheet lined with parchment paper or a silicone mat.
- Beat the egg white with a splash of water, and brush it around the edges of each rectangle. Place a heaping tablespoon of filling into the center of each.
- Roll and cut the second piece of dough just as you did the first. Top each filled pastry with a second rectangle of dough, using your fingertips to press firmly around all sides. Press and crimp edges with a fork or a ravioli cutter to seal.
- Prick the top of each tart with a fork or make a few small slices with a pairing knife to allow the steam to escape when baking. Refrigerate for 30 minutes or freeze for 10 minutes, then bake for 25 to 35 minutes or until light golden brown. Remove them from the oven, and allow them to cool on the pan for 10 minutes before transferring to a wire rack to cool completely before glazing.
- To prepare glaze, sift confectioners’ sugar into a bowl. Whisk strawberry jam with milk, then stir into sugar until it just flows off a spoon. Spread or drizzle onto cooled pastries. Sprinkle immediately with decorating sugar, if desired.
Notes
- Storage: Once baked, these pastries can be stored in an airtight container for up to 3 days. For longer storage, freeze them before baking.
- Freezing: You can freeze the pastries before baking. Just pop them in the oven straight from the freezer; they may take a few extra minutes to bake.
- Pairing: Serve your pastries with a side of whipped cream or ice cream for a delicious dessert option!
- Flavor Variations: Try using different fruit jams like raspberry, apricot, or even chocolate hazelnut spread for a fun twist.
- Garnishing: Top your pastries with a sprinkle of nuts or coconut flakes for added texture and flavor.