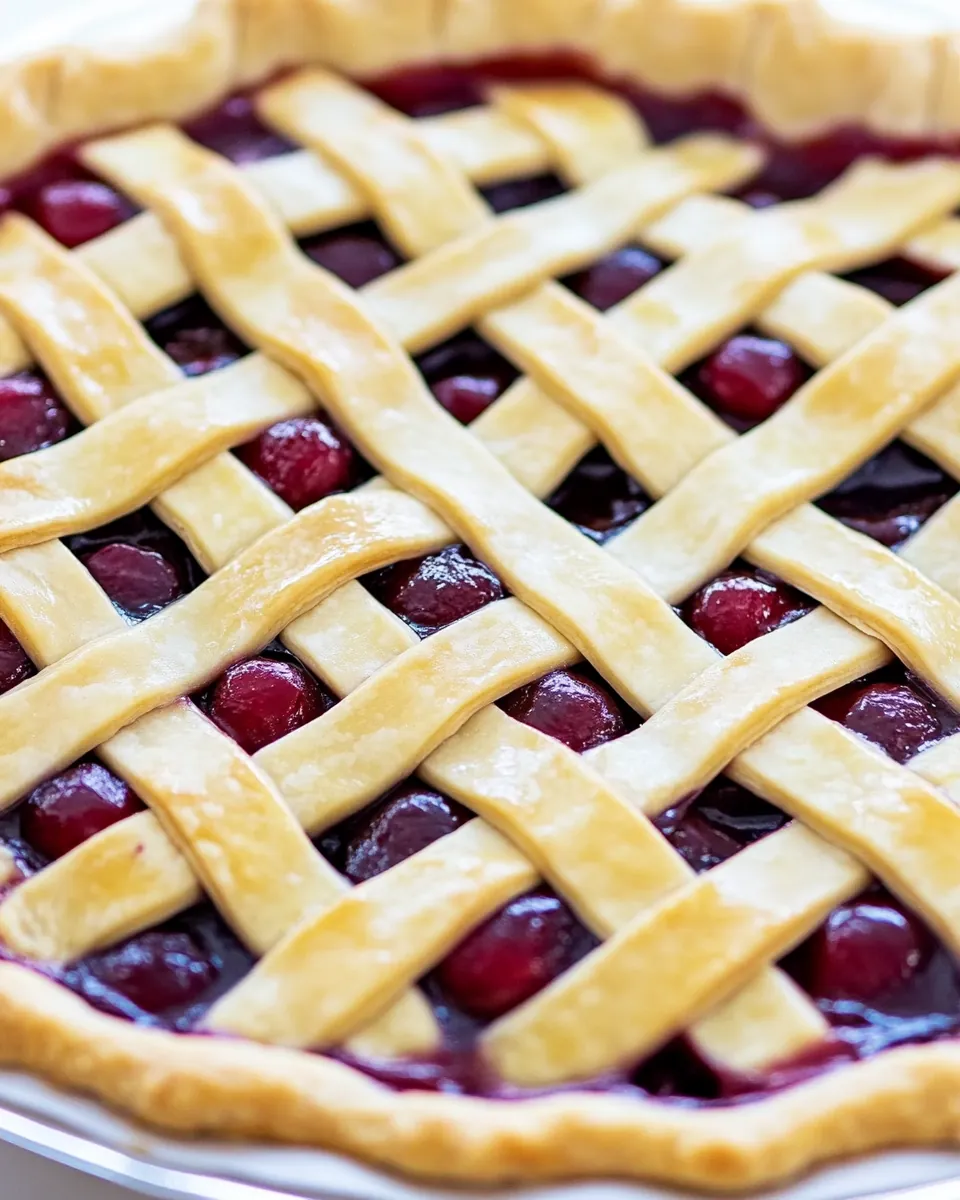
How To Lattice a Pie
Making a pie is an art form, and the first step to mastering that art is understanding how to create the perfect lattice. How To Lattice a Pie is not just a recipe; it’s a rite of passage for many home cooks, including myself. When I first tackled this technique, I was excited yet nervous. Picture this: a sunny afternoon, the scent of fresh pie crust filling the kitchen, and my family gathered around, eagerly awaiting the slice of pie that would soon emerge from the oven. The beauty of a well-crafted lattice is unmatched. Each strip of dough weaves together to create a stunning design while allowing steam to escape, ensuring that your pie filling is perfectly cooked. Every time I make a lattice pie, it feels like I’m not just making dessert; I’m creating memories.
Recipe Snapshot
40 mins
40 mins
0 mins
Medium
320 kcal
5 g
Keto, Gluten-Free, Low FODMAP
15 g
Baking Sheet, Frying Pan
What Sets This How To Lattice a Pie Apart
Elevates Your Pie Game
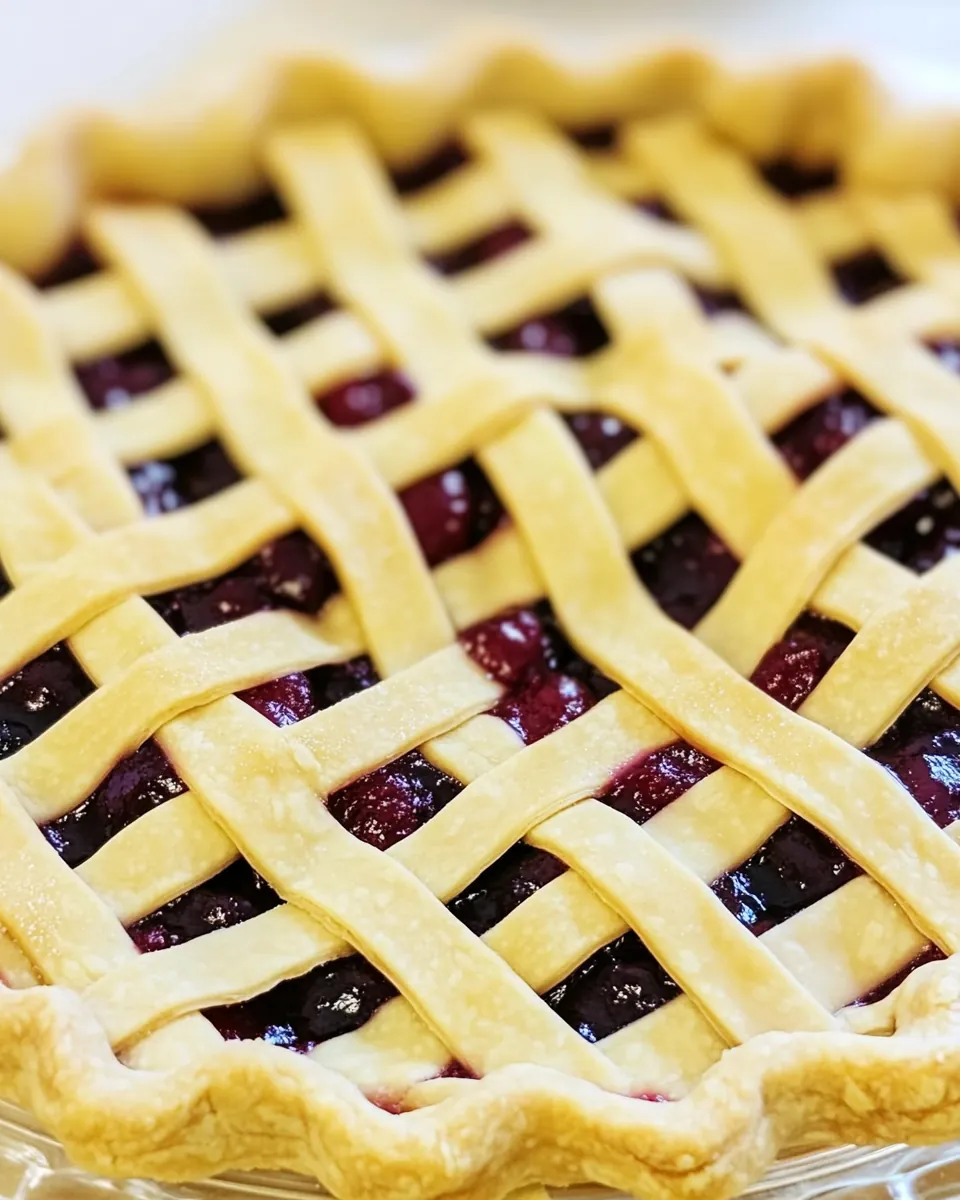
There’s something truly special about a lattice pie. The intricate design not only looks impressive but also shows off your skills. When guests see a beautifully woven top, their eyes light up with admiration.
Perfect for Any Filling
The lattice technique is versatile and works well with a variety of fillings. Whether you’re using fresh berries, spiced apples, or a creamy concoction, the lattice adds an inviting touch that complements the flavors.
Ventilation for Optimal Baking
One of the practical benefits of a lattice top is that it allows steam to escape. This means less chance of a soggy bottom crust, which is a common issue with pies. You’ll achieve that delightful flaky texture that everyone loves!
Fun for Everyone
Gather your loved ones and make a fun afternoon out of pie making. I love inviting my kids into the kitchen to help with the lattice. They have a blast cutting the strips and weaving them together. It’s a wonderful bonding experience.
Cold Dough is Your Best Friend
Working with cold dough is crucial. It makes the rolling and weaving process so much easier. Plus, it results in a flakier crust when baked. Remember to chill your dough, and you’ll notice the difference.
Ingredients to Make How To Lattice a Pie
Creating a lattice pie means choosing the right ingredients that harmonize beautifully. The main players here are your double pie crust and egg wash. The crust is the foundation of your pie, and whether homemade or store-bought, it should be fresh and cold. The egg wash is the finishing touch that gives your crust that golden, glossy appearance.
- Double Pie Crust: You can use homemade or store-bought varieties. A good pie crust is key; it should be flaky and buttery to ensure a delightful texture.
- Egg: One beaten egg mixed with a tablespoon of water or milk will create the perfect wash for your crust, giving it that beautiful shine when baked.
Cooking Method for How To Lattice a Pie
Let’s dive into the delightful process of creating your lattice pie. This method is simple yet allows for creativity. Follow these steps, and soon you’ll have a stunning dessert that’s sure to impress!
- Roll out Dough: Using half of your double pie crust dough, roll it out into a 12 or 13 inch circle. Aim for an even thickness to ensure uniform cooking.
- Cut Strips: With a pizza cutter or pastry wheel, cut the circle into ½ to 1 inch strips. The width is really up to you! For neat strips, use a ruler for precision.
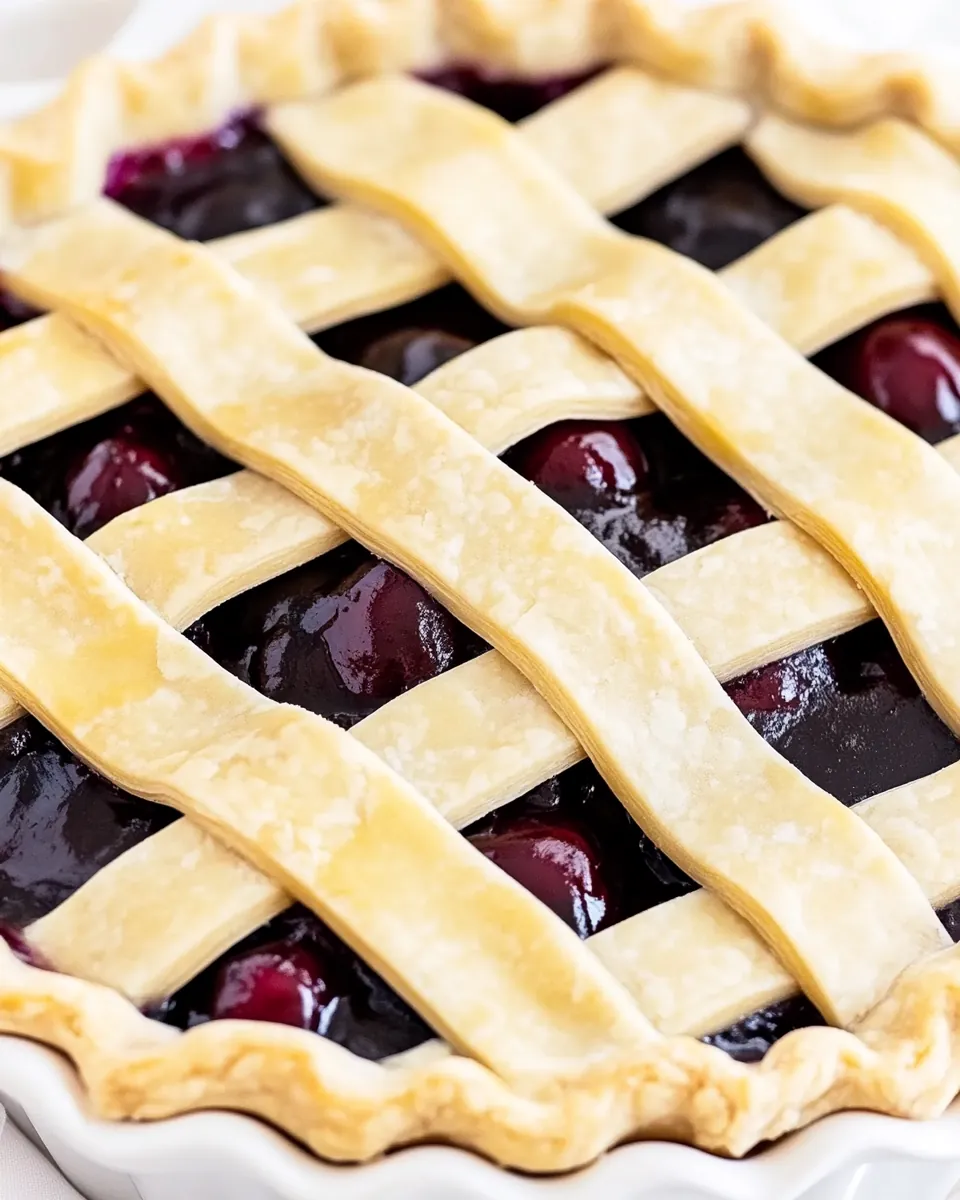
- Lay Out Strips: Lay half of your strips over your pie filling, spaced out evenly with about ½ inch of space in between them. This space isn’t just for aesthetics; it allows ventilation for the pie while it bakes. Fold back every other strip to make room for the next layer.
- Start Weaving: Lay another strip in the center of the pie, perpendicular to the others. Then unfold the first set of strips that you folded back. Now those original strips are laying over your new strip, creating a beautiful weave.
- Repeat: Continue with the other unused strips to weave the rest of the lattice pie until the pie is completely covered. Keep an eye on the design; it should have an even look throughout.
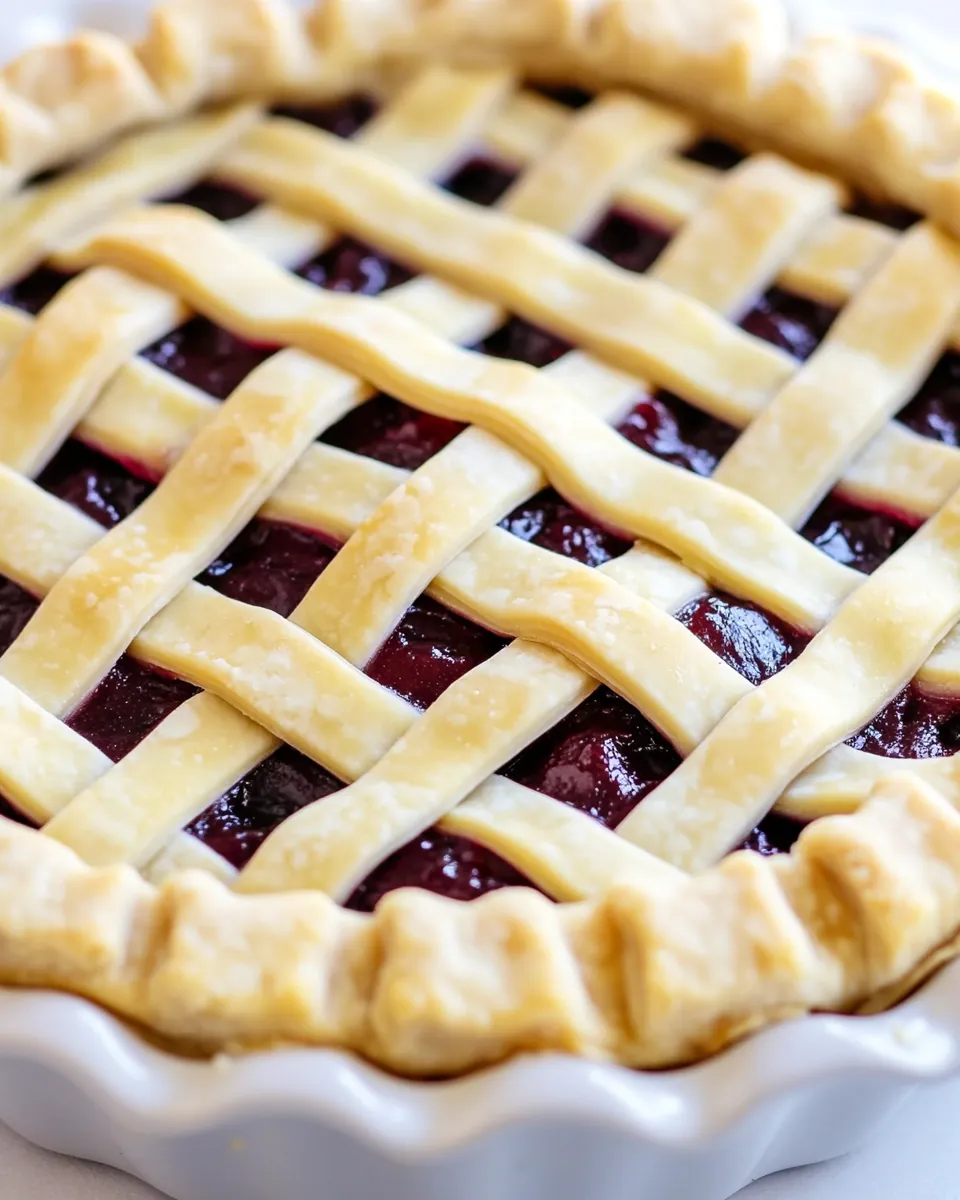
- Trim Dough: Take a moment to trim off any excess dough at the edges of the pie. A neat edge will give a finished look.
- Create Pie Edge: Fold the bottom pie dough up over the lattice strips and crimp the edges to seal everything together. This adds a rustic charm to your pie.
- Chill: Chill the pie in the fridge for 30 minutes to an hour before baking. This step helps restore the dough’s cold temperature, making it perfect for baking.
- Brush and Bake: When ready to bake, brush the top of the pie with your egg wash. Bake as directed in your recipe, and always place the pie pan on a sheet pan to catch any drips.
Things Worth Knowing
- Keep Your Dough Cold: Cold pie dough is your friend when making this design. Warm dough can be messy to work with, so keep it chilled.
- Take Breaks if Needed: If your dough becomes difficult to manage, refrigerate it for 20-30 minutes. This can make a big difference in handling.
- Chill After Weaving: Chilling the pie after weaving helps return the dough to a cold temperature before baking, which contributes to a flakier crust.
- Use Quality Ingredients: The quality of your pie crust and filling can significantly impact your pie’s final flavor and texture.
How to Switch It Up
Looking to personalize your lattice pie? Here are some great ways to add your twist to the classic recipe!
- Flavored Crust: Consider adding spices like cinnamon or nutmeg to your pie crust for an extra flavor kick.
- Different Fillings: Experiment with various fillings such as custard, chocolate, or savory options like spinach and cheese.
- Seasonal Fruits: Change up the fruit filling based on the seasons. In fall, think about using delicious apples; in summer, go for fresh berries.
- Experiment with Shapes: Instead of a traditional round pie, try making a rectangular pie or mini pies for individual servings.
- Create a Design: Use cookie cutters to create fun shapes with the strips or decorate the edges for a unique touch.
What to Serve With How To Lattice a Pie
Pairing your lattice pie with the right accompaniments can elevate your dessert experience. Here are some delightful options:
- Vanilla Ice Cream: A scoop of creamy vanilla ice cream adds a delicious contrast to the warm pie.
- Whipped Cream: Fresh whipped cream on top enhances the pie while adding a light and airy texture.
- Fresh Fruits: Serve with a side of fresh seasonal fruits to complement the pie’s flavors.
- Cheese: A wedge of sharp cheddar can be a fantastic pairing with fruit pies, creating a sweet-savory combination.
- Coffee or Tea: A hot cup of coffee or a soothing herbal tea is the perfect beverage to round out your meal.
- Occasions: Enjoy this pie at family gatherings, holiday dinners, or as a special treat for a cozy evening at home.
FAQ
Conclusion
The art of making a pie lattice is both rewarding and delicious. It transforms a basic pie into a stunning centerpiece that everyone will admire. I encourage you to try your hand at this technique; it’s simpler than it looks and definitely worth the effort. Happy baking!
How To Lattice a Pie
Ingredients
Equipment
Method
- Using half of your double pie crust dough, roll it out into a 12 or 13 inch circle.
- With a pizza cutter or pastry wheel, cut the circle into ½ to 1 inch strips.
- Lay half of your strips over your pie filling, spaced out evenly with about ½ inch of space in between them.
- Lay another strip in the center of the pie, perpendicular to the others.
- Continue with the other unused strips to weave the rest of the lattice pie until the pie is covered.
- Trim off any excess dough at the edges of the pie.
- Fold the bottom pie dough up over the lattice strips and crimp the edges of the dough.
- Chill the pie in the fridge for 30 minutes to an hour before baking.
- When ready to bake, brush the top of the pie with egg wash and then bake as directed in your recipe.
Notes
- Keep Your Dough Cold: Cold pie dough is your friend when making this design.
- Take Breaks if Needed: If your dough becomes difficult to manage, refrigerate it for 20-30 minutes.
- Chill After Weaving: Chilling the pie after weaving helps return the dough to a cold temperature.
- Use Quality Ingredients: The quality of your pie crust and filling can significantly impact your pie's final flavor and texture.