Christmas Sushi
Creating Christmas Sushi is more than just preparing a meal; it’s about gathering loved ones and celebrating the holiday spirit with something truly unique. Every year, I look forward to this delightful tradition where we get to roll up our sleeves and get creative in the kitchen. This isn’t your typical sushi; it’s a festive twist that embodies the colors of Christmas and brings joy to our holiday table. Imagine a beautiful arrangement of sushi that resembles a Christmas tree, adorned with vibrant colors and delicious flavors, making it the perfect centerpiece for your holiday feast.
The first time I made Christmas Sushi, I was nervous, thinking I might mess it up. However, the moment I rolled my first piece, I felt a sense of accomplishment. The combination of fresh salmon, creamy cream cheese, and crunchy cucumber creates a delightful contrast that everyone loves. Plus, it’s a fun activity to enjoy with family and friends. As we gathered around the bamboo mat, laughter filled the air, and everyone eagerly awaited their turn to create their own sushi masterpieces.
This recipe quickly became a favorite in our household, and it’s not just because of how it looks. The flavors blend beautifully, and the process of making it is just as enjoyable as eating it. Whether you’re hosting a holiday party or simply looking for a fun weekend project, Christmas Sushi is sure to impress. So let’s dive into this festive sushi-making adventure!
Recipe Snapshot
60 mins
0 mins
0 mins
Medium
250 kcal
8 g
Whole30, Gluten-Free, Low FODMAP
8 g
Large Pot, Food Processor, Saucepan, Frying Pan, Peeler, Chef’s Knife, Mixing Bowl
Why You’ll Love This Christmas Sushi
It’s Visually Stunning
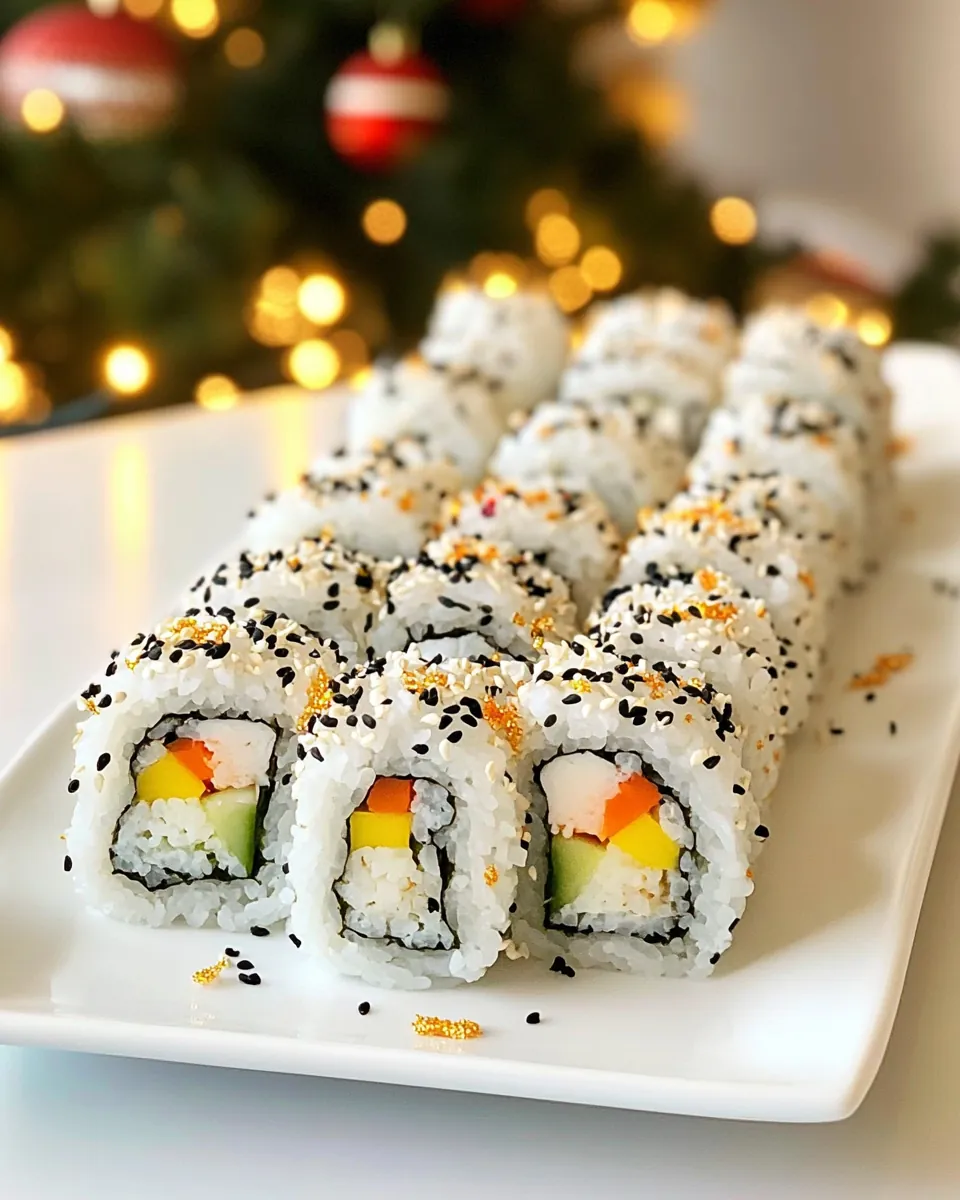
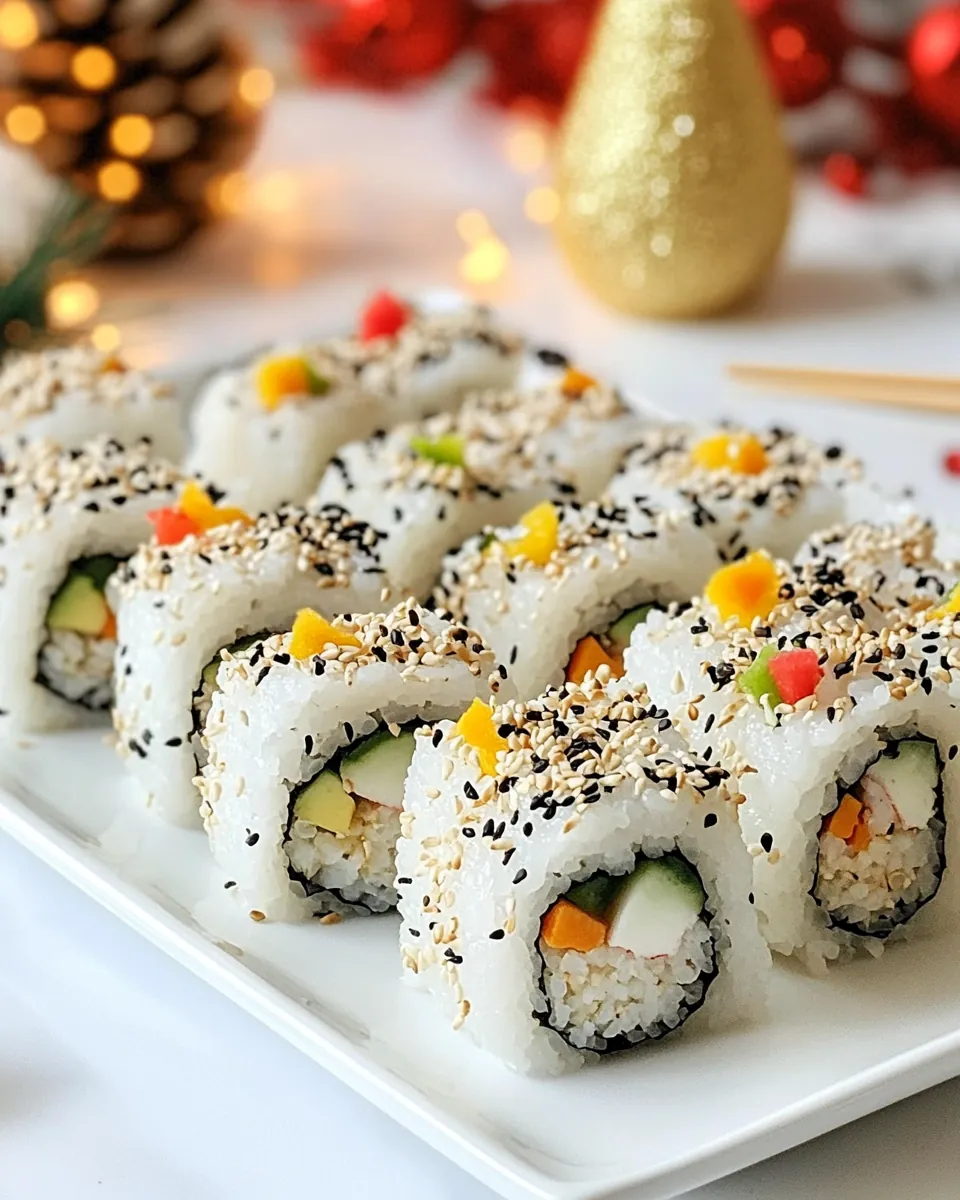
When you lay out your Christmas Sushi, it’s hard not to be impressed by the visual. The bright greens from the avocado, the rich pinks from the salmon, and the vibrant yellows from the yellow capsicum come together to create a dish that looks like a work of art. Presenting this sushi as a Christmas tree arrangement is not only festive but also a conversation starter!
Interactive Fun
Making Christmas Sushi is an interactive experience that brings everyone together. It’s a fantastic way to involve kids and help them discover the joys of cooking. Everyone can take part in the rolling process, and it’s a joy to see each person’s creativity shine through as they customize their sushi rolls.
Healthy and Fresh
One of the best parts of Christmas Sushi is that it’s a healthy option compared to many traditional holiday dishes. Packed with fresh vegetables like cucumber and avocado, along with salmon for protein, this sushi is not only delicious but also nourishing. It’s a great way to balance out the holiday indulgences.
Customizable Ingredients
While this recipe features specific ingredients, feel free to get creative! You can swap out the salmon for your favorite fillings or add more veggies. The flexibility allows you to cater to different tastes and dietary preferences.
Perfect for Sharing
What better way to celebrate the holidays than to share a plate of Christmas Sushi with loved ones? This dish is great for gatherings, and everyone can enjoy a taste of the festive flavors. It’s a great way to create memories around the dining table.
Quick and Simple
Despite the impressive appearance, making Christmas Sushi is quick and straightforward. With just a few ingredients and steps, you can whip up an impressive dish that looks like it took hours to prepare. It’s perfect for busy holiday schedules!
What to Gather for Christmas Sushi
When it comes to the ingredients for Christmas Sushi, each one plays a vital role in achieving the perfect balance of flavor and texture. The combination of fresh ingredients like sushi rice, salmon, and avocado creates a delightful flavor profile that is sure to impress. Let’s dive into the key players that make this sushi a festive treat!
- Sushi Rice: This is the cornerstone of any sushi dish. Its sticky consistency is essential for keeping the sushi together, giving it that satisfying bite.
- Water: Needed to cook the sushi rice and achieve the right texture.
- Rice Vinegar: This adds a tangy flavor to the rice, enhancing the overall taste of the sushi.
- Salt: Enhances the flavor of the rice and other ingredients.
- Sugar: Adds a hint of sweetness to balance the tang of the vinegar.
- Sesame Seeds: Toasted sesame seeds add a nutty flavor and a crunchy texture that complements the sushi.
- Nori: The seaweed wrap that holds everything together, providing a unique umami flavor.
- Salmon: Fresh and flavorful, it’s the star protein in this sushi.
- Cream Cheese: Adds a creamy texture and rich flavor, making the sushi indulgent.
- Avocado: Creamy and rich, it enhances the texture and flavor.
- Cucumber: Provides a refreshing crunch that balances the richer ingredients.
- Yellow Capsicum: Adds a pop of color and sweetness, perfect for decorating your sushi.
How to Make Christmas Sushi
Making Christmas Sushi is an enjoyable and creative process that everyone can partake in. From preparing the rice to rolling it up with your favorite fillings, every step brings you closer to a festive masterpiece. Let’s get started!
- Start by rinsing the sushi rice under cold water in a fine mesh strainer. This step is crucial—it helps remove excess starch and ensures your rice turns out fluffy and not sticky.
- In a medium-sized pot, combine the rinsed sushi rice and 3 cups of water. Bring it to a boil over medium-high heat. Once it starts boiling, reduce the heat to low, cover the pot, and let it simmer for about 18 to 20 minutes. Avoid lifting the lid during this time to keep the steam in!
- Once the rice has cooked, remove it from the heat and let it sit, covered, for another 10 minutes. This resting period allows the rice to finish steaming and become tender.
- While the rice is cooking, mix together ¼ cup of rice vinegar, 2 tablespoons of sugar, and 1 teaspoon of salt in a small bowl. Leave the ingredients to soak while the rice cooks, allowing the sugar to dissolve in the vinegar.
- Transfer the warm rice to a large bowl and drizzle the vinegar mixture over it. Gently fold the rice with a spatula or paddle to mix it in without mashing the grains. This step adds that classic sushi rice flavor!
- Let the rice cool to room temperature.
- Preheat a pan to a low heat, add the sesame seeds, and heat until they are lightly toasted and fragrant, about 3 to 5 minutes.
- Place 3 sheets of nori into a food processor, and pulse until they are crumbled. Add the toasted sesame seeds and a ½ teaspoon of salt to the food processor. Pulse just a couple of times to combine all the furikake ingredients.
- Skin and debone the salmon, cut it into 1 cm batons. Pop the cream cheese into the freezer for ½ an hour so it is very firm, then slice it into 1 cm batons, and return it to the freezer.
- Peel and slice the avocado and cucumber into 1 cm batons.
- Start by cutting a sheet of nori in half. Place a halved piece of nori on the bamboo mat with the shiny side down.
- Place roughly 1 to 1 ½ cups of sushi rice on the nori sheet and spread it to cover the seaweed in an even layer. A damp spatula or the damp back of a spoon works best for this.
- Lay a piece of baking paper or parchment on top of the rice. Flip the seaweed, rice, and baking paper over, so the baking paper is now face down on the bamboo mat and the nori is face up.
- Lay the cucumber, salmon, cream cheese, and avocado across the center of the nori.
- Start rolling from the bottom, slightly wetting the blade of a sharp knife as you go, to slice the roll into 6 pieces. First, slice it into halves, then the halves into thirds. Clean the knife with a wet towel between cuts to prevent the rice from sticking to it.
- Unroll the bamboo mat, remove the baking paper, then roll the sushi roll in the nori sprinkle.
- Using a sharp knife, slice the sushi into 6 pieces.
- Make 6 of these sushi rolls to end up with 36 pieces of sushi.
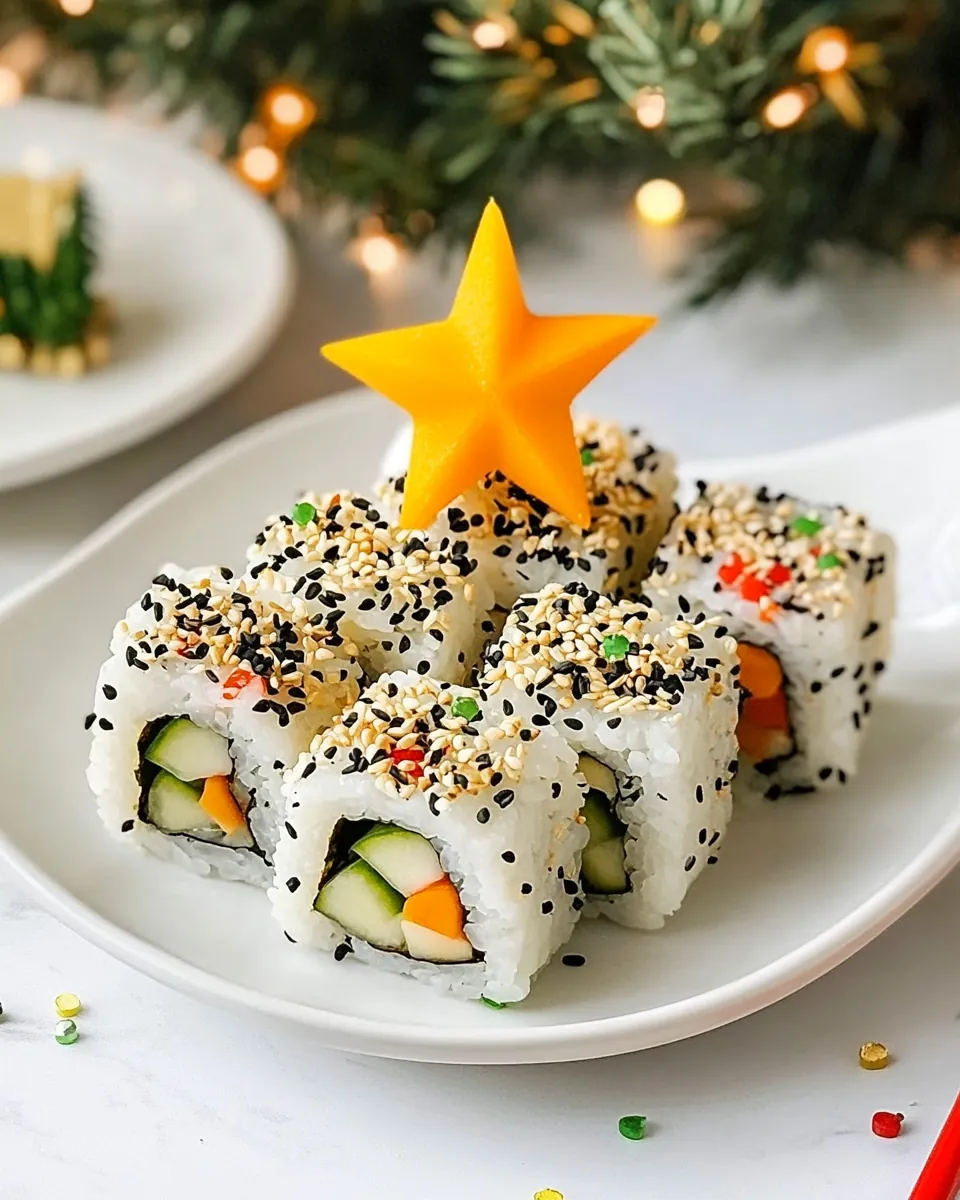
- Arrange 11 pieces of sushi on a platter in a circle, then layer 9 pieces in a smaller circle on top of the 11, followed by 7, then 5, then 3, and finally 1 piece to create a Christmas tree shape.
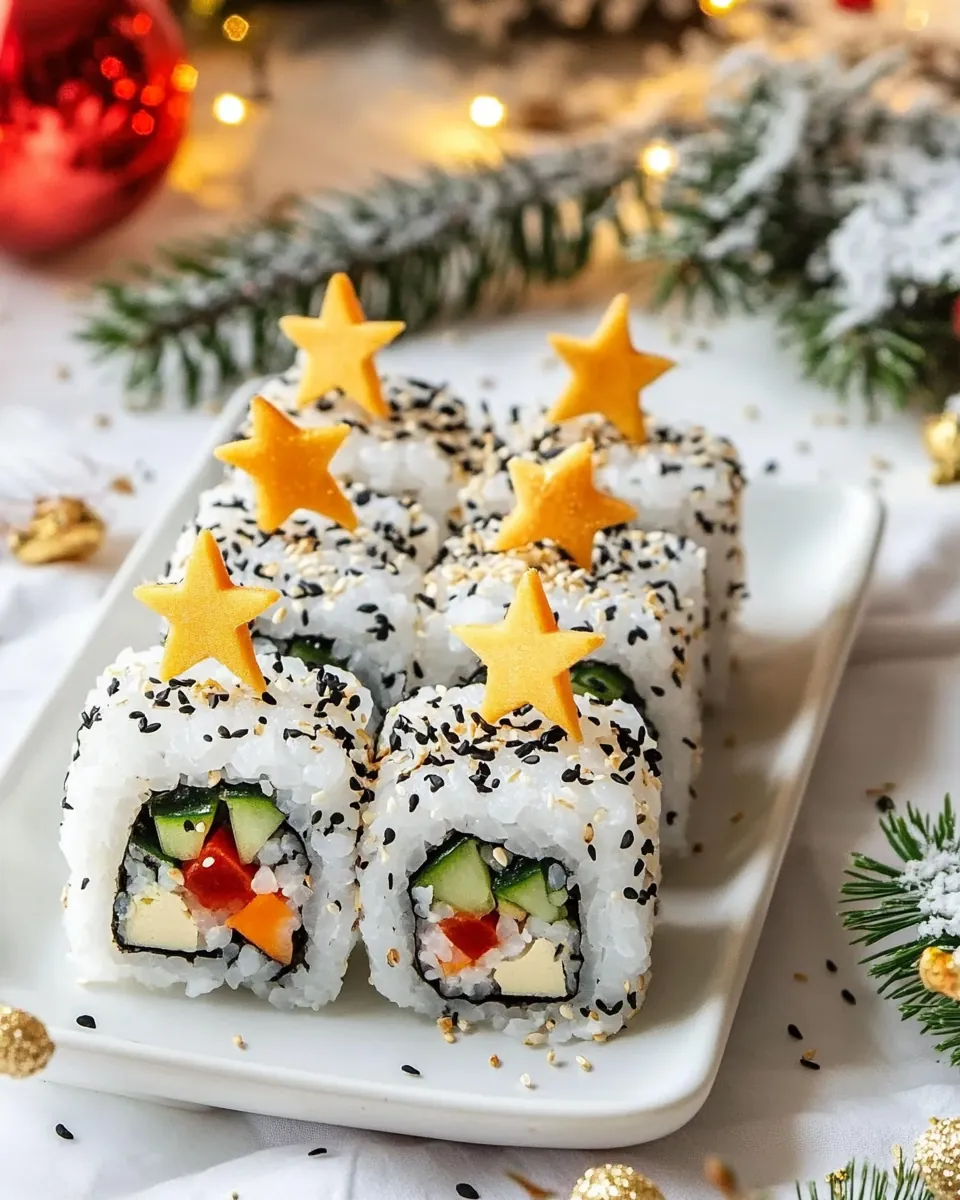
- Using a star-shaped cookie cutter or a sharp knife, cut the yellow capsicum into a star to top your Christmas sushi tree.
What to Serve With Christmas Sushi
Serving Christmas Sushi can be as creative as making it! Here are some ideas to complement your beautiful sushi:
- Fresh Salads: A light salad with mixed greens and a citrus dressing pairs wonderfully with sushi, offering a refreshing contrast.
- Edamame: Steamed edamame with a sprinkle of sea salt provides a delightful, healthy snack.
- Soups: A warm miso soup or a light broth can be the perfect start to your meal.
- Seasonal Drinks: Pair your sushi with festive drinks like sparkling water with citrus or herbal teas.
- Rice Paper Rolls: Offer a variation by serving some rice paper rolls filled with fresh vegetables and shrimp for a light bite.
- Chirashi: A chirashi bowl can serve as a delightful accompaniment, presenting a variety of toppings over sushi rice for an eye-catching dish.
- Ginger Soy Sauce: Provide a small bowl of ginger soy sauce for dipping, enhancing the flavors of your sushi.
Things Worth Knowing
- Don’t Rush the Rice: The perfect sushi rice takes time. Rinsing helps achieve the right texture, so don’t skip this step.
- Stay Moist: Water is your friend! Keep your hands and utensils damp when handling sushi rice to prevent sticking.
- Make Ahead: Sushi can be made in advance. Just ensure it’s refrigerated and consumed within two hours to maintain freshness.
- Experiment with Fillings: Feel free to try different fillings. Whether it’s veggies, seafood, or even fruits, there’s no wrong way to sushi!
Make It Your Own
While this Christmas Sushi recipe is festive as is, there are plenty of ways to customize it to fit your tastes! Here are some tips:
- Storage: Keep leftover sushi in an airtight container in the fridge. Consume within 24 hours for the best flavor and texture.
- Freezing: Sushi is best enjoyed fresh, but if you want to freeze some, wrap it tightly in plastic wrap and place it in a freezer bag. Consume within one month.
- Pairing: Serve your sushi with a side of pickled ginger to cleanse the palate between different rolls.
- Flavor Variations: Try different flavored cream cheese or add spicy mayo for a kick!
- Vegetarian Options: Substitute the fish for roasted veggies or avocado for a vegetarian-friendly option.
- Garnish: Use microgreens or edible flowers to elevate your presentation.
What to Serve With Christmas Sushi
Pairing Christmas Sushi with the right accompaniments can enhance your dining experience. Here are some creative serving ideas to consider:
- Fresh Salads: Light salads with citrus or sesame vinaigrette make a fresh side that complements the sushi’s flavors.
- Soups: A warm bowl of miso soup or clear broth would provide a soothing contrast to the cool sushi.
- Dipping Sauces: Provide soy sauce, wasabi, or ginger dipping sauce to add a flavor boost.
- Seasonal Fruits: Serving seasonal fruits like pomegranates or sliced apples can add a refreshing touch.
- Tea Pairing: Serve with a cup of green tea or jasmine tea to enhance the delicate flavors of the sushi.
FAQ
Conclusion
In conclusion, Christmas Sushi is not just a meal; it’s a festive celebration that brings joy and togetherness. The vibrant colors and fresh flavors make it a standout dish for any holiday gathering. I encourage you to try making this sushi for yourself and share it with loved ones. It’s an enjoyable way to embrace the holiday spirit while creating delicious memories in the kitchen.
Christmas Sushi
Ingredients
Equipment
Method
- Start by rinsing the sushi rice under cold water in a fine mesh strainer. This is crucial for removing excess starch.
- In a medium-sized pot, combine the rinsed sushi rice and water. Bring to a boil, then simmer covered for 18 to 20 minutes.
- After cooking, remove from heat and let it sit covered for 10 minutes.
- Mix together rice vinegar, sugar, and salt in a small bowl while the rice cooks.
- Transfer the rice to a bowl, drizzle the vinegar mixture over it, and gently fold to mix.
- Let the rice cool to room temperature.
- Toast sesame seeds in a pan over low heat until fragrant.
- Crush sheets of nori in a food processor and mix in toasted sesame seeds with salt.
- Prepare the salmon, cream cheese, avocado, and cucumber by cutting into batons.
- Lay a piece of nori on a bamboo mat, spread with sushi rice, then lay the fillings on top.
- Roll tightly, slice into pieces, and arrange them to form a Christmas tree.
Notes
- Tip 1: Don't spread the rice too thickly over the nori; aim for an even covering.
- Tip 2: Keep your hands damp to prevent rice from sticking.
- Tip 3: Sushi can be made in advance, just keep it refrigerated.
- Tip 4: You can use a pressure cooker for making sushi rice.
- Tip 5: Feel free to swap out fillings for a festive variety!