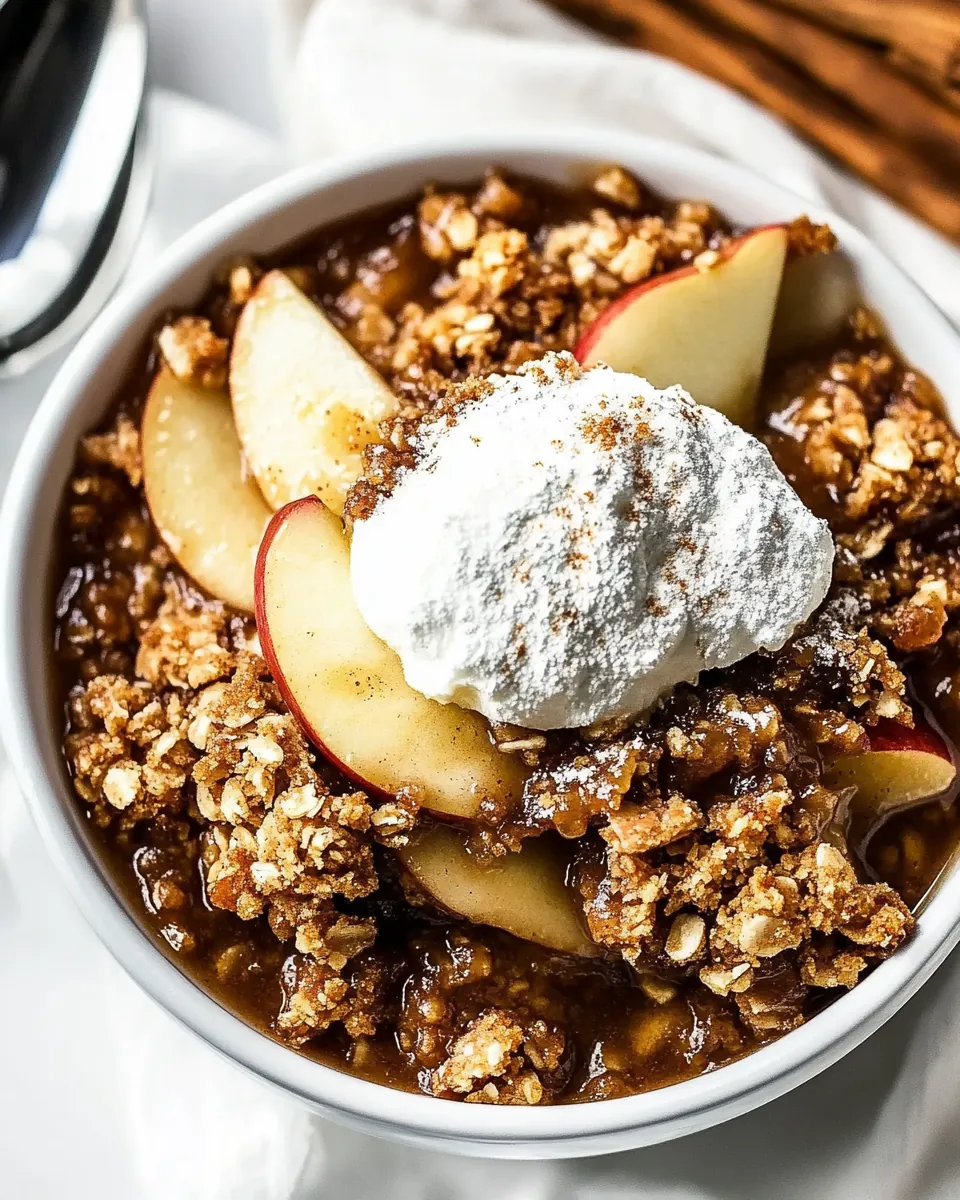
Apple Crisp
One of my favorite treats during the cooler months has to be Apple Crisp. The aroma of baked apples and warm spices wafting through the kitchen always brings back memories of family gatherings and cozy evenings spent with loved ones. I can still hear the laughter and chatter as we gathered around the table, eagerly anticipating that first spoonful of warm, bubbly apple goodness topped with a crispy, buttery crumble. It’s a dessert that not only tastes incredible but also evokes a sense of nostalgia. Every bite of Apple Crisp reminds me of comforting moments shared over homemade goodness.
Recipe Snapshot
60 mins
15 mins
45 mins
Medium
250 kcal
2 g
Gluten-Free, Low FODMAP
10 g
Oven, Baking Sheet, Frying Pan, Peeler, Wooden Spoon, Chef’s Knife, Mixing Bowl
What You’ll Enjoy About This Apple Crisp
1. It’s All About the Apples
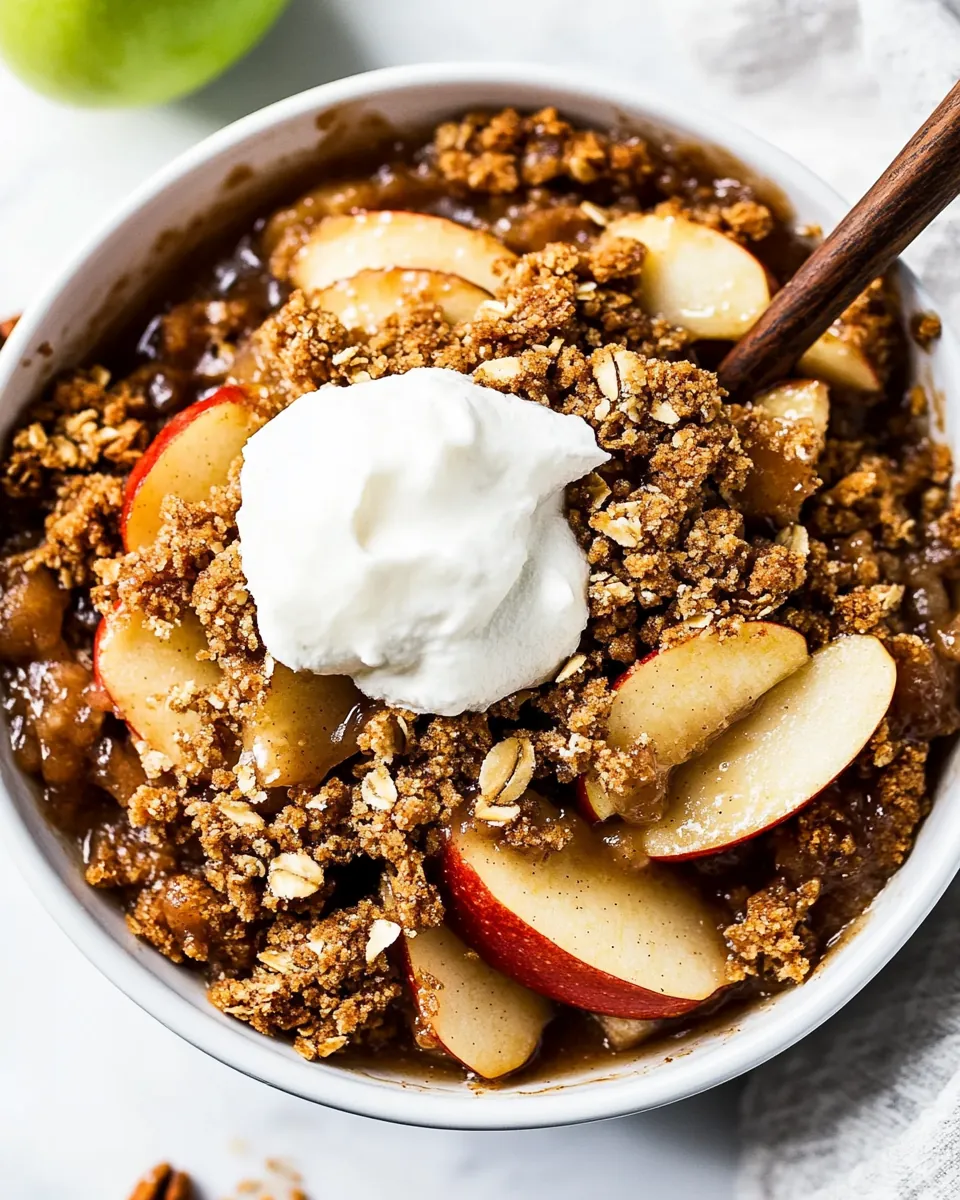
When it comes to Apple Crisp, the star of the show is undoubtedly the apples. I always prefer using Granny Smith apples for their perfect balance of tartness and texture. They hold up well when baked, creating that satisfying contrast with the sweet, crunchy topping. You can also experiment with a mix of apples to find your perfect combination!
2. Simple Yet Satisfying
One of the reasons I adore Apple Crisp is how straightforward it is to prepare. You don’t need any fancy equipment or skills to whip up this dessert. Just toss some apples with sugar and spices, mix up a simple crumble topping, and you’re good to go! It’s the ideal recipe for novice bakers and seasoned pros alike.
3. Versatile and Customizable
This dish is incredibly versatile! You can easily adapt the recipe to suit your taste. If you want to add a hint of warmth, consider incorporating nuts like walnuts or pecans into the topping. Want to spice things up? Add a dash of nutmeg or ginger to the apple mixture. Whatever you choose, Apple Crisp can be tailored to your preferences.
4. Perfectly Cozy for Any Occasion
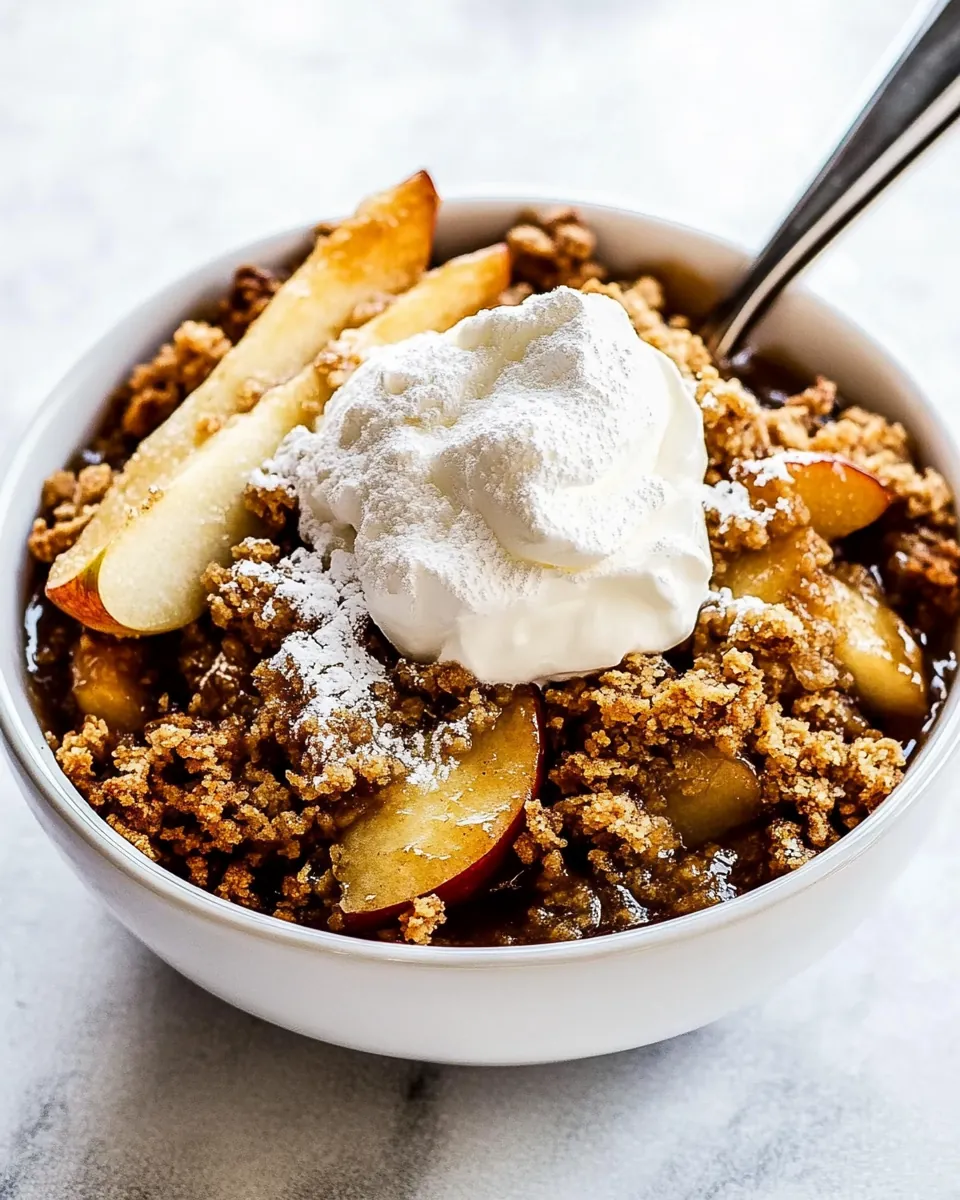
Apple Crisp isn’t just a fall dessert; it’s perfect for various occasions! Serve it warm at family gatherings, potlucks, or even as the star of your holiday feast. It pairs beautifully with vanilla ice cream or whipped cream, making it a crowd-pleaser no matter the season.
5. Make Ahead and Store
Another great aspect of Apple Crisp is that you can make it ahead of time. Prepare it in the morning and bake it just before serving. If you have leftovers (which is rare!), you can store it in the fridge for up to three days. Just reheat it in the oven for that fresh-baked flavor!
6. A Sweet Aroma to Fill Your Home
There’s nothing quite like the scent of Apple Crisp baking in the oven. It fills the house with a warm, inviting aroma that draws everyone in. Friends and family will be lingering in the kitchen, eagerly waiting for a taste of that scrumptious dessert.
What’s In This Apple Crisp
The ingredients of Apple Crisp are simple yet harmonious, creating a delightful dessert that everyone will love. The combination of tart apples, sweet sugars, and warm spices results in a comforting treat that’s perfect for sharing. Each ingredient plays an essential role in contributing to its delicious flavor and texture.
- All-Purpose Flour: This forms the base of the crumble topping, providing structure and texture.
- Old Fashioned Oats: Adds a chewy texture and heartiness to the crumble, making it extra satisfying.
- Packed Light Brown Sugar: This not only sweetens the topping but gives it a deep, caramel flavor when baked.
- Granulated Sugar: Balances the tartness of the apples, enhancing their natural sweetness.
- Ground Cinnamon: A warm spice that elevates the flavor profile, giving that cozy autumn vibe.
- Kosher Salt: A pinch of salt enhances the sweetness and overall flavor.
- Cold Unsalted Butter: Vital for creating a crumbly topping that bakes to a golden perfection.
- Granny Smith Apples: The best choice for this dish, providing tartness and firmness when baked.
- Fresh Lemon Juice: Prevents the apples from browning and adds a zesty brightness to the mixture.
- Corn Starch: Helps thicken the apple juices as they bake, creating a nice syrupy texture.
- Vanilla Extract: Adds depth and sweetness to the filling, rounding out its flavors.
How to Assemble Apple Crisp
Let’s dive into how to create this classic Apple Crisp. The process is pretty straightforward, and you’ll be amazed at how simple it is to put together. Just follow these steps closely, and you’ll end up with a delightful dessert everyone will enjoy.
Preheat your oven to 350 degrees F. This is an essential step to ensure your Apple Crisp bakes evenly. While the oven is heating, prepare a 9×13-inch baking pan by greasing it with nonstick cooking spray. This will prevent your crisp from sticking and make cleanup easier.
Next, let’s prepare the topping. In a medium mixing bowl, combine all-purpose flour, old fashioned oats, brown sugar, granulated sugar, ground cinnamon, and kosher salt. Stir these ingredients together until fully combined. The mixture should be dry and crumbly at this point.
Now, add in the cold unsalted butter cut into tablespoon pieces. Using your fingers or a pastry cutter, mix it into the dry ingredients until large clumps form. This is where the magic happens! You want the mixture to resemble coarse crumbs. If your kitchen is warm, you can place this topping in the refrigerator while you prepare the filling.
In a large bowl, gather your sliced and peeled Granny Smith apples. Toss them with fresh lemon juice, granulated sugar, ground cinnamon, corn starch, and vanilla extract. Mix well to coat the apple slices evenly. This step is crucial as it ensures each slice is flavored beautifully.
Pour the apple mixture evenly into your greased baking pan. Make sure to distribute the apples so they bake evenly. This layer of tart apple goodness is what makes your Apple Crisp so special.
Next, generously sprinkle the crumble topping evenly over the apples. Don’t be shy here! The more topping, the better. It should cover the apples completely, creating a deliciously crispy layer on top.
Place your baking pan in the preheated oven and bake for about 45 minutes. Keep an eye on it, as you want the topping to turn golden brown and the apples to be soft and bubbling around the edges. You might notice your kitchen filling with an irresistible aroma during this time!
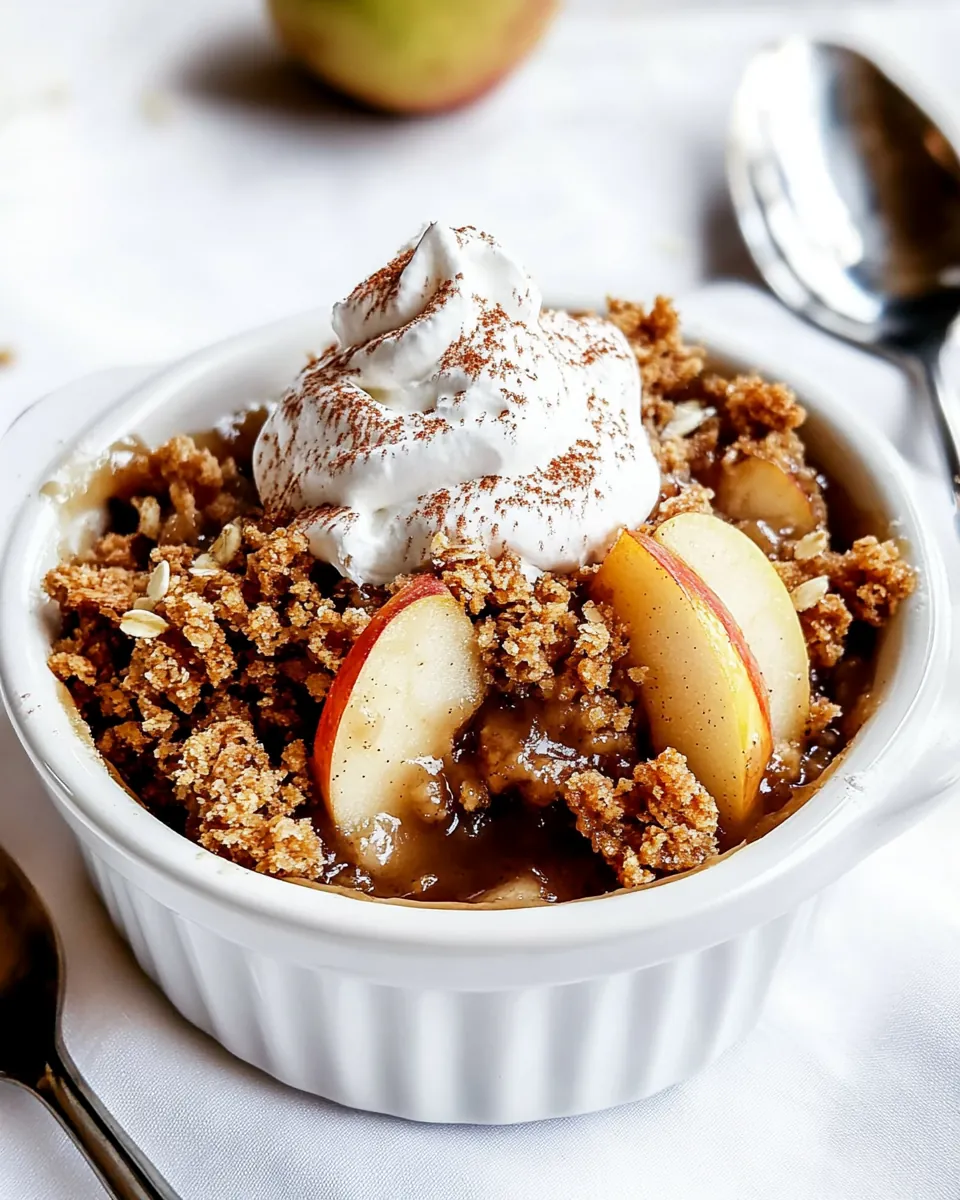
Once it’s done, remove the Apple Crisp from the oven and allow it to cool for about 10 minutes. This waiting period helps the juices settle. Serve it warm, ideally topped with a scoop of vanilla ice cream if you like!
Things Worth Knowing
- Use Different Apples: Mixing different types of apples can improve flavor complexity. Try combinations like Granny Smith and Honey Crisp.
- Watch the Baking Time: If the topping starts to darken too quickly, cover it with foil to prevent burning.
- Let It Cool: Cooling for a few minutes before serving allows the juices to thicken, making it easier to scoop.
- Storage: Leftovers can be covered and stored in the fridge for up to three days. Reheat in the oven for best results.
Make It Your Own
Customization is key when it comes to Apple Crisp. Here are some ways to adapt this recipe to make it your own:
- Storage: Leftover Apple Crisp can be stored in an airtight container in the refrigerator for up to three days. When reheating, place it in the oven for 10 to 15 minutes at 350 degrees.
- Freezing: You can freeze the unbaked Apple Crisp for up to three months. Just assemble it in a baking dish, cover tightly, and thaw in the fridge before baking.
- Pairing: Serve Apple Crisp alongside vanilla ice cream or whipped cream for a delightful contrast of temperature and texture.
- Varieties: Feel free to mix different types of apples or even add a few berries for a different flavor profile.
- Spices: Experiment with spices like nutmeg or cardamom for an added depth of flavor.
What to Serve Alongside Apple Crisp
- Ice Cream: Vanilla ice cream is a classic pairing that complements the warm, spiced flavors of Apple Crisp.
- Whipped Cream: A dollop of fresh whipped cream adds a lightness that balances the richness of the crisp.
- Caramel Sauce: Drizzling warm caramel sauce over the top takes this dessert to the next level.
- Seasonal Fruits: Consider serving with other autumn desserts like pumpkin pie or pecan pie for a festive spread.
- Hot Drinks: Pair your Apple Crisp with a warm cup of tea or cider for a comforting experience.
- Casual Gatherings: This dessert is perfect for potlucks, family dinners, or even a cozy movie night at home.
FAQ
Conclusion
Apple Crisp is a timeless dessert that brings warmth and comfort to any occasion. Its combination of sweet, tart apples and a crunchy topping makes it a favorite among many. I encourage you to give this recipe a try; it’s perfect for sharing with family and friends. Not only will you enjoy the delicious flavors, but you’ll also create lasting memories as you gather around the table to share this delightful treat.
Apple Crisp
Ingredients
Equipment
Method
- Preheat your oven to 350 degrees F. This is an essential step to ensure your Apple Crisp bakes evenly. While the oven is heating, prepare a 9x13-inch baking pan by greasing it with nonstick cooking spray. This will prevent your crisp from sticking and make cleanup easier.
- Next, let’s prepare the topping. In a medium mixing bowl, combine all-purpose flour, old fashioned oats, brown sugar, granulated sugar, ground cinnamon, and kosher salt. Stir these ingredients together until fully combined. The mixture should be dry and crumbly at this point.
- Now, add in the cold unsalted butter cut into tablespoon pieces. Using your fingers or a pastry cutter, mix it into the dry ingredients until large clumps form. This is where the magic happens! You want the mixture to resemble coarse crumbs. If your kitchen is warm, you can place this topping in the refrigerator while you prepare the filling.
- In a large bowl, gather your sliced and peeled Granny Smith apples. Toss them with fresh lemon juice, granulated sugar, ground cinnamon, corn starch, and vanilla extract. Mix well to coat the apple slices evenly. This step is crucial as it ensures each slice is flavored beautifully.
- Pour the apple mixture evenly into your greased baking pan. Make sure to distribute the apples so they bake evenly. This layer of tart apple goodness is what makes your Apple Crisp so special.
- Next, generously sprinkle the crumble topping evenly over the apples. Don’t be shy here! The more topping, the better. It should cover the apples completely, creating a deliciously crispy layer on top.
- Place your baking pan in the preheated oven and bake for about 45 minutes. Keep an eye on it, as you want the topping to turn golden brown and the apples to be soft and bubbling around the edges. You might notice your kitchen filling with an irresistible aroma during this time!
- Once it’s done, remove the Apple Crisp from the oven and allow it to cool for about 10 minutes. This waiting period helps the juices settle. Serve it warm, ideally topped with a scoop of vanilla ice cream if you like!
Notes
- Use Different Apples: Mixing different types of apples can improve flavor complexity. Try combinations like Granny Smith and Honey Crisp.
- Watch the Baking Time: If the topping starts to darken too quickly, cover it with foil to prevent burning.
- Let It Cool: Cooling for a few minutes before serving allows the juices to thicken, making it easier to scoop.
- Storage: Leftovers can be covered and stored in the fridge for up to three days. Reheat in the oven for best results.