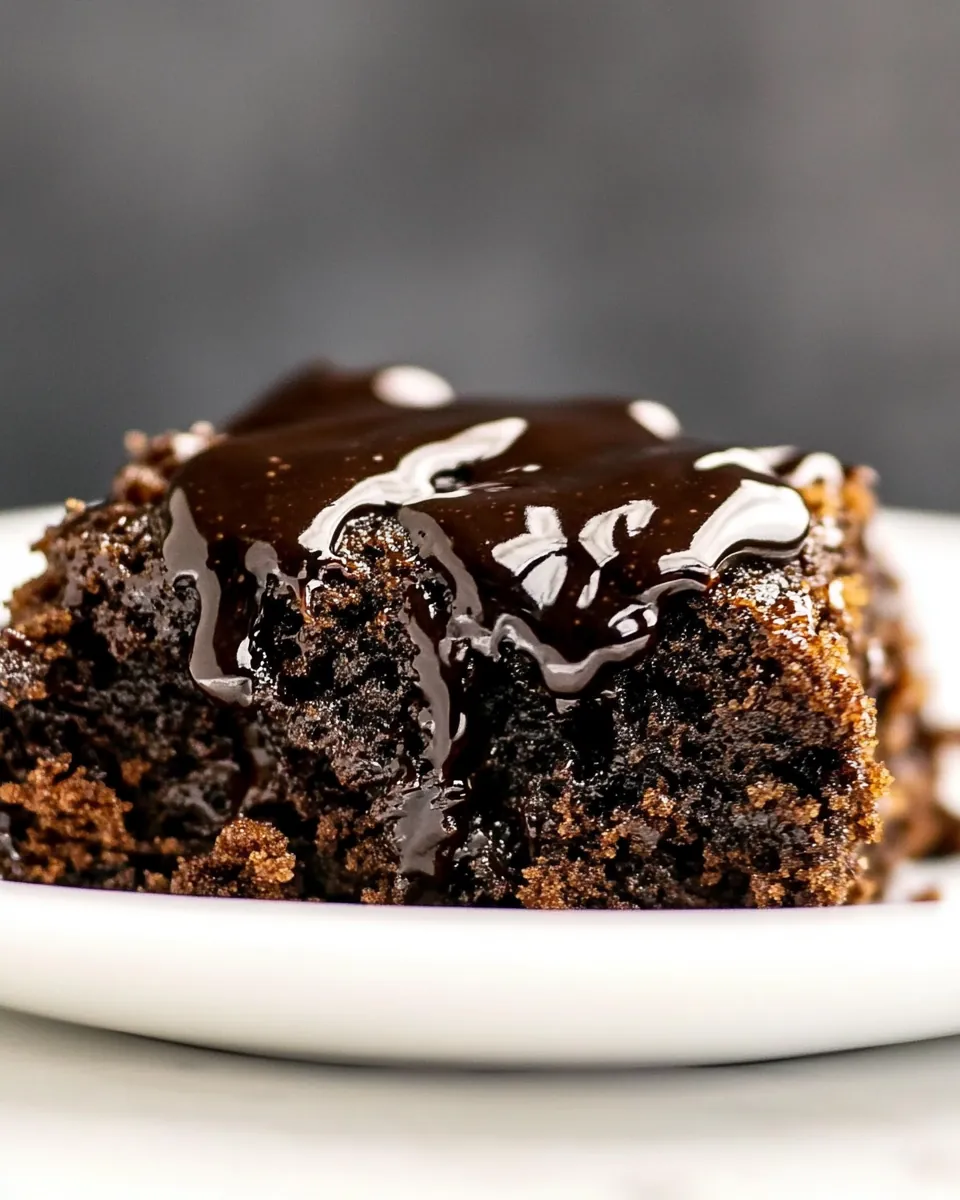
Hot Fudge Cake
Nothing quite compares to the joy of indulging in a slice of Hot Fudge Cake. This dessert has a special place in my heart, reminding me of cozy family gatherings where laughter fills the air and the aroma of chocolate wafts through the kitchen. I remember the first time I made this cake; I was a teenager eager to impress my family. As the cake baked, I couldn’t help but sneak glances through the oven door. The bubbling chocolate and rich smells had my mouth watering. When it was finally time to serve, the anticipation was electric. Each slice revealed a warm, gooey fudge-like layer beneath a soft cake, and the smiles on my family’s faces affirmed I had succeeded.
Recipe Snapshot
50 mins
10 mins
40 mins
Medium
320 kcal
5 g
Vegan, Gluten-Free, AIP
10 g
Oven, Baking Sheet, Frying Pan, Wooden Spoon, Mixing Bowl
The Appeal of This Hot Fudge Cake
Decadent Chocolate Flavor
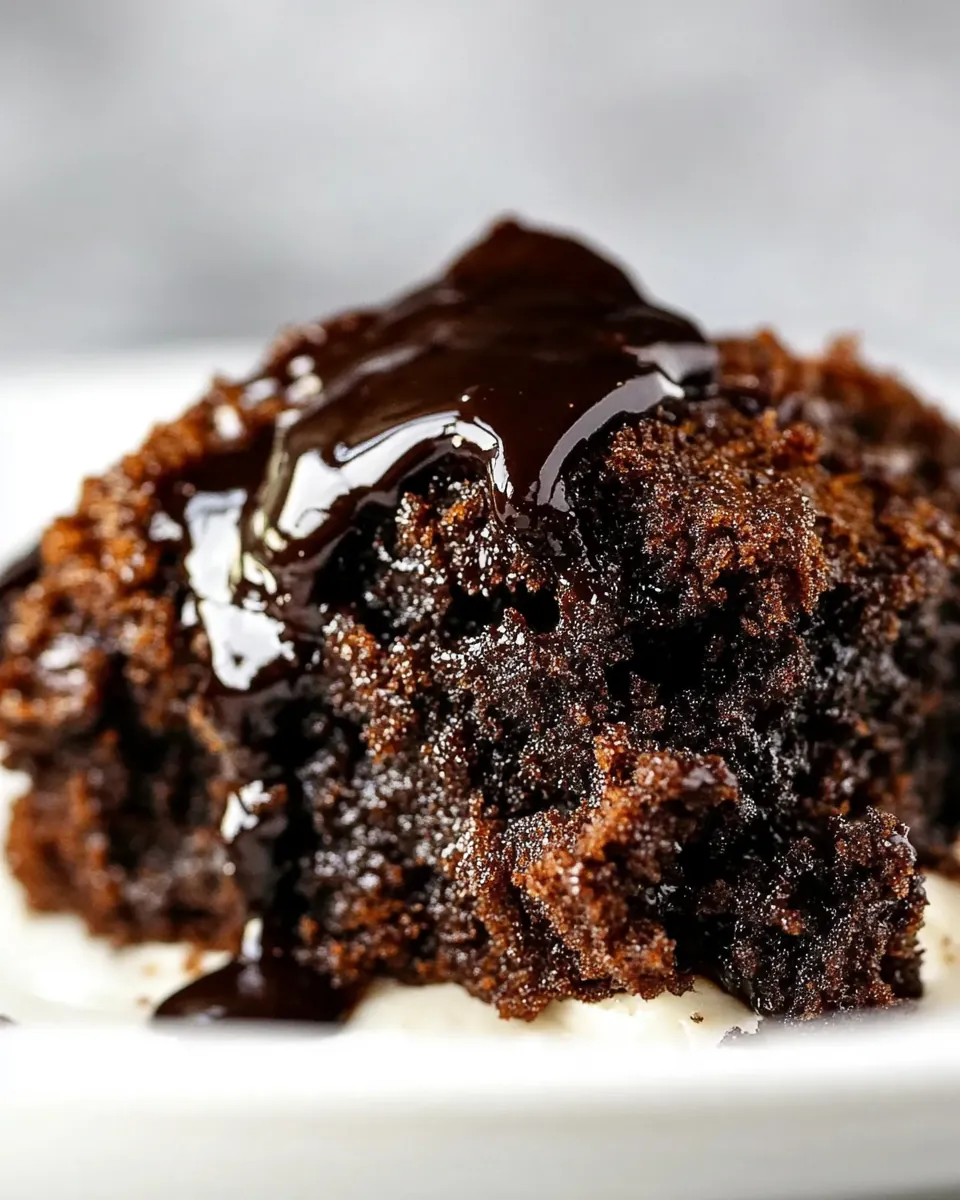
There’s something about chocolate that brings comfort and joy. The Hot Fudge Cake is a chocolate lover’s dream, offering a rich and indulgent experience with every bite. The combination of cake and fudge creates a delightful contrast that will make you crave more.
Easy to Make
You don’t need to be a culinary expert to whip up this masterpiece. The recipe is straightforward, making it perfect for beginner bakers. It requires simple ingredients that you probably already have in your pantry, which means you can satisfy your sweet tooth without a trip to the store.
Perfect for Any Occasion
Whether it’s a birthday, a casual dinner with friends, or just a treat for yourself, this cake fits the bill. Its warm, gooey center makes it an excellent choice for cozy gatherings, and it’s sure to impress your guests every time.
Served Warm
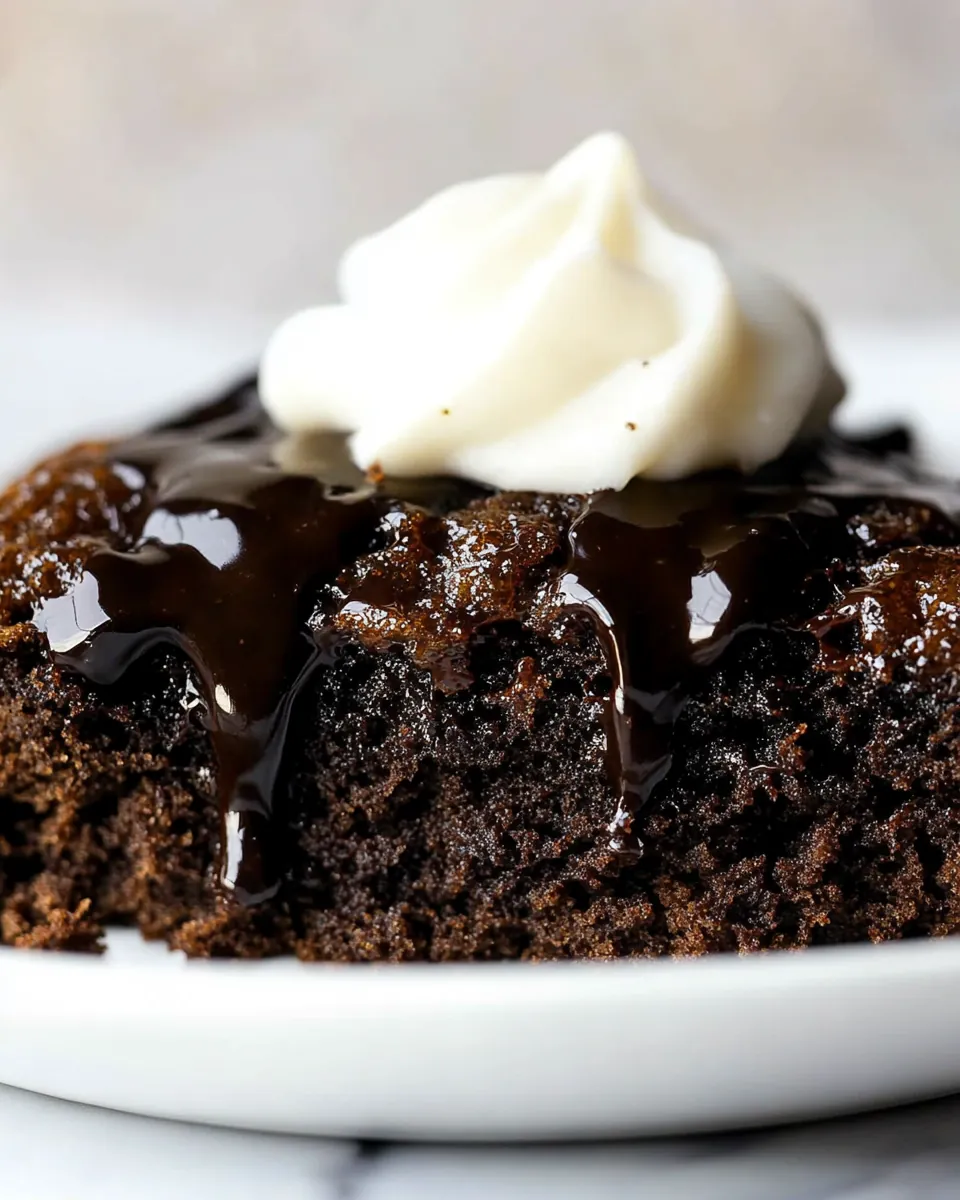
One of the best things about the Hot Fudge Cake is how it’s best served warm. Just imagine scooping a spoonful and watching the fudge flow out. When paired with a scoop of vanilla ice cream, it creates a delightful contrast that you won’t soon forget.
Customizable
Feel free to get creative with toppings! You can add nuts, whipped cream, or even drizzle some additional chocolate sauce on top. This versatility allows you to personalize the cake to suit your taste.
A Tradition Worth Sharing
This recipe is more than just a dessert; it’s a tradition. Making Hot Fudge Cake is a wonderful way to bond with family and friends. Share it at gatherings, and you’ll create memorable moments that last long after the last slice is gone.
Ingredients to Make Hot Fudge Cake
The ingredients for this Hot Fudge Cake come together to create a beautiful symphony of flavors and textures. Each component plays a vital role in achieving that perfect balance of cake and fudge, making it a delightful treat.
- 1 cup all-purpose flour: The foundation of the cake, providing structure and texture.
- 3/4 cup sugar: This adds sweetness and enhances the chocolate flavor.
- 1 teaspoon baking powder: A leavening agent that helps the cake rise beautifully.
- 1/4 teaspoon salt: Balances the sweetness and enhances the overall flavor of the cake.
- 6 tablespoons cocoa powder (divided use): The star of the show, providing rich chocolate flavor.
- 1/2 cup milk: Adds moisture to the batter, making the cake tender.
- 1 teaspoon vanilla extract: Enhances the sweet flavors and adds depth.
- 1 cup packed brown sugar: Adds a rich, caramel-like flavor.
- 1 3/4 cups hot water: This is the secret behind the gooey fudge layer.
Step by Step Guide for Hot Fudge Cake

Making Hot Fudge Cake is an enjoyable process that leads to a delicious reward. Follow these steps, and you’ll be digging into a warm slice in no time!
Preheat your oven to 350°F. This step is crucial as it ensures that your cake bakes evenly and achieves that perfect texture.
In a medium bowl, combine the flour, sugar, baking powder, salt, and 2 tablespoons of cocoa powder. Stir these ingredients together until well mixed; this ensures that the leavening agent is evenly distributed throughout the dry ingredients.
Next, stir in the milk and vanilla extract. Mix until just combined, being careful not to over-mix as it can lead to a dense cake.
Spread the batter evenly in an ungreased 9-inch square pan. Make sure it’s spread evenly to ensure even baking.
In a separate bowl, combine the remaining 4 tablespoons of cocoa powder with the brown sugar and hot water. Carefully pour this mixture over the batter in the pan. DO NOT stir the mixture into the batter; the magic happens during baking, leading to that delicious fudge layer.
Bake in the preheated oven for 35 to 40 minutes. You’ll know it’s ready when the top is set, and the edges pull slightly away from the sides of the pan.
Once baked, remove from the oven and let it cool slightly. Serve warm, ideally with a scoop of vanilla ice cream, allowing the warm fudge to melt into the ice cream.
Things Worth Knowing
- Make sure to preheat your oven to ensure even baking.
- Do not stir the fudge layer into the batter before baking; let it create itself.
- For a more intense chocolate flavor, you can use dark cocoa powder.
- If you prefer a thicker fudge layer, reduce the amount of hot water used.
Ways to Adapt This Recipe
Sometimes, you may want to customize recipes to suit your taste or dietary preferences. Here are some ideas to adapt the Hot Fudge Cake:
- Storage: You can store leftover cake in an airtight container in the fridge for up to three days.
- Freezing: Yes, you can freeze it! Wrap individual slices tightly in plastic wrap and foil for up to three months.
- Pairing: Serve with whipped cream, nuts, or fruit to enhance the experience.
- Variations: Add chocolate chips or nuts to the batter for extra texture and flavor.
- Occasions: This cake is perfect for birthdays, dinner parties, or a cozy night in.
Accompaniments for Hot Fudge Cake
The Hot Fudge Cake is a versatile dessert that pairs well with various accompaniments. Here are some ideas to elevate your serving experience:
- Ice Cream: A scoop of vanilla or chocolate ice cream is classic and delicious.
- Whipped Cream: Light and fluffy, it balances the richness of the cake.
- Fresh Berries: Strawberries or raspberries add a refreshing tartness.
- Nuts: Chopped nuts like walnuts or pecans add a nice crunch.
- Chocolate Sauce: Drizzle more chocolate sauce on top for an extra indulgent treat.
- Seasonal Occasions: Perfect for winter holidays, cozy family gatherings, or a comforting dessert after a meal.
FAQ
Conclusion
The Hot Fudge Cake is a truly special dessert that brings warmth and comfort with its rich chocolatey goodness. Each bite is a delightful experience that combines the soft cake with a warm fudge layer, making it a perfect end to any meal. I encourage you to try making this cake for your next family gathering or cozy night in. It’s a treat that will surely become a favorite in your household!
Hot Fudge Cake
Ingredients
Equipment
Method
- Preheat your oven to 350°F. This step is crucial as it ensures that your cake bakes evenly and achieves that perfect texture.
- In a medium bowl, combine the flour, sugar, baking powder, salt, and 2 tablespoons of cocoa powder. Stir these ingredients together until well mixed; this ensures that the leavening agent is evenly distributed throughout the dry ingredients.
- Next, stir in the milk and vanilla extract. Mix until just combined, being careful not to over-mix as it can lead to a dense cake.
- Spread the batter evenly in an ungreased 9-inch square pan. Make sure it’s spread evenly to ensure even baking.
- In a separate bowl, combine the remaining 4 tablespoons of cocoa powder with the brown sugar and hot water. Carefully pour this mixture over the batter in the pan. DO NOT stir the mixture into the batter; the magic happens during baking, leading to that delicious fudge layer.
- Bake in the preheated oven for 35 to 40 minutes. You’ll know it’s ready when the top is set, and the edges pull slightly away from the sides of the pan.
- Once baked, remove from the oven and let it cool slightly. Serve warm, ideally with a scoop of vanilla ice cream, allowing the warm fudge to melt into the ice cream.
Notes
- Tip 1: You can store leftover cake in an airtight container in the fridge for up to three days.
- Tip 2: Yes, you can freeze it! Wrap individual slices tightly in plastic wrap and foil for up to three months.
- Tip 3: Serve with whipped cream, nuts, or fruit to enhance the experience.
- Tip 4: Add chocolate chips or nuts to the batter for extra texture and flavor.
- Tip 5: This cake is perfect for birthdays, dinner parties, or a cozy night in.