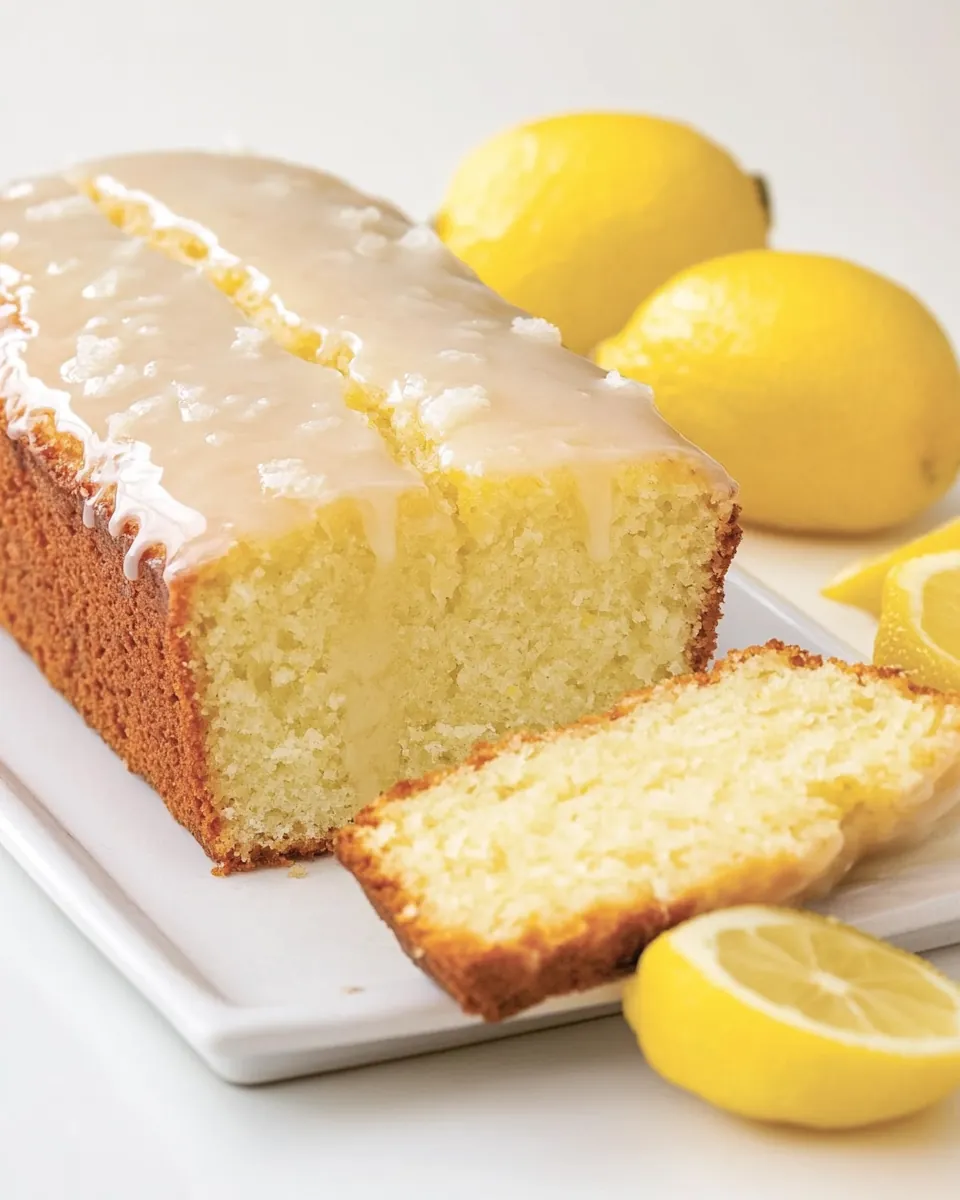
Glazed Lemon Loaf
The Glazed Lemon Loaf is a delightful treat that evokes memories of sunny days and family gatherings. I remember the first time I tried making this loaf; the aroma of fresh lemons filled the kitchen, making my mouth water in anticipation. It’s one of those recipes that effortlessly combines simplicity with elegance, perfect for any occasion. Whether you’re enjoying a quiet afternoon with tea or bringing something special to a potluck, this loaf is sure to impress. The bright, citrusy flavor paired with a sweet glaze creates a harmony that keeps you coming back for more. I love serving it at brunch with friends or packing it in lunchboxes as a refreshing surprise. The best part? It’s incredibly easy to whip up, making it a staple in my baking repertoire.
Recipe Snapshot
1 hr 10 mins
20 mins
50 mins
Medium
290 kcal
3 g
Gluten-Free, Low FODMAP
12 g
Oven, Baking Sheet, Frying Pan, Whisk, Mixing Bowl
Why This Glazed Lemon Loaf Stands Out
Bright Citrus Flavor
One of the primary reasons I adore the Glazed Lemon Loaf is its vibrant lemon flavor. The use of fresh lemon juice and zest brings a zing that instantly uplifts your mood. It’s the kind of bite that makes you feel like you’re enjoying a slice of sunshine, no matter the weather outside.
Perfect Texture
Another standout feature is the loaf’s texture. It’s wonderfully moist, thanks to the buttermilk and oil, yet still holds a light and fluffy crumb. This balance ensures that every slice is tender and delightful, making it hard to resist just one more piece.
Easy Preparation
For anyone who might shy away from baking, this recipe is incredibly forgiving. With straightforward steps and minimal ingredients, it’s suitable for bakers of all skill levels. You can easily whip it up on a whim, whether it’s for a special occasion or just a sweet treat for yourself.
A Crowd-Pleaser
I can guarantee that this loaf will disappear quickly at any gathering. Friends and family rave about it every time I make it, often asking for the recipe. There’s something about the combination of sweet and tart that seems to resonate with everyone.
Customizable Options
The Glazed Lemon Loaf is also quite versatile. While I love it as is, you can easily customize it by adding poppy seeds for a delightful crunch or even incorporating fresh blueberries for an extra fruity twist. Each variation brings its own charm, keeping the recipe fresh and exciting.
Ideal for Any Occasion
This loaf transcends seasons and events. It’s just as fitting on a sunny picnic as it is at a cozy holiday gathering. Its bright color and flavor make it a welcome addition to any dessert table, and I always find myself returning to this recipe time and again.
What You’ll Need for Glazed Lemon Loaf
When it comes to baking the perfect Glazed Lemon Loaf, choosing the right ingredients is crucial. Each component plays a vital role in achieving that delightful balance of flavor and texture. From the bright citrus notes of the lemons to the creamy undertones of buttermilk, these ingredients work together in perfect harmony.
- Granulated Sugar: 1¼ cups (250 grams) – This provides sweetness and helps create a lovely texture in the loaf.
- Neutral Oil: ½ cup (112 grams), plus more for scoring the loaf – Oil keeps the loaf moist and tender.
- Lemon Zest: 3 tablespoons (12 grams) – Zest adds an intense lemon flavor, elevating the loaf.
- Large Eggs: 3 (150 grams), room temperature – Eggs provide structure and moisture to the loaf.
- All-Purpose Flour: 2 cups (250 grams) – The base of the loaf, giving it stability and body.
- Baking Powder: 2 teaspoons (10 grams) – This leavening agent helps the loaf rise beautifully.
- Kosher Salt: ½ teaspoon (1.5 grams) – Enhances the flavors of the other ingredients.
- Whole Buttermilk: ½ cup (120 grams), room temperature – Adds richness and tenderness, while also reacting with the baking powder for a fluffy loaf.
- Fresh Lemon Juice: 5 tablespoons plus 2 teaspoons (85 grams), divided – Provides the fresh zestiness that defines this loaf.
- Confectioners’ Sugar: 1½ cups (180 grams) – Used for the glaze, lending sweetness and a beautiful finish.
- Unsalted Butter: 1 tablespoon (14 grams), melted – Adds richness to the glaze.
How to Assemble Glazed Lemon Loaf
Assembling the Glazed Lemon Loaf is an enjoyable process that results in a delectable treat. Follow these steps for perfect results every time.
Preheat your oven to 350°F (180°C). This is an essential first step to ensure your loaf bakes evenly.
Prepare an 8½x4½-inch loaf pan by spraying it with baking spray that contains flour. This prevents sticking and ensures easy removal.
Line the pan with parchment paper, allowing some excess to extend over the sides. This will act as handles for easy lifting once the loaf is baked.
In the bowl of a stand mixer fitted with the paddle attachment, combine granulated sugar, neutral oil, and lemon zest. Beat at medium speed for 2 to 3 minutes until the mixture is light and fluffy, stopping to scrape the sides of the bowl occasionally.
Add the eggs one at a time, beating well after each addition. This method ensures that each egg is fully incorporated, contributing to the loaf’s structure.
In a separate medium bowl, whisk together all-purpose flour, baking powder, and kosher salt. This mixture provides the dry ingredients needed for the loaf.
In a liquid measuring cup, combine buttermilk and 3 tablespoons of lemon juice. This mixture adds moisture and flavor.
With the mixer on low speed, alternate adding the flour mixture and buttermilk mixture to the sugar mixture, starting and ending with the flour mixture. Mix just until combined after each addition, being careful not to overmix, which can lead to a dense loaf.
Using an offset spatula, transfer the batter into the prepared pan, spreading it evenly. Wipe the spatula clean, then dip it into a bit of oil. Score a 3- to 4-inch line lengthwise down the center of the batter, which helps create a domed rise and signature crack on top of the loaf.
Bake the loaf in the preheated oven for 45 to 50 minutes, or until a wooden pick inserted into the center comes out with a few moist crumbs. The aroma of baking lemon will fill your kitchen!
Once baked, let the loaf cool in the pan for 15 minutes. Then, using the parchment paper as handles, carefully lift it out and allow it to cool completely on a wire rack.
While the loaf is cooling, prepare the glaze by whisking together confectioners’ sugar, melted butter, and the remaining 2 tablespoons plus 2 teaspoons of lemon juice until smooth. Once the loaf is completely cooled, pour the glaze over the top, allowing it to set for about 10 minutes.
Your Glazed Lemon Loaf is now ready to be sliced and served! Store it in an airtight container for up to 3 days.
Things Worth Knowing
- Room Temperature Ingredients: Using room temperature ingredients, especially eggs and buttermilk, ensures a smoother batter and better rise.
- Don’t Overmix: Be careful not to overwork the batter once you add the flour, as this can lead to a dense loaf rather than a light and airy one.
- Checking for Doneness: Always check your loaf for doneness by inserting a toothpick or wooden pick in the center; it should come out with a few moist crumbs.
- Cooling Properly: Let the loaf cool completely before glazing. If it’s still warm, the glaze may melt and not set properly.
Helpful Hints
Here are some tips to ensure your Glazed Lemon Loaf turns out perfectly every time.
- Storage: Keep any leftover loaf in an airtight container at room temperature for up to 3 days to maintain its moistness.
- Freezing: You can freeze slices of the loaf for up to 2 months. Just wrap them tightly in plastic wrap and place them in a freezer bag.
- Pairing: Serve your Glazed Lemon Loaf with a dollop of whipped cream or a scoop of vanilla ice cream for an indulgent treat.
- Variations: Experiment by adding poppy seeds or fresh blueberries into the batter for a twist on the classic flavor.
- Serving Suggestions: It pairs wonderfully with a hot cup of tea or coffee, making it perfect for brunch or dessert.
- Glaze Tip: If you prefer a thicker glaze, simply add more confectioners’ sugar until you achieve your desired consistency.
Serving Options for Glazed Lemon Loaf
Serving the Glazed Lemon Loaf is just as delightful as making it! Here are some ideas to elevate your experience:
- Brunch Delight: Cut the loaf into thick slices and serve it as a centerpiece for a cheerful brunch. Pair it with fresh fruit and yogurt for a balanced spread.
- Tea Time: Enjoy a slice with your afternoon tea. Its zesty flavor complements herbal teas beautifully.
- Picnic Treat: Pack slices of the loaf for a summer picnic. It’s easy to transport and always a crowd-pleaser.
- Dessert Option: Serve it as a dessert alongside a scoop of lemon sorbet or vanilla ice cream for a refreshing finish.
- Seasonal Occasions: This loaf is perfect for any gathering, whether it’s a holiday celebration or a casual family get-together.
- Storage Tips: If you have leftovers, ensure they are stored properly to maintain freshness. Wrap them well to prevent drying out.
FAQ
Conclusion
The Glazed Lemon Loaf is a delightful treat that combines the bright flavors of lemon with a sweet glaze, making it a favorite for any occasion. I encourage you to try this easy recipe and enjoy the wonderful aromas that will fill your kitchen as it bakes. It’s a perfect way to add a touch of sunshine to your day, so gather your ingredients and start baking!
Glazed Lemon Loaf
Ingredients
Equipment
Method
- Preheat your oven to 350°F (180°C). This is an essential first step to ensure your loaf bakes evenly.
- Prepare an 8½x4½-inch loaf pan by spraying it with baking spray that contains flour. This prevents sticking and ensures easy removal.
- Line the pan with parchment paper, allowing some excess to extend over the sides. This will act as handles for easy lifting once the loaf is baked.
- In the bowl of a stand mixer fitted with the paddle attachment, combine granulated sugar, neutral oil, and lemon zest. Beat at medium speed for 2 to 3 minutes until the mixture is light and fluffy, stopping to scrape the sides of the bowl occasionally.
- Add the eggs one at a time, beating well after each addition. This method ensures that each egg is fully incorporated, contributing to the loaf's structure.
- In a separate medium bowl, whisk together all-purpose flour, baking powder, and kosher salt. This mixture provides the dry ingredients needed for the loaf.
- In a liquid measuring cup, combine buttermilk and 3 tablespoons of lemon juice. This mixture adds moisture and flavor.
- With the mixer on low speed, alternate adding the flour mixture and buttermilk mixture to the sugar mixture, starting and ending with the flour mixture. Mix just until combined after each addition, being careful not to overmix, which can lead to a dense loaf.
- Using an offset spatula, transfer the batter into the prepared pan, spreading it evenly. Wipe the spatula clean, then dip it into a bit of oil. Score a 3- to 4-inch line lengthwise down the center of the batter, which helps create a domed rise and signature crack on top of the loaf.
- Bake the loaf in the preheated oven for 45 to 50 minutes, or until a wooden pick inserted into the center comes out with a few moist crumbs. The aroma of baking lemon will fill your kitchen!
- Once baked, let the loaf cool in the pan for 15 minutes. Then, using the parchment paper as handles, carefully lift it out and allow it to cool completely on a wire rack.
- While the loaf is cooling, prepare the glaze by whisking together confectioners’ sugar, melted butter, and the remaining 2 tablespoons plus 2 teaspoons of lemon juice until smooth. Once the loaf is completely cooled, pour the glaze over the top, allowing it to set for about 10 minutes.
- Your Glazed Lemon Loaf is now ready to be sliced and served! Store it in an airtight container for up to 3 days.
Notes
- Storage: Keep any leftover loaf in an airtight container at room temperature for up to 3 days to maintain its moistness.
- Freezing: You can freeze slices of the loaf for up to 2 months. Just wrap them tightly in plastic wrap and place them in a freezer bag.
- Pairing: Serve your Glazed Lemon Loaf with a dollop of whipped cream or a scoop of vanilla ice cream for an indulgent treat.
- Variations: Experiment by adding poppy seeds or fresh blueberries into the batter for a twist on the classic flavor.
- Serving Suggestions: It pairs wonderfully with a hot cup of tea or coffee, making it perfect for brunch or dessert.
- Glaze Tip: If you prefer a thicker glaze, simply add more confectioners' sugar until you achieve your desired consistency.