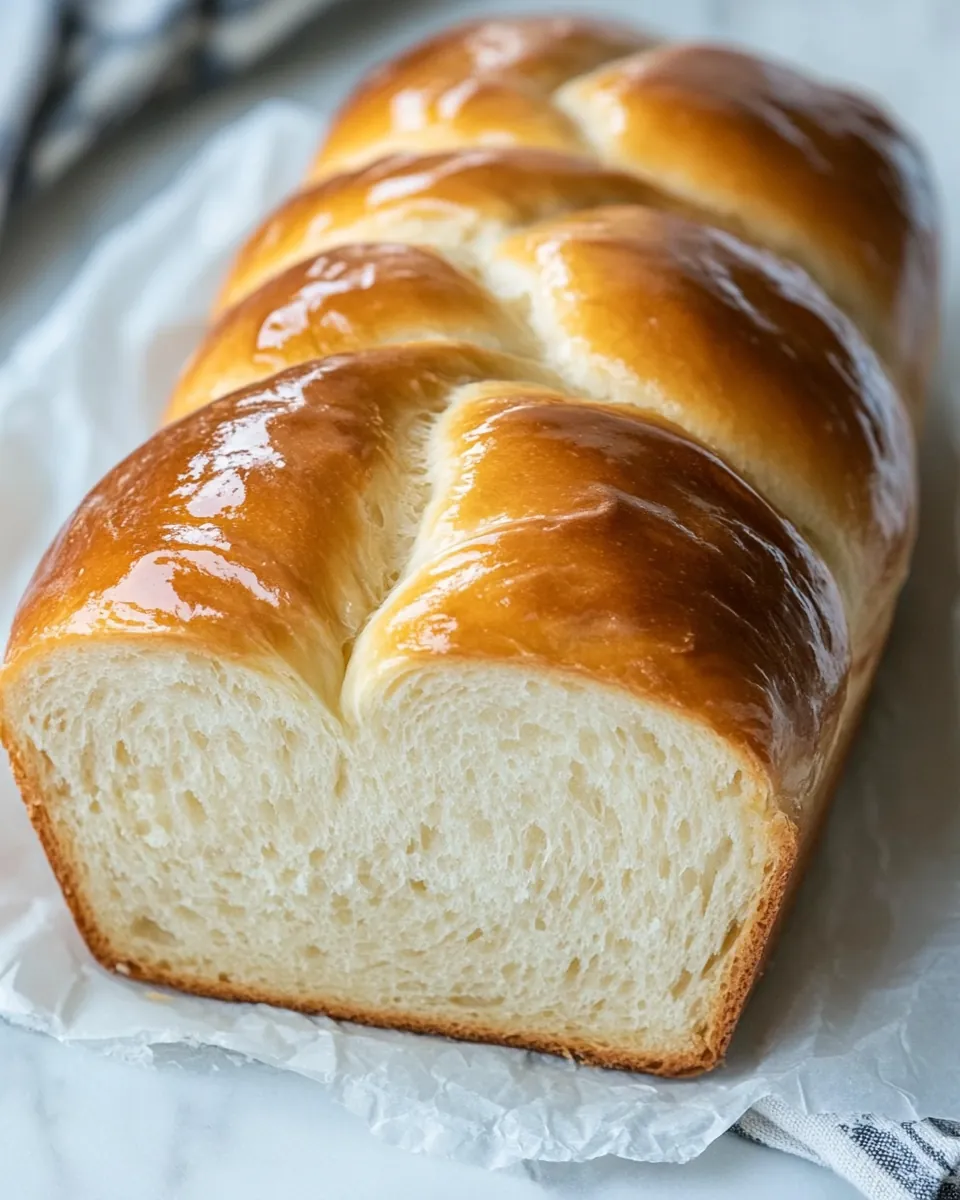
Condensed Milk Bread
Whenever I think about baking something special, my mind instantly drifts to Condensed Milk Bread. This comforting bread, with its slightly sweet and rich flavor, takes me back to my childhood, where the aroma of fresh bread would fill the house, making everyone feel warm and welcomed. I remember the little moments spent in the kitchen, watching my grandmother knead the dough with such care and love. There’s something magical about the simplicity of this recipe; it transforms basic ingredients into something truly extraordinary. Whether it’s for breakfast, an afternoon snack, or even as a delightful addition to dinner, this bread never fails to bring a smile to my face.
Recipe Snapshot
1 hr 2 mins
40 mins
22 mins
Hard
250 kcal
6 g
Gluten-Free, Low FODMAP
9 g
Oven, Baking Sheet, Frying Pan, Whisk, Mixing Bowl
Why This Condensed Milk Bread Is a Winner
Inspired by Sweetness
What makes Condensed Milk Bread stand out is its unique flavor profile. The use of sweetened condensed milk adds a layer of richness that you simply can’t get from regular bread recipes. It’s not just any bread; it’s a delightful treat that can be enjoyed on its own or paired with various spreads. This bread is perfect for those who enjoy a hint of sweetness in their meals.
Perfect for Sharing
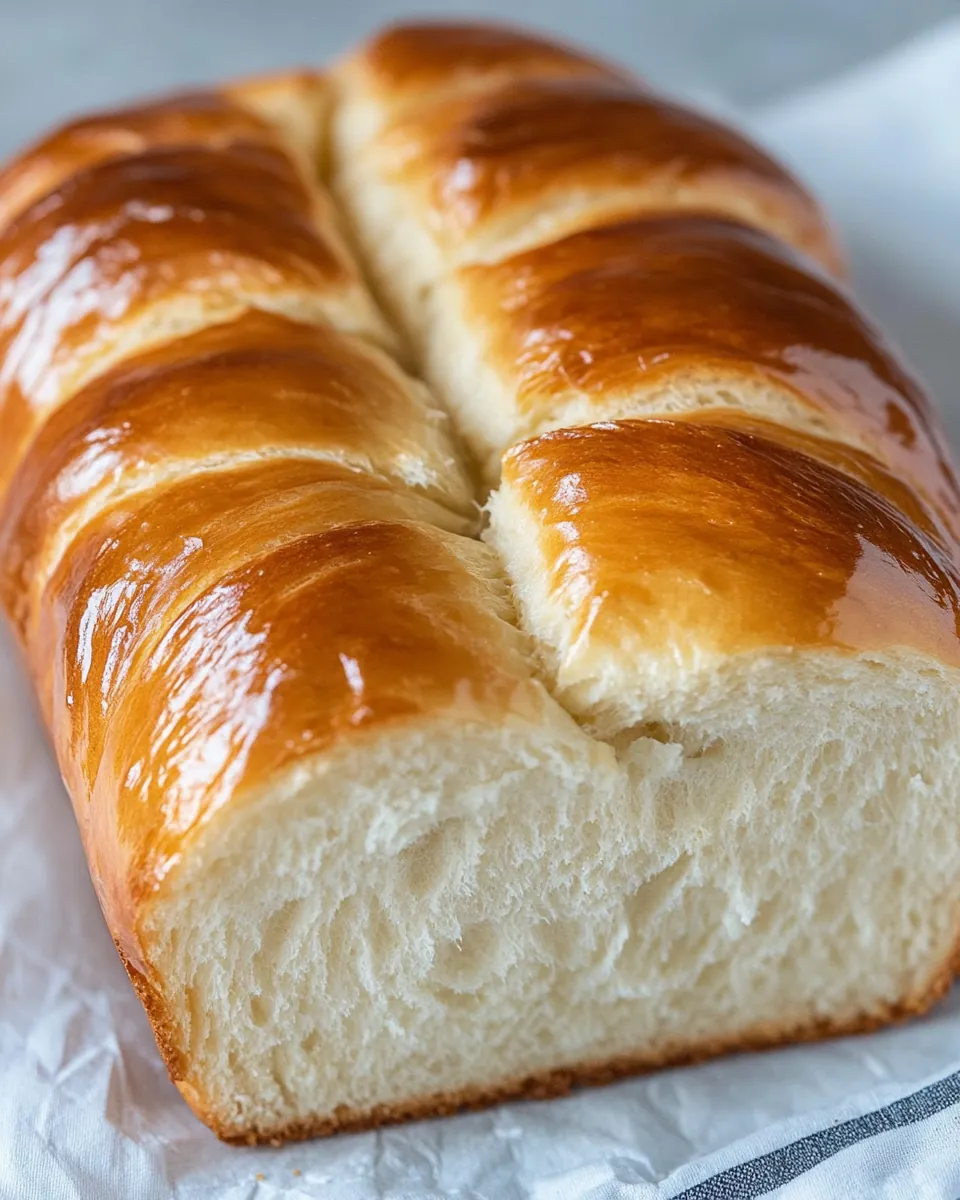
One of the best things about baking is the ability to share your creations. Condensed Milk Bread is ideal for gatherings, whether it’s a cozy family breakfast or a get-together with friends. Cutting into a freshly baked loaf and sharing warm slices with loved ones creates cherished moments. The bread is soft, fluffy, and has a golden crust that makes it visually appealing, which is always a hit!
Versatile and Adaptable
This bread is incredibly versatile. Try adding different ingredients like nuts or dried fruits to create your own variations. It can easily transform into a delightful base for sandwiches or be enjoyed with a simple spread of butter, jam, or even cream cheese. The possibilities are endless, making it an exciting recipe to play around with.
A Simple Baking Experience
Even if you’re new to baking, Condensed Milk Bread is a great recipe to start with. The steps are straightforward, and the ingredients are easy to find. You’ll enjoy the process of mixing, kneading, and watching the dough rise, knowing that something delicious is on the way. Plus, the reward of pulling a warm loaf from the oven is simply unbeatable.
Lasting Memories
Baking has a way of creating lasting memories. Every time I make Condensed Milk Bread, I think of those cherished moments in the kitchen with my family. This bread is not just about nourishment; it’s about love, connection, and the joy of sharing food with those we care about. I hope that every bite of this bread fills you with warmth and happiness, just as it does for me.
What You’ll Need for Condensed Milk Bread
The ingredients for Condensed Milk Bread are simple yet essential. Each component plays a key role in achieving the perfect texture and flavor. The star of the show is, of course, the sweetened condensed milk, which not only sweetens the bread but also adds moisture, ensuring each slice is soft and delicious. The combination of active dry yeast and all-purpose flour provides the structure, while the unsalted butter enriches the dough, making it a treat for the senses.
- 1 tablespoon active dry yeast: This is the leavening agent that helps the bread rise, giving it that fluffy texture.
- 1/2 teaspoon salt: Essential for flavor, it also strengthens the dough.
- 1 cup milk, room temperature: This adds moisture and helps activate the yeast.
- 1/2 cup sweetened condensed milk: The key ingredient that sweetens and moistens the bread.
- 1 egg: Provides richness and helps bind the ingredients together.
- 3.5 cups all-purpose flour: The base of the bread; it provides structure and stability.
- 1/4 cup unsalted butter, softened: Adds richness and flavor to the bread.
- 2 teaspoons egg yolk: Used for the egg wash, giving the bread a beautiful golden color.
- 1 tablespoon milk: Also used for the egg wash.
- 3 tablespoons condensed milk: A glaze that adds sweetness and shine.
- 1 tablespoon unsalted butter, softened: Further enhances the glaze for a decadent finish.
How to Prepare Condensed Milk Bread

Making Condensed Milk Bread is a rewarding experience that will fill your kitchen with the delightful aroma of baking. Follow these detailed steps for a perfect loaf. You’ll love the process as much as the end result!
Soften the butter at room temperature. This ensures it mixes easily into the dough, contributing to the bread’s texture.
In a large mixing bowl, whisk together the milk, condensed milk, egg, salt, and yeast. Make sure the ingredients are well combined to activate the yeast effectively.
Sift the all-purpose flour into the same bowl. This aerates the flour, which helps to create a lighter dough.
Mix with a spatula until combined. You should see the ingredients starting to come together, forming a sticky dough.
Continue mixing and folding the dough until the ingredients are fully incorporated. At this point, the dough will be quite sticky, but that’s okay.
Add the softened butter to the dough and mix thoroughly. You want to ensure the butter is evenly distributed throughout the dough.
Transfer the dough to a floured surface and knead it by hand for 15 to 20 minutes, until smooth. The dough should become elastic and less sticky as you knead.
If the dough becomes too sticky to knead, set aside one tablespoon of all-purpose flour and sprinkle it over the dough as needed. This will help you manage the stickiness without adding too much flour.
Place the dough in a buttered bowl and cover it with a cloth or plastic wrap. Let the dough proof in a warm area for 1 hour, or until it has doubled in size. This is a crucial step for developing flavor and texture.
After the first proofing, transfer the dough to a floured surface and gently press to release the air. This step ensures that the dough is ready for shaping.
Divide the dough into two equal portions. Flatten and shape each portion into a 16 x 8-inch rectangle. Then roll it up and pinch the seam to seal. This technique helps create a better rise.
Place the seam side down and cut the dough into equal pieces with a knife, similar to making cinnamon rolls. This method helps create even-sized pieces for baking.
Line the cut dough pieces in a loaf pan and cover them lightly with plastic wrap. Let the dough rise in a warm area for 45 minutes. This second proofing is essential for achieving a fluffy texture.
Repeat this step with the second loaf. While the first one is rising, you can prepare the second loaf simultaneously.
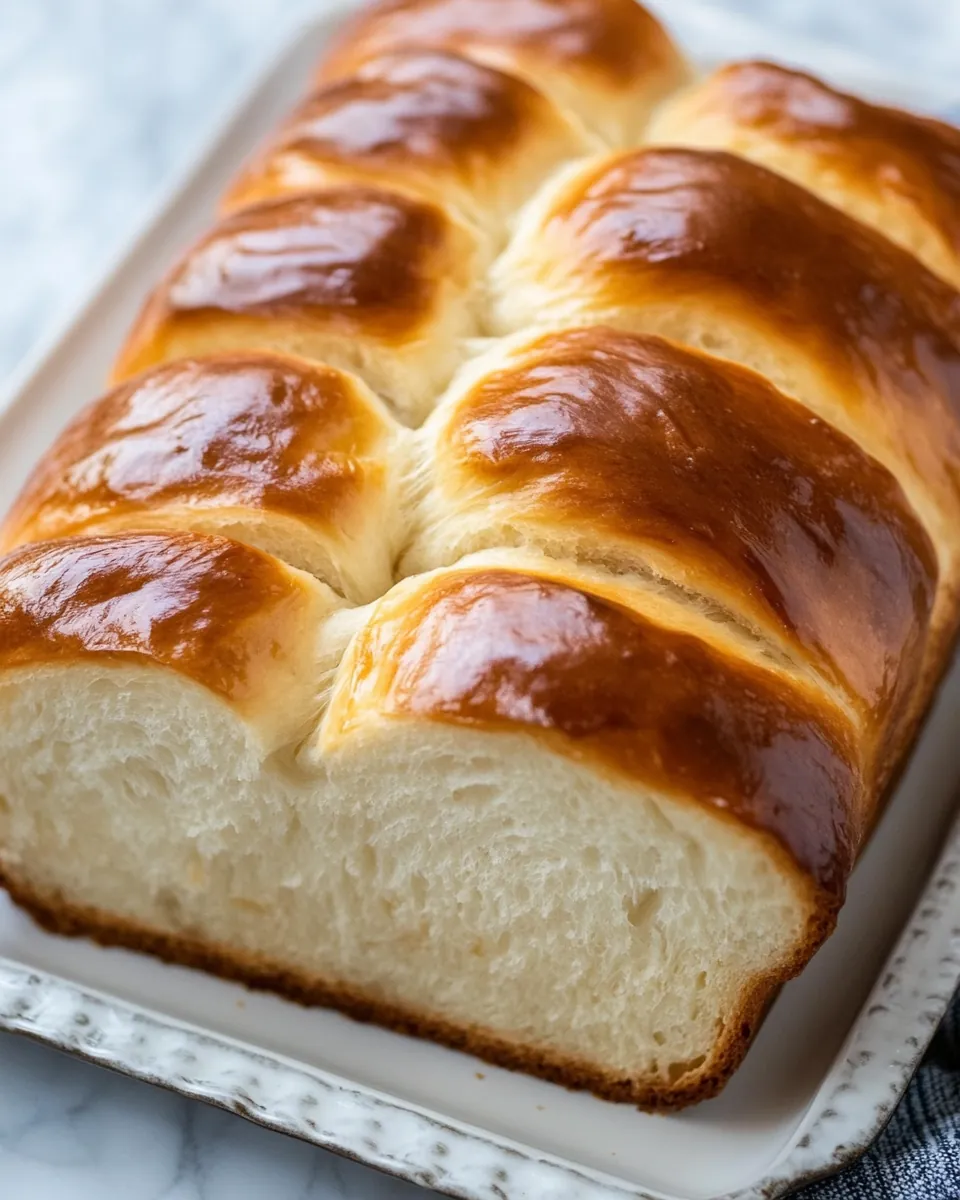
Once the loaves have doubled in size, brush them with an egg wash. This will give the bread a beautiful golden color when baked.
Preheat the oven to 180°C (356°F) and bake the loaves for 22 minutes, or until golden brown. Keep an eye on them towards the end to avoid over-baking.
Meanwhile, prepare the glaze by combining the condensed milk with softened butter in a small bowl. Whisk until well combined and set aside.
After baking, remove the bread from the loaf pan immediately. This helps prevent the bread from sweating inside the pan, keeping the crust crisp.
Brush the bread with the condensed milk glaze and serve warm or at room temperature. This glaze adds an extra layer of sweetness that’s irresistible!
Things Worth Knowing
- Proper kneading: Kneading the dough develops gluten, which gives bread its structure. Make sure to knead until the dough is smooth and elastic.
- Proofing temperature: The dough should be in a warm place for optimal proofing. If your kitchen is cold, consider placing it in the oven with the light on.
- Don’t rush the rise: Allowing the dough to rise fully will result in a better texture. It should roughly double in size during proofing.
- Check your yeast: Ensure your active dry yeast is fresh. Expired yeast can result in flat bread.
Expert Tips about Condensed Milk Bread
Baking is both an art and a science, and with Condensed Milk Bread, there are a few expert tips that can elevate your loaf to the next level. Here’s how you can ensure a perfect bake every time:
- Storage: Allow the bread to cool completely before storing. Keep it in an airtight container to maintain freshness.
- Freezing: This bread freezes well! Wrap it tightly in plastic wrap and then in aluminum foil to prevent freezer burn.
- Pairing: Enjoy the bread with butter, jam, or even as a base for a sweet sandwich with cream cheese and fruit!
- Adjust sweetness: If you prefer a less sweet bread, reduce the amount of condensed milk slightly.
- Experiment with flavors: Add spices like cinnamon or cardamom for a warm, aromatic twist!
What to Pair With Condensed Milk Bread
When it comes to serving Condensed Milk Bread, there are so many delightful options to consider. Here are some ideas:
- Breakfast Treat: Serve it warm with a smear of butter and your favorite jam for a comforting morning meal.
- Sandwich Base: Use it to make sweet sandwiches filled with cream cheese and fresh fruit for a unique lunch option.
- Snack Time: Enjoy it as a snack, either plain or toasted with a sprinkle of cinnamon sugar.
- Perfect for Tea Time: Pair slices of this bread with a cup of tea during afternoon gatherings.
- Festive Gatherings: This bread is a wonderful addition to brunches, holidays, and family gatherings, serving as the centerpiece of your spread.
- Seasonal Pairings: Serve it with seasonal fruits, like strawberries in summer or pears in fall, to complement the sweet flavors of the bread.
FAQ
Conclusion
In summary, Condensed Milk Bread is a delightful recipe that perfectly combines sweetness and softness, making it a true treat for any occasion. Whether you’re enjoying it for breakfast or serving it at a gathering, this bread never disappoints. I encourage you to try making this recipe; it’s not just about baking but creating memories in the kitchen. Happy baking!
Condensed Milk Bread
Ingredients
Equipment
Method
- Soften the butter at room temperature.
- In a large mixing bowl, whisk together the milk, condensed milk, egg, salt, and yeast.
- Sift the all-purpose flour into the same bowl and mix with a spatula until combined.
- Continue mixing and folding the dough until the ingredients are fully incorporated.
- Add the softened butter to the dough and mix thoroughly until well combined.
- Transfer the dough to a floured surface and knead it by hand for 15 to 20 minutes, until smooth.
- If the dough becomes too sticky to knead, set aside one tablespoon of all-purpose flour and sprinkle it over the dough as needed.
- Place the dough in a buttered bowl and cover it with a cloth or plastic wrap.
- Let the dough proof in a warm area for 1 hour, or until it has doubled in size.
- After the first proofing, transfer the dough to a floured surface and gently press to release the air.
- Divide the dough into two equal portions.
- Flatten and shape each portion into a 16 x 8-inch rectangle, then roll it up and pinch the seam to seal.
- Place the seam side down and cut the dough into equal pieces with a knife, similar to making cinnamon rolls.
- Line the cut dough pieces in a loaf pan and cover them lightly with plastic wrap.
- Let the dough rise in a warm area for 45 minutes.
- Repeat this step with the second loaf.
- Once the loaves have doubled in size, brush them with an egg wash.
- Preheat the oven to 180°C (356°F) and bake the loaves for 22 minutes, or until golden brown.
- Meanwhile, prepare the glaze by combining the condensed milk with softened butter in a small bowl.
- After baking, remove the bread from the loaf pan immediately.
- Brush the bread with the condensed milk glaze and serve warm or at room temperature.
Notes
- Tip 1: Allow the bread to cool completely before storing.
- Tip 2: Wrap it tightly in plastic wrap and then in aluminum foil to prevent freezer burn.
- Tip 3: Enjoy the bread with butter, jam, or even as a base for a sweet sandwich.
- Tip 4: If you prefer a less sweet bread, reduce the amount of condensed milk slightly.
- Tip 5: Add spices like cinnamon or cardamom for a warm, aromatic twist!