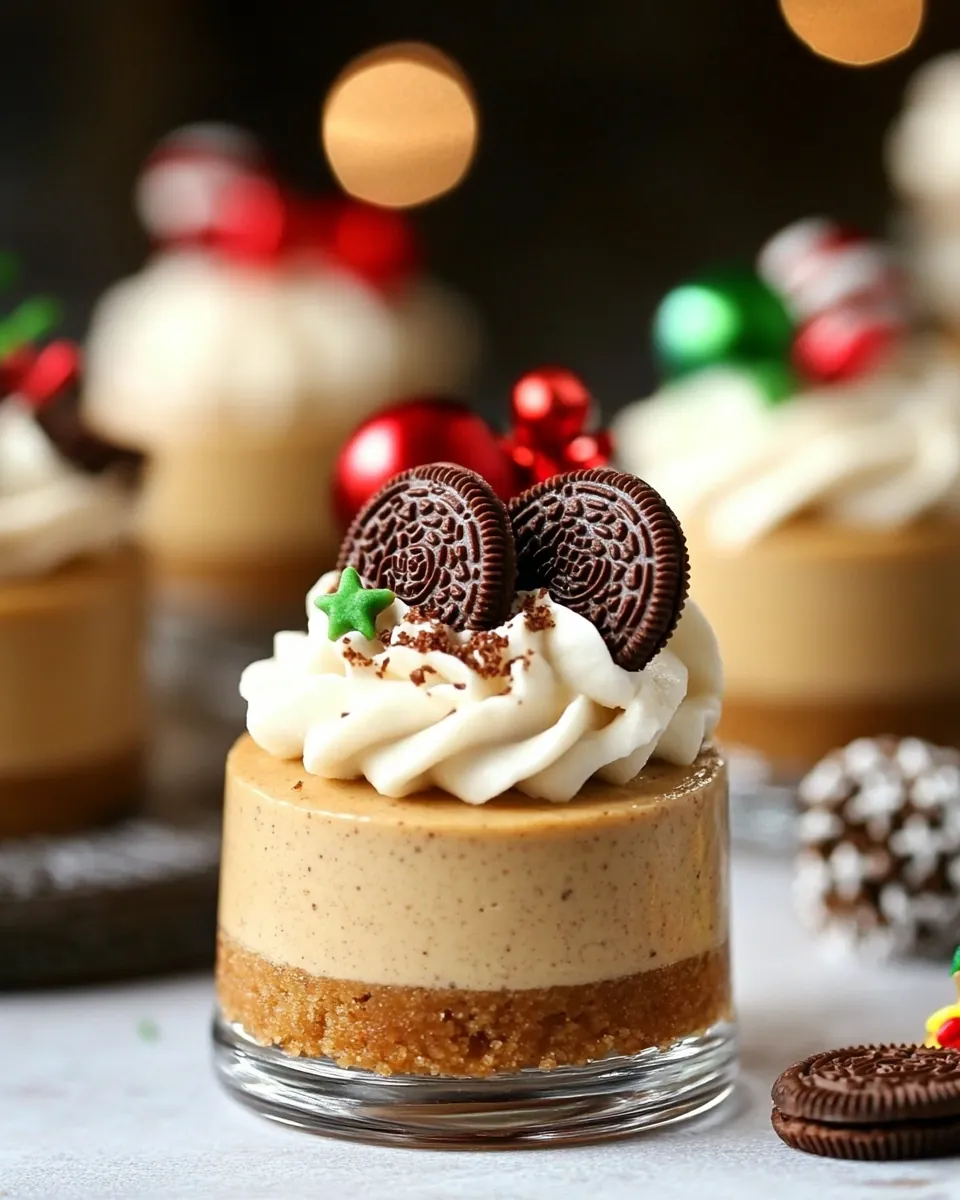
Gingerbread Oreo No Bake Mini Cheesecakes
When the air turns crisp and the leaves start to fall, nothing satisfies my sweet tooth quite like Gingerbread Oreo No Bake Mini Cheesecakes. This dessert has become a holiday staple in my home, often served during family gatherings and cozy nights in. The blend of flavors from the crunchy Gingerbread Oreos and the creamy filling brings back warm memories of baking with my loved ones. I remember the delight on everyone’s faces as they dug into these adorable mini cheesecakes, each bite bursting with rich flavor. The best part? They’re no-bake, making them easy to whip up amidst the holiday hustle and bustle. Trust me, these will become a beloved tradition in your home, just as they have in mine.
Recipe Snapshot
60 mins
0 mins
0 mins
Medium
210 kcal
3 g
Keto, Gluten-Free, Low FODMAP
10 g
Food Processor, Mixing Bowl
Why Try This Gingerbread Oreo No Bake Mini Cheesecakes
Perfect for Any Occasion
What I adore about Gingerbread Oreo No Bake Mini Cheesecakes is their versatility. Whether it’s Christmas, Thanksgiving, or just a cozy winter night, these treats fit right in. Their festive look and delightful taste can brighten any occasion.
Easy to Make
As someone who values simplicity, these mini cheesecakes are perfect. With minimal steps and no baking required, you can create a stunning dessert without spending hours in the kitchen. It’s an effortless way to impress your guests!
Rich and Flavorful
The combination of cream cheese, confectioners’ sugar, and pumpkin pie spice in the filling creates a rich and creamy texture that pairs wonderfully with the crunchy crust made from Gingerbread Oreos. Each bite is a delightful contrast between creamy and crunchy.
Fun for Everyone
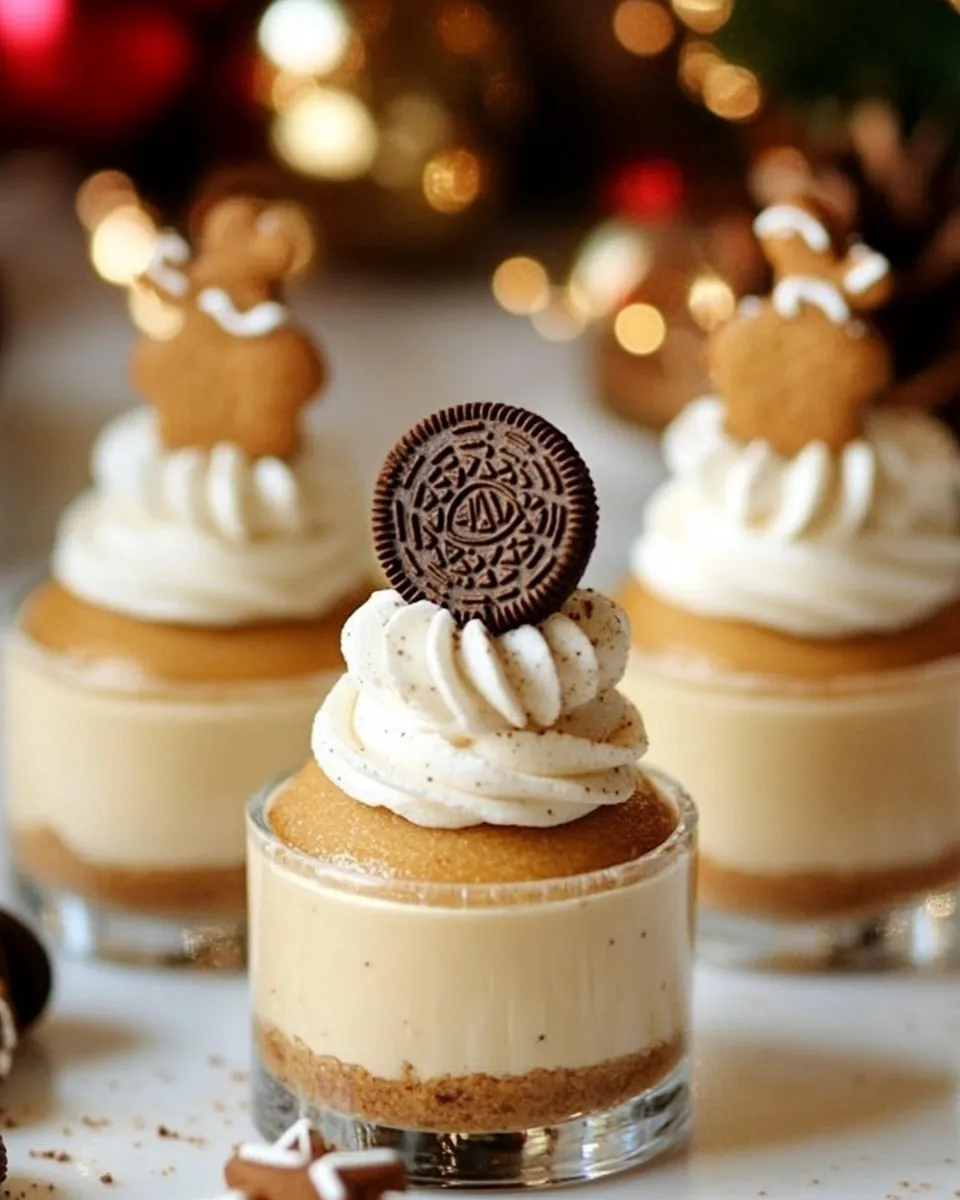
These mini cheesecakes are not just a treat for the taste buds; they’re visually appealing too! You can let your creativity shine by adding toppings like Cool Whip and even cute decorations like Wilton Gingerbread Men. Kids and adults alike will enjoy them!
Make-Ahead Convenience
One of the best parts about these cheesecakes is that they can be made ahead of time. Just store them in the refrigerator until you’re ready to serve. This means less stress for you on the big day and more time to enjoy with family and friends.
Share the Joy
Finally, these mini cheesecakes are perfect for sharing. Bring them to potlucks, holiday parties, or simply share them with your neighbors. They’re sure to be a hit, and you’ll feel proud to serve them.
Ingredients You’ll Need for Gingerbread Oreo No Bake Mini Cheesecakes
Let’s talk about the delightful ingredients that come together to make these mini cheesecakes so special. Each component plays a vital role in achieving that perfect flavor and texture. The star of the show, the Gingerbread Oreos, provide a crunchy base that complements the smooth and creamy filling beautifully.
- 12 Gingerbread Oreos – These cookies form the delicious crust, adding a spicy sweetness that’s hard to resist.
- 8 ounces cream cheese, softened – This is the base of your cheesecake filling, giving it that creamy texture.
- 1/3 cup confectioners’ sugar – Sweetens the filling just right, balancing the flavors.
- 1 1/2 teaspoons pumpkin pie spice – Adds warmth and spice, enhancing the gingerbread flavor.
- 1 teaspoon pure vanilla extract – Infuses the filling with a rich and aromatic sweetness.
- 3/4 cup prepared Gingerbread Pudding – This adds moisture and flavor, making the filling irresistibly smooth.
- 8 ounces Cool Whip – Lightens up the filling and adds a fluffy texture.
- Optional: Additional Cool Whip for topping – For a creamy finish on top of the cheesecakes.
- Optional: Wilton Gingerbread Men for garnish – Adds a festive touch and fun presentation.
Cooking Method for Gingerbread Oreo No Bake Mini Cheesecakes
Creating your own Gingerbread Oreo No Bake Mini Cheesecakes is a simple and rewarding process. Follow these steps carefully, and you’ll have a batch ready to impress in no time!
Start by placing the Gingerbread Oreos in a food processor. Pulse a few times until they turn into fine crumbs. This will be your crust, so ensure they’re well crushed.
Divide the Oreo crumbs evenly between six parfait cups or small canning jars. Gently press the crumbs into the bottom of each serving dish to form a solid crust.
In the bowl of a stand mixer fitted with the paddle attachment, combine the cream cheese, confectioners’ sugar, pumpkin pie spice, vanilla extract, and prepared Gingerbread Pudding. Mix on low speed until all ingredients are fully combined and smooth.
Using a rubber spatula, fold in the Cool Whip until completely incorporated. This step is crucial for achieving that light and airy filling.
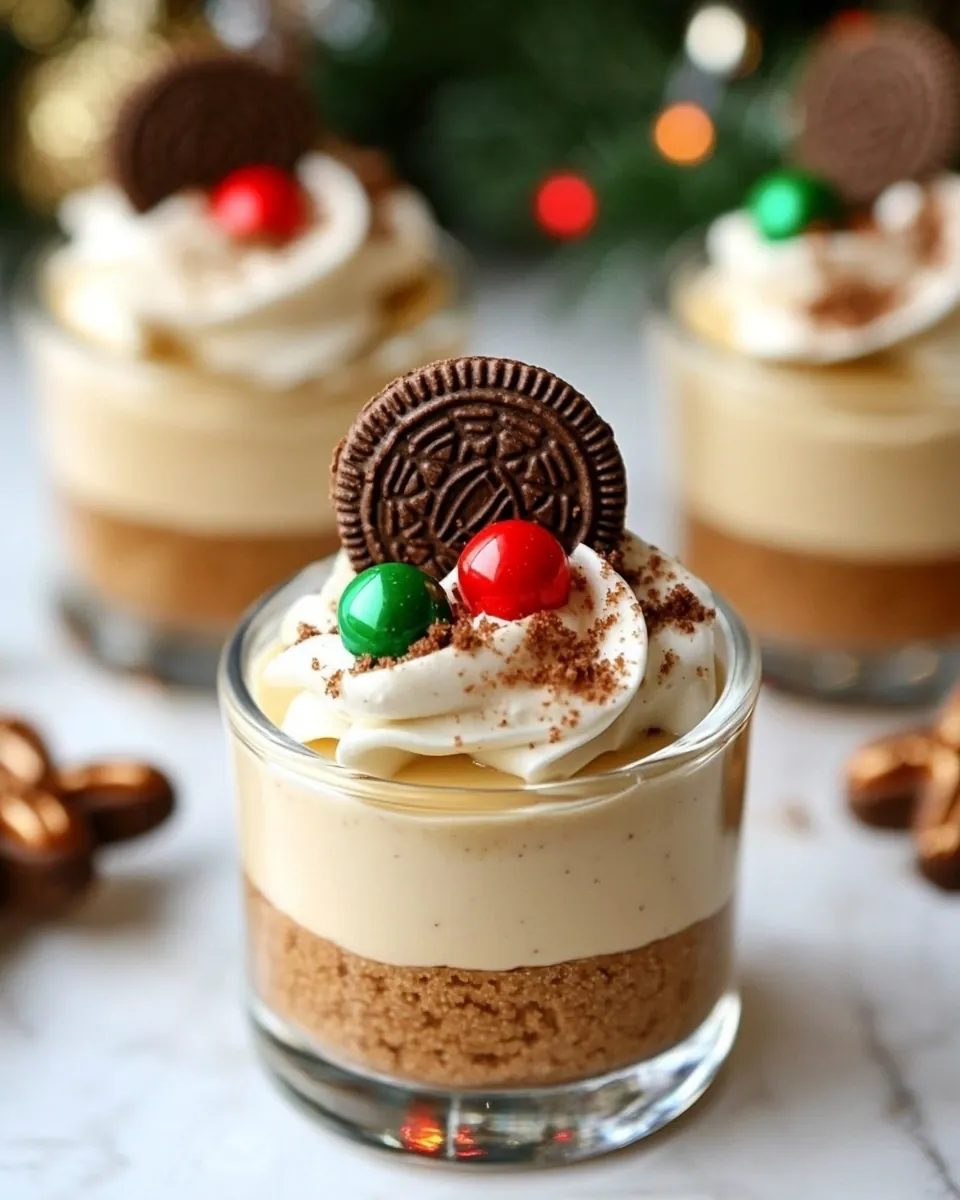
Spoon or pipe the cheesecake filling into each serving cup on top of the crust. Make sure to fill them generously, as this is the best part!
If desired, pipe additional Cool Whip on top of each mini cheesecake for a lovely finish. This adds extra creaminess and a beautiful presentation.
Finally, garnish with a Wilton Gingerbread Man on top of the whipped cream for a fun and festive touch. Store the mini cheesecakes in the refrigerator until you’re ready to serve.
Things Worth Knowing
- Crust Consistency: Ensure the Gingerbread Oreos are finely crushed to create a solid base. If they’re too coarse, the crust may crumble.
- Softening Cream Cheese: Make sure your cream cheese is fully softened to avoid lumps in your filling. Leave it out at room temperature for about an hour before mixing.
- Folding Technique: When incorporating Cool Whip, use gentle folding motions to keep the mixture light and airy. This ensures a fluffy texture.
- Chilling Time: The mini cheesecakes benefit from chilling. Allow them to set in the fridge for at least two hours for the best texture and flavor.
Helpful Hints

Here are some tips to help you make the best Gingerbread Oreo No Bake Mini Cheesecakes. These insights can enhance your baking experience and ensure your cheesecakes turn out perfectly every time.
- Storage: Keep leftover mini cheesecakes covered in the refrigerator for up to three days. They taste great even after a day or two!
- Freezing: Yes, you can freeze the cheesecakes! Just make sure to wrap them tightly in plastic wrap and then foil. They can last up to a month in the freezer.
- Pairing: These mini cheesecakes are wonderful served with a cup of coffee or hot chocolate for a cozy treat.
- Garnishing: Get creative with your toppings! You can add crushed nuts or even a drizzle of caramel sauce for added flavor.
- Flavor Variations: Try experimenting with different flavors of pudding, like vanilla or chocolate, to change up the flavor profile.
- Serving Size: These mini cheesecakes are rich, so consider serving them in smaller portions for a party.
Serving Options for Gingerbread Oreo No Bake Mini Cheesecakes
Serving your Gingerbread Oreo No Bake Mini Cheesecakes can be as fun as making them! Here are some delightful ideas to help you present these treats:
- Holiday Gatherings: These mini cheesecakes are the perfect festive dessert for Christmas parties or Thanksgiving dinners. Their elegant presentation makes them a showstopper on any table.
- Casual Family Nights: Serve them during movie nights at home for a fun treat. They’re easy to grab and enjoy while watching your favorite holiday films.
- Potlucks: Bring these mini cheesecakes to potluck dinners. Their individual servings make them a hit, and they’re sure to impress.
- Seasonal Celebrations: Perfect for winter birthdays or gatherings, these cheesecakes can bring a festive touch to any celebration.
- Outdoor Events: For summer gatherings, serve these mini cheesecakes at picnics or barbecues. Their refreshing taste is a delightful contrast to savory dishes.
- Storage Tips: If you have leftovers, store them in an airtight container in the refrigerator to maintain their freshness. You can also freeze them for later enjoyment.
FAQ
Conclusion
The Gingerbread Oreo No Bake Mini Cheesecakes are not just a dessert; they’re a delightful way to celebrate the holiday season. With their creamy texture and festive flavors, they’re bound to become a favorite for gatherings and special occasions. I encourage you to try making them for your next holiday celebration. You won’t be disappointed!
Gingerbread Oreo No Bake Mini Cheesecakes
Ingredients
Equipment
Method
- 1. Place the Gingerbread Oreos in the food processor and pulse a few times, until you have fine crumbs for the crust.
- 2. Divide the crumbs between six parfait cups or small canning jars. Gently press the crumbs into the bottom of each serving dish.
- 3. In the bowl of a stand mixer fitted with the paddle attachment, or in a medium bowl with a hand mixer, combine cream cheese, confectioners' sugar, pumpkin pie spice, vanilla extract, and Gingerbread Pudding. Mix on low speed until all ingredients are well combined.
- 4. Using a rubber spatula, fold in Cool Whip until completely incorporated.
- 5. Spoon or pipe cheesecake filling into each serving cup.
- 6. If desired, pipe additional Cool Whip onto each mini cheesecake, then place one Wilton Gingerbread Man on top of the whipped cream for a festive look.
- 7. Store in refrigerator until ready to serve.
Notes
- Tip 1: Keep leftover mini cheesecakes covered in the refrigerator for up to three days. They taste great even after a day or two!
- Tip 2: Yes, you can freeze the cheesecakes! Just make sure to wrap them tightly in plastic wrap and then foil. They can last up to a month in the freezer.
- Tip 3: These mini cheesecakes are wonderful served with a cup of coffee or hot chocolate for a cozy treat.
- Tip 4: Get creative with your toppings! You can add crushed nuts or even a drizzle of caramel sauce for added flavor.
- Tip 5: Try experimenting with different flavors of pudding, like vanilla or chocolate, to change up the flavor profile.
- Tip 6: These mini cheesecakes are rich, so consider serving them in smaller portions for a party.