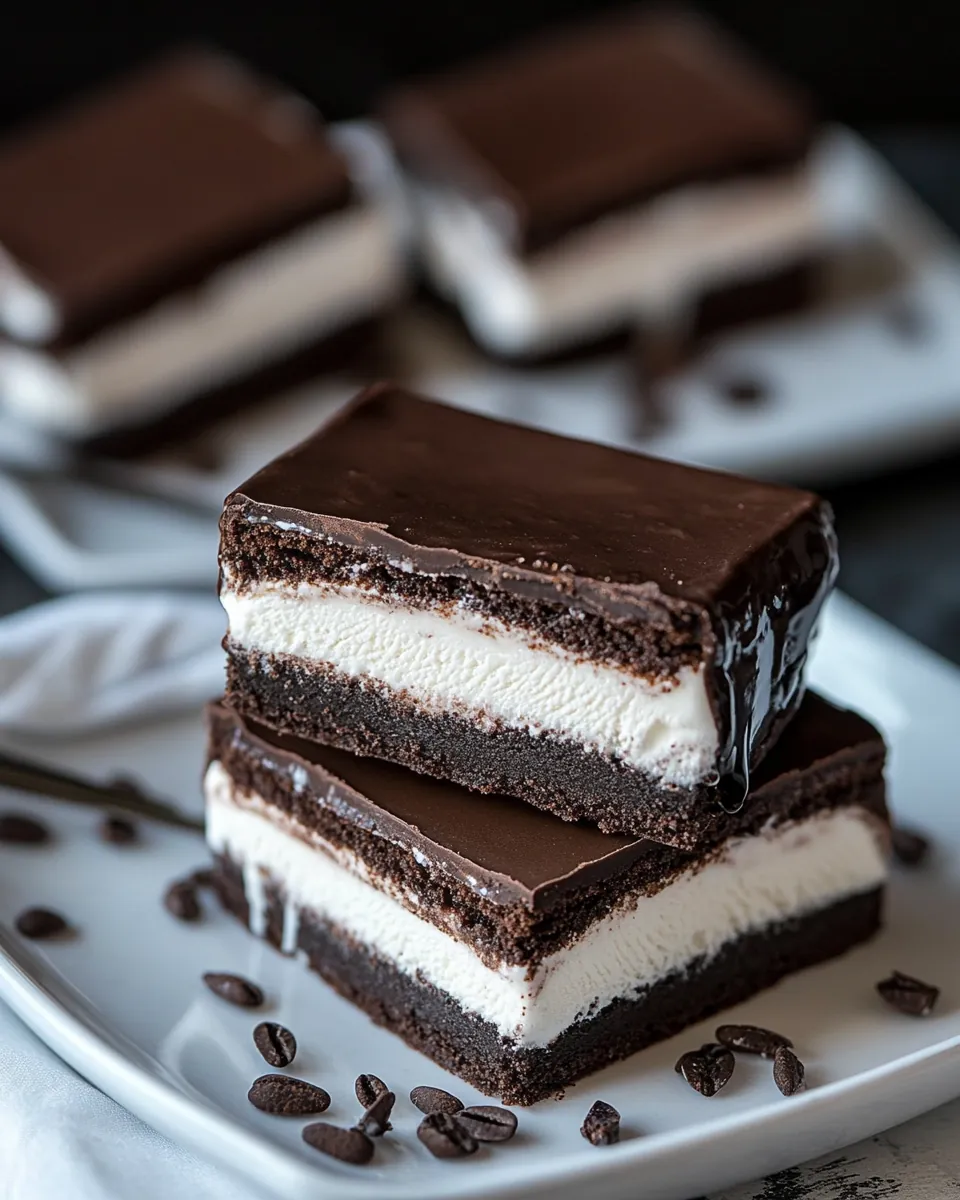
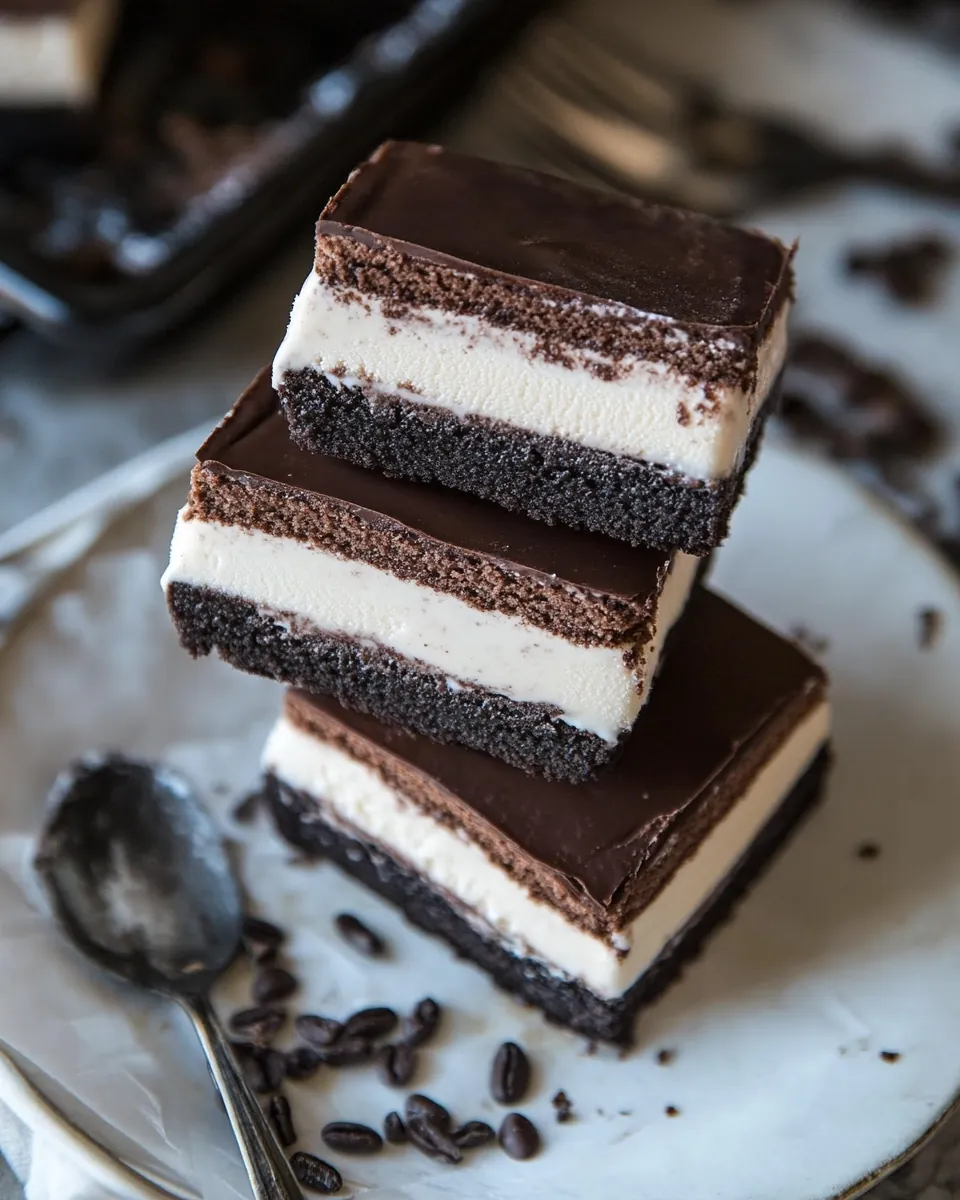
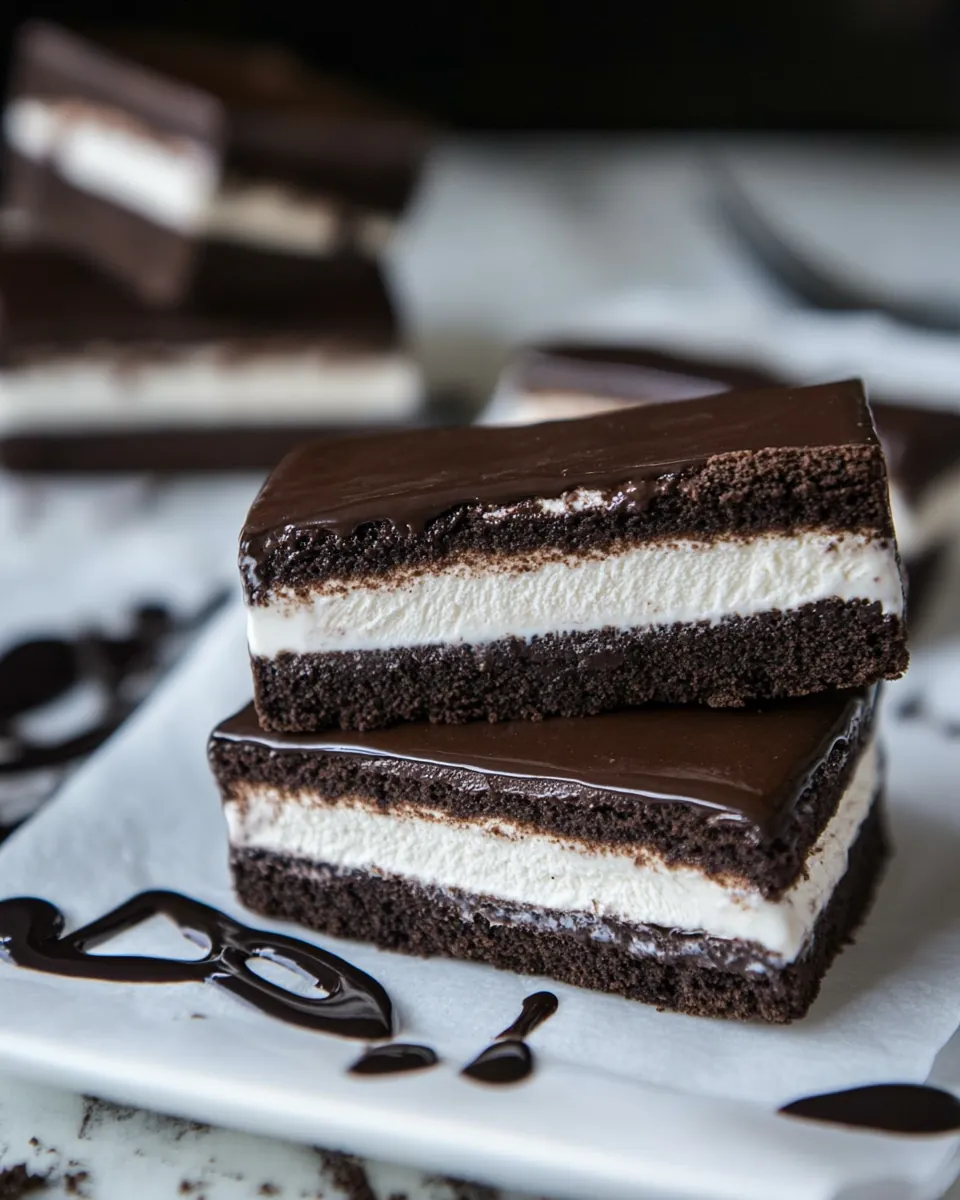
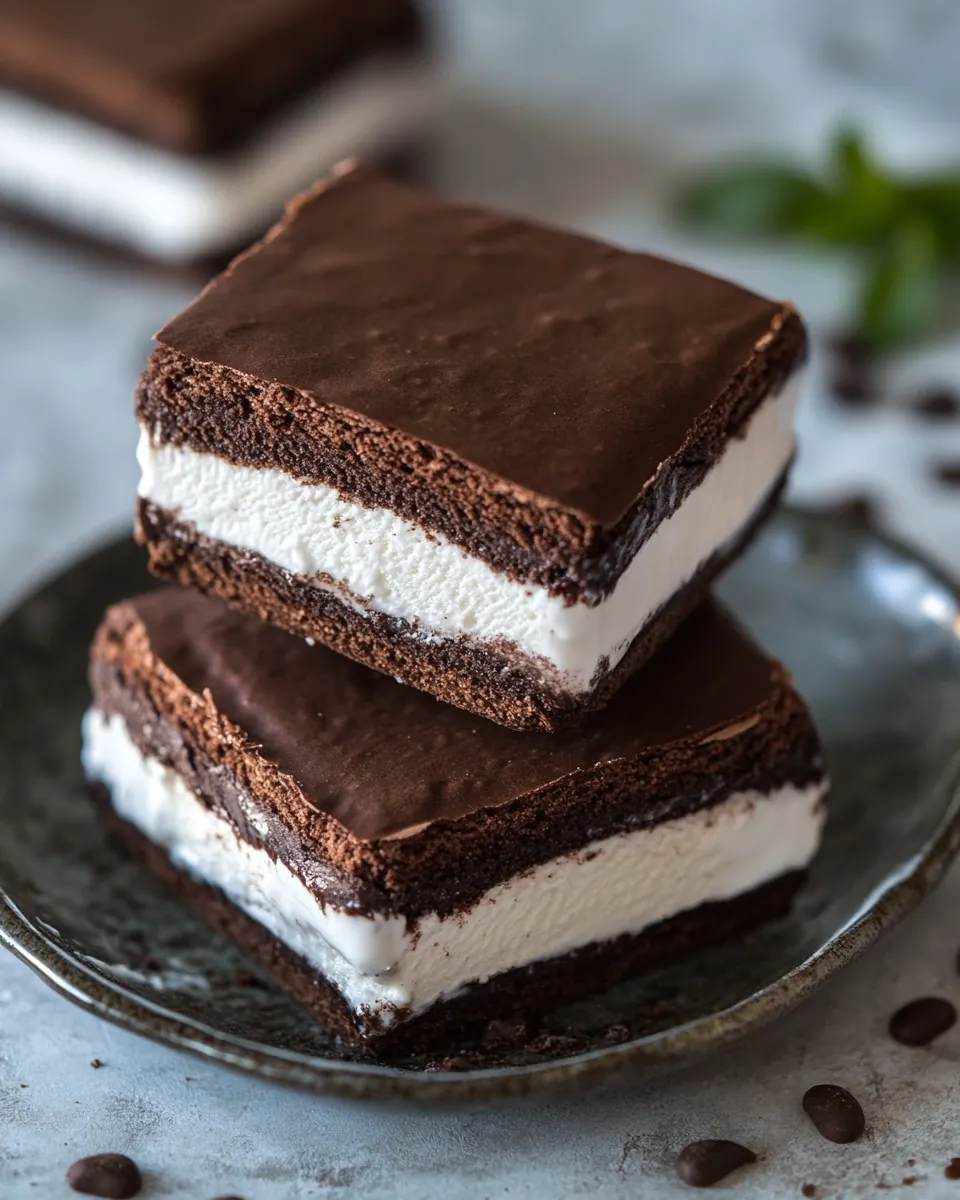
Tiramisu Brownie Ice Cream Sandwich Bars
Creating the perfect dessert is a bit like a love story; it takes the right ingredients and a little magic to bring everything together. That’s how I feel about these Tiramisu Brownie Ice Cream Sandwich Bars. Imagine a hot summer day when the sun is shining, and the thought of a delicious, creamy dessert is all you can think about. One afternoon, at a family gathering, I decided to make something special. I combined my favorite classic desserts into one irresistible treat!
The rich layers of brownie, the heavenly mascarpone ice cream, and the hint of coffee from the instant coffee granules make these bars an instant hit. Everyone was delighted, and I couldn’t believe how quickly they disappeared! Each bite is a delightful mix of creamy and chocolaty, which is perfect for summer barbecues or a cozy night in. If you love the combination of tiramisu and brownies as much as I do, you’ll want to give this recipe a try!
Recipe Snapshot
30 mins
20 mins
10 mins
Medium
350 kcal
5 g
Gluten-Free, Low FODMAP
20 g
Oven, Baking Sheet, Frying Pan, Wooden Spoon, Whisk, Chef’s Knife, Mixing Bowl
What You’ll Enjoy About This Tiramisu Brownie Ice Cream Sandwich Bars
1. A Unique Twist on Classic Flavors
What makes these Tiramisu Brownie Ice Cream Sandwich Bars so special is the incredible fusion of flavors. You get the best of both worlds with the deep chocolatey goodness of brownies and the creamy, luscious texture of mascarpone cheese. It’s like indulging in both a brownie and tiramisu simultaneously!
2. Perfect for Any Occasion
These bars are versatile; whether you’re hosting a summer party, celebrating a birthday, or just satisfying your sweet tooth, they fit the bill perfectly. People of all ages will appreciate the combination of flavors, making them a surefire hit at any gathering.
3. Easy to Make Ahead
Let’s be honest; we all love desserts that can be prepared in advance. These Tiramisu Brownie Ice Cream Sandwich Bars need some time in the freezer, making them ideal to whip up a day ahead of your event. Just pop them in the freezer, and you’ll have a stunning dessert ready to impress when the time comes!
4. A Cool Treat for Hot Days
When temperatures rise, cool desserts are a must. These bars offer a refreshing treat that can help beat the heat. The layers of ice cream and brownie will keep you coming back for more, providing a perfect balance to your summer festivities.
5. Customizable for Your Tastes
Don’t hesitate to experiment! You can try different flavors of ice cream or even add a sprinkle of nuts for extra crunch. Make the recipe your own, and let your creativity shine while you prepare these delicious bars.
6. A Crowd Pleaser
It’s not just me who loves these Tiramisu Brownie Ice Cream Sandwich Bars. Everyone I’ve served them to has raved about them! They are a great dessert to bring to gatherings where you want to make a memorable impression.
Main Ingredients for Tiramisu Brownie Ice Cream Sandwich Bars
In this delightful recipe, each ingredient plays a pivotal role. The combination of rich chocolate, creamy mascarpone cheese, and the strong flavor of instant coffee granules creates a balance that can only be described as heavenly. Each component enhances the other, resulting in a dessert that is both rich and satisfying.
- Unsalted Butter (1 stick or 1/2 cup): This is the base fat that provides moisture and richness to the brownies. It helps create that fudgy texture we all love.
- Chocolate (2 ounces, milk or dark, chopped): The chocolate adds depth and flavor. You can opt for milk chocolate for sweetness or dark chocolate for a more intense taste.
- Granulated Sugar (3/4 cup): Sweetness is essential for balancing the rich flavors, making the brownies and ice cream irresistible.
- Vanilla Extract (2 teaspoons): A touch of vanilla enhances the flavors, making everything taste more complex and delicious.
- Instant Coffee Granules (1-2 tablespoons): This ingredient infuses a subtle coffee flavor that ties the tiramisu aspect together without overpowering the chocolate.
- Large Eggs (2): Eggs help bind the ingredients together and contribute to the fudgy consistency of the brownies.
- Unsweetened Cocoa Powder (1/2 cup): Cocoa powder adds a rich chocolate flavor, enhancing the overall taste of the brownies.
- All-Purpose Flour (1/2 cup): Flour provides structure, allowing the brownies to hold their shape while maintaining a fudgy center.
- Kosher Salt (1/4 teaspoon): Salt balances sweetness and elevates the other flavors in the dessert.
- Nutella (1/2 cup): This hazelnut spread adds extra creaminess and a unique flavor that complements the other ingredients.
- Mascarpone Cheese (4 ounces): A key ingredient for the ice cream, it provides a rich, creamy texture reminiscent of traditional tiramisu.
- Sweetened Condensed Milk (1/2 cup): This ingredient adds sweetness and creaminess, helping to create a smooth ice cream texture.
- Heavy Cream (1 cup): Heavy cream is essential for making the ice cream rich and luscious.
- Vanilla (1 teaspoon): Additional vanilla enhances the flavor of the ice cream.
- Flaky Sea Salt (pinch): A sprinkle of salt on top brings a delightful contrast to the sweetness.
How to Prepare Tiramisu Brownie Ice Cream Sandwich Bars
When you’re ready to make these delicious Tiramisu Brownie Ice Cream Sandwich Bars, gather your ingredients and let’s dive in. Each step is a little adventure, and before you know it, you’ll have a stunning dessert ready to impress! Follow these detailed steps for the best results.
- Preheat your oven to 350 degrees F. Line two (8×8 inch) square baking pans with parchment paper. This will ensure your brownies come out easily and don’t stick to the pan. The right preparation makes a world of difference in cooking!
- In a medium-sized, microwave-safe mixing bowl, combine butter and chocolate. Microwave on high for 30-second intervals, stirring after each interval until the mixture is melted and smooth. Make sure to watch closely so it doesn’t burn, as it can go from perfect to overcooked in seconds.
- Once melted, whisk in granulated sugar, vanilla extract, instant coffee granules, and eggs until smooth. This step is crucial for incorporating air into the mixture, giving your brownies a delightful texture.
- Next, stir in the cocoa powder, flour, and kosher salt until just combined. Be careful not to overmix! The batter should be thick and fudgy, and overmixing can result in cakey brownies instead of the desired texture.
- Divide the batter evenly between the prepared pans, spreading it into an even layer. Remember that these layers will be thin, so ensure they are as even as possible to promote even baking.
- Transfer the pans to the preheated oven and bake for 10 to 12 minutes. You’ll know they’re done when the tops are set but still soft to the touch. Allow the brownies to cool completely in the pans.
- Once cooled, spread Nutella evenly onto each brownie layer. This will add another dimension of flavor and a creamy texture that pairs beautifully with the brownies and ice cream.
- To create the ice cream, add mascarpone cheese and sweetened condensed milk to the bowl of a stand mixer fitted with the whisk attachment, or you can use a handheld electric mixer. Whip until smooth and combined.
- Next, pour in the heavy cream, vanilla, and a pinch of flaky sea salt. Continue whipping until stiff peaks form. This may take a few minutes, but it’s essential for a fluffy ice cream texture.
- Spread the whipped ice cream in an even layer over the Nutella side of one of the brownie pans. Keeping the brownie in the parchment-lined pan will make it easier to handle.
- Gently place the other brownie on top of the ice cream, Nutella side facing down. Use the parchment paper to assist you in this step, ensuring it doesn’t fall apart.
- Cover the entire pan with plastic wrap and freeze for 4 to 6 hours, or overnight if you can wait! The longer it freezes, the better the flavors meld together.
- Finally, once frozen, slice the bars into rectangles. Keep any leftovers stored in the freezer for up to a couple of months. These treats will be waiting for you whenever you need a sweet pick-me-up!
Things Worth Knowing
- Don’t rush the cooling: Allow the brownies to cool completely before adding toppings. This ensures the ice cream doesn’t melt and keeps everything intact.
- Quality chocolate matters: Using high-quality chocolate will make a noticeable difference in flavor. Treat yourself to a good brand!
- Freezing time: The bars need enough time to freeze properly. If you’re in a hurry, consider making them a day ahead.
- Whipping the cream: To achieve soft peaks, stop whipping as soon as you see they hold their shape but are still creamy; over-whipping can make it grainy.
- Adjustment of sweetness: If you prefer a sweeter ice cream, feel free to adjust the sweetened condensed milk quantity to your taste.
Variations to Try
If you’re feeling adventurous, there are endless ways to personalize these Tiramisu Brownie Ice Cream Sandwich Bars to make them your own! Here are some fun ideas:
- Add different ice cream flavors: Instead of traditional vanilla, experiment with flavors like coffee, chocolate, or even hazelnut to complement the brownie and Nutella.
- Incorporate nuts: Chopped nuts like hazelnuts or almonds can add a delightful crunch and enhance the flavor profile.
- Change the brownie mix: Use a flavored brownie mix, such as caramel or peanut butter, for a unique twist on the classic recipe.
- Try different toppings: Drizzle some melted chocolate or caramel on top before serving for a decorative touch and added sweetness.
- Use a different sweetener: If you’re looking to reduce sugar, consider using natural sweeteners like honey or maple syrup in moderation.
- Make it gluten-free: Substitute the all-purpose flour with a gluten-free blend or almond flour for a gluten-free version.
- Experiment with layers: Try adding layers of fruit, like strawberries or raspberries, between the ice cream and brownie layers for a fruity contrast.
Serving Ideas for Tiramisu Brownie Ice Cream Sandwich Bars
When it comes to serving these delightful Tiramisu Brownie Ice Cream Sandwich Bars, the presentation can elevate the experience. Here are some wonderful ways to serve them:
- Garnish with chocolate shavings: Before serving, sprinkle some chocolate shavings on top for an elegant touch!
- Pair with fresh fruit: Serve with a side of fresh berries like strawberries or raspberries to add a refreshing contrast to the richness.
- Offer a scoop of ice cream: Complement the bars with a small scoop of your favorite ice cream for extra indulgence!
- Serve at parties: These bars are perfect for party platters. Cut them into small squares and serve on a large platter for guests to enjoy.
- Make dessert jars: Layer pieces of the bars with whipped cream in mason jars for a fun, individual dessert option.
- Enjoy with coffee: The coffee notes in the dessert pair beautifully with a nice cup of coffee or espresso, making it great for after-dinner serving.
- Seasonal flavors: Consider adding seasonal toppings—like pumpkin spice cream in the fall or fresh mint in the summer—to keep things fresh and exciting!
FAQ
Conclusion
These Tiramisu Brownie Ice Cream Sandwich Bars are a delightful fusion of flavors and textures that truly shine. Whether you’re hosting a summer barbecue or simply enjoying a quiet evening, these bars will undoubtedly enhance your dessert experience. I encourage you to give this recipe a try; the combination of rich chocolate and creamy ice cream is simply irresistible and worth the effort!
Tiramisu Brownie Ice Cream Sandwich Bars
Ingredients
Equipment
Method
- 1. Preheat your oven to 350 degrees F. Line two (8x8 inch) square baking pans with parchment paper.
- 2. In a medium-sized, microwave-safe mixing bowl, combine butter and chocolate. Microwave on high for 30-second intervals, stirring after each interval until melted and smooth.
- 3. Whisk in granulated sugar, vanilla extract, instant coffee granules, and eggs until smooth.
- 4. Stir in the cocoa powder, flour, and kosher salt until just combined.
- 5. Divide the batter evenly between the prepared pans, spreading it into an even layer.
- 6. Transfer the pans to the preheated oven and bake for 10 to 12 minutes.
- 7. Once cooled, spread Nutella evenly onto each brownie layer.
- 8. Add mascarpone cheese and sweetened condensed milk to the bowl of a stand mixer. Whip until smooth.
- 9. Pour in the heavy cream, vanilla, and a pinch of flaky sea salt. Whip until stiff peaks form.
- 10. Spread the whipped ice cream in an even layer over the Nutella side of one of the brownie pans.
- 11. Gently place the other brownie on top of the ice cream, Nutella side facing down.
- 12. Cover the pan with plastic wrap and freeze for 4 to 6 hours.
- 13. Once frozen, slice the bars into rectangles.
Notes
- Tip: Allow the brownies to cool completely before adding toppings.
- Tip: Using high-quality chocolate will make a noticeable difference.
- Tip: The bars need enough time to freeze properly.
- Tip: To achieve soft peaks, stop whipping as soon as you see they hold their shape.
- Tip: If you're looking to reduce sugar, consider using natural sweeteners.