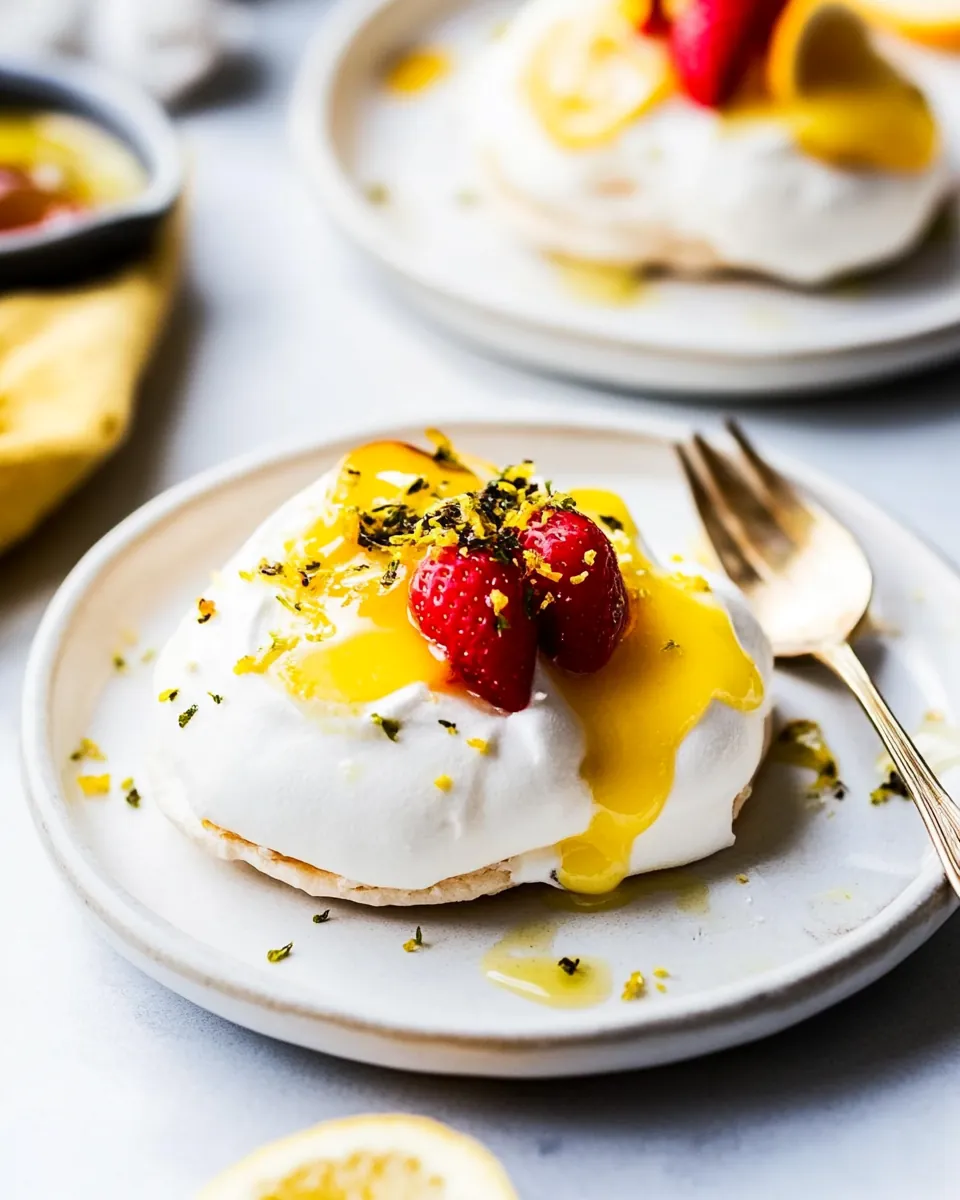
Mini Pavlova
Every time I think about the perfect dessert, Mini Pavlova comes to mind. These delightful little meringues are a classic in my household, often gracing our table during special occasions and everyday celebrations alike. I remember the first time I made them, standing in my kitchen, whipping the egg whites until they formed soft peaks, the sweet aroma of caster sugar filling the air. Each bite is a combination of crisp, light meringue topped with rich lemon curd and fresh fruits, creating a wonderful contrast that dances on your palate. Every time I serve Mini Pavlova, my guests are in awe of how something so light can be so indulgent. It’s a recipe that never fails to impress and is always a crowd-pleaser.
Recipe Snapshot
2 hr
30 mins
90 mins
Medium
120 kcal
2 g
Whole30, Vegan, Gluten-Free
0 g
Oven, Baking Sheet, Blender, Whisk, Mixing Bowl
The Best Thing About This Mini Pavlova
Light as Air
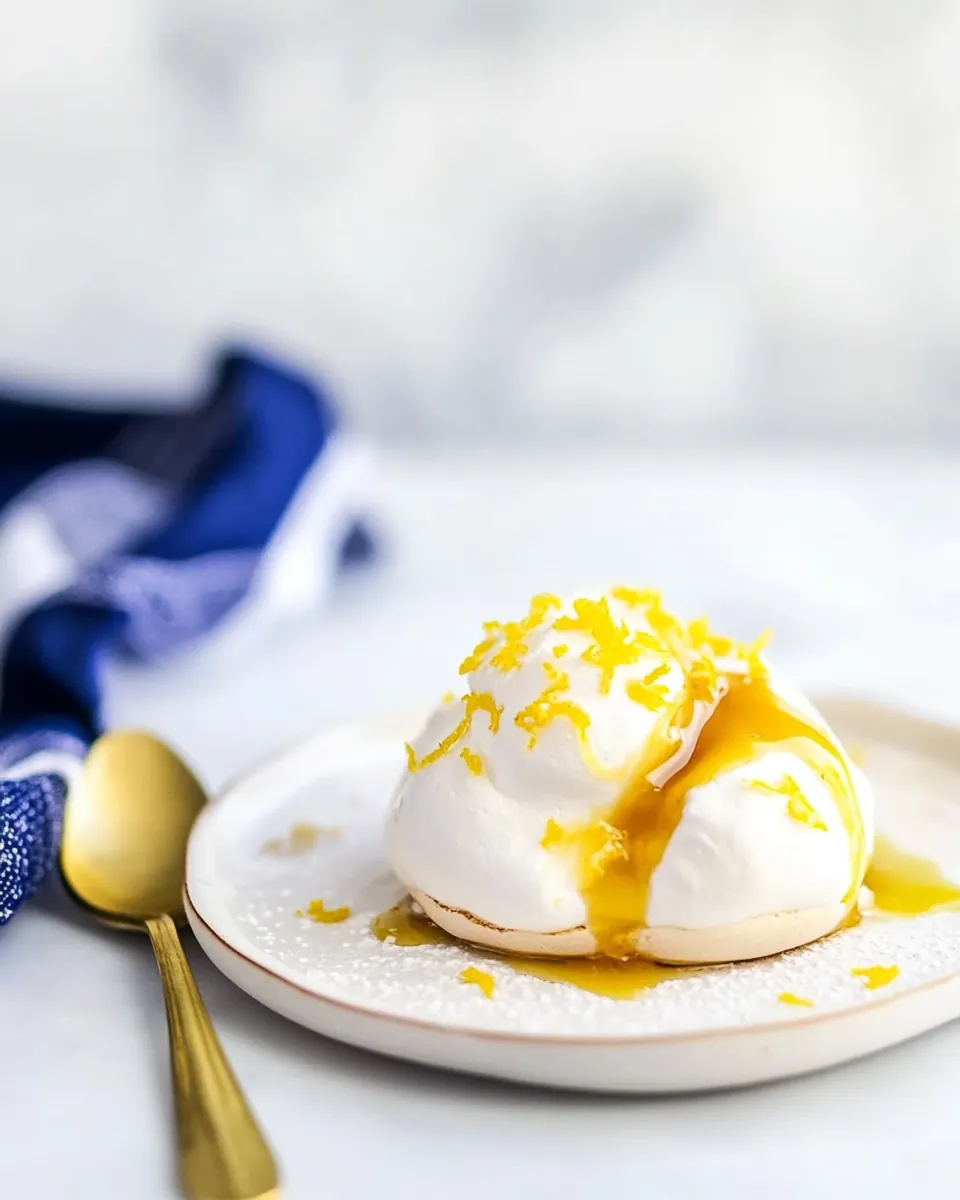
The Mini Pavlova is not just visually stunning; it’s also incredibly light and airy. Each bite melts in your mouth, providing a beautiful texture that’s unlike any other dessert.
Versatile Toppings
The beauty of Mini Pavlova lies in its versatility. You can top it with your favorite fruits like strawberries, blueberries, or even a drizzle of chocolate. The options are endless, making it suitable for any palate.
Perfect for Any Occasion
Whether it’s a birthday party, a holiday celebration, or just a simple family gathering, Mini Pavlova fits right in. Its sophisticated appearance makes it a go-to choice when you want to impress.
Easy to Make
Don’t let its fancy look fool you; Mini Pavlova is surprisingly easy to make. With just a few ingredients and steps, you’ll have a stunning dessert that looks like it came from a high-end bakery.
Great Make-Ahead Dessert
Another reason to love Mini Pavlova is that you can prepare the meringues in advance. Just store them in an airtight container and assemble with lemon curd and toppings right before serving.
Customizable Flavors
You can experiment with different flavors and textures. How about adding a hint of cocoa powder in the meringue for a chocolate twist? The possibilities are endless!
Ingredients for Mini Pavlova
The ingredients for Mini Pavlova are simple yet effective, combining to create a dessert that’s both elegant and delicious. Each ingredient plays a vital role in achieving the light and crispy meringue that forms the base of this dish. Here are the key players:
- 1½ cups fine caster sugar – This is essential for sweetening the meringue and achieving that lovely glossy finish.
- 6 egg whites – They are the star of the show, providing structure and lightness when whipped.
- 1 teaspoon vinegar – This helps stabilize the meringue, ensuring it holds its shape.
- 2 teaspoons cornstarch – Adds to the texture and crispiness of the meringues.
- ¼ teaspoon salt – Enhances the sweetness of the meringue.
- 2 teaspoons vanilla – Adds a lovely depth of flavor to the meringues.
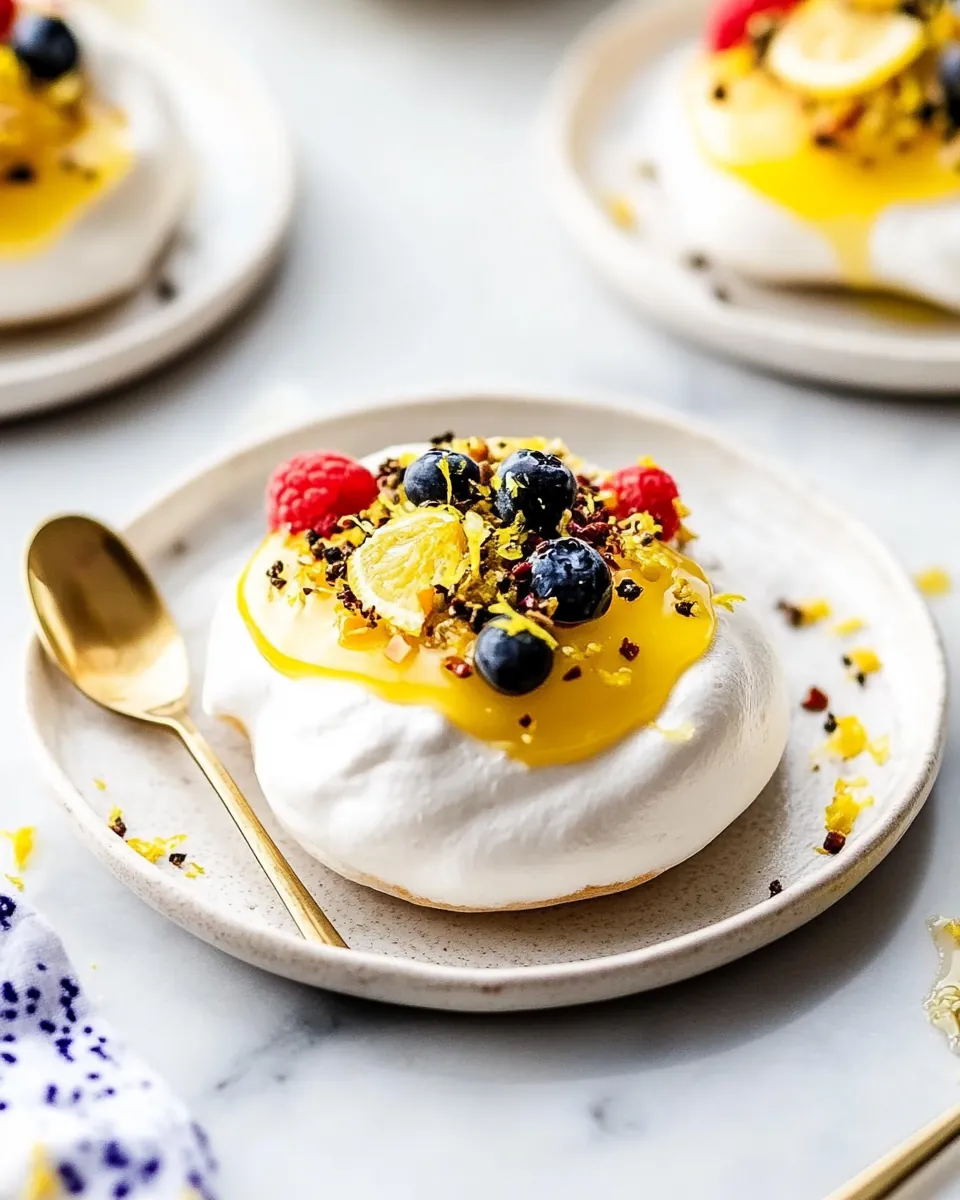
- Fresh fruit – Choose from plums, strawberries, blackberries, blueberries, or raspberries for a burst of freshness on top.
- Crushed pistachios – For a delightful crunch and color contrast.
- Chocolate shavings – Optional, but they add a delicious touch of decadence.
- Powdered sugar – For dusting on top before serving, adding an elegant finish.
How to Prepare Mini Pavlova
Preparing Mini Pavlova is a fun and rewarding experience. The process may seem daunting at first, but once you get the hang of it, you’ll find it quite simple. Here’s how to create these stunning little desserts step by step:
- Prepare the Sugar: Start by pulsing the caster sugar in a blender until it’s fine. Be careful not to over-blend it into powdered sugar. This step is crucial for achieving the right texture in your meringues.
- Preheat the Oven: Set your oven to 200°F (93°C). Low and slow is the key to drying out the meringue properly.
- Prepare the Baking Sheet: Line a large baking sheet with parchment paper. This prevents the meringues from sticking and makes it easier to remove them once baked.
- Beat the Egg Whites: In a stand mixer fitted with the whisk attachment, beat the egg whites on medium speed until soft peaks form. This takes about 3 to 5 minutes.
- Gradually Add Sugar: Add the prepared caster sugar one tablespoon at a time, mixing well between each addition. The mixture should become glossy and smooth.
- Add Stabilizers: Once all the sugar is incorporated, add the vinegar, cornstarch, salt, and vanilla. Continue whipping until stiff, glossy peaks form. You shouldn’t feel any grains when rubbing a bit between your fingers.
- Shape the Meringue: Spoon the mixture onto the prepared baking sheet into 9 rounds, each about 4 inches wide. You can use a large spoon or a piping bag for more precise shapes.
- Bake: Place in the preheated oven and bake for 1 hour and 15 minutes. Do not open the oven door during baking or while cooling to avoid deflating the meringues.
- Cool Completely: After baking, turn off the oven and allow the meringues to cool completely inside—ideally for 3 to 4 hours, but at least 2 hours. This helps them dry out properly and develop the perfect texture.
- Prepare the Lemon Curd: While the meringues are cooling, make the lemon curd if you haven’t already. Use your favorite recipe or try one that’s easy and delicious.
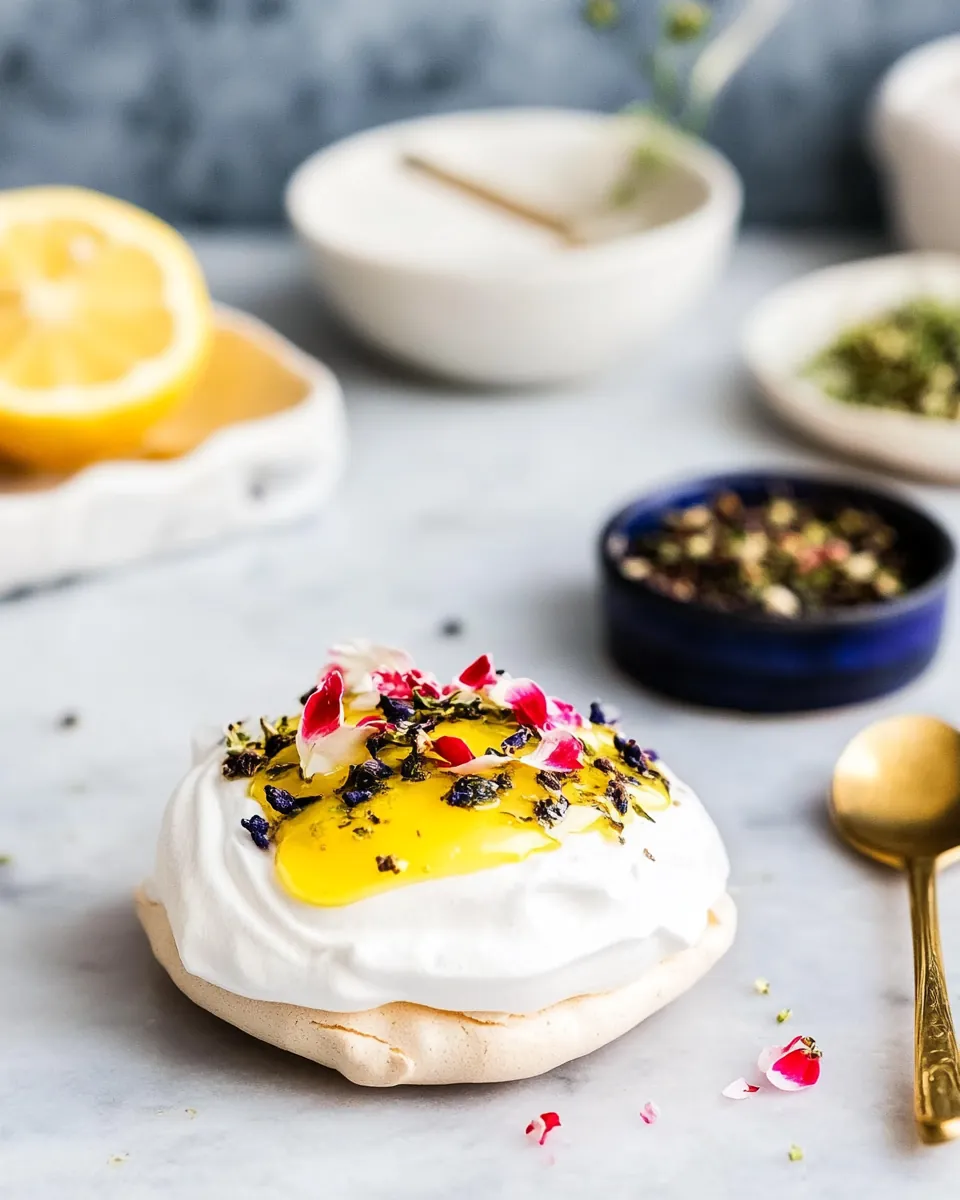
- Assemble: Once the meringues are fully cooled, top each with a dollop of lemon curd, followed by your choice of fresh fruit and other toppings like crushed pistachios and chocolate shavings.
- Serve and Enjoy! Now that your Mini Pavlova is assembled, dig in and savor every bite!
Things Worth Knowing
- Humidity can affect the outcome of your meringues, so avoid making them on particularly humid days.
- Ensure no egg yolks get into your egg whites, as this will prevent them from whipping up properly.
- Let the meringues cool completely in the oven to achieve the ideal texture.
- Be patient with the baking and cooling times for the best results.
Tips and Variations
Creating the perfect Mini Pavlova can be even more enjoyable with these tips and variations:
- Storage: How to store leftovers? Once cool, transfer leftovers to an airtight container and store them (without the lemon curd) at room temperature for up to 2 days. However, they are best enjoyed on the same day.
- Freezing: Can you freeze this? While it’s best fresh, you can freeze the meringues individually. Just be sure to wrap them well in plastic wrap.
- Pairing: What to serve with this? Pair with coffee or tea for a delightful afternoon treat.
- Flavor Variations: Experiment by adding different flavorings to the meringue, such as citrus zest or spices.
- Make it Mini: You can create smaller versions for bite-sized treats that are perfect for parties.
How to Enjoy Mini Pavlova
Serving Mini Pavlova is as delightful as making it. Here’s how you can present and enjoy this exquisite dessert:
- Elegant Presentation: Arrange Mini Pavlovas on a beautiful platter, garnished with fresh fruit and a dusting of powdered sugar.
- Occasions: Perfect for celebrations like birthdays, weddings, or any festive gathering.
- Seasonal Pairings: In spring, serve with strawberries and in summer, opt for berries or tropical fruits.
- Afternoon Tea: Serve alongside tea or coffee for an elegant afternoon treat that impresses guests.
- Make-Ahead: Prepare the meringues a day in advance and assemble just before serving.
FAQ
Conclusion
The Mini Pavlova is truly a special dessert that combines elegance with ease. Its light texture and the burst of flavors from lemon curd and fresh fruits make it a perfect sweet treat for any occasion. I encourage you to try making this delightful dessert yourself; it’s sure to impress your family and friends. Don’t hesitate to get creative with your toppings and make it your own!
Mini Pavlova
Ingredients
Equipment
Method
- Prepare the Sugar: Pulse the caster sugar in a blender until fine, being careful not to over-blend into powdered sugar.
- Preheat the Oven: Set your oven to 200°F (93°C).
- Prepare the Baking Sheet: Line a large baking sheet with parchment paper and set aside.
- Beat the Egg Whites: In a stand mixer fitted with the whisk attachment, beat the egg whites on medium speed until soft peaks form.
- Gradually Add Sugar: Gradually add the caster sugar, one tablespoon at a time, mixing well between each addition.
- Add Stabilizers: Add the vinegar, cornstarch, salt, and vanilla. Continue whipping until stiff, glossy peaks form.
- Shape the Meringue: Spoon the mixture onto the prepared baking sheet into 9 rounds, each about 4 inches wide.
- Bake: Place in the oven and bake for 1 hour and 15 minutes. Do not open the oven door during baking or while cooling.
- Cool Completely: Turn off the oven and allow the meringues to cool completely inside, ideally 3–4 hours.
- Prepare the Lemon Curd: While the meringues are cooling, make the lemon curd if you haven’t already.
- Assemble: Once the meringues are fully cooled, top each with a dollop of lemon curd, followed by your choice of fruit and toppings.
- Serve and Enjoy!
Notes
- Storage: Once cool, transfer leftovers to an airtight container and store them (without the lemon curd) at room temperature for up to 2 days.
- Fresh Eggs: Use fresh eggs. Older eggs won’t whip as well.
- Avoid Humidity: Don’t make meringue on a humid day.
- Avoid Egg Yolks: Ensure there are no egg yolks in the egg whites.
- Dissolve Sugar: Make sure to dissolve the caster sugar fully when mixing.
- Do Not Open Oven Door: This can cause sudden temperature changes.
- Cool Completely: Allow at least 2 hours for cooling.