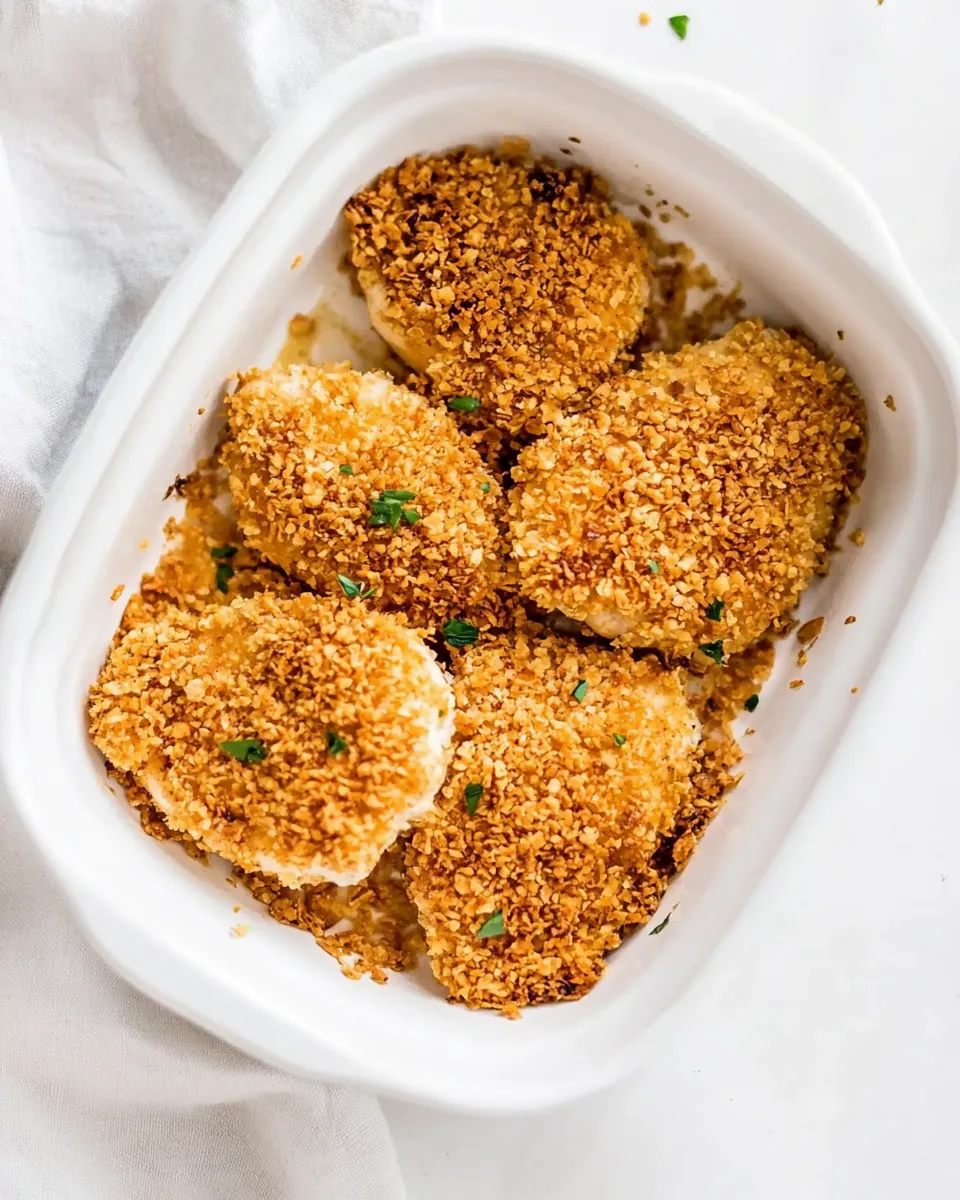
Baked Cornflake Chicken
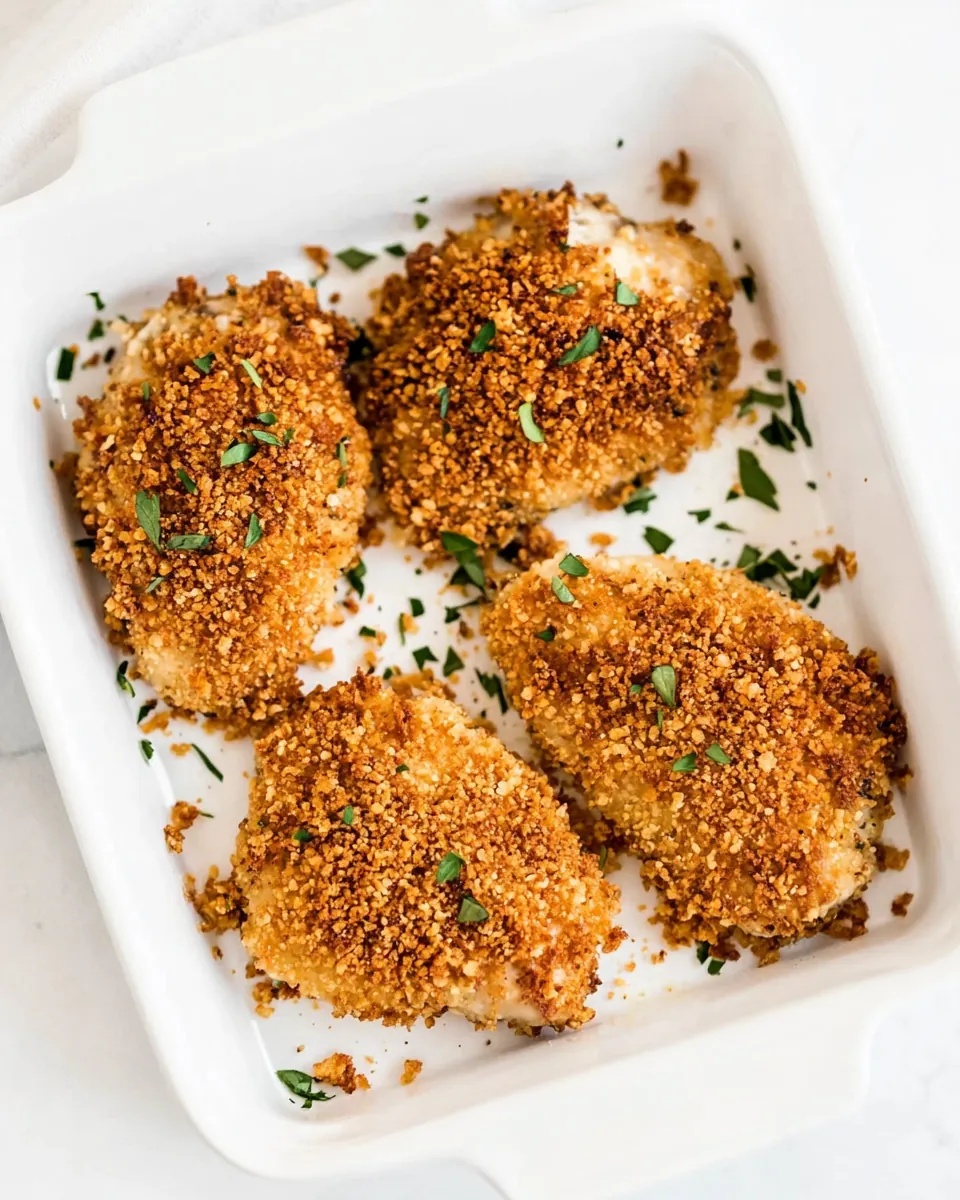
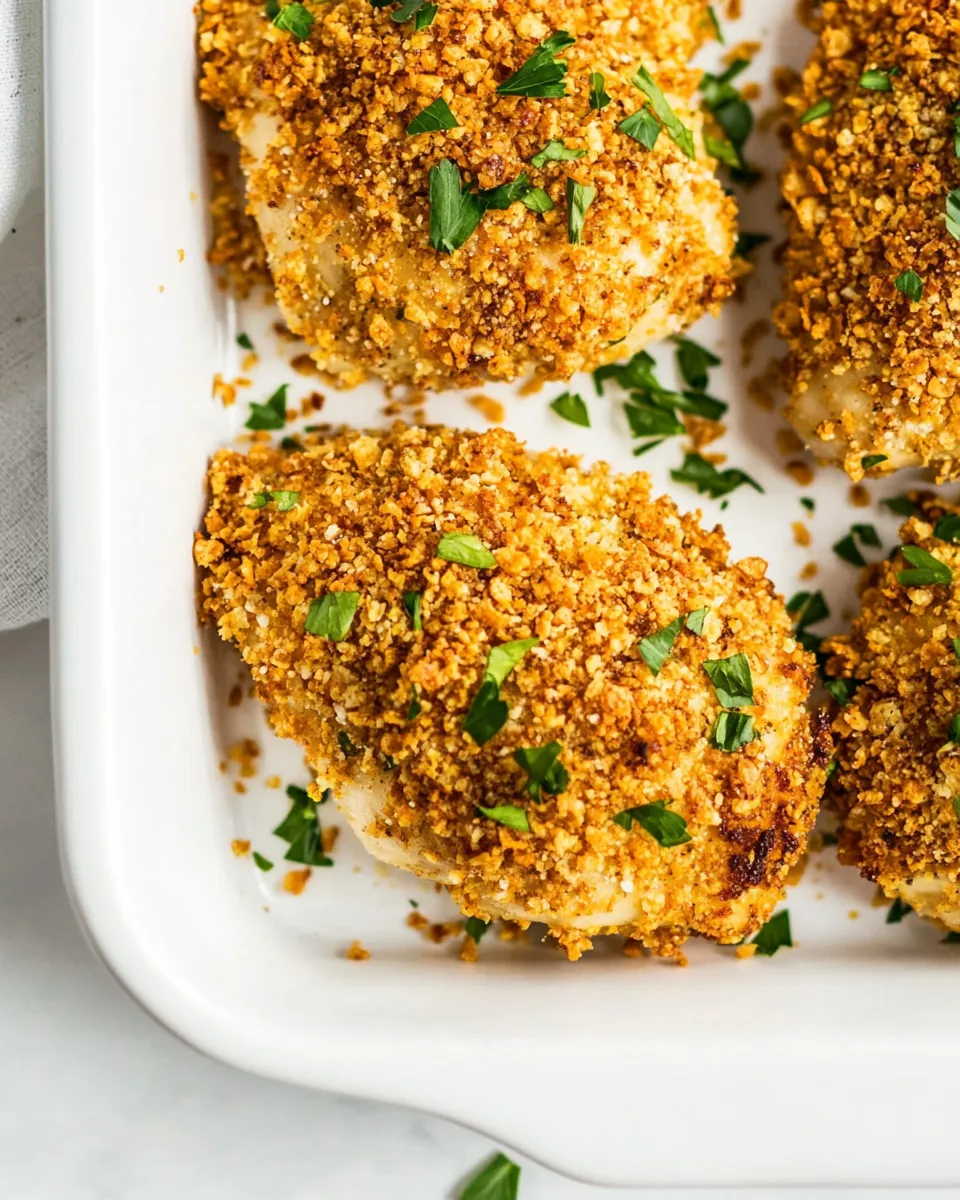
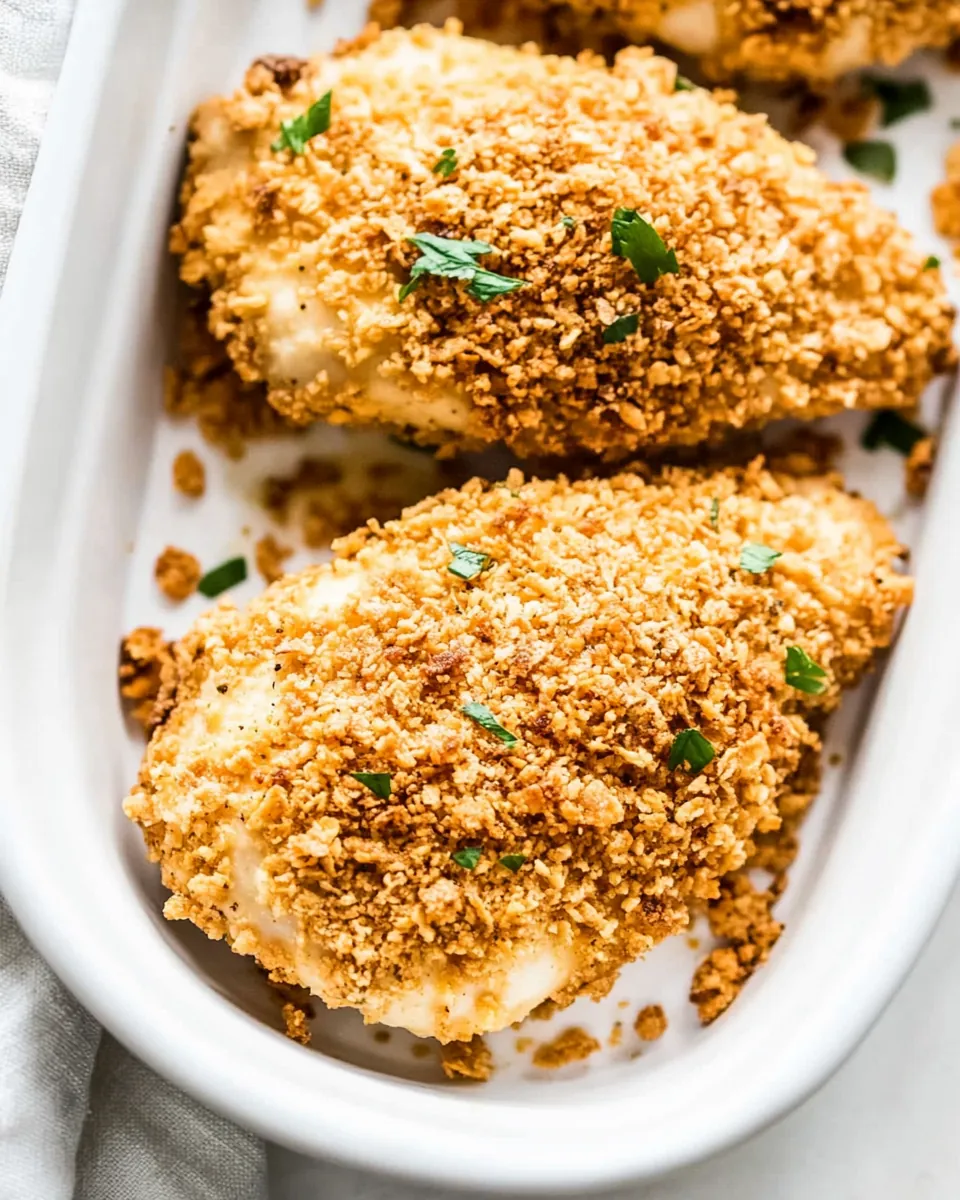
The moment I first tasted Baked Cornflake Chicken, I knew I had stumbled upon a family favorite. It was a rainy afternoon, and the scent of crispy chicken filled the kitchen, making it feel warm and inviting. My kids couldn’t resist the crunch of the cornflakes, and I loved how simple it was to prepare. This dish is perfect for busy weeknights or when you want to impress guests with minimal effort. Imagine golden-brown chicken, perfectly baked, coated with a delicious cornflake crust that’s crispy on the outside and juicy on the inside. It’s comfort food at its finest, and everyone at the table will be reaching for seconds.
Recipe Snapshot
40 mins
10 mins
30 mins
Medium
400 kcal
32 g
Keto, Paleo, Whole30
20 g
Food Processor, Oven, Baking Sheet, Frying Pan, Whisk, Mixing Bowl
Why This Baked Cornflake Chicken Is So Good
What makes Baked Cornflake Chicken so special? Let me share a few reasons why this recipe stands out:
1. Simple Ingredients
This recipe uses everyday ingredients that you likely already have in your pantry. With just chicken, cornflakes, and a few spices, you can create a flavorful dish that doesn’t require a trip to the grocery store.
2. Quick Preparation
You can whip up Baked Cornflake Chicken in no time at all. With a prep time of only ten minutes, it’s great for those busy evenings when you want something tasty without the wait.
3. Kid-Friendly
Kids love crispy textures, and the crunchy cornflake coating is a surefire way to get them excited about dinner. Even picky eaters will find it hard to resist.
4. Healthy Twist
Unlike traditional fried chicken, baking the chicken keeps it lighter while still delivering that satisfying crunch. It’s a healthier option without sacrificing flavor!
5. Versatile Dish
This recipe is incredibly versatile. You can serve it with a side of vegetables, rice, or even toss it in a salad for a delightful lunch. The options are endless!
6. Perfect for Meal Prep
Make a big batch of Baked Cornflake Chicken and enjoy it for meals throughout the week. It reheats beautifully and makes for a convenient lunch or dinner option.
Ingredients Required for Baked Cornflake Chicken
The beauty of Baked Cornflake Chicken lies in its simple yet powerful ingredients. Each component plays a significant role in creating the dish’s delightful flavors and textures. The star of the show is the chicken, which becomes tender and juicy while enveloped in a crispy cornflake crust. The Italian seasoning adds aromatic depth, while the butter provides richness, ensuring every bite is utterly satisfying.
- 1½ pounds boneless skinless chicken breasts: The main protein of the dish, providing a hearty and healthy base.
- 3 cups cornflakes: The crispy coating that gives this dish its delightful crunch.
- 1½ teaspoons Italian seasoning: This adds a burst of flavor that complements the chicken beautifully.
- 1 teaspoon garlic salt: Introduces a savory kick that enhances the overall taste.
- ¼ teaspoon black pepper: A simple spice that gives a subtle heat and depth.
- 2 large eggs: Used to help the cornflake coating adhere to the chicken.
- ¼ cup (½ stick) butter: Melted and drizzled on top for added richness and flavor.
Step by Step Guide for Baked Cornflake Chicken
Let’s dive into the steps to create this delicious Baked Cornflake Chicken. Trust me; it’s easier than it seems! You’ll be amazed at how quickly you can prepare this dish, and I promise the results will impress everyone around the table.
- Preheat the oven to 400℉. This is an essential first step to ensure that your chicken cooks evenly and gets that golden-brown color.
- Place the cornflakes in a Ziploc bag or a food processor and crush them into crumbs or small flakes. This creates the perfect coating that will add crunch to your chicken.
- In a mixing bowl, combine the crushed cornflakes with Italian seasoning, garlic salt, and black pepper. Mix them thoroughly so that all the seasoning is evenly distributed.
- In another bowl, whisk the eggs until well beaten. This will act as the glue for your chicken and the cornflake coating.
- Take the boneless skinless chicken breasts and pat them dry with paper towels. This helps the coating stick better.
- Dip each piece of chicken into the whisked eggs until well coated. Make sure to let any excess egg drip off.
- Next, press the chicken into the cornflake mixture, ensuring it’s fully coated. Flip it over and press the other side, too. You may need to repeat this step to ensure a thick, crunchy coating.
- Place the coated chicken in a greased 9×13 inch pan or on a baking sheet. Make sure they’re spaced apart so they cook evenly.
- Drizzle the melted butter over the top of the chicken. This will help achieve that beautiful, golden finish while adding flavor.
- Bake in the preheated oven for 25 to 30 minutes, or until the internal temperature reaches 165°F. Keep an eye on them towards the end to avoid overcooking!
Things Worth Knowing
- Ensure even coating: Press the chicken firmly into the cornflake mixture to get an even and thick coating, maximizing crunch.
- Don’t skip drying: Patting the chicken dry helps the coating adhere better and prevents sogginess.
- Use a meat thermometer: To ensure your chicken is perfectly cooked, check the internal temperature with a thermometer.
- Let it rest: After baking, let the chicken rest for a few minutes before serving. This allows the juices to redistribute.
Expert Tips about Baked Cornflake Chicken
Ready to take your Baked Cornflake Chicken to the next level? Check out these expert tips that will ensure your dish is always a hit!
- Storage: Leftover Baked Cornflake Chicken can be stored in an airtight container in the fridge for up to three days. Reheat in the oven to restore its crunch.
- Freezing: You can freeze the uncooked, coated chicken. Just thaw before baking for a quick meal.
- Pairing: Serve with a fresh salad or roasted vegetables for a balanced meal. It also pairs well with mashed potatoes.
- Variations: Experiment with different seasonings in the cornflake mixture for unique flavor twists. Try adding some paprika or cayenne pepper for a spicy kick!
- Serving suggestion: This dish is great for casual family dinners or even as part of a buffet spread for gatherings with friends.
How to Serve Baked Cornflake Chicken
Serving Baked Cornflake Chicken is as delightful as making it! Here are some ideas to elevate your dining experience:
- Family Dinners: Pair the chicken with steamed vegetables or a side of rice for a wholesome meal.
- Lunch Made Easy: Slice the leftover chicken and toss it in a salad for a satisfying lunch option.
- Picnic Treat: Pack slices for a picnic. It holds up well and makes for a hearty dish outdoors.
- Comfort Food Night: Serve with creamy mashed potatoes and gravy for a classic comfort food experience.
- Holiday Gatherings: Make a large batch for holiday parties; it’s sure to be a crowd-pleaser.
- Storage Tips: Always allow the chicken to cool completely before storing leftovers in an airtight container.
FAQ
Conclusion
In summary, Baked Cornflake Chicken is a delightful dish that brings the family together over a delicious meal. With its crunchy coating and juicy interior, it’s sure to become a staple in your household. I encourage you to try making this dish tonight; you won’t be disappointed!
Baked Cornflake Chicken
Ingredients
Equipment
Method
- Preheat the oven to 400℉.
- Place the cornflakes in a Ziploc bag or a food processor and crush them into crumbs or small flakes.
- Combine the crushed cornflakes with Italian seasoning, garlic salt, and black pepper in a mixing bowl.
- In another bowl, whisk the eggs until well beaten.
- Pat the chicken breasts dry with paper towels.
- Dip each piece of chicken into the whisked eggs, letting excess drip off.
- Press the chicken into the cornflake mixture, ensuring it’s fully coated on both sides.
- Place the coated chicken in a greased 9x13 inch pan or on a baking sheet.
- Drizzle the melted butter over the top of the chicken.
- Bake for 25 to 30 minutes, until the internal temperature reaches 165°F.
Notes
- Tip: If you are making this recipe as GLUTEN-FREE, be sure to use a brand of corn flakes that are known to be GF.