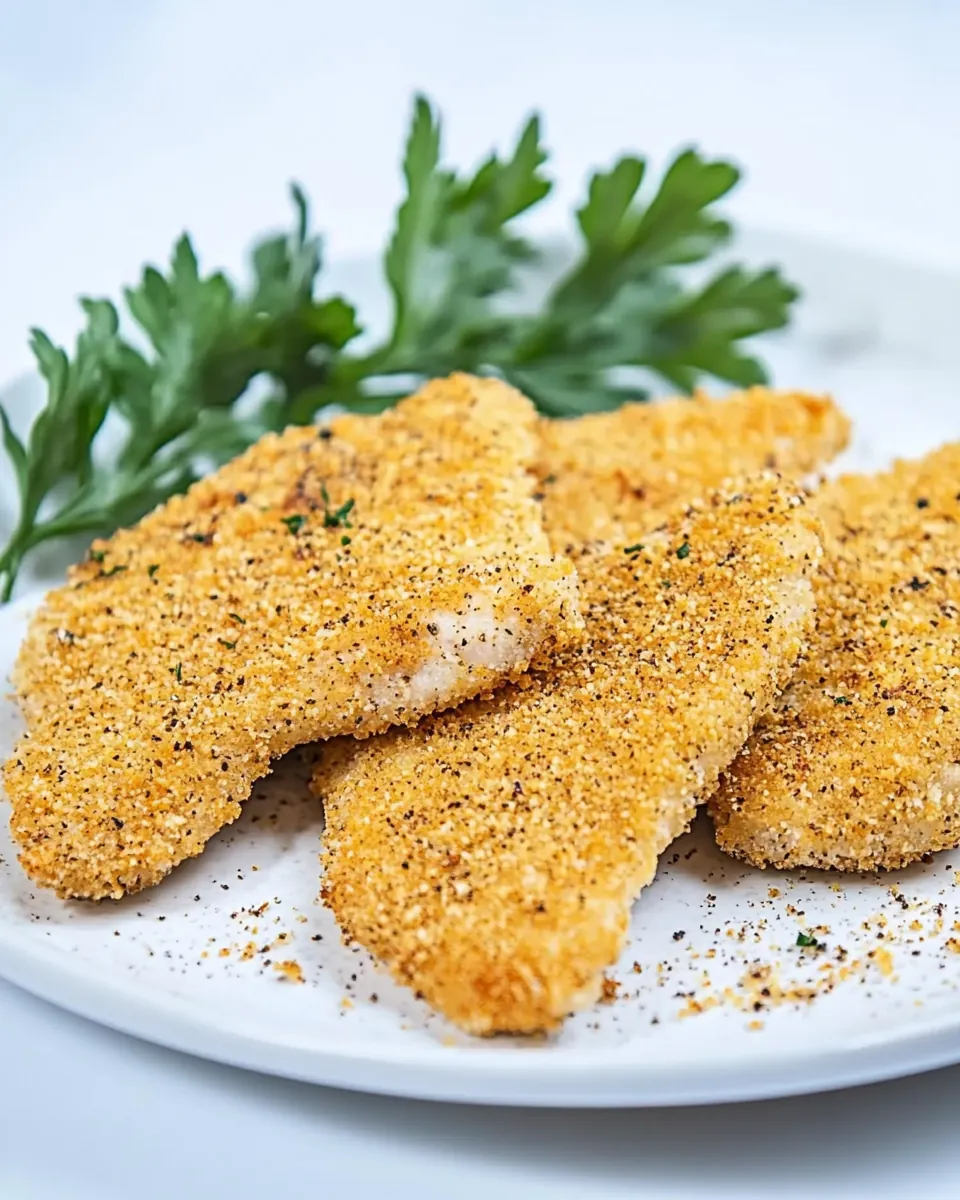
Crispy Breaded Chicken
There’s something so comforting about a plate of Crispy Breaded Chicken that takes me back to my childhood. I remember weekends at my grandmother’s house, where she would whip up this delightful dish for family gatherings. The aroma of the chicken baking in the oven, the sizzle of each piece as it turned golden brown, and the crispy exterior were enough to make anyone’s mouth water. It was always a treat, and her secret? A perfect blend of spices and love.
Recipe Snapshot
40 mins
15 mins
25 mins
Medium
350 kcal
30 g
Keto, Paleo, Whole30
12 g
Chef’s Knife, Mixing Bowl, Whisk, Baking Sheet, Oven
The Magic of This Crispy Breaded Chicken
1. The Crispy Factor
What keeps me coming back to this recipe is the unbeatable crispy coating. The combination of seasoned breadcrumbs and spices creates a texture that’s not only appealing but also delightful to bite into. You’ll hear that satisfying crunch with every piece you serve.
2. Versatile and Easy
Another reason to love Crispy Breaded Chicken is its versatility. It can be served alongside a fresh salad, as a sandwich filling, or even as a topping for pasta. Plus, it’s a straightforward recipe that doesn’t require any advanced cooking skills, making it perfect for anyone from beginners to seasoned chefs.
3. Family Favorite
This dish has become a staple in my household. My kids adore it, often asking for it every week. It’s a meal that brings everyone together, and I love hearing their laughter and stories over a plate of chicken.
4. Easy to Customize
While the original recipe is fantastic, it’s also a blank canvas for creativity. You can easily adjust the spices to suit your taste or add different herbs for a unique twist. Whether you prefer a spicier bite or something more herbaceous, it allows for personal touches that make the dish your own.
5. Perfect for Meal Prep
Lastly, Crispy Breaded Chicken is an ideal candidate for meal prep. You can make a batch in advance and store it for quick lunches or dinners throughout the week. Just reheat in the oven for that fresh-out-of-the-oven feel!
What to Gather for Crispy Breaded Chicken

Gathering the right ingredients is crucial for the perfect Crispy Breaded Chicken. Each component plays a significant role in achieving that ideal flavor and texture. The key players here are the chicken and the breading mixture, which together create a magical combination that never fails to impress.
- 1 1/2 pounds chicken breasts – The star of the dish, providing a juicy and tender base.
- 1 pinch of salt and pepper (or to taste) – Essential seasonings to enhance the natural flavor of the chicken.
- 1 1/2 cups seasoned breadcrumbs – Creates the crispy coating that everyone loves.
- 1/2 tablespoon garlic powder – Adds a wonderful depth of flavor to the breading.
- 1 tablespoon dried oregano – A hint of earthiness that complements the chicken perfectly.
- 1 tablespoon paprika – Gives the chicken a lovely color and a mild kick.
- 1 tablespoon fresh parsley, chopped – A fresh touch that lifts the dish.
- 3 eggs – Acts as the binding agent for the breadcrumbs.
- 1 1/2 cups flour – Creates the first layer of coating for extra crunch.
Instructions for Crispy Breaded Chicken
Making Crispy Breaded Chicken is a fun and rewarding process. Follow these steps to ensure you capture all the flavors and textures perfectly. I promise, you’ll be amazed at the results!
- Preheat your oven to 400°F. This is crucial for achieving that golden brown crust. Make sure your oven is fully heated before placing the chicken inside.
- Season the chicken breasts with salt and pepper on both sides. This step ensures that the chicken is flavorful from the inside out.
- In a medium bowl, combine the seasoned breadcrumbs, garlic powder, oregano, paprika, and chopped parsley. This mixture is where the magic happens, so make sure to mix it well.
- In a separate medium bowl, crack the eggs and beat them using a whisk until well combined. This will be your binder for the breading.
- Dip the seasoned chicken breasts in flour on both sides to create an initial coating. This step is important to help the egg and breadcrumb layers stick.
- Shake off any excess flour before moving to the next step. Too much flour can lead to a clumpy coating.
- Dip the flour-coated chicken in the whisked eggs. Ensure that the entire chicken breast is covered in the egg mixture for the breadcrumbs to adhere properly.
- Next, dip the egg-coated chicken in the breadcrumb mixture. Gently press the breadcrumbs into the chicken to ensure they adhere. This is where you want to get that crunchy coating.
- Place the breaded chicken breasts on a tray lined with baking paper. Make sure there’s space between each piece to allow the heat to circulate.
- Bake in the preheated oven for 25 minutes, or until the chicken is golden brown and cooked through. Check the internal temperature to ensure it’s at least 165°F for safety. Enjoy!
Things Worth Knowing
- Let the chicken rest: Allow the chicken to rest after cooking to allow for the juices to redistribute. This will keep the chicken moist.
- Season the flour: For an extra shot of flavor, consider seasoning the flour with additional herbs and spices.
- Soak in buttermilk: Soaking the chicken in buttermilk before adding the flour helps tenderize the chicken, resulting in a juicier bite.
- Use a cooling rack: If you want the breading to stay crispy, place the chicken on a cooling rack after it comes out of the oven rather than directly on a plate.
Tips for Success

To ensure your Crispy Breaded Chicken turns out perfect every time, here are some helpful tips. These insights will elevate your cooking experience and ensure you impress everyone at the table.
- Storage: Store any leftovers in an airtight container in the refrigerator for up to three days. Reheat in the oven to maintain crispiness.
- Freezing: You can freeze the breaded chicken before cooking. Simply place the raw, breaded chicken on a baking sheet, freeze until solid, then transfer to a freezer bag. Cook from frozen, adding a few extra minutes to the baking time.
- Pairing: Serve your Crispy Breaded Chicken with a fresh salad, mashed potatoes, or sautéed vegetables for a balanced meal.
- Meal Prep: This recipe is great for meal prep. Cook a batch on the weekend and enjoy for quick lunches or dinners throughout the week.
- Flavor Variations: Feel free to experiment with spices in the breadcrumb mixture. Add some cayenne for heat or Italian seasoning for a different flavor profile.
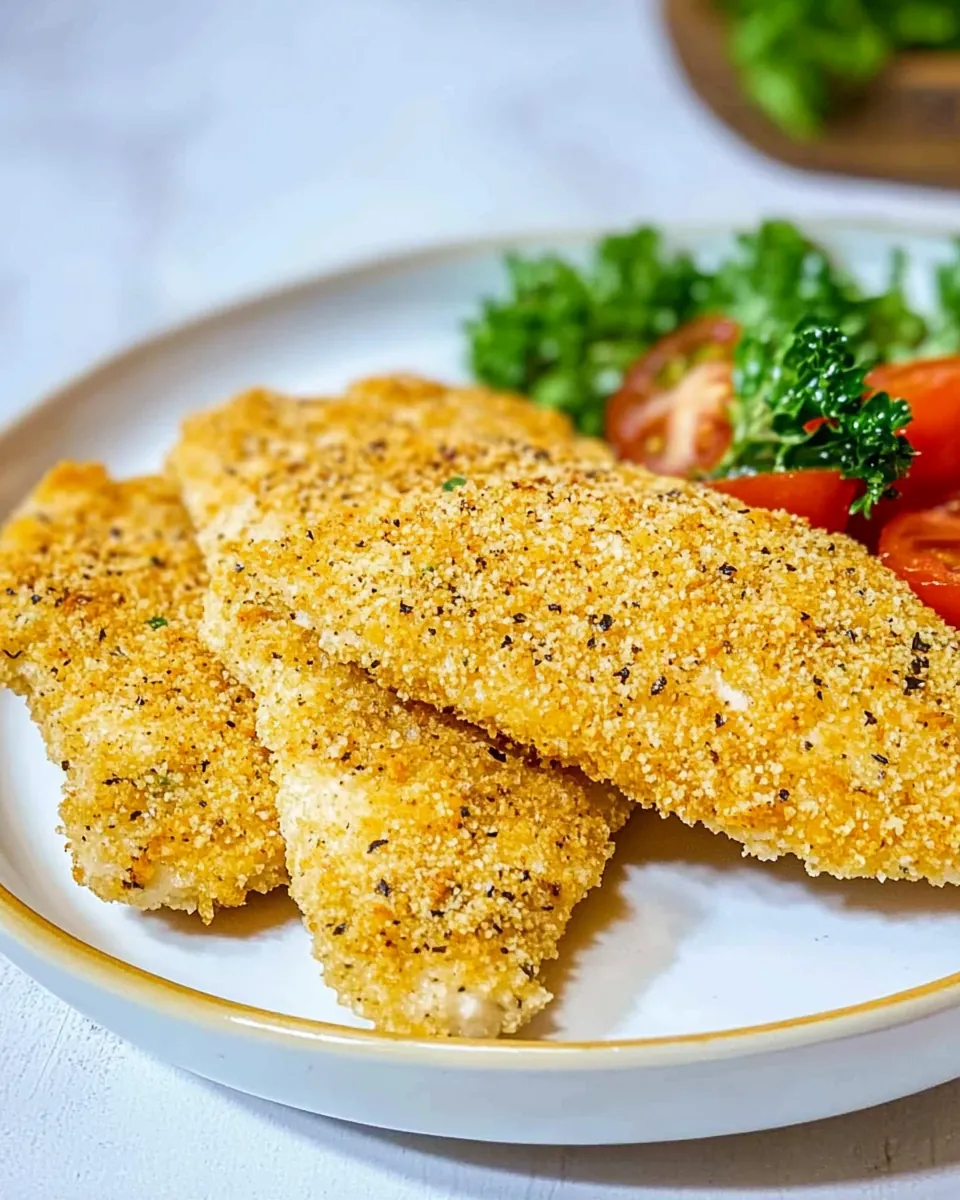
Serve This Crispy Breaded Chicken With
When it comes to serving Crispy Breaded Chicken, the options are endless! Here are some fantastic ideas to complement the dish:
- Garlic Mashed Potatoes: Pair with creamy garlic mashed potatoes for a hearty meal.
- Fresh Green Salad: A crisp salad with a light vinaigrette balances the richness of the chicken.
- Steamed Vegetables: Add some color with steamed broccoli or green beans.
- Pasta Salad: A chilled pasta salad with fresh veggies can be a refreshing side.
- Sandwich Style: Serve the chicken in a sandwich with lettuce, tomato, and your favorite sauce for a quick lunch option.
- Family Gatherings: This dish is perfect for family gatherings or potlucks, where it can steal the show!
FAQ
Conclusion
The Crispy Breaded Chicken is a true comfort food that brings warmth and satisfaction to any meal. With its crunchy exterior and juicy interior, it’s sure to become a favorite in your home. Don’t hesitate to try this recipe; it could very well become a staple that everyone looks forward to!
Crispy Breaded Chicken
Ingredients
Equipment
Method
- Preheat your oven to 400°F. This is crucial for achieving that golden brown crust. Make sure your oven is fully heated before placing the chicken inside.
- Season the chicken breasts with salt and pepper on both sides. This step ensures that the chicken is flavorful from the inside out.
- In a medium bowl, combine the seasoned breadcrumbs, garlic powder, oregano, paprika, and chopped parsley. This mixture is where the magic happens, so make sure to mix it well.
- In a separate medium bowl, crack the eggs and beat them using a whisk until well combined. This will be your binder for the breading.
- Dip the seasoned chicken breasts in flour on both sides to create an initial coating. This step is important to help the egg and breadcrumb layers stick.
- Shake off any excess flour before moving to the next step. Too much flour can lead to a clumpy coating.
- Dip the flour-coated chicken in the whisked eggs. Ensure that the entire chicken breast is covered in the egg mixture for the breadcrumbs to adhere properly.
- Next, dip the egg-coated chicken in the breadcrumb mixture. Gently press the breadcrumbs into the chicken to ensure they adhere. This is where you want to get that crunchy coating.
- Place the breaded chicken breasts on a tray lined with baking paper. Make sure there’s space between each piece to allow the heat to circulate.
- Bake in the preheated oven for 25 minutes, or until the chicken is golden brown and cooked through. Check the internal temperature to ensure it's at least 165°F for safety. Enjoy!
Notes
- Let the chicken rest: Allow the chicken to rest after cooking to allow for the juices to redistribute. This will keep the chicken moist.
- Season the flour: For an extra shot of flavor, consider seasoning the flour with additional herbs and spices.
- Soak in buttermilk: Soaking the chicken in buttermilk before adding the flour helps tenderize the chicken, resulting in a juicier bite.