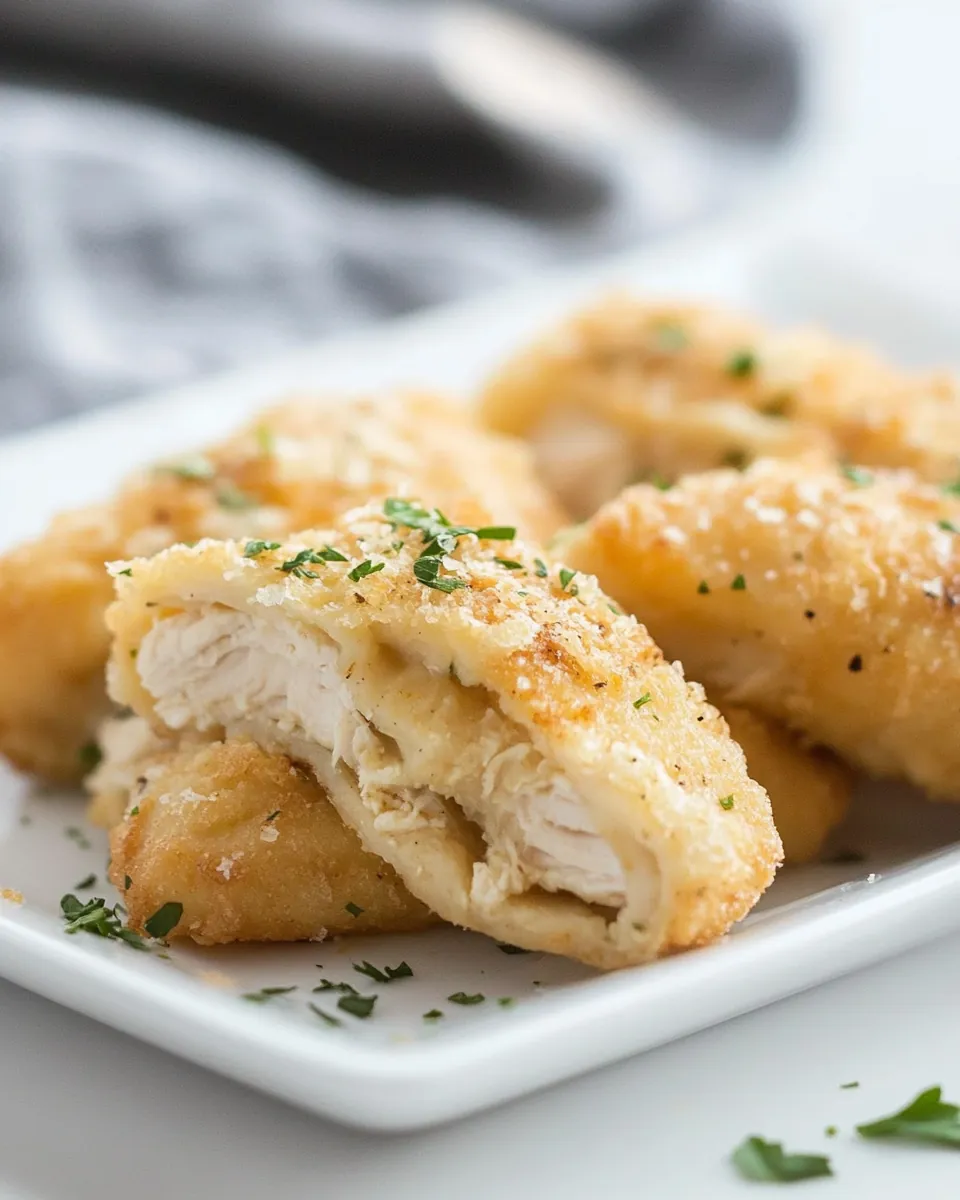
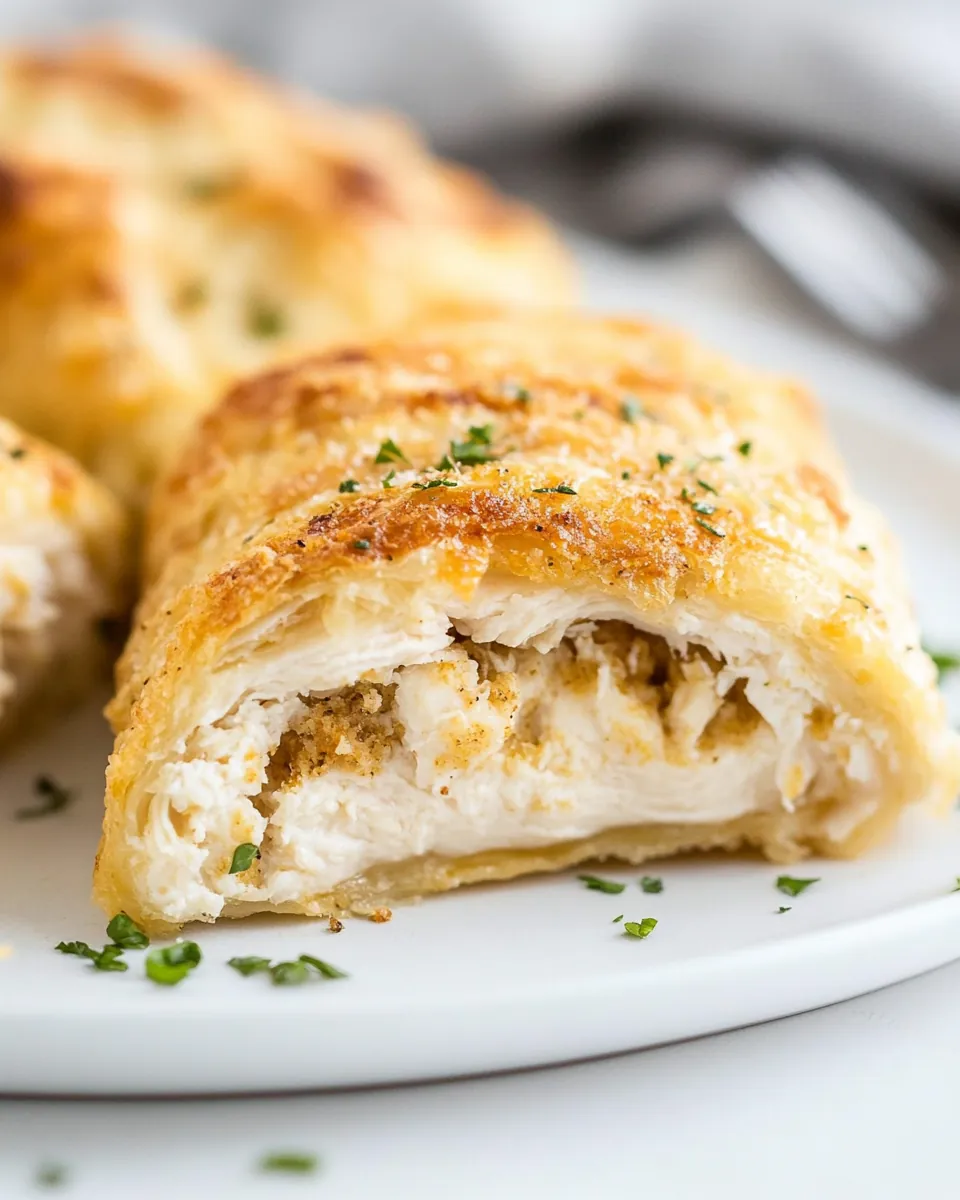
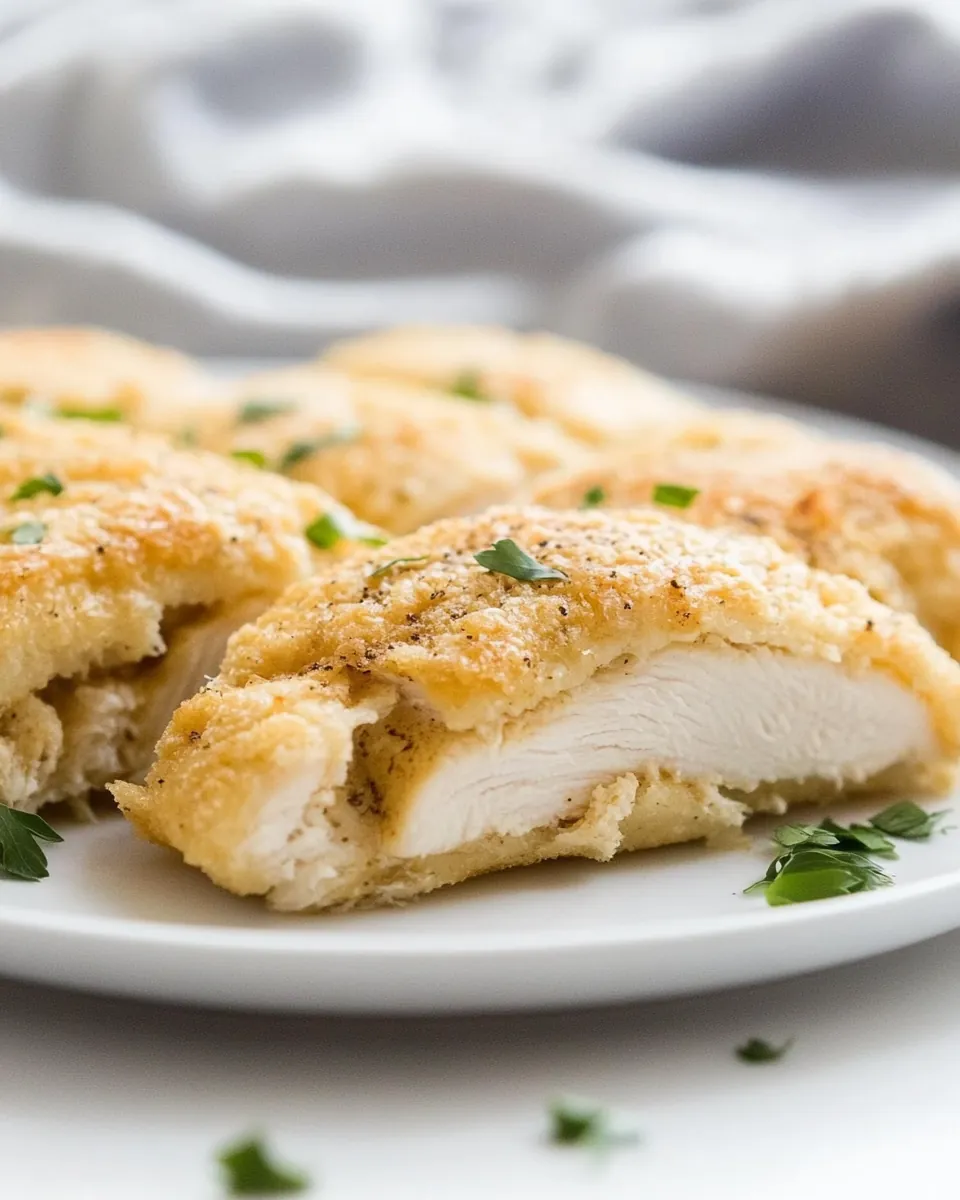
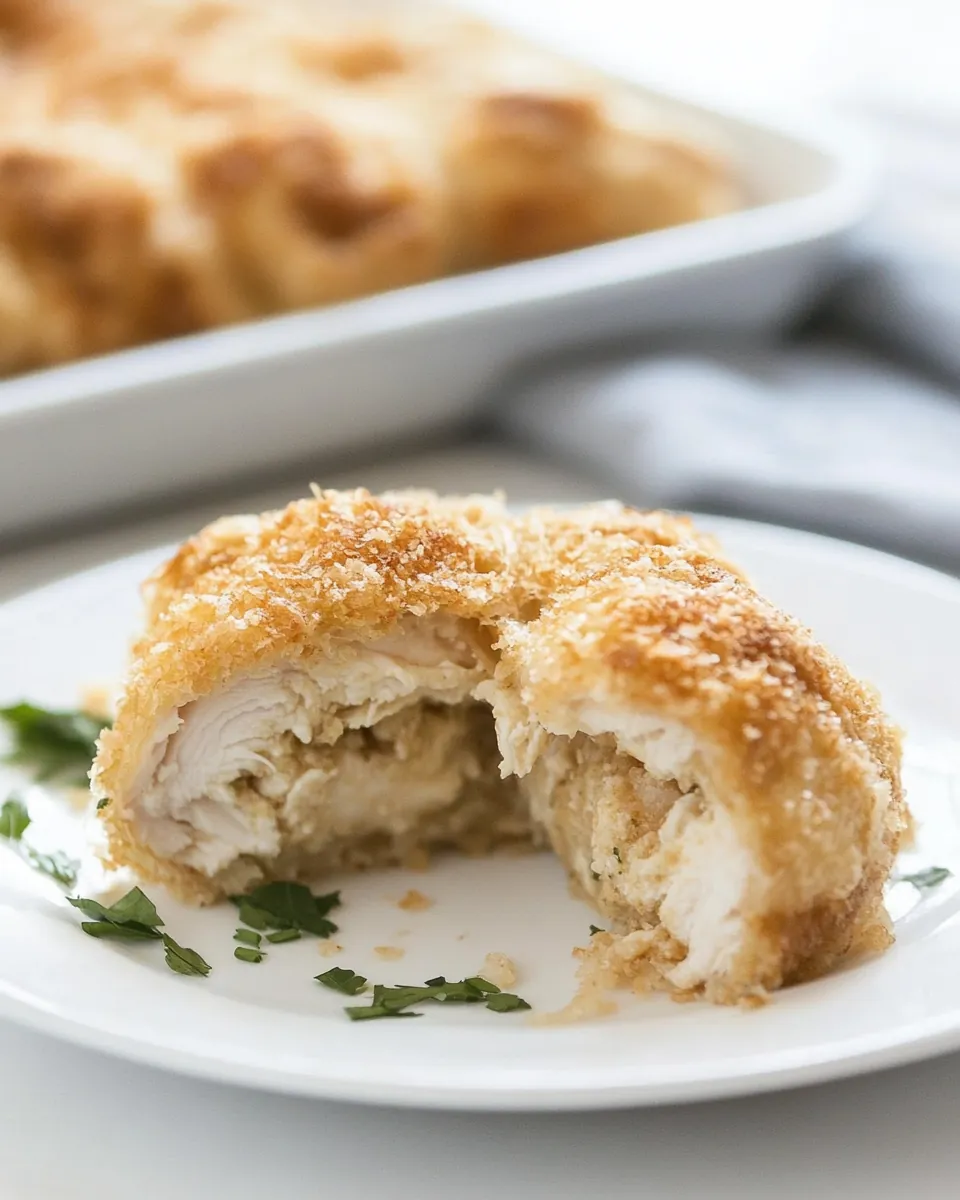
Crescent Chicken
There’s something about the cozy, comforting flavors of Crescent Chicken that always brings back memories of family gatherings and warm evenings at home. I remember the first time I made this dish; the aroma of melted cheese and savory chicken wafted through the kitchen, drawing everyone in. It was a simple weeknight meal, but it felt special, almost like a hug on a plate. As I pulled the golden, flaky crescents from the oven, the anticipation grew. We gathered around the table, forks ready, excited to dig into these delectable bites. The combination of creamy filling and crispy dough was irresistible, and soon, every plate was empty. This dish encapsulates love and comfort, making it a staple in my recipe collection.
Recipe Snapshot
40 mins
20 mins
20 mins
Easy
320 kcal
18 g
Keto, Gluten-Free
22 g
Wooden Spoon, Chef’s Knife, Mixing Bowl, Cutting Board, Baking Sheet, Oven, Blender
Why This Crescent Chicken Shines
Unmatched Flavor Combination
The blend of ingredients in Crescent Chicken is nothing short of magic. The sweetness of the cream cheese contrasts beautifully with the savory, seasoned chicken, creating a filling that’s rich but not overwhelming. Each bite is a journey through textures and tastes that delight the palate.
Quick and Easy to Prepare
Don’t have hours to spend in the kitchen? No problem! Crescent Chicken is the perfect solution. With minimal prep work and quick baking time, you can whip this dish up in no time, making it an ideal choice for busy weeknights or spontaneous gatherings.
Versatile Meal
This dish is incredibly versatile. While it’s perfect as a standalone meal, it can easily be paired with a fresh salad, steamed vegetables, or even a warm soup for a complete dining experience. You can also customize the filling based on what you have on hand, making it a go-to recipe for using leftovers.
Kid-Friendly
Kids love the flaky, buttery crescent dough and the creamy filling. It’s a fun dish that encourages little hands to help in the kitchen. Plus, who doesn’t love a meal they can easily pick up and eat with their fingers?
Perfect for Entertaining
Crescent Chicken is a showstopper when it comes to entertaining. Its appealing look and delicious flavor make it a great choice for parties or family gatherings. Guests will be impressed, and you’ll be the star of the evening.
Low Mess, High Satisfaction
With just a few bowls and a baking sheet, this recipe is low mess. Less time cleaning means more time enjoying your meal with loved ones. The satisfaction of serving a delicious dish without the headache of complicated cooking is a win-win!
What You’ll Need for Crescent Chicken
When it comes to Crescent Chicken, the ingredients play a vital role in crafting that mouthwatering experience. Each one brings something unique to the table, resulting in a harmonious blend of flavors. The key players in this dish include cream cheese for creaminess, chicken for heartiness, and crescent dough for that flaky, golden crust. Together, they create a dish that’s not just tasty, but also incredibly satisfying.
- 4 ounces cream cheese, at room temperature – This acts as the creamy base of the filling, providing richness and a slight tang that balances the savory ingredients.
- 1 tablespoon butter, at room temperature – Used to enhance the flavor of the filling and to brush on the dough before baking for extra richness.
- 2 cups diced, cooked chicken – The star ingredient, providing protein and a delicious savory flavor that pairs perfectly with the creamy filling.
- 2 tablespoons milk – Helps to smooth out the filling, making it easy to mix and spread.
- 1 tablespoon finely chopped onion – Adds a slight crunch and depth of flavor that elevates the overall taste of the dish.
- salt and pepper, to taste – Essential seasoning that enhances the natural flavors of the ingredients.
- One 8-ounce can refrigerated crescent dough – The outer layer that gives the dish its flaky texture and golden color.
- 2 tablespoons butter, melted – Used for brushing on the crescent balls before baking to achieve a beautiful golden crust.
- ¾ cup seasoned breadcrumbs – Provides a crunchy topping that contrasts beautifully with the soft filling and flaky dough.
Recipe Steps for Crescent Chicken
Making Crescent Chicken is a delightful experience that brings joy from start to finish. The process is straightforward and allows you to enjoy the delightful smells wafting through your kitchen. Let’s dive into the steps that will lead you to this scrumptious dish.
- Preheat the oven to 350℉. It’s essential to get the oven hot enough to ensure the crescent dough bakes perfectly, creating that flaky texture we all love.
- In a medium bowl, use a sturdy spoon to blend the cream cheese with 1 tablespoon of butter until smooth. This may take a bit of elbow grease, but it’s worth it for that creamy filling.
- Stir in the chicken, milk, onions, salt, and pepper. Make sure everything is well combined for a consistent flavor in every bite. Taste it; adjust the seasoning if necessary.
- On a work surface, separate the crescent dough into 4 rectangles. Carefully press the perforations to eliminate the seams; this will help keep your filling secure and prevent leaks.
- Spoon ½ cup of the chicken mixture onto the center of each rectangle. Don’t skimp on the filling! You want each ball to be bursting with flavor.
- Pull the 4 corners of the dough to the top. Twist and seal to form a round ball. Make sure they are tightly sealed so the filling doesn’t escape while baking.
- Brush the melted butter over each ball. This will help achieve a golden crust and add richness to the flavor.
- Roll each ball in the seasoned breadcrumbs. This will create a lovely texture that contrasts with the soft filling.
- Place the balls on an un-greased baking sheet, ensuring they are spaced apart to allow for even cooking. Each will puff up beautifully as they bake.
- Bake for 20 to 25 minutes, or until golden brown. Keep an eye on them; they should be puffy and golden. The smell will be incredible, and you’ll know they’re done when they look irresistible!
Things Worth Knowing
- Don’t rush the mixing: Ensure the cream cheese is at room temperature before mixing for a smooth texture.
- Adjust the filling: Feel free to add in your favorite spices or herbs to the filling for an extra flavor boost.
- Watch the baking: Every oven is different; keep an eye on the Crescent Chicken as it bakes to avoid over-browning.
- Rest before serving: Allow the dish to cool for a few minutes after baking; this helps the filling set and makes serving easier.
Helpful Notes about Crescent Chicken
When tackling a recipe like Crescent Chicken, it’s always good to have a few handy tips up your sleeve. Here are some insights that will help ensure your dish turns out perfectly.
- Storage: Leftover Crescent Chicken can be stored in an airtight container in the fridge for up to 3 days.
- Freezing: You can freeze the assembled but unbaked balls. Just make sure to wrap them tightly and bake them directly from frozen, adding a few extra minutes to the baking time.
- Pairing: Serve these delightful bites with a fresh salad or steamed veggies to balance the richness of the filling.
- Variations: Feel free to experiment with different fillings like spinach and feta or even mushrooms for a vegetarian option.
- Serving Size: Keep in mind that these are quite filling, so plan to serve with lighter sides.
How to Enjoy Crescent Chicken
There’s nothing quite like digging into a warm plate of Crescent Chicken, and there are numerous ways to enjoy this comforting dish. Here’s how to serve it up:
- Pair with Salad: A crisp green salad drizzled with a tangy vinaigrette complements the richness of the filling beautifully.
- Casual Lunch: These are perfect for a quick lunch. Just grab a couple and perhaps a side of dipping sauce for a delightful meal.
- Perfect for Potlucks: Make a double batch for your next gathering. They’re sure to be a crowd-pleaser!
- Kid-Friendly Dinner: Serve them with a side of fruit or veggies for a balanced meal that kids will love.
- Game Night Treat: These make for a fantastic snack during game nights. They’re easy to pick up and enjoy as you cheer for your team.
- Serve Warm: Ensure you serve Crescent Chicken warm for the best experience. The filling will be creamy, and the dough will be delightfully flaky.
FAQ
Conclusion
In conclusion, Crescent Chicken is a delightful dish that perfectly combines creamy filling and flaky dough. The versatility and ease of preparation make it a fantastic choice for any occasion, whether it’s a family dinner or a casual gathering. I encourage you to try making it tonight. You won’t be disappointed, and it just might become a favorite in your home as it has in mine.
Crescent Chicken
Ingredients
Equipment
Method
- Preheat the oven to 350℉.
- In a medium bowl, use a sturdy spoon to blend the cream cheese with 1 tablespoon butter until smooth. Stir in the chicken, milk, onion, salt, and pepper.
- On a work surface, separate the crescent dough into 4 rectangles- press the perforations to eliminate the seams. Spoon ½ cup of the chicken mixture onto the center of each rectangle. Pull the 4 corners of the dough to the top. Twist and seal to form a round ball.
- Brush melted butter over each ball and then roll in breadcrumbs. Bake on an un-greased baking sheet for 20 to 25 minutes.
Notes
- Tip 1: Leftover Crescent Chicken can be stored in an airtight container in the fridge for up to 3 days.
- Tip 2: You can freeze the assembled but unbaked balls. Just make sure to wrap them tightly and bake them directly from frozen, adding a few extra minutes to the baking time.
- Tip 3: Serve these delightful bites with a fresh salad or steamed veggies to balance the richness of the filling.
- Tip 4: Feel free to experiment with different fillings like spinach and feta or even mushrooms for a vegetarian option.
- Tip 5: Keep in mind that these are quite filling, so plan to serve with lighter sides.