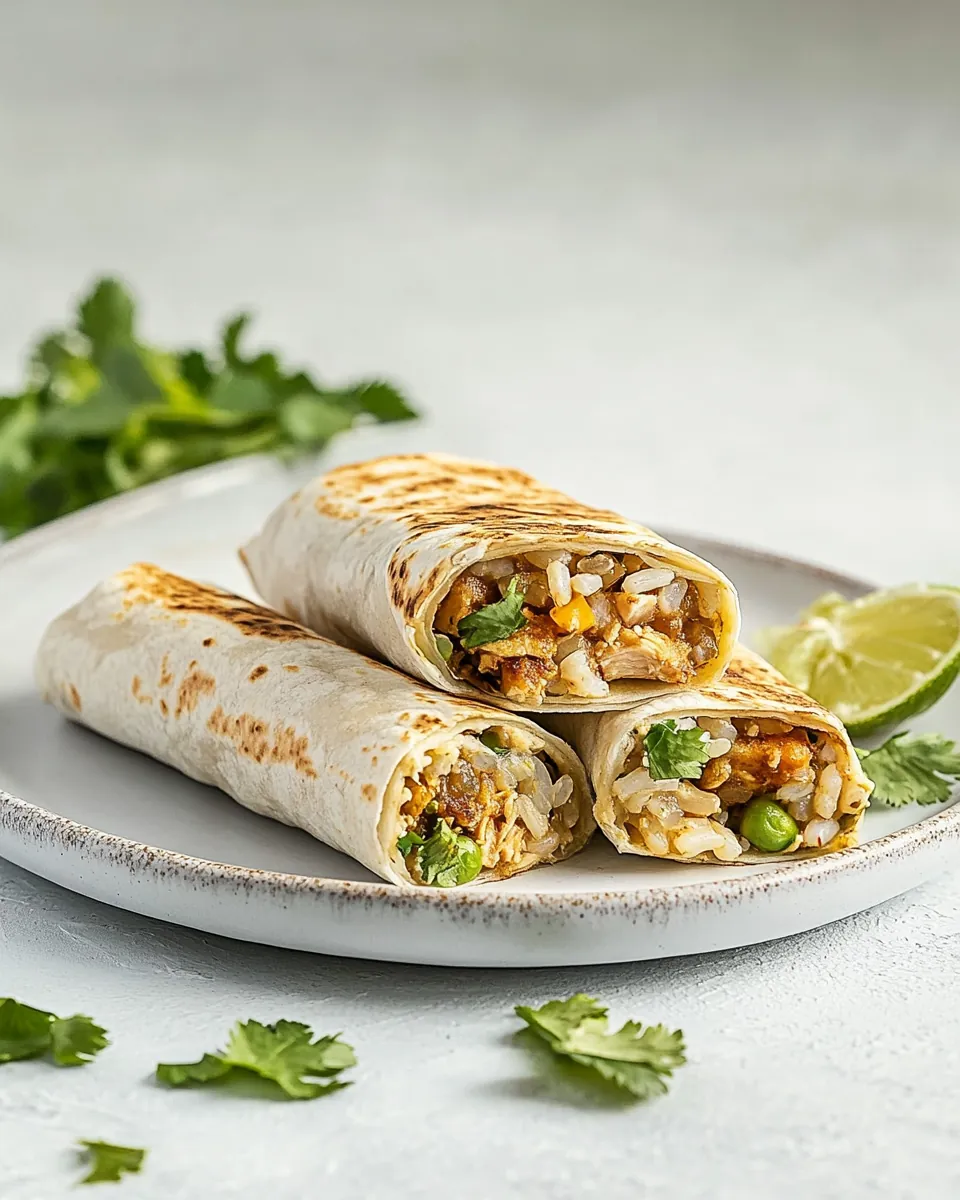
Crispy Chicken
There’s something magical about Crispy Chicken that makes my heart skip a beat. Growing up, my family would gather around the dinner table, and the star of the show was always that golden, crispy piece of chicken. I remember those weekends when my mom would prepare it just right, making the kitchen smell heavenly with the savory aroma filling every nook and cranny. There was a ritual to it – the panko breadcrumbs, the careful frying, and the anticipation as we waited for that first bite. Now, as I continue that tradition in my own kitchen, I cherish those moments of togetherness and the joy of sharing this dish with family and friends. Whether it’s a casual weeknight dinner or a special occasion, Crispy Chicken never fails to impress and satisfy. Let’s dive into this delightful recipe that’s bound to become a favorite in your home.
Recipe Snapshot
25 mins
10 mins
15 mins
Medium
440 kcal
30 g
Gluten-Free
20 g
Skillet, Wooden Spoon, Chef’s Knife, Mixing Bowl, Whisk, Food Processor, Frying Pan
Why This Crispy Chicken Hits Different
1. The Crunch Factor
One of the standout features of Crispy Chicken is undoubtedly its texture. The perfectly golden-brown exterior, achieved through a crisp panko breadcrumb coating, makes every bite a delight. It’s that satisfying crunch that hooks you in, making you wish you could enjoy it again and again. And let’s be honest, who doesn’t love a dish that offers that kind of excitement?
2. Versatile Pairing Options
This recipe is incredibly versatile when it comes to pairing. You can serve Crispy Chicken with a fresh salad, some roasted vegetables, or even alongside creamy pasta. The possibilities are endless, allowing you to tailor your meal to suit any occasion, from a quick weeknight dinner to a more elaborate gathering.
3. Family-Friendly Dish
Kids and adults alike adore Crispy Chicken. It’s not just a meal; it’s an experience that brings everyone together. I’ve witnessed firsthand how it can turn a regular dinner into a joyful occasion. The fun of dipping chicken into different sauces or using it as a base for various toppings makes it a hit at the family table.
4. Comfort Food at Its Best
At the end of the day, Crispy Chicken is the epitome of comfort food. It warms your soul and your belly, reminding you of home-cooked meals and cherished times spent with loved ones. There’s something inherently satisfying about indulging in this dish, making it a go-to when you need a pick-me-up or a sense of nostalgia.
5. Easy to Prepare
Last but not least, this recipe doesn’t require you to be a culinary genius. It’s straightforward, allowing even novice cooks to achieve delicious results. With just a few essential ingredients, you’ll have a mouthwatering dish that feels special without the stress of complex techniques.
Ingredients Required for Crispy Chicken
Every great dish starts with quality ingredients. For Crispy Chicken, you’ll find that the combination of flavors and textures plays a critical role in its success. The chicken serves as the foundation, while the panko breadcrumbs, flour, and spices add that essential crunch and flavor depth. Together, these ingredients create a beautiful harmony that will entice your taste buds.
- 3 large chicken breasts: These juicy breasts are the centerpiece of the dish, ensuring each bite is tender and satisfying.
- 2-3 cups panko bread crumbs: The secret to that irresistible crunch! Panko creates a lighter, crispier coating compared to regular breadcrumbs.
- 3/4 cup all-purpose flour: This helps create a nice base layer on the chicken, holding the breadcrumbs in place during frying.
- 1/2 tsp salt: Enhances the flavors, ensuring that your Crispy Chicken tastes delightful.
- 1/2 cup milk: Used for soaking the chicken, adding moisture and allowing the breadcrumbs to stick better.
- 6 tbsp olive oil: Essential for frying, giving the chicken that golden-brown color and delicious taste.
- 12 oz farfalle noodles: A perfect side to complement the Crispy Chicken, adding another layer to your meal.
- 8 oz cream cheese: Adds creaminess to your sauce, balancing the crunch of the chicken.
- 1 tsp Italian seasoning: A blend of herbs that elevates the flavor profile of the dish.
- 1/4 tsp granulated garlic: Adds a subtle garlic flavor without overpowering.
- 1/2 tsp oregano: Brings a warm, earthy flavor to the mix.
- 1/4 tsp salt: Additional seasoning for the sauce.
- 1 tsp chicken bouillon granules: Enhances the chicken flavor, making the dish even richer.
- 1 tbsp butter: For sautéing, adding richness and flavor.
- 1 can cream of chicken (10.5 oz can): Contributes to a creamy sauce that pairs beautifully with the chicken.
- 1 cup chicken broth: Helps create a savory sauce that ties the dish together.
- 1/2 cup milk: Used in the sauce for extra creaminess.
Cooking Instructions for Crispy Chicken
Cooking Crispy Chicken is a delightful journey that brings out the flavors and textures. Let me walk you through the steps to achieve that perfect dish. You’ll be amazed at how simple it is to create a restaurant-quality meal right in your own kitchen!
- Begin by combining 1/2 tsp salt and 3/4 cup flour in a bowl or pie pan. The pie pan is particularly handy for dipping the chicken, so it’s wise to use it. Set this flour mixture aside for later use.
- Prepare for the breading process by placing the panko breadcrumbs, flour, and milk into separate bowls or pie/bread pans. This organization makes dipping the chicken seamless and efficient.
- Take 3 large chicken breasts and put them in a gallon-sized Ziploc bag. With a meat mallet, pound the chicken until it’s flat. This helps it cook evenly and gives you those wide pieces we all love.
- Once the chicken is flattened, remove it from the bag and slice each breast in half for easier handling.
- Dip each piece of chicken into the flour, ensuring all sides are coated well. Place the coated chicken onto a small cookie sheet and pop it into the freezer for about 5 minutes. This step helps the coating stick better during frying.
- Meanwhile, start cooking your farfalle noodles according to the package directions. This will ensure your pasta is ready to accompany the chicken.
- In a skillet, add 6 tbsp olive oil and heat it over medium heat. You want the oil hot enough to create that lovely sizzle when the chicken hits the pan.
- After 5 minutes in the freezer, remove the chicken and dip each piece first into the milk and then into the panko breadcrumbs. Make sure each piece is well coated. Carefully add the chicken to the hot oil and fry each side for about 3 to 5 minutes, or until golden brown. If the oil level decreases, feel free to add more.
- Once browned, reduce the heat and cover the pan, allowing the chicken to cook through for an additional 5 to 7 minutes. This ensures it’s cooked all the way without burning the bottom.
- When the chicken is fully cooked, carefully remove it from the skillet and cover it with tin foil to keep warm.
- In a small bowl, microwave 8 oz cream cheese for about 30 seconds to soften it. Mix in 1 tsp Italian seasoning, 1/4 tsp granulated garlic, 1/2 tsp oregano, 1/4 tsp salt, and 1 tsp chicken bouillon granules until well combined.
- In the same skillet, melt 1 tbsp butter. Then add 1 can of cream of chicken, 1 cup chicken broth, 1/2 cup milk, and the seasoned cream cheese. Whisk over medium heat until the mixture starts to bubble. Allow it to cook for about 2 minutes.
- Finally, pour the cooked noodles into the creamy sauce and mix until they are well coated. Cut your crispy chicken into strips and place them over the pasta and sauce. Enjoy your delicious meal!
Things Worth Knowing
- Let the Chicken Rest: After cooking, allow the chicken to rest for a few minutes. This helps retain its juices and keeps it moist.
- Watch the Oil Temperature: If the oil is too hot, the breadcrumbs might burn before the chicken cooks through. Medium heat is ideal.
- Storage: Leftover Crispy Chicken can be stored in an airtight container in the refrigerator for up to three days.
- Reheating: For the best texture, reheat in the oven or air fryer instead of the microwave to maintain crispiness.
Tips and Variations
Cooking is all about creativity and adapting to your preferences. Here are some tips and variations for making Crispy Chicken your own:
- Experiment with Seasonings: Feel free to add your favorite spices or herbs to the flour or breadcrumbs for a personal touch.
- Use Different Sauces: Try different sauces to top your chicken, like a spicy buffalo sauce, tangy barbecue, or a zesty lemon sauce.
- Leftover Chicken: Use any leftover Crispy Chicken in salads or sandwiches for a quick and tasty meal.
- Freezing: You can freeze the breaded chicken before frying. Just make sure to separate the pieces with parchment paper to prevent sticking.
- Pairing Suggestions: Serve with a simple green salad, coleslaw, or roasted vegetables for a complete meal.
Side Dish Ideas for Crispy Chicken
When serving Crispy Chicken, consider these delightful side dishes to create a well-rounded meal:
- Garlic Mashed Potatoes: Creamy mashed potatoes infused with garlic make a perfect pairing.
- Steamed Broccoli: A light and healthy option that adds a pop of color to your plate.
- Coleslaw: Crunchy and tangy, coleslaw complements the crispy texture of the chicken beautifully.
- Rice Pilaf: Fluffy rice with herbs and spices serves as a great base for the chicken.
- Caesar Salad: A classic salad with romaine, croutons, and dressing to balance the richness of the chicken.
- French Fries: You can never go wrong with crispy fries on the side!
- Seasonal Vegetables: Roasted veggies like carrots, zucchini, or bell peppers can add freshness and flavor.
FAQ
Conclusion
**Crispy Chicken** is a dish that brings joy and satisfaction to every table. Its golden, crunchy exterior combined with tender, juicy chicken inside creates a delightful experience that keeps everyone coming back for more. I encourage you to try this easy recipe that’s sure to become a staple in your home. It’s not just a meal; it’s a way to create memories and share love around the dinner table. Enjoy every bite!
Crispy Chicken
Ingredients
Equipment
Method
- Begin by combining **1/2 tsp salt** and **3/4 cup flour** in a bowl or pie pan. The pie pan is particularly handy for dipping the chicken, so it’s wise to use it. Set this flour mixture aside for later use.
- Prepare for the breading process by placing the **panko breadcrumbs**, **flour**, and **milk** into separate bowls or pie/bread pans. This organization makes dipping the chicken seamless and efficient.
- Take **3 large chicken breasts** and put them in a gallon-sized Ziploc bag. With a meat mallet, pound the chicken until it's flat. This helps it cook evenly and gives you those wide pieces we all love.
- Once the chicken is flattened, remove it from the bag and slice each breast in half for easier handling.
- Dip each piece of chicken into the flour, ensuring all sides are coated well. Place the coated chicken onto a small cookie sheet and pop it into the freezer for about 5 minutes. This step helps the coating stick better during frying.
- Meanwhile, start cooking your **farfalle noodles** according to the package directions. This will ensure your pasta is ready to accompany the chicken.
- In a skillet, add **6 tbsp olive oil** and heat it over medium heat. You want the oil hot enough to create that lovely sizzle when the chicken hits the pan.
- After 5 minutes in the freezer, remove the chicken and dip each piece first into the **milk** and then into the **panko breadcrumbs**. Make sure each piece is well coated. Carefully add the chicken to the hot oil and fry each side for about 3 to 5 minutes, or until golden brown. If the oil level decreases, feel free to add more.
- Once browned, reduce the heat and cover the pan, allowing the chicken to cook through for an additional 5 to 7 minutes. This ensures it’s cooked all the way without burning the bottom.
- When the chicken is fully cooked, carefully remove it from the skillet and cover it with tin foil to keep warm.
- In a small bowl, microwave **8 oz cream cheese** for about 30 seconds to soften it. Mix in **1 tsp Italian seasoning**, **1/4 tsp granulated garlic**, **1/2 tsp oregano**, **1/4 tsp salt**, and **1 tsp chicken bouillon granules** until well combined.
- In the same skillet, melt **1 tbsp butter**. Then add **1 can of cream of chicken**, **1 cup chicken broth**, **1/2 cup milk**, and the seasoned cream cheese. Whisk over medium heat until the mixture starts to bubble. Allow it to cook for about 2 minutes.
- Finally, pour the cooked noodles into the creamy sauce and mix until they are well coated. Cut your crispy chicken into strips and place them over the pasta and sauce. Enjoy your delicious meal!
Notes
- Let the Chicken Rest: After cooking, allow the chicken to rest for a few minutes. This helps retain its juices and keeps it moist.
- Watch the Oil Temperature: If the oil is too hot, the breadcrumbs might burn before the chicken cooks through. Medium heat is ideal.
- Storage: Leftover **Crispy Chicken** can be stored in an airtight container in the refrigerator for up to three days.
- Reheating: For the best texture, reheat in the oven or air fryer instead of the microwave to maintain crispiness.