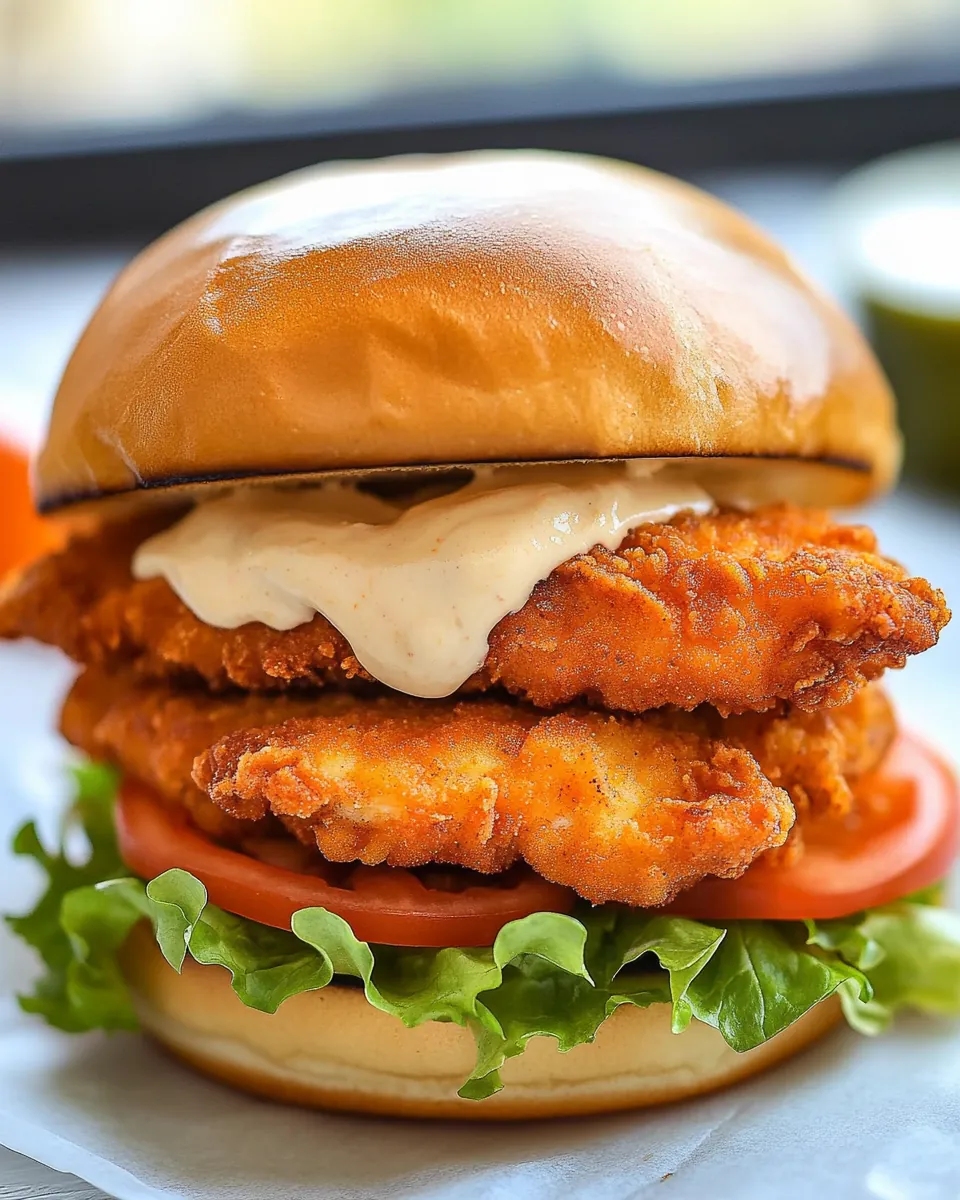
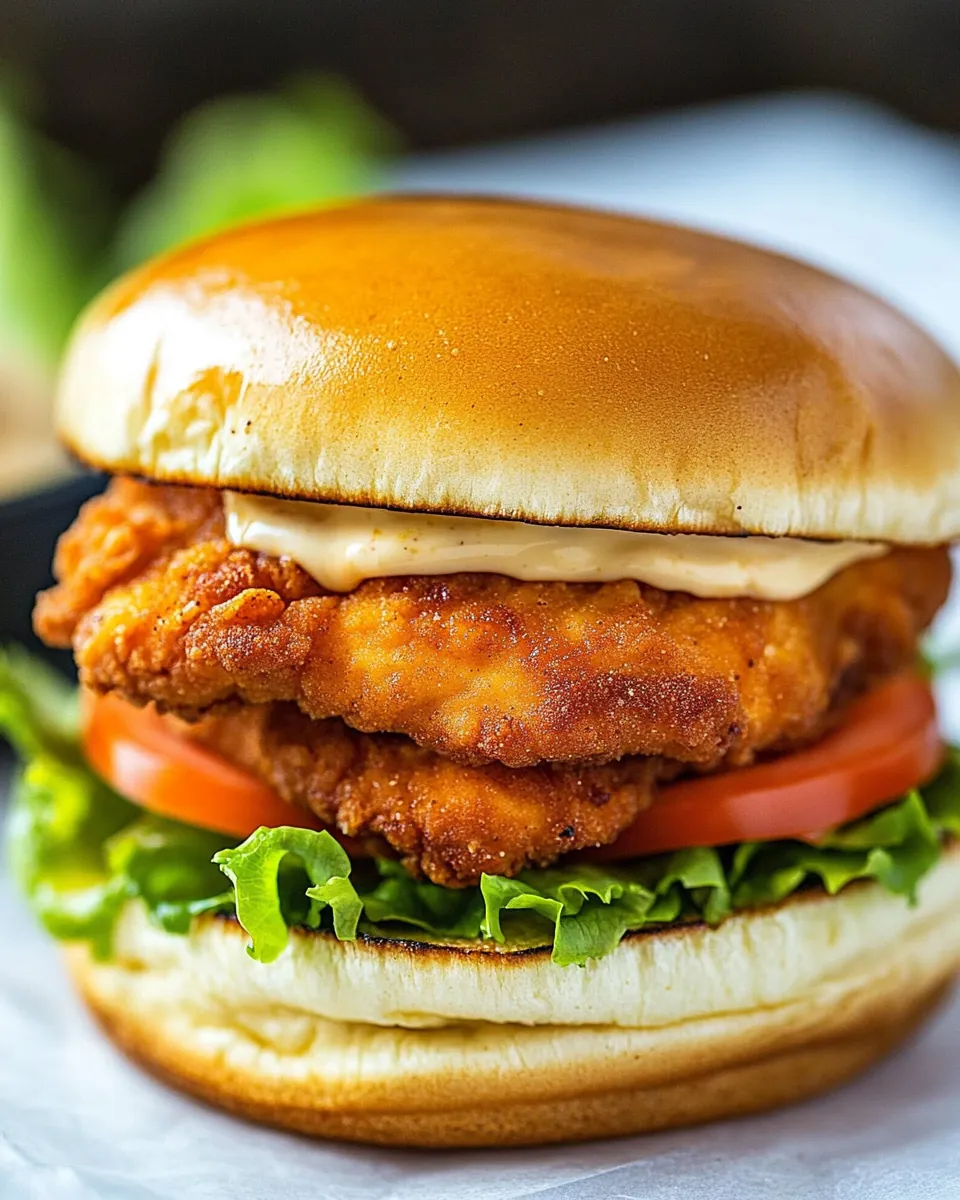
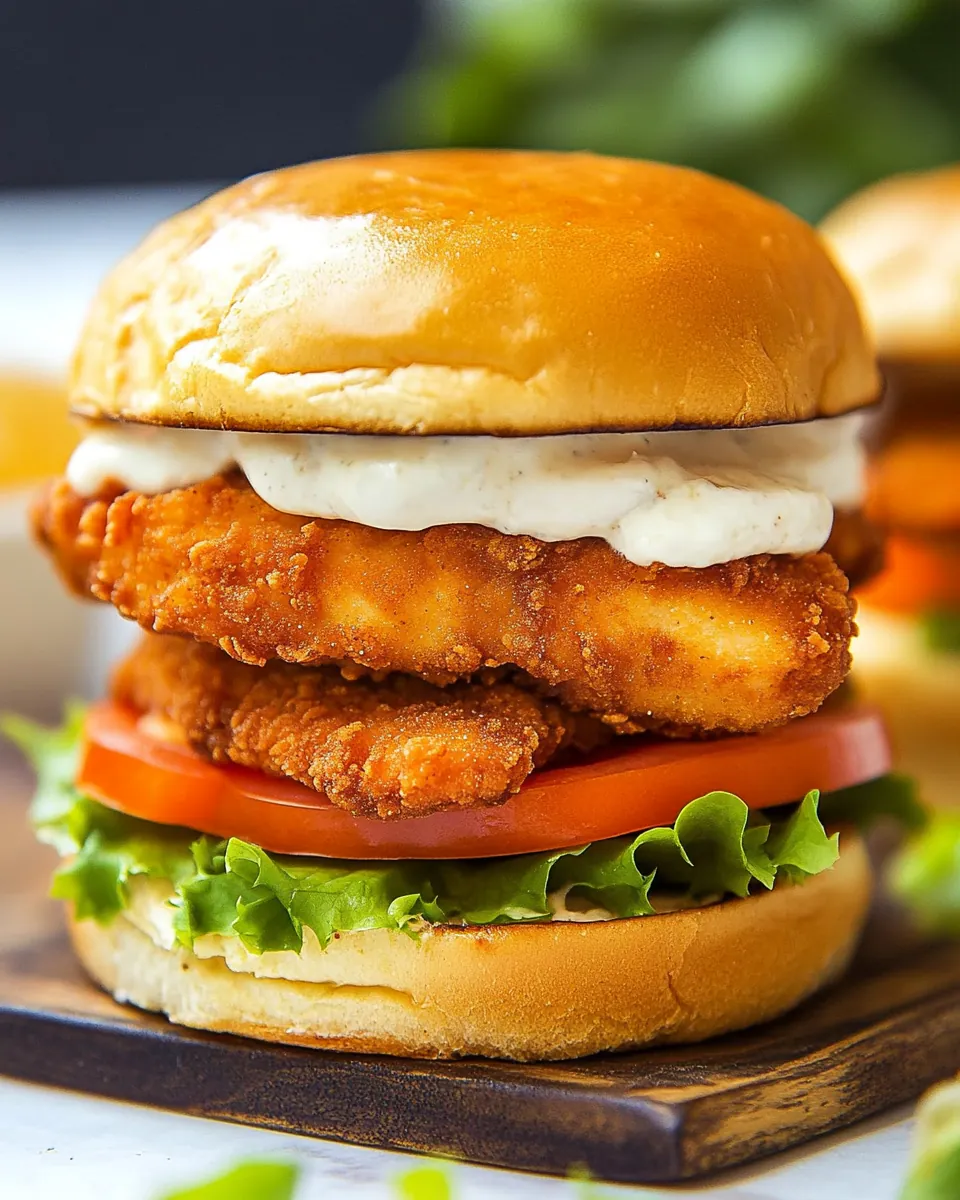
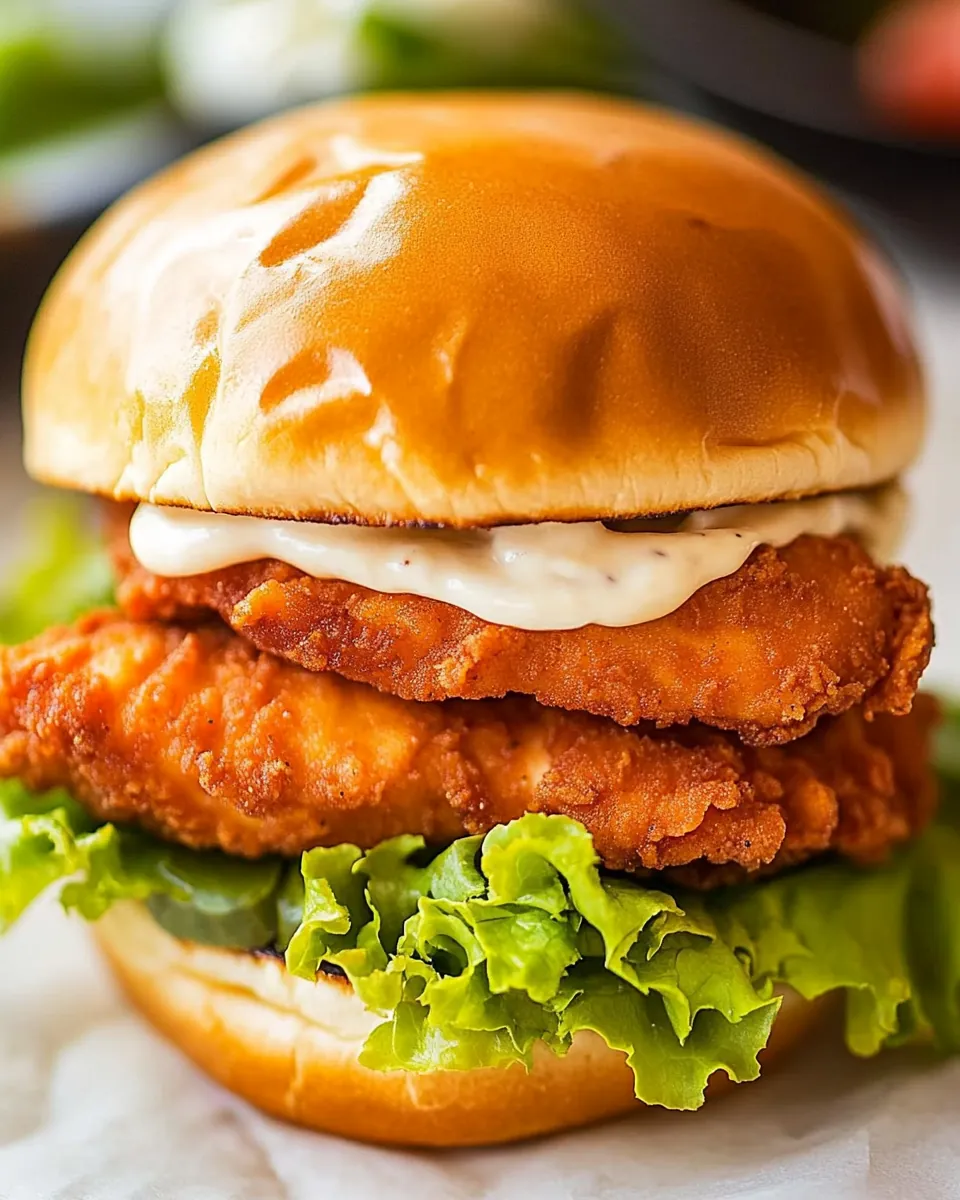
Crispy Chicken Sandwich
There’s something about a Crispy Chicken Sandwich that brings back so many wonderful memories for me. Growing up, weekends were often filled with the aroma of fried chicken wafting through the house, and my family would gather around the table to enjoy this delicious treat. Each bite was a delightful crunch, followed by tender, juicy chicken that made our taste buds dance. It was a dish that brought us together, laughter echoing as we piled our sandwiches high with all the toppings we loved. Today, I strive to recreate that feeling of comfort and joy whenever I make these sandwiches. It’s not just about the food; it’s about the connections and memories we build around them. And let me tell you, this recipe for a Crispy Chicken Sandwich is sure to spark its own set of cherished moments in your home!
Recipe Snapshot
50 mins
30 mins
20 mins
Medium
500 kcal
30 g
Gluten-Free, Low FODMAP
25 g
Skillet, Chef’s Knife, Mixing Bowl, Whisk, Oven
Why This Crispy Chicken Sandwich Is So Good
Irresistibly Crunchy Texture
First off, the crunch of the chicken is simply irresistible. When you bite into a Crispy Chicken Sandwich, the sound is music to your ears. The seasoned flour coating gives the chicken a delightful crispiness that contrasts beautifully with the tender meat inside. You’ll find yourself reaching for more before you even realize it!
Perfectly Juicy Chicken
One of my favorite aspects of this recipe is how juicy the chicken remains. The buttermilk marinade not only tenderizes the meat but also infuses it with flavor, ensuring every bite is as juicy as the last. You’ll love how the chicken stays moist, making the sandwich a satisfying experience.
Customizable Toppings
The beauty of a Crispy Chicken Sandwich is that it’s entirely customizable. Want to add some zing? Slather on spicy mayonnaise or your favorite sauce. Looking for a fresh crunch? Load it up with crisp lettuce, juicy tomato slices, and dill pickles. Create your perfect sandwich that fits your mood!
Quick and Easy Preparation
Don’t worry about spending hours in the kitchen. This recipe is relatively simple and straightforward. You’ll find that prepping the chicken and frying it is a breeze, making it an excellent choice for a weeknight dinner or casual gathering with friends.
Family Favorite
Lastly, the Crispy Chicken Sandwich is truly a family favorite. Kids and adults alike can’t resist this deliciousness. It’s a meal that brings smiles and satisfaction, making it a perfect option for any family dinner. You’ll find that it’s not just a meal, but an experience to share with loved ones.
What You Need for Crispy Chicken Sandwich
Gathering the right ingredients is crucial for making a stellar Crispy Chicken Sandwich. Each component plays a vital role in creating a balanced, flavorful dish. The key players here include the chicken, which serves as the star of the show, and the buttermilk, which helps to tenderize and flavor the meat. The seasoned flour provides that satisfying crunch, while fresh toppings add texture and vibrancy. Let’s dive into what you’ll need!
- 3 medium chicken breasts, boneless, skinless, halved into 6 cutlets – These are the main protein source and contribute to the heartiness of the sandwich.
- 1 1/2 cups low-fat buttermilk – Used for marinating the chicken, ensuring it remains moist and tender.
- 1 Tbsp hot sauce (we use Frank’s Red Hot brand) – Adds a spicy kick to the marinade.
- 1 tsp salt – Enhances the overall flavor of the chicken.
- 1 tsp black pepper – A classic seasoning that complements the chicken.
- 1 tsp onion powder – Adds a subtle sweetness and depth of flavor.
- 1 tsp garlic powder – Brings in warmth and flavor to each bite.
- 1 1/2 cups all-purpose flour – This forms the crispy coating for the fried chicken.
- 2 tsp salt – For seasoning the flour mixture to ensure each bite is flavorful.
- 1 tsp black pepper, freshly ground – For a bit of extra depth in flavor.
- 1 tsp baking powder – Helps the coating become light and crisp when fried.
- 1 tsp paprika – Adds a lovely color and smoky flavor.
- 1 tsp onion powder – Reinforces the savory taste profile.
- 1 tsp garlic powder – For a fragrant and flavorful breading.
- Oil for frying (vegetable oil, canola oil, or peanut oil) – Essential for frying the chicken, giving it that golden color and crunch.
- 6 burger buns, buttered and toasted – The perfect vessel for your crispy chicken.
- 6 green lettuce leaves – Adds freshness and crunch to each bite.
- 1 large tomato, sliced – Provides juiciness and acidity, balancing the richness of the fried chicken.
- 2 dill pickles, sliced into rings – A classic addition that brings brightness and tang.
- Mayonnaise or your favorite sauce – For that creamy element that pulls everything together.
Preparation Steps for Crispy Chicken Sandwich
Making your own Crispy Chicken Sandwich at home is not just rewarding; it’s a culinary adventure! From marinating the chicken to frying it to perfection, each step brings you closer to that first delicious bite. Roll up your sleeves and let’s get cooking!
Start by taking the chicken cutlets and placing them between two sheets of plastic wrap. Using a meat mallet or rolling pin, pound the chicken to an even 1/2-inch thickness. This ensures that they cook evenly, resulting in a perfectly tender and juicy chicken.
In a large mixing bowl, combine the buttermilk and hot sauce. Whisk them together until well blended. Add the chicken cutlets to the bowl, turning them over to coat thoroughly in the marinade. Cover the bowl and refrigerate for 2 to 4 hours, or preferably overnight. This step is crucial as it allows the flavors to penetrate.
Next, in a separate shallow bowl, whisk together the flour, salt, black pepper, baking powder, paprika, onion powder, and garlic powder. This seasoned flour will add that essential texture and flavor to your fried chicken.
Once the chicken has marinated, remove a piece from the buttermilk, letting any excess drip off. Dip the chicken into the seasoned flour mixture, pressing it onto the surface with your hands to ensure a good coating. Transfer the coated chicken to a wire rack to rest while you prepare for frying.
In a soup pot or Dutch oven, heat about 1 inch of oil to 350°F over medium-high heat. It’s important to monitor the temperature to ensure the chicken cooks properly without burning. Just before frying, dip the coated chicken back into the seasoned flour for an extra crispy layer.
Carefully place the chicken into the hot oil, 2 pieces at a time, to avoid overcrowding, which can drop the oil temperature. Maintain the oil temperature between 300°F and 325°F. Cook the chicken for 3 to 4 minutes on one side until it turns golden brown and crispy.
Flip the chicken and continue cooking for another 2 to 3 minutes on the other side, ensuring it’s cooked through and has that rich color all over. Use a meat thermometer to check that the internal temperature reaches at least 165°F.
Once cooked, transfer the chicken to a wire rack set over a baking sheet. This allows excess oil to drip off and helps keep the coating crisp. The internal temperature may continue to rise while it rests, ensuring perfect doneness.
While the chicken rests, take the burger buns and lightly butter the cut sides. Toast them on a skillet until golden brown. This adds flavor and prevents the bun from becoming soggy.
Now it’s time to assemble your Crispy Chicken Sandwich. Place a piece of chicken on the bottom half of the toasted bun, then layer with lettuce, tomato slices, and pickles. Spread mayonnaise or your favorite sauce on the top half of the bun, then crown your sandwich. Serve immediately and enjoy!
Things Worth Knowing
- Keep an eye on the oil temperature: Maintaining the right oil temperature (300°F to 325°F) is essential for achieving crispy chicken without burning it.
- Double dip for extra crunch: For a thicker, crunchier coating, don’t hesitate to dip the chicken in the seasoned flour more than once.
- Resting the chicken: Allowing the fried chicken to rest helps to lock in moisture, resulting in a juicier sandwich.
- Be creative with toppings: Feel free to experiment with different sauces and vegetables to make your sandwich unique. The possibilities are endless!
Substitutions and Tips
Creating the perfect Crispy Chicken Sandwich can be an exciting culinary journey with a few helpful tips along the way. Here are some suggestions to elevate your dish!
- Storage: If you have leftover chicken, store it in an airtight container in the refrigerator for up to 3 days. Reheat in the oven to retain its crispiness.
- Freezing: You can freeze the cooked chicken for up to 2 months. Just ensure it’s properly wrapped to avoid freezer burn.
- Pairing: Serve your sandwiches with sweet potato fries or a side salad for a complete meal.
- Alternative buns: Consider using whole wheat or brioche buns for a different flavor profile.
- Flavor variations: Mix different spices into the flour for a unique twist, such as cayenne for heat or Italian herbs for an aromatic touch.
Great Combinations for Crispy Chicken Sandwich
When it comes to serving your Crispy Chicken Sandwich, the options are endless! Here are some fantastic combinations that will enhance your dining experience:
- Sweet Potato Fries: The sweetness of these fries perfectly complements the savory flavors of the sandwich.
- Coleslaw: A crunchy coleslaw adds a refreshing crunch and balances the richness of the fried chicken.
- Pickle Chips: Serve extra dill pickle chips on the side for a tangy crunch with each bite.
- Summer Picnic: These sandwiches are perfect for outdoor gatherings, paired with lemonade for a refreshing touch.
- Game Day: Serve the sandwiches with a variety of sauces for dipping, making them a hit during any sports event.
- Seasonal Variations: In the summer, add fresh basil or avocado for a light and vibrant twist.
FAQ
Conclusion
The Crispy Chicken Sandwich is not just a meal; it’s an experience filled with flavor and nostalgia. With its crunchy exterior and juicy interior, it’s a dish that brings people together. I encourage you to gather your loved ones and try making this sandwich at home. It’s a delightful addition to any dinner table or gathering that will surely make lasting memories!
Crispy Chicken Sandwich
Ingredients
Equipment
Method
- Start by taking the chicken cutlets and placing them between two sheets of plastic wrap. Using a meat mallet or rolling pin, pound the chicken to an even 1/2-inch thickness. This ensures that they cook evenly, resulting in a perfectly tender and juicy chicken.
- In a large mixing bowl, combine the buttermilk and hot sauce. Whisk them together until well blended. Add the chicken cutlets to the bowl, turning them over to coat thoroughly in the marinade. Cover the bowl and refrigerate for 2 to 4 hours, or preferably overnight. This step is crucial as it allows the flavors to penetrate.
- Next, in a separate shallow bowl, whisk together the flour, salt, black pepper, baking powder, paprika, onion powder, and garlic powder. This seasoned flour will add that essential texture and flavor to your fried chicken.
- Once the chicken has marinated, remove a piece from the buttermilk, letting any excess drip off. Dip the chicken into the seasoned flour mixture, pressing it onto the surface with your hands to ensure a good coating. Transfer the coated chicken to a wire rack to rest while you prepare for frying.
- In a soup pot or Dutch oven, heat about 1 inch of oil to 350°F over medium-high heat. It’s important to monitor the temperature to ensure the chicken cooks properly without burning. Just before frying, dip the coated chicken back into the seasoned flour for an extra crispy layer.
- Carefully place the chicken into the hot oil, 2 pieces at a time, to avoid overcrowding, which can drop the oil temperature. Maintain the oil temperature between 300°F and 325°F. Cook the chicken for 3 to 4 minutes on one side until it turns golden brown and crispy.
- Flip the chicken and continue cooking for another 2 to 3 minutes on the other side, ensuring it’s cooked through and has that rich color all over. Use a meat thermometer to check that the internal temperature reaches at least 165°F.
- Once cooked, transfer the chicken to a wire rack set over a baking sheet. This allows excess oil to drip off and helps keep the coating crisp. The internal temperature may continue to rise while it rests, ensuring perfect doneness.
- While the chicken rests, take the burger buns and lightly butter the cut sides. Toast them on a skillet until golden brown. This adds flavor and prevents the bun from becoming soggy.
- Now it’s time to assemble your Crispy Chicken Sandwich. Place a piece of chicken on the bottom half of the toasted bun, then layer with lettuce, tomato slices, and pickles. Spread mayonnaise or your favorite sauce on the top half of the bun, then crown your sandwich. Serve immediately and enjoy!