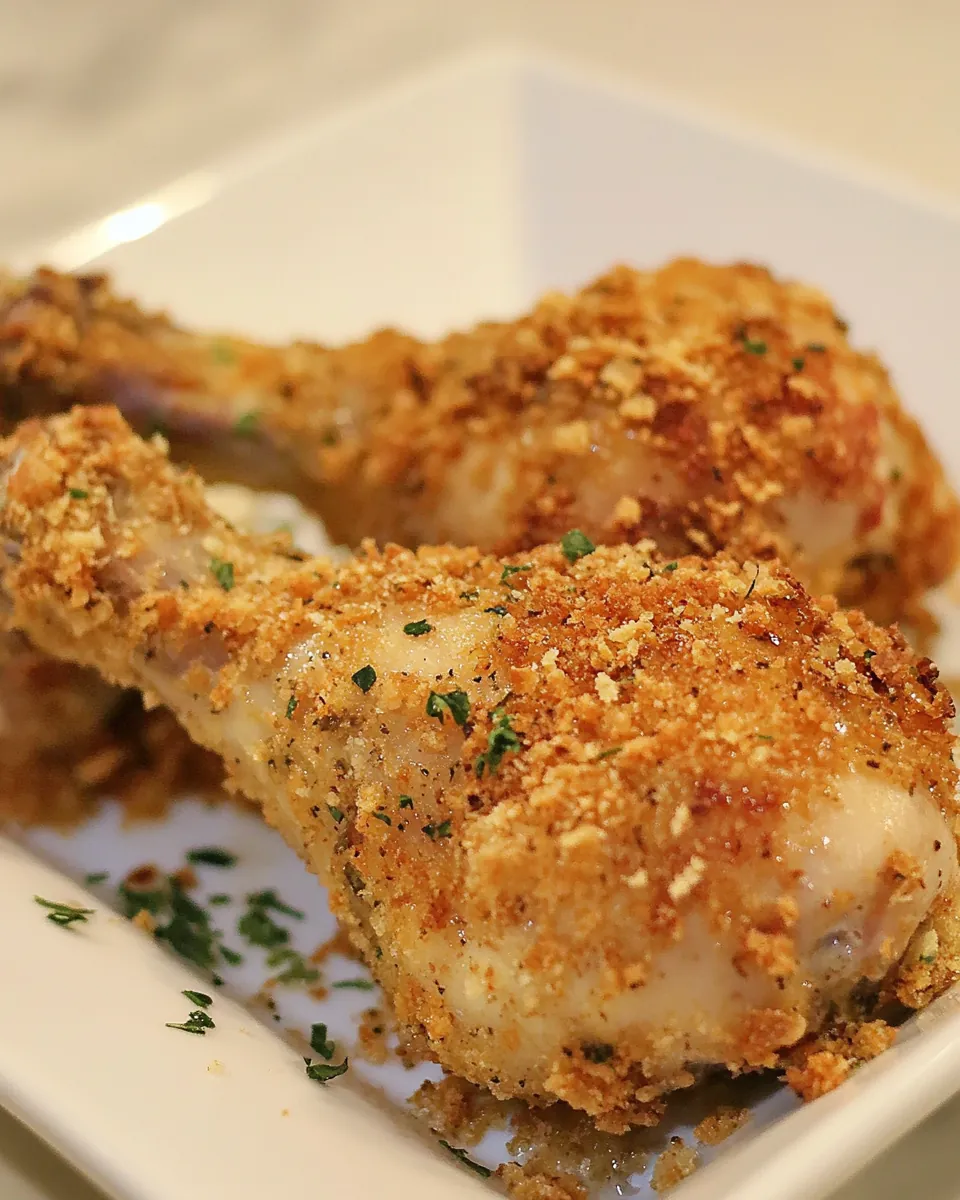
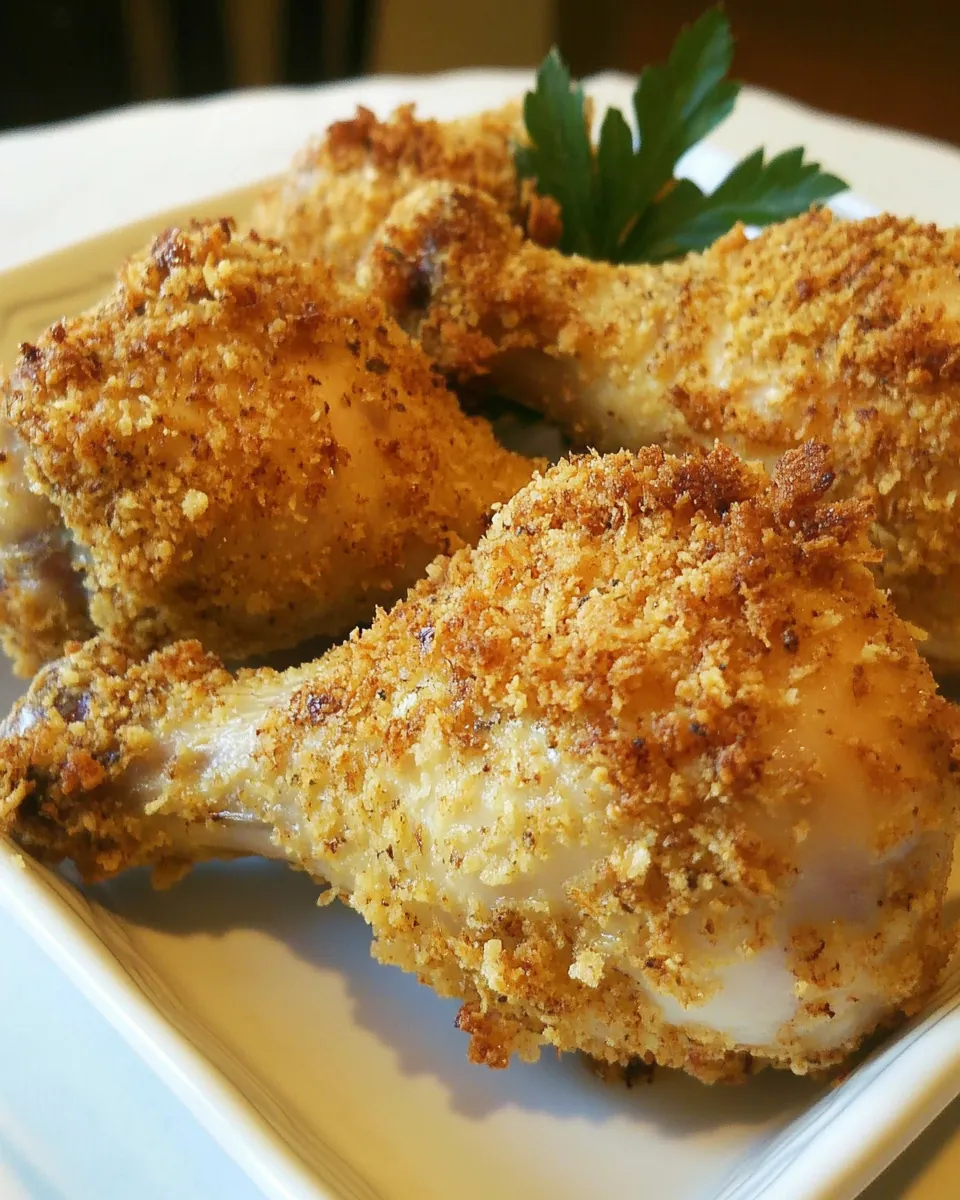
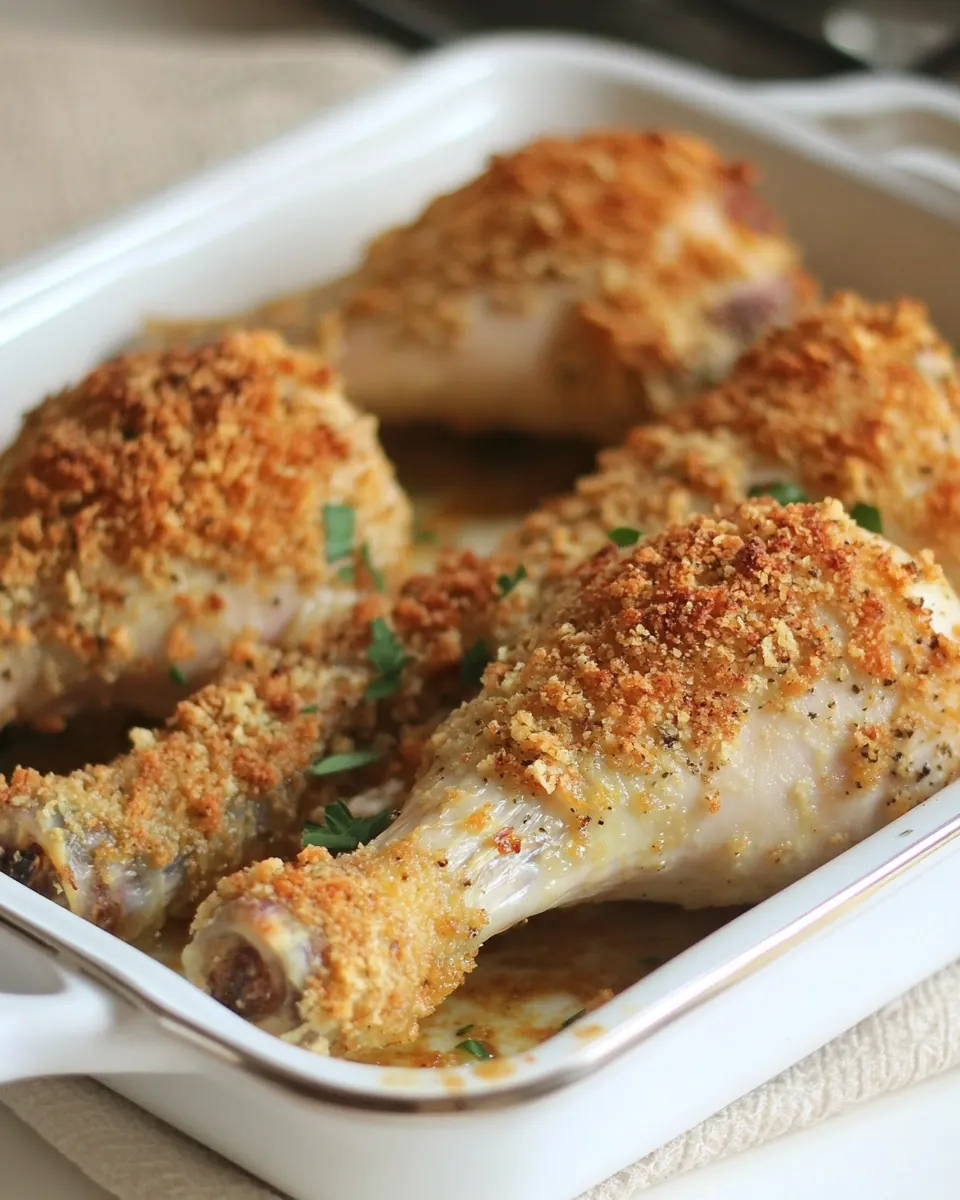
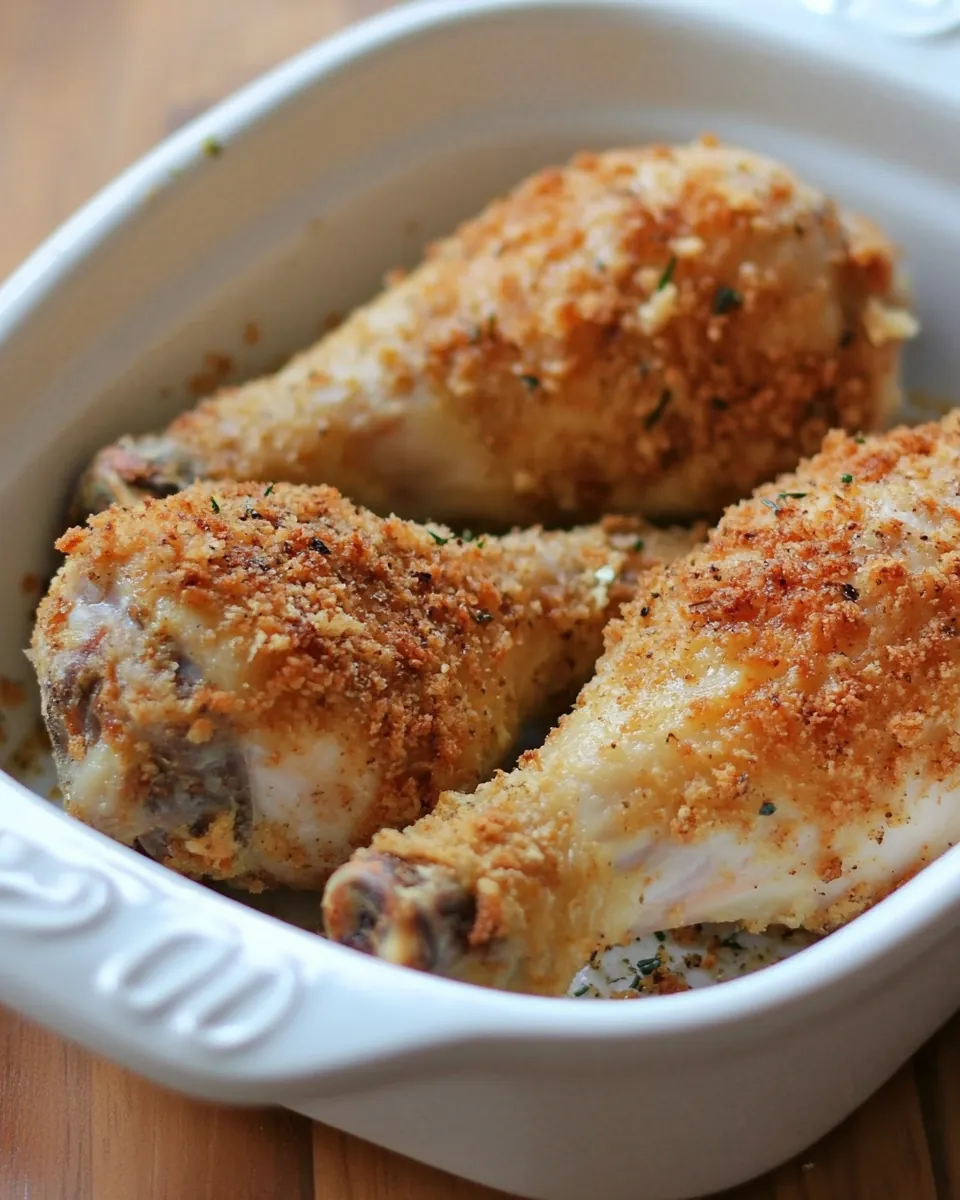
Crispy Oven Baked Chicken Drumsticks
There’s something so comforting about biting into a perfectly cooked piece of chicken, especially when it’s as crispy and flavorful as Crispy Oven Baked Chicken Drumsticks. I remember the first time I made these for my family; the aroma filled the kitchen, and the anticipation grew as the timer counted down. With just the right amount of seasoning and that satisfying crunch, these drumsticks quickly became a family favorite. Whether it’s a busy weeknight or a cozy Sunday dinner, I often find myself turning to this recipe because it’s not just easy; it brings everyone together around the table.
Recipe Snapshot
1 hr 5 mins
15 mins
50 mins
Medium
340 kcal
20 g
Keto, Gluten-Free, Low FODMAP
20 g
Mixing Bowl, Whisk, Baking Sheet, Oven, Frying Pan
What We Adore About This Crispy Oven Baked Chicken Drumsticks
Simple Yet Satisfying
What I adore most about Crispy Oven Baked Chicken Drumsticks is that they combine simplicity with incredible taste. You don’t need a culinary degree to whip these up; just a few ingredients and a bit of time. They’re perfect for busy nights!
Healthier Option
Baking chicken instead of frying it not only cuts down on calories but also allows you to enjoy the crispiness without the guilt. I love knowing I can serve a healthier meal without sacrificing flavor. It’s a win-win!
Versatile Recipe
This recipe is incredibly versatile. You can easily switch up the seasonings or try different dips to accompany your drumsticks. Whether you’re craving something spicy, tangy, or savory, you can adjust the flavors to match your mood or occasion.
Perfect for Meal Prep
If you’re looking to save time during the week, these drumsticks are a fantastic meal prep option. Make a big batch ahead of time and reheat them when you need a quick dinner. They hold up beautifully in the fridge and still taste amazing!
Family-Friendly
Kids love drumsticks! They’re fun to eat and easy to handle, which makes them an excellent choice for family meals. Pair them with a side of veggies or some mashed potatoes, and you have a complete meal that everyone will enjoy.
Budget-Friendly
Drumsticks are usually one of the more affordable cuts of chicken. That makes this recipe not just tasty but also budget-friendly. You can feed a crowd without breaking the bank, which is always a plus!
Recipe Ingredients for Crispy Oven Baked Chicken Drumsticks
The key to achieving the perfect Crispy Oven Baked Chicken Drumsticks lies in the combination of ingredients that work together to create that crunch and flavor. Each component plays a significant role, from the seasoned crumbs to the juicy chicken itself. Let’s dive into these ingredients.
- 2 cups fine cornflake crumbs (alternatively, you can use pretzel crumbs) – These create that delightful crunch that makes each bite irresistible.
- 1 teaspoon salt – Essential for enhancing and balancing flavors.
- ½ teaspoon garlic powder – Adds a subtle depth of flavor that complements the chicken.
- ½ teaspoon smoked paprika – Brings a rich, smoky undertone that elevates the dish.
- ½ teaspoon baking powder – Helps achieve a light and crispy coating.
- ¼ teaspoon freshly ground black pepper – Adds a hint of spice to the mix.
- ½ cup (1 stick) butter – Essential for flavor and to help the crumbs adhere to the chicken.
- 8 chicken drumsticks (keep skin on) – The star of the dish that provides juiciness and flavor.
Cooking Method for Crispy Oven Baked Chicken Drumsticks
Cooking Crispy Oven Baked Chicken Drumsticks is not only straightforward but also a rewarding experience. With just a few steps, you’ll have delicious drumsticks ready to impress. Let’s break it down!
- Preheat your oven to 425℉. Set the rack in the middle of the oven. This ensures even cooking as the heat circulates around your drumsticks.
- Line a baking sheet or pan with foil and set a rack on top of the foil. This allows the heat to circulate under the chicken, creating that irresistible crispy texture.
- In a medium bowl, whisk together the cornflake crumbs, salt, garlic powder, paprika, baking powder, and pepper. Make sure it’s well mixed so each bite is flavorful.
- In a separate bowl, melt the butter. This step is crucial as it will coat the drumsticks, helping the crumb mixture stick.
- Dip each drumstick in the melted butter, ensuring it’s completely coated.
- Roll the buttered drumsticks in the seasoned crumb mixture, pressing gently to make sure the crumbs adhere well.
- Place the coated drumsticks on the rack. Make sure they’re spaced out to allow for even cooking.
- Spray lightly with oil or olive oil spray. This extra layer will help achieve that golden brown crispiness.
- Bake for 25 minutes, then flip the drumsticks over and bake for an additional 15 to 20 minutes. The cooking time can vary depending on the size of your drumsticks.
- To ensure they’re perfectly cooked, check the internal temperature with an instant read thermometer, which should be 170℉. This ensures they’re safe to eat and juicy.
- Remove the chicken from the oven and let it rest for a few minutes before serving. This helps the juices redistribute for maximum flavor!
Things Worth Knowing
- Resting Time: Letting the chicken rest after baking is crucial. It allows the juices to redistribute, ensuring every bite is flavorful and juicy.
- Adjust Cooking Time: Larger drumsticks may require a longer cooking time, so keep an eye on them to avoid undercooking.
- Temperature Check: Always use a meat thermometer to check for doneness, as this is the best way to ensure food safety.
- Oil Spray: Lightly spraying your drumsticks with oil can help achieve that golden, crispy finish.
Expert Tips about Crispy Oven Baked Chicken Drumsticks
Cooking is all about trial and error, and with Crispy Oven Baked Chicken Drumsticks, there’s always room for customization. Here are some expert tips to make your cooking journey even smoother.
- Storage: After cooking, let the drumsticks cool completely, then store them in an airtight container in the fridge for up to four days.
- Freezing: You can freeze the cooked drumsticks for up to three months. Just make sure to wrap them tightly in plastic wrap before placing them in a freezer bag.
- Pairing: These drumsticks pair wonderfully with roasted vegetables or a fresh salad to complete your meal.
- Flavor Variations: Try adding different spices or herbs to the breadcrumb mixture for a unique twist each time you make them.
- Instant Pot Option: If you’re short on time, consider cooking the drumsticks in an Instant Pot before baking them for a crispier finish.
Perfect Matches for Crispy Oven Baked Chicken Drumsticks
When it comes to serving Crispy Oven Baked Chicken Drumsticks, the possibilities are endless. Here are some fantastic ideas to make your meal complete:
- Classic Mashed Potatoes: Creamy mashed potatoes make the perfect comforting side dish to pair with these crispy drumsticks.
- Garden Salad: A fresh garden salad provides a refreshing contrast to the rich flavors of the chicken.
- Coleslaw: The crunch and tang of coleslaw works beautifully with the crispy texture of the drumsticks.
- Seasonal Vegetables: Roasted seasonal vegetables not only add color to your plate but also enhance the meal’s nutrition profile.
- Barbecue Sauce: Serve with a side of your favorite barbecue sauce for dipping to add an extra layer of flavor.
- Potato Wedges: Crispy potato wedges are another great option that complements the drumsticks well.
- Occasions: These drumsticks are great for casual family dinners, potlucks, or game day gatherings. They’re sure to please any crowd!
FAQ
Conclusion
Incorporating Crispy Oven Baked Chicken Drumsticks into your meal rotation is a delightful choice that offers both flavor and ease. Each bite delivers satisfying crunch along with juicy chicken, making it a family favorite. I encourage you to give this recipe a try; you won’t be disappointed!
Crispy Oven Baked Chicken Drumsticks
Ingredients
Equipment
Method
- Preheat your oven to 425℉. Set the rack in the middle of the oven. This ensures even cooking as the heat circulates around your drumsticks.
- Line a baking sheet or pan with foil and set a rack on top of the foil. This allows the heat to circulate under the chicken, creating that irresistible crispy texture.
- In a medium bowl, whisk together the cornflake crumbs, salt, garlic powder, paprika, baking powder, and pepper. Make sure it’s well mixed so each bite is flavorful.
- In a separate bowl, melt the butter. This step is crucial as it will coat the drumsticks, helping the crumb mixture stick.
- Dip each drumstick in the melted butter, ensuring it’s completely coated.
- Roll the buttered drumsticks in the seasoned crumb mixture, pressing gently to make sure the crumbs adhere well.
- Place the coated drumsticks on the rack. Make sure they’re spaced out to allow for even cooking.
- Spray lightly with oil or olive oil spray. This extra layer will help achieve that golden brown crispiness.
- Bake for 25 minutes, then flip the drumsticks over and bake for an additional 15 to 20 minutes. The cooking time can vary depending on the size of your drumsticks.
- To ensure they’re perfectly cooked, check the internal temperature with an instant read thermometer, which should be 170℉. This ensures they’re safe to eat and juicy.
- Remove the chicken from the oven and let it rest for a few minutes before serving. This helps the juices redistribute for maximum flavor!
Notes
- Storage: After cooking, let the drumsticks cool completely, then store them in an airtight container in the fridge for up to four days.
- Freezing: You can freeze the cooked drumsticks for up to three months. Just make sure to wrap them tightly in plastic wrap before placing them in a freezer bag.
- Pairing: These drumsticks pair wonderfully with roasted vegetables or a fresh salad to complete your meal.
- Flavor Variations: Try adding different spices or herbs to the breadcrumb mixture for a unique twist each time you make them.
- Instant Pot Option: If you’re short on time, consider cooking the drumsticks in an Instant Pot before baking them for a crispier finish.