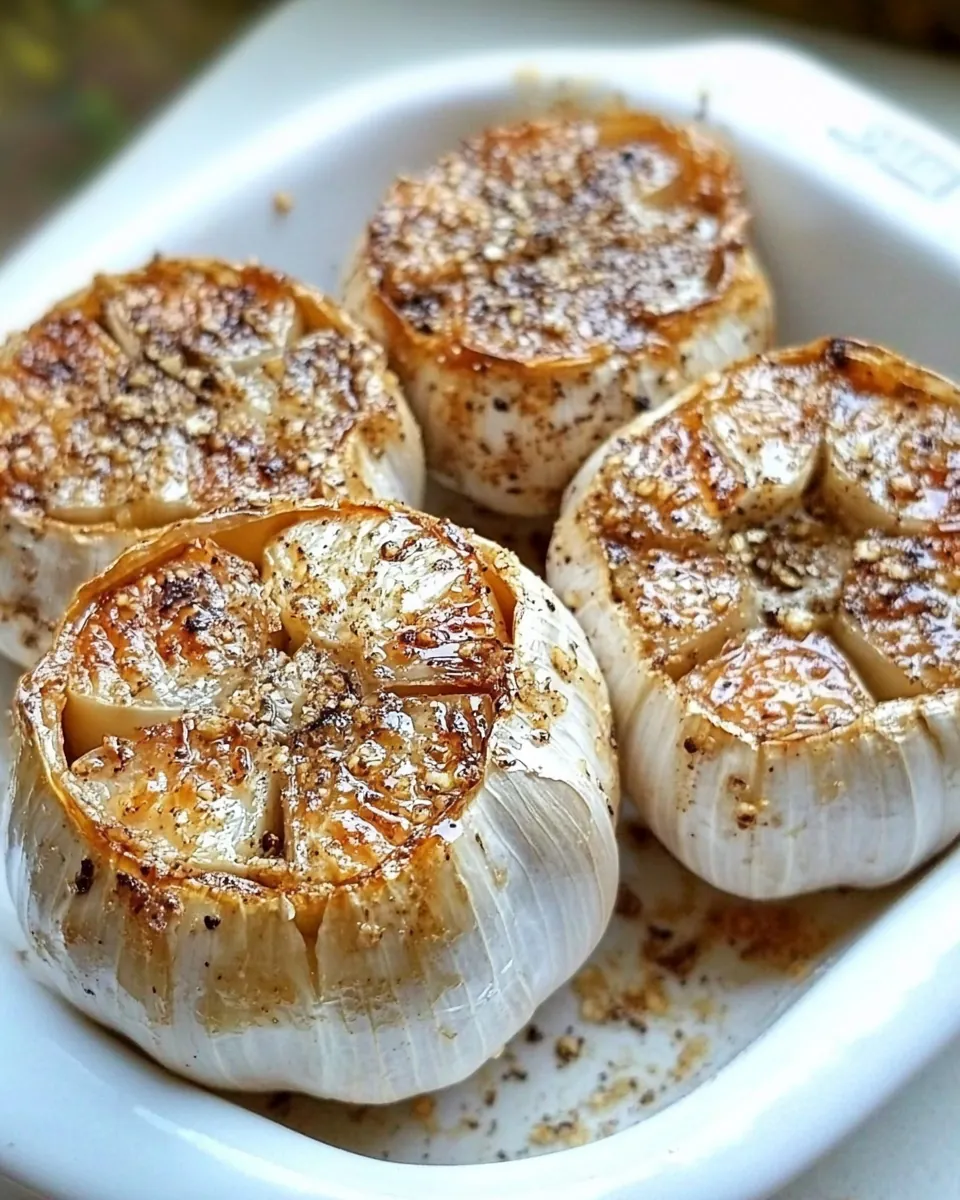
Roast Garlic
Roasting garlic is a transformative experience, and it all begins with this Roast Garlic recipe. I remember the first time I pulled a bulb of garlic from the oven; the fragrant aroma wafted through my kitchen, making my mouth water. It was as if I had unlocked a culinary secret. Roasted garlic turns from a pungent, sharp ingredient into a sweet, buttery spread that elevates any dish. Whether it’s a cozy weeknight dinner or a gathering with friends, having roasted garlic on hand can make all the difference. I often find myself whipping up a batch to stir into pasta or spread over warm, crusty bread. It adds so much flavor and makes the ordinary feel special. Join me on this adventure to discover how simple it is to roast garlic and unlock its rich potential!
Recipe Snapshot
1 hr 5 mins
5 mins
60 mins
Medium
70 kcal
2 g
Keto, Paleo, Whole30
0 g
Chef’s Knife, Oven
Why Try This Roast Garlic
It Enhances Flavor
One of the main reasons I love making Roast Garlic is the depth of flavor it adds to dishes. Roasting mellows the sharpness of garlic, creating a rich, sweet flavor that can enhance everything from soups to sauces.
Versatility
Roasted garlic can be used in countless ways. I often use it in mashed potatoes, salad dressings, or just spread on warm bread. Its versatility means you can easily incorporate it into various recipes.
Simple to Prepare
The beauty of Roast Garlic lies in its simplicity. With just a few ingredients and minimal effort, you can achieve a gourmet touch in your cooking. It’s a great way to add a punch of flavor without spending hours in the kitchen.
Health Benefits
Garlic is renowned for its health benefits, and roasting it makes it easier to consume. It is packed with antioxidants and has anti-inflammatory properties. Enjoying roasted garlic allows me to indulge while still reaping health benefits.
A Perfect Aroma
There’s something magical about the aroma of roasting garlic. It fills the kitchen with warmth and comfort, making it a perfect addition to family meals or gatherings. The smell alone is enough to make anyone hungry!
Great for Meal Prep
When I roast garlic, I often make extra to use throughout the week. It keeps well in the fridge and can be added to meals quickly, making weeknight cooking so much easier.
What to Gather for Roast Garlic
Gathering quality ingredients is essential for the best results in your Roast Garlic. Each element plays a significant role, from the garlic itself to the olive oil that enhances its natural flavors. Using fresh ingredients always makes a difference. Here’s what you’ll need:
- 1 bulb garlic: The star of the show, garlic adds depth and flavor.
- 2 tablespoons olive oil: Adds richness and helps the garlic roast beautifully.
- 1/2 teaspoon kosher salt: Enhances the natural flavor of the garlic.
- 1/2 teaspoon ground black pepper: Adds a subtle kick to the roasted garlic.
How to Assemble Roast Garlic
Assembling roasted garlic is incredibly straightforward. With just a few simple steps, you’ll have a delicious and versatile ingredient ready to enhance your meals. Let’s dive into the process!
Begin by preheating the oven to 400º F. This high temperature is perfect for roasting, allowing the garlic to caramelize beautifully. Make sure the oven is fully heated before you place the garlic inside.
Once the oven is ready, take your bulb of garlic and slice the top end off, about a quarter-inch down. This exposes the individual cloves and allows them to roast evenly. Set aside the bulb for the next steps.
Next, grab a sheet of aluminum foil. Place the garlic bulb right in the center. Drizzle olive oil over the exposed cloves, ensuring each one gets coated for maximum flavor. Sprinkle on kosher salt and ground black pepper for added seasoning.
Now, fold the aluminum foil around the garlic to form a sealed packet. This will trap the steam and allow the garlic to roast evenly, becoming soft and caramelized.
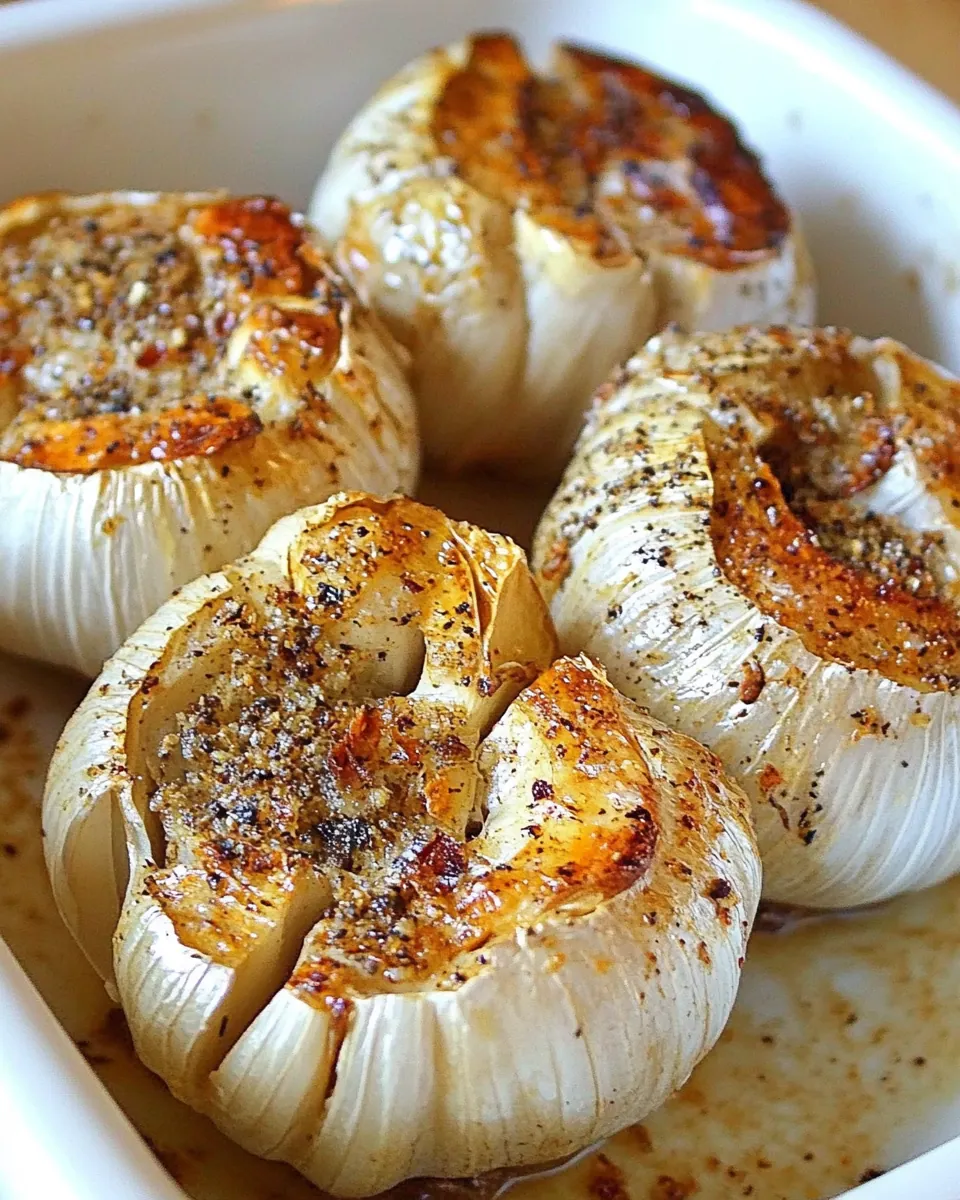
Carefully place the packet in the preheated oven and roast for one hour. You’ll know it’s done when the bulb is soft to the touch and the cloves have turned a golden brown color.
After an hour, remove the garlic from the oven. Allow it to sit for about 3 to 5 minutes, letting it cool slightly before handling. This resting period helps the flavors deepen.
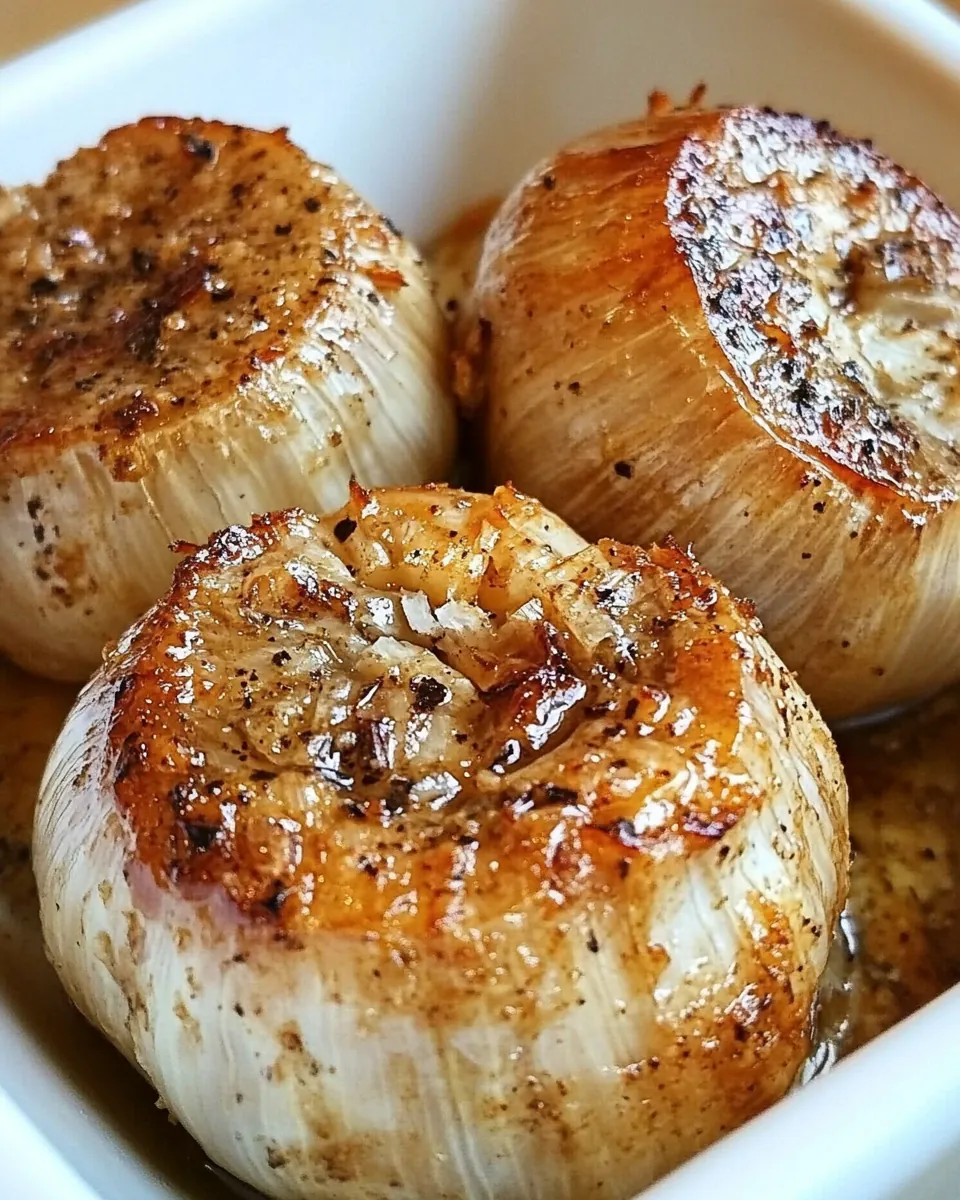
Once cooled, carefully open the foil packet. The aroma will be incredible! Squeeze the bulb at the root end to extract the sweet, roasted cloves. Use a fork or a knife for assistance if needed.
And there you have it! Your roasted garlic is now ready to be used in various recipes. Add it to pasta, spread it on bread, or incorporate it into dressings. The possibilities are endless!
Things Worth Knowing
- Choosing the Right Garlic: Fresh, firm bulbs yield the best results. Look for those without soft spots or blemishes.
- Foil Alternatives: If you want a deeper flavor, try using a small cast iron skillet instead of foil for roasting.
- Garlic Storage: Store any unused roasted garlic in an airtight container in the fridge for up to a week.
- Using Garlic Skins: The skins can be left on while roasting; they help protect the cloves from burning.
- Flavor Variations: For a twist, consider adding herbs like thyme or rosemary to the olive oil before drizzling.
Recipe Tips about Roast Garlic
Roasting garlic is a delightful process, and there are plenty of tips to ensure you get the best results. Here are some insights to enhance your experience:
- Storage: Store leftover roasted garlic in a sealed container in the refrigerator. It keeps well and can be used in many dishes throughout the week.
- Freezing: Yes, you can freeze roasted garlic! Place it in an airtight container or freezer bag, and it will last for several months.
- Pairing: Roasted garlic pairs wonderfully with pasta, mashed potatoes, or spread on bread. It can also elevate dips and sauces.
- Recipe Variations: Experiment with adding herbs like rosemary or thyme for a fragrant twist!
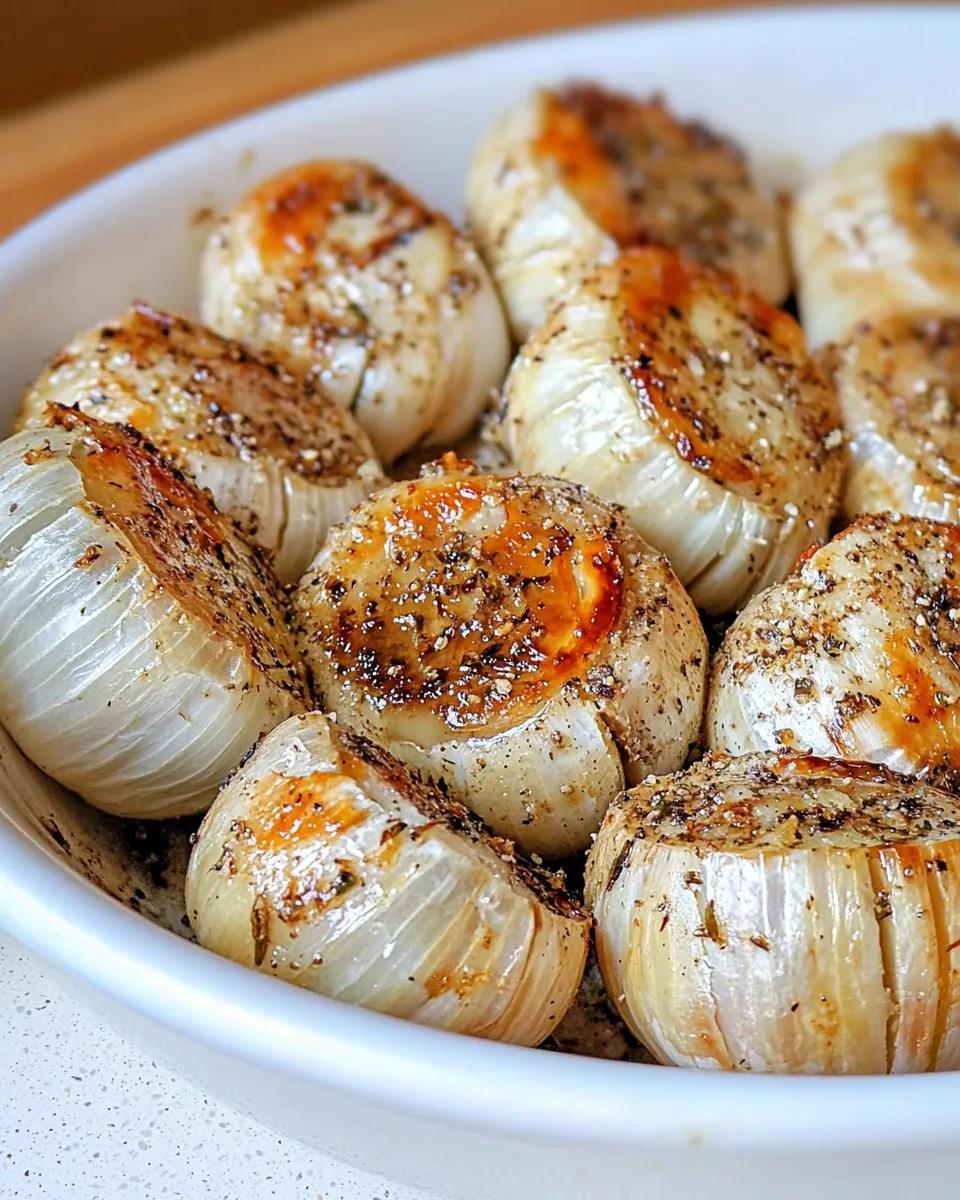
- Roasting Multiple Bulbs: If making roasted garlic for a gathering, consider roasting multiple bulbs at once. They store well and can be used in various meals.
Perfect Pairings for Roast Garlic
Now that you’ve made your Roast Garlic, let’s talk about some perfect pairings and ways to enjoy it:
- Spread on Bread: Roasted garlic is a fantastic spread for warm, crusty bread. Enjoy it as an appetizer or a side dish.
- Pasta Dishes: Mix roasted garlic into your pasta sauce for a rich flavor. It works well with tomato-based sauces or creamy Alfredo.
- Mashed Potatoes: Incorporate roasted garlic into your mashed potatoes for a gourmet twist.
- Salads: Blend roasted garlic into your salad dressings for added depth.
- Soups: Add it to soups for a warm, comforting flavor.
- Pizza Topping: Use it as a topping for homemade pizzas for an extra boost of flavor.
- Seasonal Occasions: Roasted garlic can elevate holiday meals, making it perfect for gatherings.
- Storage Tips: If you roast extra, store it in the fridge or freeze it for later use.
FAQ
Conclusion
Roasting garlic is a simple yet rewarding culinary experience that can elevate your cooking. It adds a sweet, aromatic touch to a variety of dishes, making them feel special. I encourage you to try making your own roasted garlic; it’s easier than you think and so worth it. Your taste buds will thank you, and you might just find yourself roasting garlic regularly. Enjoy the delicious results and happy cooking!
Roast Garlic
Ingredients
Equipment
Method
- Preheat oven to 400º F.
- Slice the top end off of the garlic bulb about 1/4-inch. Place on a sheet of aluminum foil.
- Drizzle with olive oil and sprinkle on salt and pepper. Fold aluminum foil to form a packet and place in the oven for one hour.
- Remove from the oven and allow to sit for 3-5 minutes. Then, remove garlic bulb from foil packet. Squeeze garlic bulb at root end to remove garlic cloves from the bulb.
- Use in any number of recipes.
Notes
- Storage: Store leftover roasted garlic in a sealed container in the refrigerator.
- Freezing: Yes, you can freeze roasted garlic!
- Pairing: Roasted garlic pairs wonderfully with pasta, mashed potatoes, or spread on bread.
- Recipe Variations: Experiment with adding herbs for a fragrant twist!
- Roasting Multiple Bulbs: Consider roasting multiple bulbs at once!