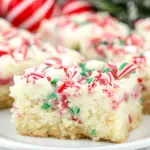
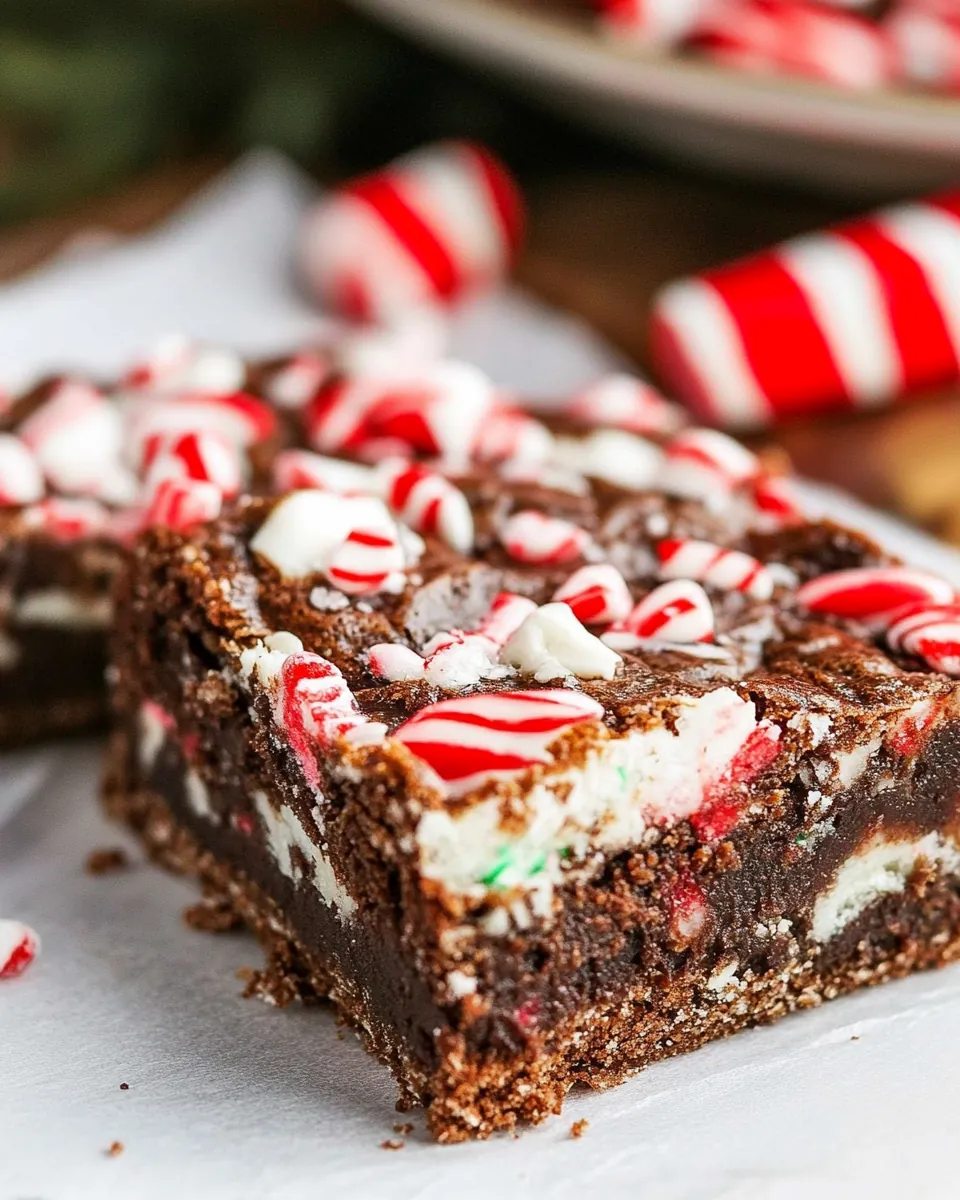
Peppermint Gooey Bars
There’s something truly magical about the holiday season, especially when it comes to treats like Peppermint Gooey Bars. I remember the first time I made these delightful bars; my kitchen was filled with the sweet aroma of chocolate and peppermint, instantly transporting me to a cozy winter wonderland. The combination of chocolate cake and creamy layers topped with candy canes creates a dessert that’s as festive as it is delicious. As I cut into the bars, each slice revealed a gooey, rich center that melted in my mouth, leaving me craving more. It’s the perfect dessert to share during family gatherings or cozy nights at home. And let’s be honest, who can resist that festive look? These bars not only taste incredible but also look beautiful on any holiday dessert table.
Recipe Snapshot
45 mins
20 mins
25 mins
Medium
210 kcal
2 g
Keto, Gluten-Free, Low FODMAP
10 g
Food Processor, Oven, Baking Sheet, Frying Pan, Mixing Bowl
The Charm of This Peppermint Gooey Bars
1. Perfect Holiday Treat
There’s just something about the flavors of peppermint and chocolate that scream holiday cheer! Peppermint Gooey Bars are perfect for Christmas gatherings, providing a delicious way to celebrate with friends and family. The combination of rich chocolate and refreshing peppermint creates a comforting dessert that evokes joyous memories.
2. Easy to Make
You don’t need to be a professional baker to whip up these bars. The recipe is straightforward, requiring minimal ingredients and time. You’ll find that making Peppermint Gooey Bars is as simple as mixing together a few staples and letting the oven do the work. Even those who are new to baking will find success with this recipe!
3. Customizable Toppings
One of my favorite aspects of these bars is how you can customize them. While I love the classic peppermint crunch on top, you could easily swap it for crushed cookies or different kinds of chocolate chips. This flexibility allows you to make the recipe your own, which is particularly fun during the festive season.
4. Impress Your Guests
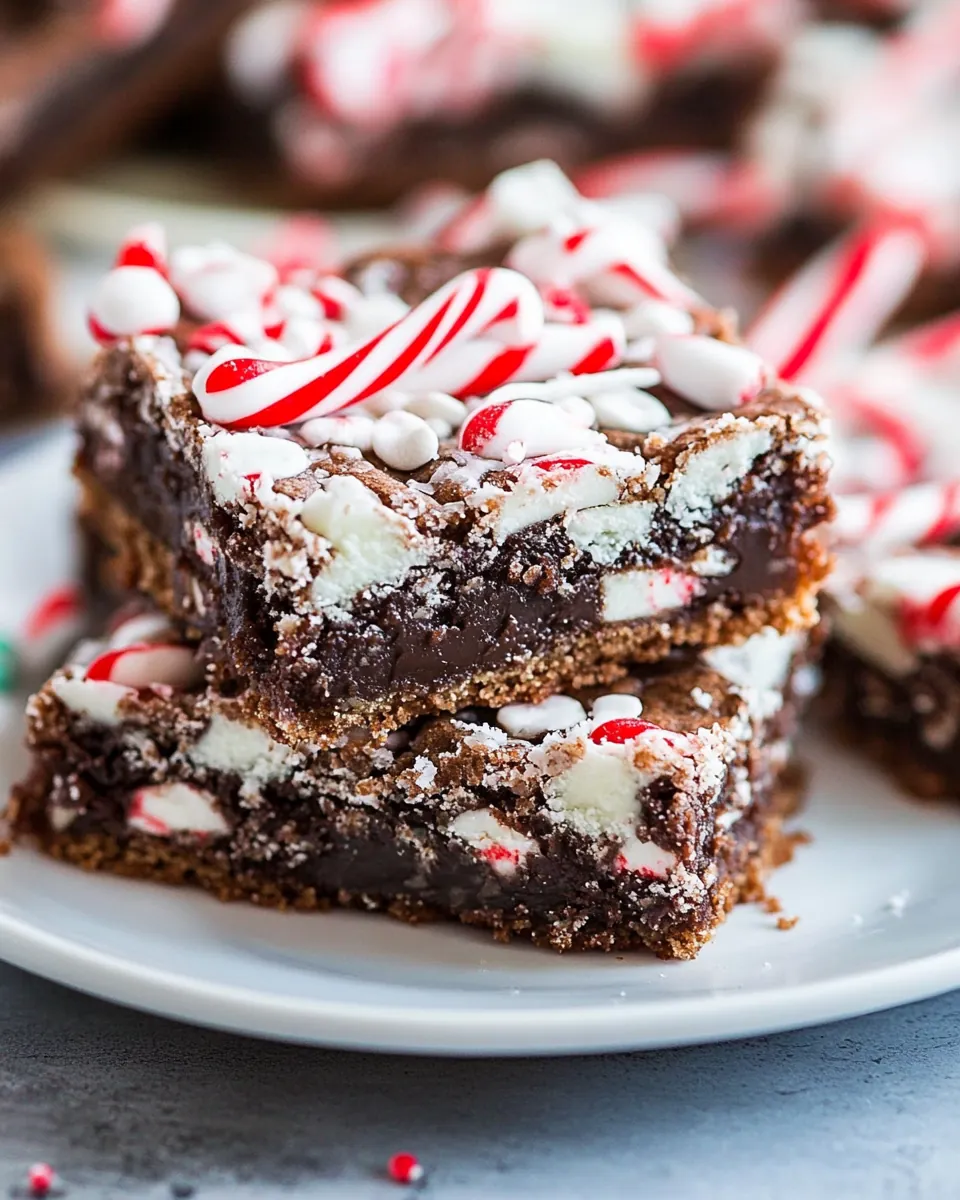
When you serve Peppermint Gooey Bars, you’re sure to impress your guests! The beautiful layers and vibrant colors make for a stunning presentation. Each bite is a delightful surprise, and everyone will be asking for the recipe. They’ll never guess how simple they were to prepare!
5. Great for Sharing
These bars are perfect for sharing! Whether you’re attending a holiday party, gifting them to friends, or enjoying them with family, they’re sure to bring smiles and warm hearts. The generous yield of 16 bars means there’s plenty to go around, ensuring everyone gets a taste of this delicious treat.
6. Festive Aroma
Imagine the smell of warm chocolate mingling with refreshing peppermint wafting through your home as these bars bake. It’s an aroma that will have everyone flocking to the kitchen, eager to taste the deliciousness that is Peppermint Gooey Bars. The sensory experience adds to the magic of baking during the holiday season!
What to Buy for Peppermint Gooey Bars
When it comes to making Peppermint Gooey Bars, the ingredients are simple yet essential for achieving that gooey texture and delightful taste. Each ingredient plays a crucial role in creating a dessert that is both comforting and festive. A chocolate cake mix serves as the base, while unsalted butter and a large egg bind everything together. The sweetened condensed milk adds a luscious creaminess, and the Andes Peppermint Crunch Baking Chips infuse that quintessential peppermint flavor. Together, these ingredients create a harmonious blend that makes every bite a delight.
- 1 approximately 15 ounce box chocolate cake mix: This is the foundation of your bars, providing that rich chocolate flavor and delightful texture.
- ½ cup (113g) unsalted butter, softened: Using softened butter helps create a smooth batter and enhances the overall flavor.
- 1 large egg: The egg binds the ingredients together, ensuring your bars hold their shape.
- ½ cup (85g) chocolate chips, semi-sweet or milk: These little bits of chocolate will melt perfectly, adding extra gooeyness.
- 1 cup Andes Peppermint Crunch Baking Chips: These festive chips infuse your bars with that delightful peppermint flavor and add a lovely crunch.
- ½ cup (118ml) sweetened condensed milk: This ingredient adds creaminess and sweetness, making your bars irresistibly gooey.
- ⅓ cup coarsely crushed candy canes (about 10 minis, optional): These add a festive touch and extra crunch on top of the bars.
How to Make Peppermint Gooey Bars
Making Peppermint Gooey Bars is such a fun process, and I can’t wait to share it with you! Start by gathering your ingredients and preheating your oven for the perfect bake. As you follow the steps, you’ll see how easy it is to create this delicious treat. Trust me, the end result will be worth every moment spent in the kitchen!
- Preheat your oven to 350°F (175°C). This ensures that your bars bake evenly and achieve that lovely golden color.
- Line a 9×9 inch pan with foil, leaving some overhang. This will make removing the bars much easier later. Spray the foil generously with cooking spray to prevent sticking.
- In a bowl of an electric mixer fitted with a paddle attachment, combine the chocolate cake mix, egg, and unsalted butter. Mix on medium speed until the dough comes together and forms a cohesive ball. If you don’t have a stand mixer, a hand mixer works just fine, though it may take a little longer.
- Take about two-thirds of the dough and press it firmly into the bottom of the prepared pan, forming the crust. Make sure it’s even so that your bars bake uniformly.
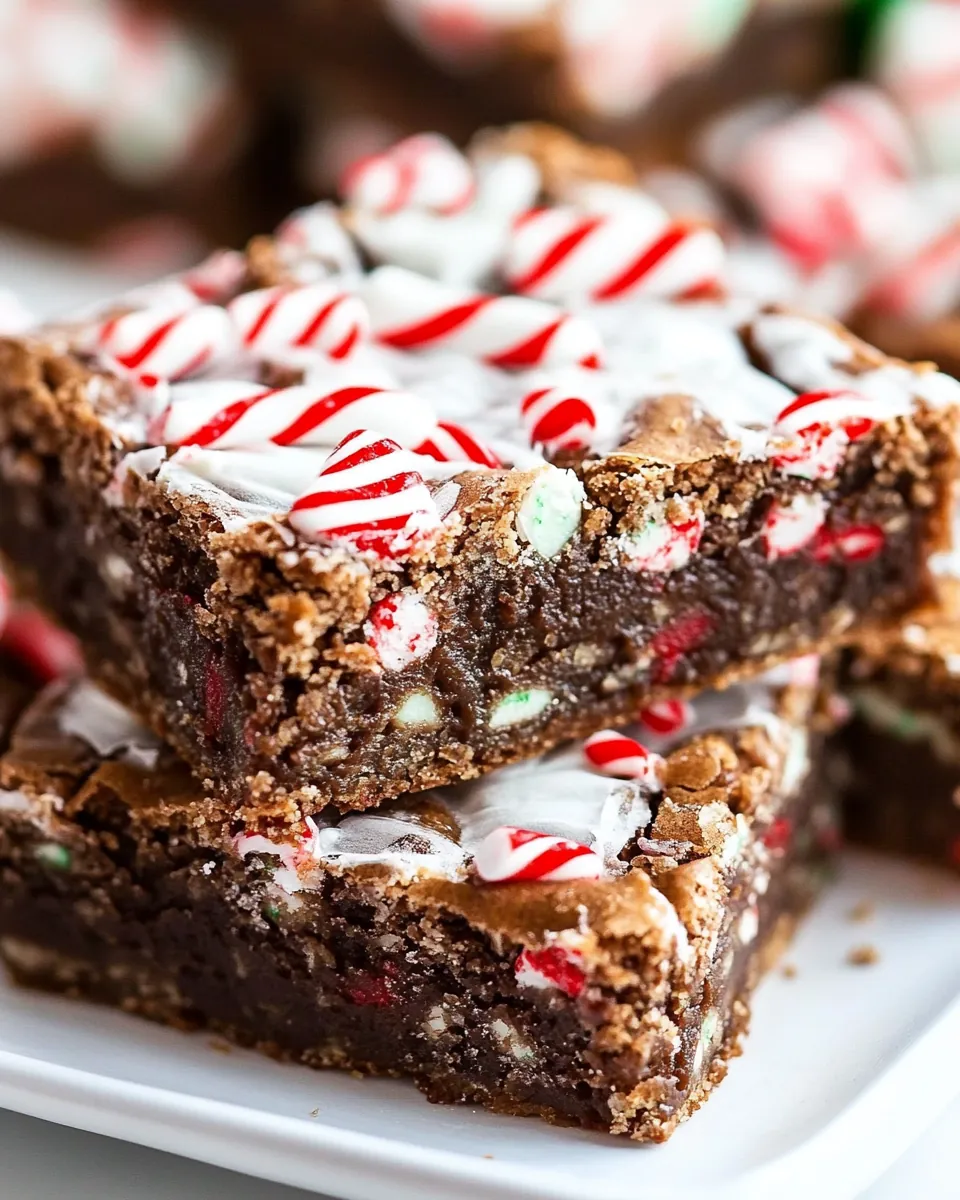
- Evenly sprinkle the chocolate chips and Andes Peppermint Crunch Baking Chips over the crust you just made. This will create a delicious layer of chocolatey goodness.
- Pour the sweetened condensed milk over the chips, covering them well. This will add that rich, gooey quality that makes these bars so amazing.
- Now, drop pieces of the remaining dough over the top of the pan, using your hands to flatten them slightly. This doesn’t need to be perfect, but try to cover the surface as evenly as possible. Press gently to adhere.
- Bake in the preheated oven for 23 to 25 minutes. You’ll know they’re ready when the edges turn golden brown and the top isn’t shiny anymore. Keep an eye on them to avoid overbaking.
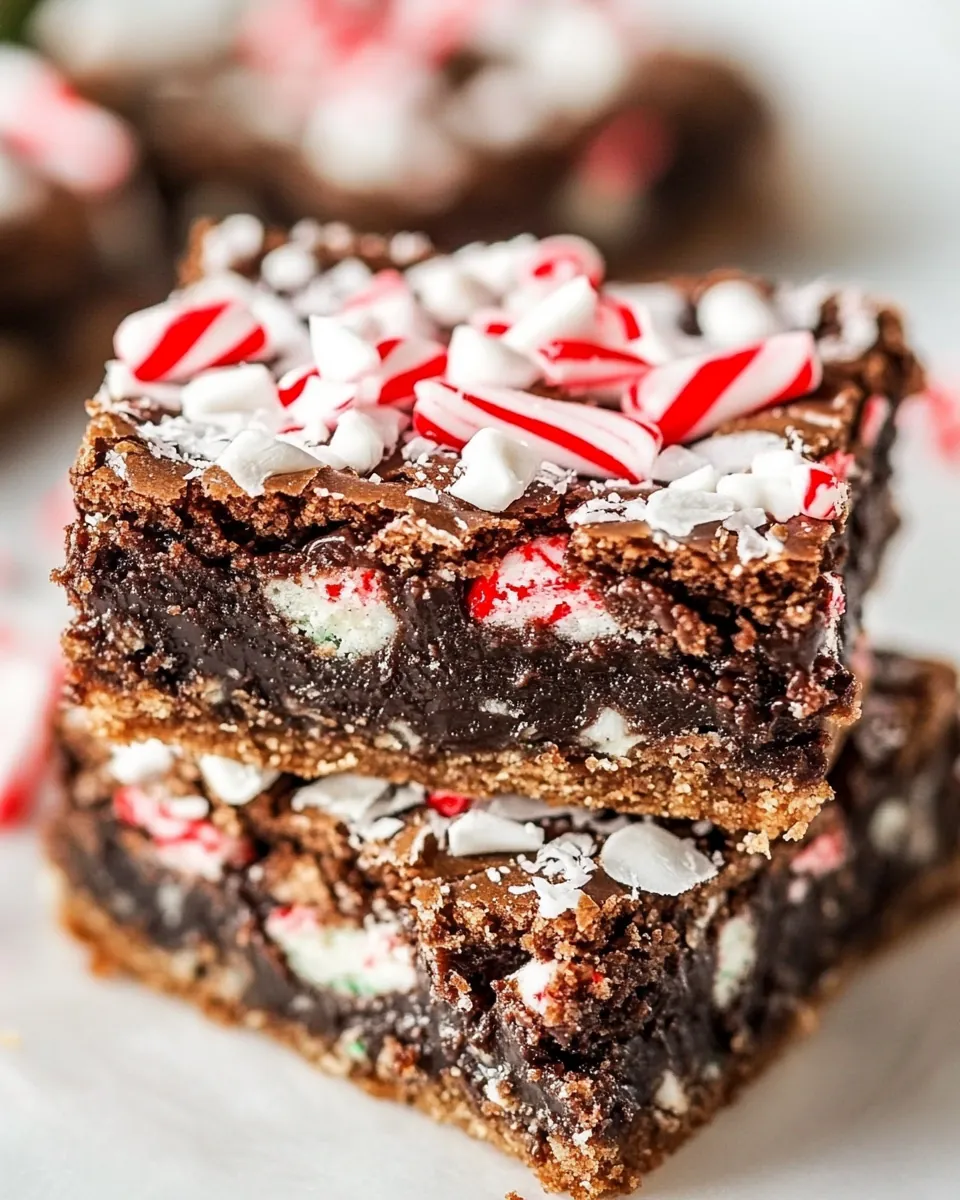
- Once baked, remove the pan from the oven and immediately sprinkle the coarsely crushed candy canes on top. They will melt slightly into the bars for an extra festive touch. You can omit this step if you’d prefer to keep them simple.
- Allow the bars to cool completely in the pan. For a quicker cool-down, you can chill them in the refrigerator. Once cool, lift the bars out of the pan using the foil overhang and cut them into squares.
Things Worth Knowing
- Use a Stand Mixer: The dough can be quite stiff, making a stand mixer very helpful for mixing. If using a hand mixer, be prepared to work a bit harder.
- Chill for Easier Cutting: If you find the bars too soft to cut right after baking, chill them in the fridge for 30 minutes to make slicing easier.
- Customize Toppings: Feel free to experiment with different toppings! You can use chopped peppermint bark or even different types of chocolate chips.
- Don’t Overbake: Keep a close eye on the baking time; the bars should be set but still soft in the center. Overbaking can make them dry.
Expert Tips about Peppermint Gooey Bars
To ensure your Peppermint Gooey Bars turn out perfectly every time, here are some expert tips to keep in mind. With these insights, you can elevate your baking game and impress everyone with your delicious creations!
- Storage: Store any leftovers in an airtight container at room temperature for up to 3 days. If you prefer, you can refrigerate them to extend freshness.
- Freezing: These bars freeze well! Wrap individual pieces in plastic wrap and place them in a freezer bag. They’ll last up to 3 months in the freezer.
- Pairing: These bars are delightful on their own but pair wonderfully with a scoop of vanilla ice cream or a dollop of whipped cream for an extra treat.
- Serving Suggestion: For a festive touch, cut the bars into fun shapes using holiday-themed cookie cutters!
- Variations: Mix in chopped nuts or different types of baking chips for a unique twist on the classic recipe.
What to Serve With Peppermint Gooey Bars
When it comes to serving Peppermint Gooey Bars, there are plenty of delightful options to enhance your dessert experience:
- A scoop of vanilla ice cream: Top a warm bar with a scoop of creamy vanilla ice cream for a delicious contrast of temperatures.
- Hot chocolate: Serve these bars alongside a mug of rich hot chocolate for the ultimate winter treat.
- Fruit salad: A refreshing fruit salad can balance out the sweetness of the bars, offering a light touch to your dessert spread.
- Festive beverages: Consider pairing with seasonal drinks like peppermint lattes or spiced cider to complement the flavors of the bars.
- Gift giving: These bars make for a thoughtful homemade gift! Wrap them in festive packaging for friends and family during the holidays.
- Holiday parties: Bring these bars to parties or gatherings as a standout dessert that everyone will love.
FAQ
Conclusion
In summary, Peppermint Gooey Bars are an enchanting treat that brings together the rich flavors of chocolate and the refreshing touch of peppermint, making them a favorite during the holiday season. I encourage you to try making these bars yourself—your friends and family will thank you! They’re simple, delicious, and the perfect way to celebrate the festive spirit.
Peppermint Gooey Bars
Ingredients
Equipment
Method
- Preheat your oven to 350°F (175°C). This ensures that your bars bake evenly and achieve that lovely golden color.
- Line a 9×9 inch pan with foil, leaving some overhang. This will make removing the bars much easier later. Spray the foil generously with cooking spray to prevent sticking.
- In a bowl of an electric mixer fitted with a paddle attachment, combine the chocolate cake mix, egg, and unsalted butter. Mix on medium speed until the dough comes together and forms a cohesive ball. If you don't have a stand mixer, a hand mixer works just fine, though it may take a little longer.
- Take about two-thirds of the dough and press it firmly into the bottom of the prepared pan, forming the crust. Make sure it's even so that your bars bake uniformly.
- Evenly sprinkle the chocolate chips and Andes Peppermint Crunch Baking Chips over the crust you just made. This will create a delicious layer of chocolatey goodness.
- Pour the sweetened condensed milk over the chips, covering them well. This will add that rich, gooey quality that makes these bars so amazing.
- Now, drop pieces of the remaining dough over the top of the pan, using your hands to flatten them slightly. This doesn’t need to be perfect, but try to cover the surface as evenly as possible. Press gently to adhere.
- Bake in the preheated oven for 23 to 25 minutes. You’ll know they’re ready when the edges turn golden brown and the top isn’t shiny anymore. Keep an eye on them to avoid overbaking.
- Once baked, remove the pan from the oven and immediately sprinkle the coarsely crushed candy canes on top. They will melt slightly into the bars for an extra festive touch. You can omit this step if you'd prefer to keep them simple.
- Allow the bars to cool completely in the pan. For a quicker cool-down, you can chill them in the refrigerator. Once cool, lift the bars out of the pan using the foil overhang and cut them into squares.
Notes
- Tip 1: The dough is stiff – it’s helpful to use a stand mixer.
- Tip 2: If you can’t find the Andes chips, you can chop up some peppermint bark or use peppermint baking chips (like chocolate chips; often in the baking aisle).