Homemade Hot Chocolate
Nothing warms the soul quite like a cozy cup of Homemade Hot Chocolate. I remember the first time I made this delightful treat; it was a chilly winter evening, and I craved something sweet and comforting. As the snow fell gently outside, I gathered my ingredients, eager to recreate that rich, creamy hot chocolate that felt like a warm hug in a mug. The best part? It’s not just about the taste; it’s about the memories created around the kitchen, the laughter shared, and the warmth that spreads through our hearts. This Homemade Hot Chocolate is the perfect solution for those frosty nights when all you want is a delicious, velvety drink to sip on while snuggled under a blanket. Trust me, once you make it from scratch, you’ll forget all about those instant mixes!
Recipe Snapshot
10 mins
5 mins
5 mins
Easy
320 kcal
5 g
Paleo, Vegan, Gluten-Free
22 g
Whisk, Mixing Bowl, Frying Pan
Why This Homemade Hot Chocolate Works
It’s Made with Love
One reason why this recipe for Homemade Hot Chocolate stands out is that it’s made with love. Each ingredient is carefully selected to create a rich and creamy beverage that tastes like nothing from a store. This isn’t just hot chocolate; it’s a labor of affection that you’ll feel with every sip.
Simple Ingredients
You probably already have everything you need right in your pantry! The key ingredients like milk, cream, and unsweetened cocoa powder combine beautifully to create that luscious texture we all crave. There’s something satisfying about knowing exactly what goes into your drink.
Customizable to Your Taste
Another thing I love about this Homemade Hot Chocolate is how customizable it is. Want it sweeter? Just add a bit more maple syrup. Looking for a richer flavor? You can throw in some extra chocolate chips. This recipe allows you to tweak it until it’s just right for you!
Perfect for Any Occasion
Whether it’s a snowy winter day, a holiday gathering, or simply a relaxing evening at home, this hot chocolate suits any occasion. I often brew a pot when friends visit, and it instantly transforms the atmosphere into something warm and inviting.
Healthier Option
Unlike many store-bought hot chocolates, this version allows you to control the sweetness and fat content. Using real cream and milk gives you the indulgence without the additives. Plus, you can feel good about every sip!
Great for Kids and Adults
Finally, this Homemade Hot Chocolate is a hit with both kids and adults! I love serving it at family gatherings. Everyone enjoys the nostalgia and the simple pleasure it brings, bridging generations over a shared love for this delightful drink.
What Goes Into Homemade Hot Chocolate
When it comes to crafting the perfect Homemade Hot Chocolate, the ingredients are crucial. Each component plays a vital role, combining to create that rich and creamy texture we all adore. The stars of this recipe are the milk, cream, and cocoa powder, each bringing its unique character to the drink. Together, they create a comforting experience that warms not just your body but your spirit as well.
- 3 cups milk: The base of our hot chocolate, providing creaminess and richness.
- 1 cup cream: This adds extra silkiness and indulgence, making each sip feel luxurious.
- 1/4 cup unsweetened cocoa powder: This gives that deep chocolate flavor we all crave and forms the heart of our drink.
- 4 tablespoons pure maple syrup: For natural sweetness, this syrup enhances the flavor without overpowering.
- 1/2 cup chocolate chips: These melt into the hot mixture, creating a rich, chocolatey experience.
- 1/4 teaspoon vanilla extract: A hint of vanilla rounds off the flavors beautifully, adding warmth and depth.
Cooking Method for Homemade Hot Chocolate
Making Homemade Hot Chocolate is a simple process that anyone can master. The beauty of this recipe lies in its straightforward steps. As you prepare it, pay attention to the textures and aromas; they’re just as important as the taste. Let’s dive into the steps that will guide you to a perfectly creamy cup of hot chocolate.
- In a small saucepan, add your milk, cream, cocoa powder, and maple syrup. Stir them together gently as you bring the heat to medium. You’ll want to whisk frequently to ensure the cocoa powder is fully incorporated, preventing any lumps. It should take just a few minutes for the mixture to start warming up, and that’s when the lovely aroma begins to fill your kitchen.
- Once it’s warm, add in the chocolate chips along with the vanilla extract. Continue whisking until the chocolate chips melt completely, and you see a smooth, creamy texture. At this point, you may notice how beautifully the chocolate blends in with the other ingredients, creating a rich and inviting color.
- After ensuring everything is well combined, remove the saucepan from the heat. It’s important not to let it boil, as that can alter the texture of your hot chocolate. Instead, allow it to sit for a moment, giving you a chance to gather your favorite mugs.
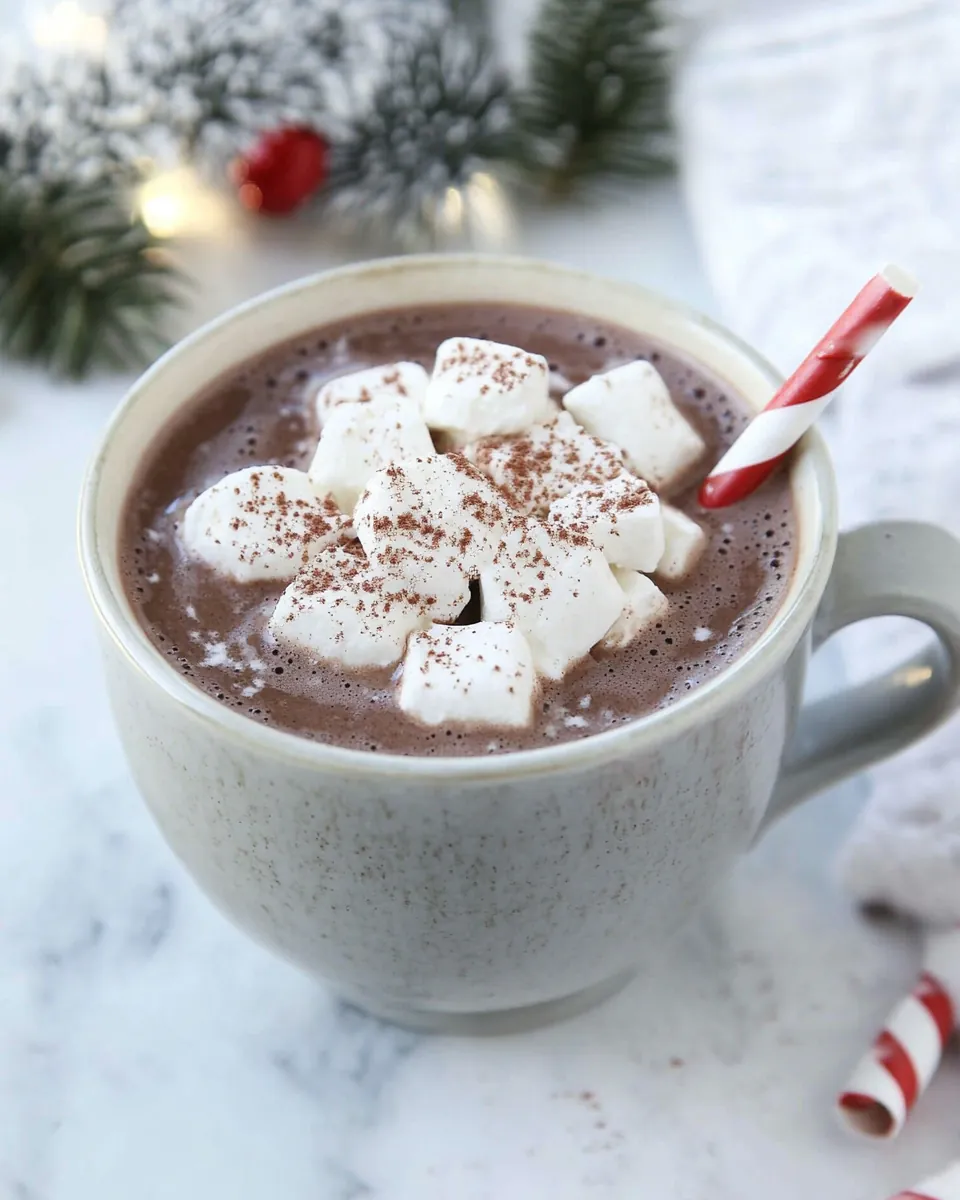
- Pour the hot chocolate into your mugs and take a moment to appreciate the aroma before diving in. If you want to make it even more special, consider adding whipped cream or a sprinkle of cocoa powder on top. This is the moment to enjoy the fruits of your labor—a homemade treat that’s sure to please.
Things Worth Knowing
- Temperature Matters: Keeping the mixture at a low to medium temperature is key. Heating too high can scorch the milk and cream, ruining the flavor.
- Whisking is Essential: Whisking helps to combine the ingredients thoroughly and adds a bit of air, making your hot chocolate lighter.
- Quality Ingredients: Using high-quality cocoa powder and chocolate chips will elevate your hot chocolate. Look for brands that list cocoa as the first ingredient.
- Adjusting Sweetness: Feel free to tweak the sweetness based on your preference. Some may prefer it sweeter, while others might like the rich chocolate flavor to shine through.
How to Switch It Up
Hot chocolate is a versatile drink that allows for many variations. Here are some ideas to make your Homemade Hot Chocolate even more delightful!
- Storage: Store any leftovers in an airtight container in the fridge for up to three days. Reheat gently on the stovetop, adding a splash of milk if needed.
- Freezing: You can freeze the hot chocolate in ice cube trays. Use the cubes for a quick chocolatey addition to smoothies or iced coffee!
- Pairing: Consider pairing your hot chocolate with some freshly baked cookies or a slice of pie. The combination is simply irresistible.
- Flavor Add-Ins: Experiment with flavorings like peppermint extract, or a pinch of cinnamon or nutmeg for a cozy twist.
- Vegan Version: Swap the milk and cream for your favorite plant-based alternatives, like almond or coconut milk, and use dairy-free chocolate chips.
Serving Options for Homemade Hot Chocolate
When it comes to serving your Homemade Hot Chocolate, the options are as delightful as the drink itself. Here are some wonderful serving suggestions:
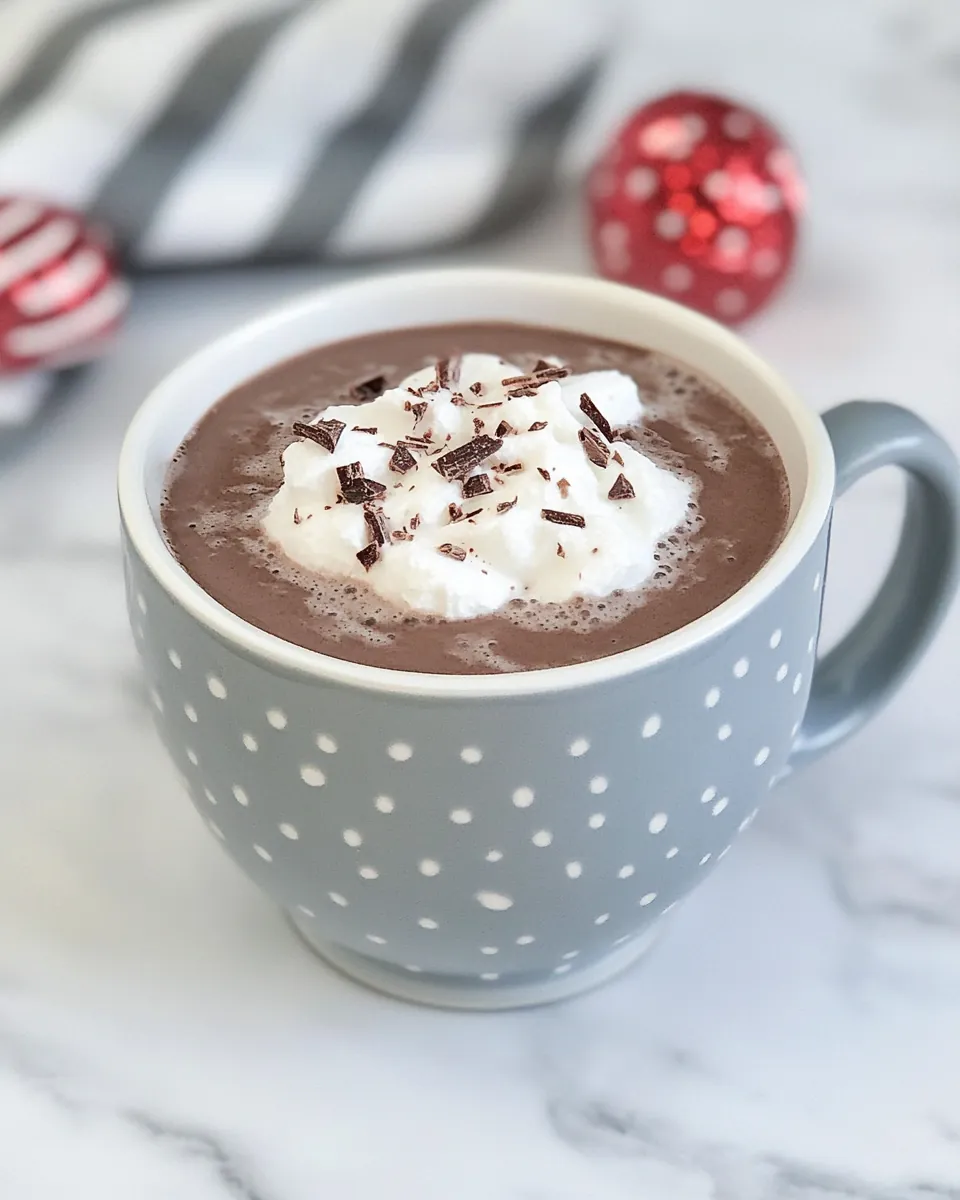
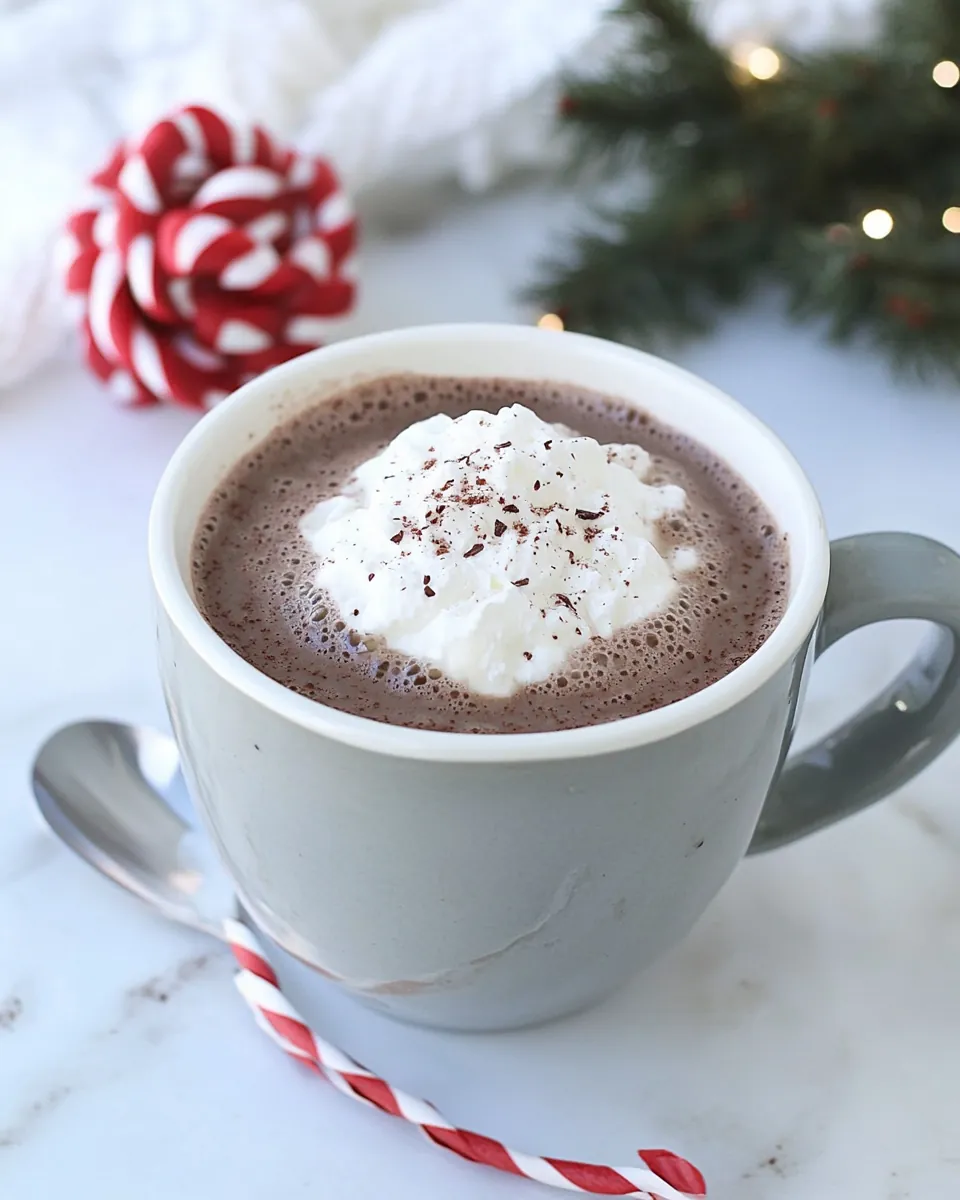
- With Whipped Cream: Top your hot chocolate with a generous dollop of whipped cream. It adds a lovely creaminess and looks beautiful.
- Chocolate Shavings: For an extra touch of elegance, sprinkle some chocolate shavings on top or use a chocolate drizzle.
- Marshmallow Alternatives: Instead of traditional marshmallows, try adding a few graham cracker crumbs for a s’mores-inspired twist.
- Themed Mugs: Serve in festive mugs for special occasions. It adds to the charm and makes it feel even more special.
- Perfect for Gatherings: This drink is fantastic for holiday gatherings or cozy get-togethers. Set up a hot chocolate bar with toppings!
- Seasonal Twists: During the holidays, consider adding a dash of nutmeg or peppermint for a festive flair that your guests will love.
FAQ
Conclusion
In conclusion, this Homemade Hot Chocolate recipe is not just a drink; it’s an experience filled with warmth and comfort. Each cup brings back memories of cozy nights and heartfelt conversations. I encourage you to gather your ingredients and give this recipe a try. You’ll find it’s a delightful addition to your winter routine, and soon enough, it will become a beloved tradition in your home. So grab a mug, and let the warmth of this homemade treat wrap around you!
Homemade Hot Chocolate
Ingredients
Equipment
Method
- In a small saucepan, add your milk, cream, cocoa powder, and maple syrup. Stir them together gently as you bring the heat to medium. Whisk frequently to ensure the cocoa powder is fully incorporated, preventing any lumps. It should take just a few minutes for the mixture to start warming up, and that’s when the lovely aroma begins to fill your kitchen.
- Once it’s warm, add in the chocolate chips along with the vanilla extract. Continue whisking until the chocolate chips melt completely, and you see a smooth, creamy texture.
- After ensuring everything is well combined, remove the saucepan from the heat. It’s important not to let it boil, as that can alter the texture of your hot chocolate.
- Pour the hot chocolate into your mugs and take a moment to appreciate the aroma before diving in. If you want to make it even more special, consider adding whipped cream or a sprinkle of cocoa powder on top.
Notes
- Storage: Store any leftovers in an airtight container in the fridge for up to three days. Reheat gently on the stovetop, adding a splash of milk if needed.
- Freezing: You can freeze the hot chocolate in ice cube trays. Use the cubes for a quick chocolatey addition to smoothies or iced coffee!
- Pairing: Consider pairing your hot chocolate with some freshly baked cookies or a slice of pie. The combination is simply irresistible.
- Flavor Add-Ins: Experiment with flavorings like peppermint extract, or a pinch of cinnamon or nutmeg for a cozy twist.
- Vegan Version: Swap the milk and cream for your favorite plant-based alternatives, like almond or coconut milk, and use dairy-free chocolate chips.