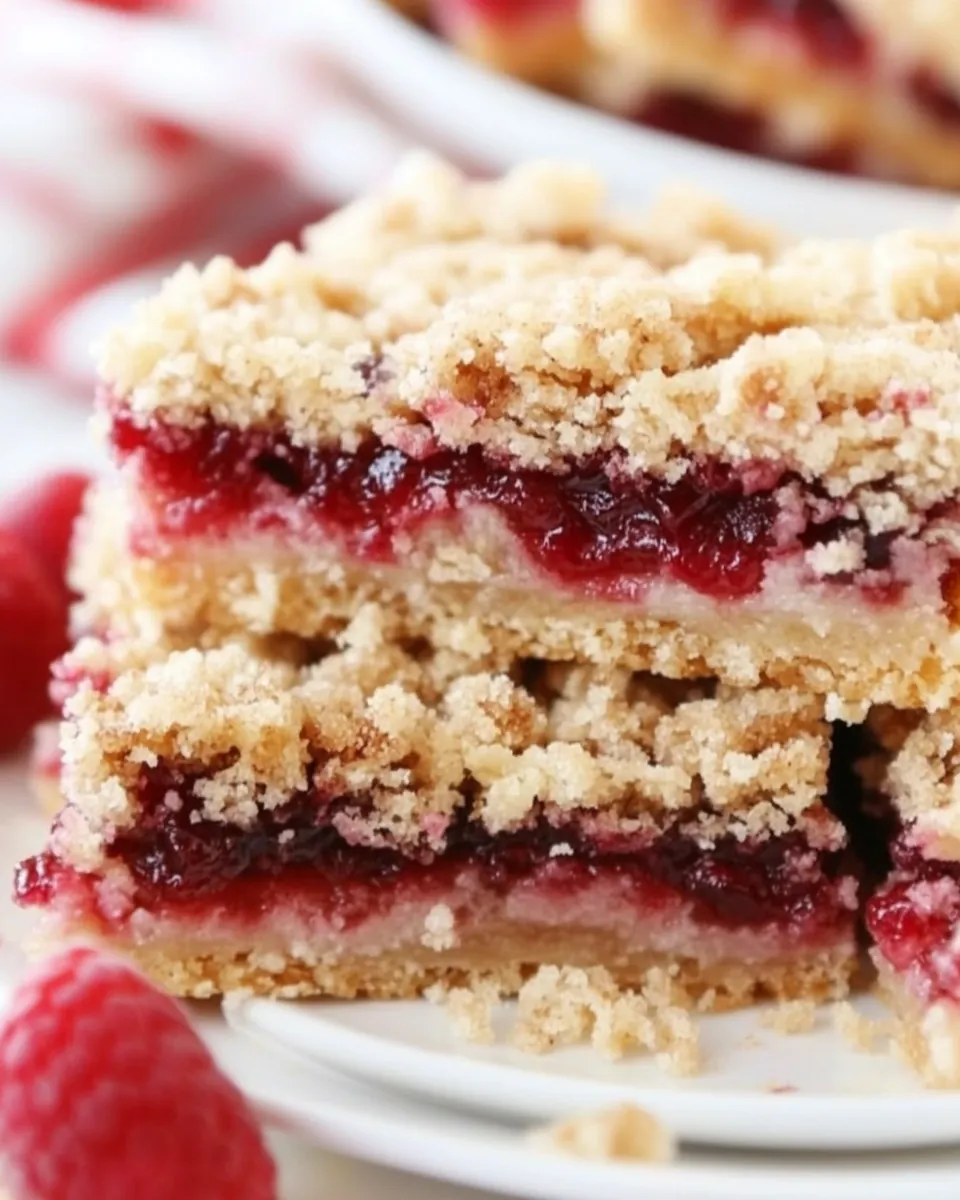
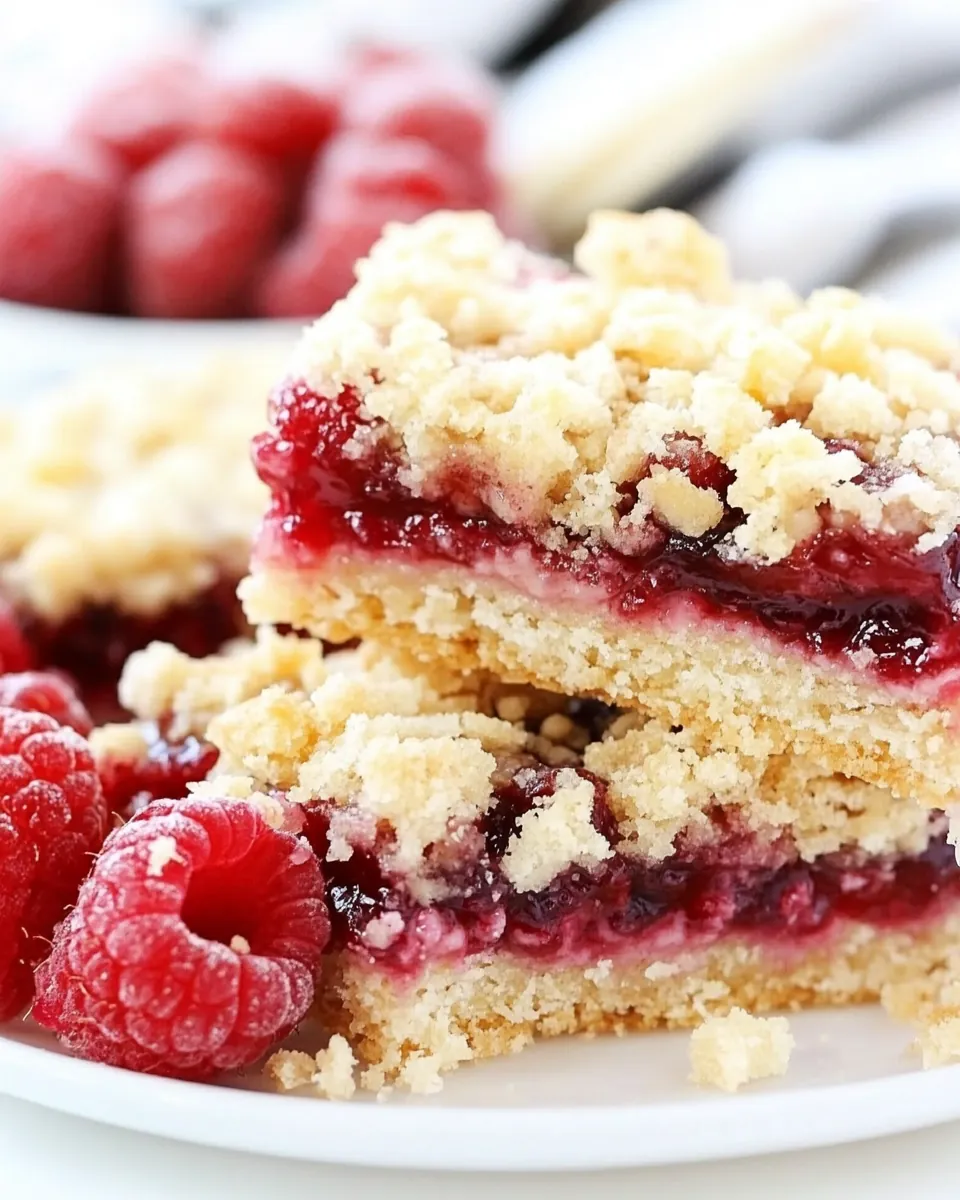
Raspberry Jam Streusel Bars
There’s something truly special about the smell of baked goods wafting through the house, and Raspberry Jam Streusel Bars are no exception. I remember the first time I made these delightful treats; it was a summer afternoon, the sun was shining, and I had a craving for something sweet and tangy. The combination of a buttery, crumbly crust with the vibrant raspberry jam creates a flavor profile that dances on your tongue. As I mixed the ingredients, I couldn’t help but reminisce about childhood summers spent picking fresh raspberries with my grandmother. She would always turn them into the most delicious jams, and now I get to relive those memories with every bite of these bars. They’re perfect for a picnic or a cozy dessert at home, and trust me, everyone will be asking for the recipe!
Recipe Snapshot
39 mins
15 mins
24 mins
Medium
220 kcal
2 g
Gluten-Free, Low FODMAP
10 g
Oven, Baking Sheet, Frying Pan, Wooden Spoon, Whisk, Chef’s Knife, Mixing Bowl
Why This Raspberry Jam Streusel Bars Is So Good
Perfect Balance of Flavors
One of the things I adore about Raspberry Jam Streusel Bars is how they perfectly balance the sweetness of the jam with the buttery, crumbly streusel topping. It’s like a match made in dessert heaven. You get that lovely tartness from the raspberries which complements the sweetness of the sugar. This combination keeps you coming back for just one more piece.
Easy to Make
These bars are incredibly straightforward to whip up. With just a handful of ingredients, you can create a dessert that looks and tastes impressive. It’s the kind of recipe that even beginner bakers can master, and the joy of serving them to family and friends is unbeatable.
Versatile Ingredient Options
While raspberry jam is the star of this recipe, you can easily switch it up with other flavors. Whether you prefer strawberry, apricot, or even a mixed berry preserve, the options are endless. This flexibility allows you to customize the bars to suit your taste or to use whatever jam you have on hand.
Great for Any Occasion
Whether it’s a summer picnic, a birthday party, or simply an afternoon treat, Raspberry Jam Streusel Bars are versatile enough to fit any occasion. Their charming appearance makes them a delightful addition to any dessert table, and they’re easy to transport, ensuring you can share them with friends and family wherever you go.
Make Ahead Convenience
Another reason to love these bars is that they can be made ahead of time. If you’re planning a gathering or just want to have a sweet treat on hand, you can bake them a day or two in advance. They store well, and the flavors only get better as they sit. Just be sure to keep them in an airtight container!
Perfect for Sharing
Finally, the communal aspect of sharing a batch of Raspberry Jam Streusel Bars is what makes them truly special. There’s something heartwarming about cutting these bars into squares and sharing them with loved ones, creating moments of joy and connection as you all indulge in this lovely treat together.
What to Buy for Raspberry Jam Streusel Bars
When it comes to making Raspberry Jam Streusel Bars, the ingredients are simple yet essential. The combination of sweet and tart elements creates a dessert that’s not only delicious but also satisfying. Each ingredient plays a vital role in achieving that perfect texture and flavor. From the buttery crust to the fruity jam, these ingredients work harmoniously together.
- ½ cup unsalted butter: This is the base of the crust, providing richness and flavor.
- ½ cup granulated sugar: Adds sweetness and helps achieve the desired texture.
- 1 ½ cups all-purpose flour: Forms the bulk of the crust, giving it structure.
- ½ teaspoon baking soda: Helps the crust rise slightly for a more tender texture.
- ½ teaspoon baking powder: Works in tandem with baking soda for the perfect lift.
- ¼ teaspoon salt: Enhances all the flavors in the recipe.
- 1 cup raspberry jam: The star ingredient that adds sweetness and a fruity punch.
- ¼ cup sliced almonds: Provides a delightful crunch and nutty flavor.
How to Cook Raspberry Jam Streusel Bars
Making Raspberry Jam Streusel Bars is a delightful process that fills your kitchen with heavenly aromas. Let’s dive into the steps to create these scrumptious bars!
- Preheat your oven to 375° F. This is a crucial step to ensure even baking. While your oven warms up, line an 8-inch square baking pan with parchment paper, leaving some overhang on the sides; this will help you lift out the bars later.
- In a microwave-safe bowl, melt ½ cup unsalted butter. Be careful not to let it get too hot; it should be just warm to the touch. Let it cool for a few minutes before using it in the next step, as we don’t want it to cook the eggs prematurely if we were using them.
- Once the butter has cooled, pour it into a mixing bowl and add ½ cup granulated sugar. Whisk them together for about one minute until thoroughly combined. Let the mixture rest for a minute, then whisk again to incorporate air, which will add lightness to the bars.
- Add the dry ingredients: 1 ½ cups all-purpose flour, ½ teaspoon baking soda, ½ teaspoon baking powder, and ¼ teaspoon salt. Stir with a fork until everything is just combined. The mixture will resemble coarse crumbs.
- Reserve 1 cup of this crumb mixture for the topping. Press the remaining mixture into the prepared pan using your fingers or the bottom of a cup to create an even layer.
- Now, spread 1 cup raspberry jam evenly over the crust. Be gentle to avoid tearing the crust; a spatula can help with this.
- Sprinkle the reserved crumb mixture over the jam, followed by ¼ cup sliced almonds for added texture and flavor. This will create a nice crunchy topping.
- Place the pan in the preheated oven and bake for 23 to 25 minutes. You’ll know they’re done when the top is light golden brown and the edges are slightly darker. For me, 24 minutes was the sweet spot!
- Once baked, remove from the oven and let them cool in the pan for about 10 minutes. Use the parchment overhang to lift the bars out completely onto a cutting board. Allow them to cool until warm but not hot before cutting them into 9 squares.
- Serve these delicious bars warm or at room temperature. Enjoy every bite!
Things Worth Knowing
- Room Temperature Butter: Always use room temperature butter for an easier mixing process. Cold butter can lead to a lumpy mixture.
- Measuring Flour: Remember to fluff the flour in its container before spooning it into your measuring cup for the most accurate measurement.
- Jam Consistency: If your jam is too thick, gently heat it in the microwave for about 15 seconds to make spreading easier.
- Clean Cuts: When cutting the bars, keep a clean knife by wiping it between cuts. This helps maintain neat squares.
Pro Tips and Tweaks
Before you get started, here are some pro tips to ensure your Raspberry Jam Streusel Bars turn out perfectly every time.
- Storage: These bars can be stored in an airtight container at room temperature for up to three days. If you want them to last longer, refrigerate them.
- Freezing: You can freeze the bars for up to one month. Just wrap them tightly in plastic wrap and place them in a freezer-safe container.
- Pairing: Enjoy these bars with a scoop of vanilla ice cream or a dollop of whipped cream for a delightful dessert experience.
- Flavor Variations: Feel free to experiment with different jam flavors. Blueberry, apricot, or even orange marmalade can all create a delicious twist on the original recipe.
- Nut Allergies: If someone has a nut allergy, you can leave out the sliced almonds or replace them with seeds like sunflower seeds for crunch.
- Texture Preference: For a softer texture, underbake the bars slightly. For crunchier bars, bake them until they are just golden.
Accompaniments for Raspberry Jam Streusel Bars
There are so many wonderful ways to serve Raspberry Jam Streusel Bars. Here are some ideas to elevate your dessert experience:
- Classic Ice Cream: Serve your bars warm with a scoop of vanilla ice cream on the side. The creaminess perfectly complements the tartness of the jam.
- Whipped Cream: A dollop of freshly whipped cream adds a light touch, enhancing the dessert without overpowering it.
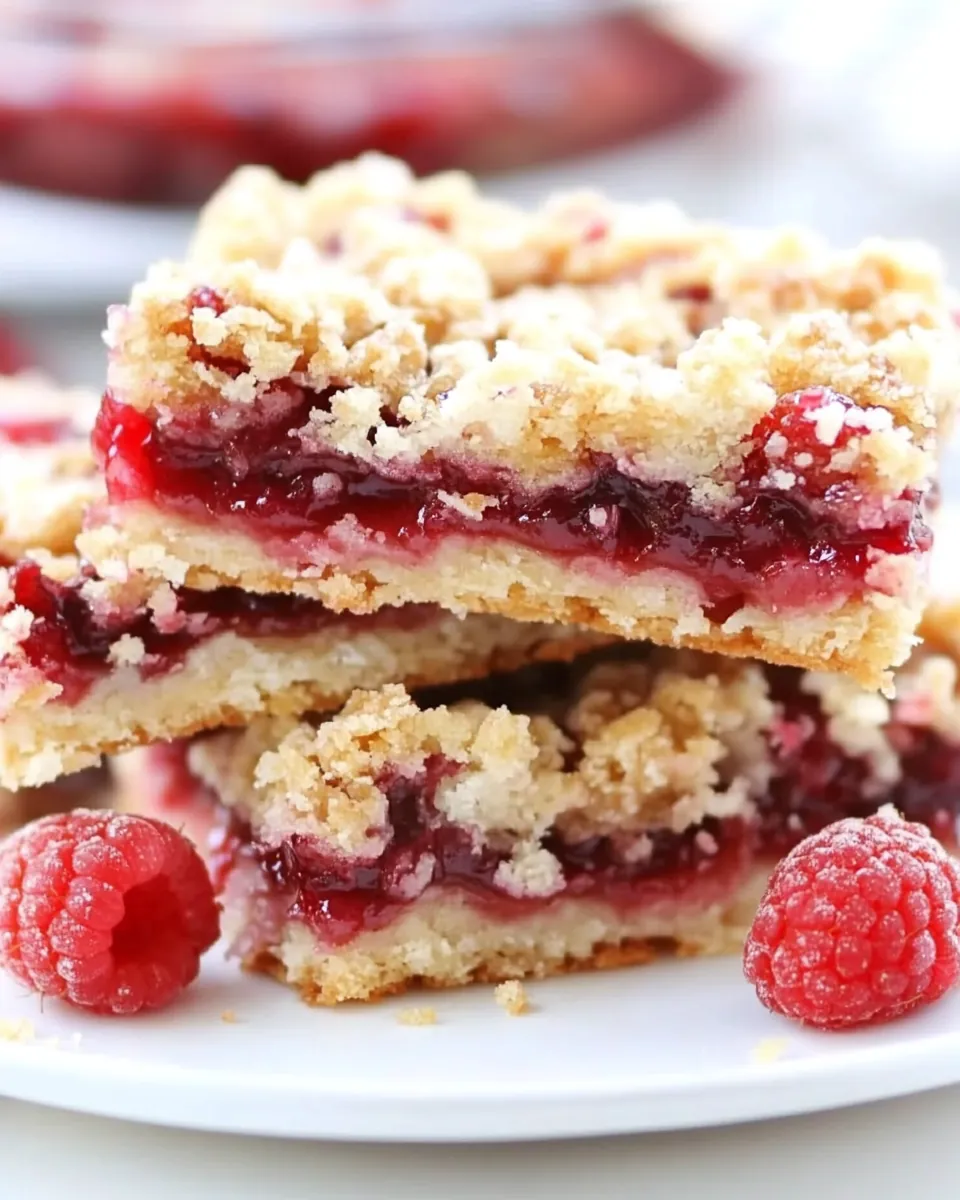
- Fresh Berries: Garnish with fresh raspberries or strawberries for a pop of color and flavor that ties in beautifully with the jam.
- Picnic Treat: These bars are fantastic for outdoor gatherings. Package them individually in napkins for a grab-and-go treat at picnics or parties.
- Pairing Beverages: Enjoy your bars with a glass of cold lemonade or iced tea for a refreshing contrast on a warm day.
- Holiday Dessert: These bars can fit right into your holiday spread. Their vibrant color and delicious taste make them a festive choice.
FAQ
Conclusion
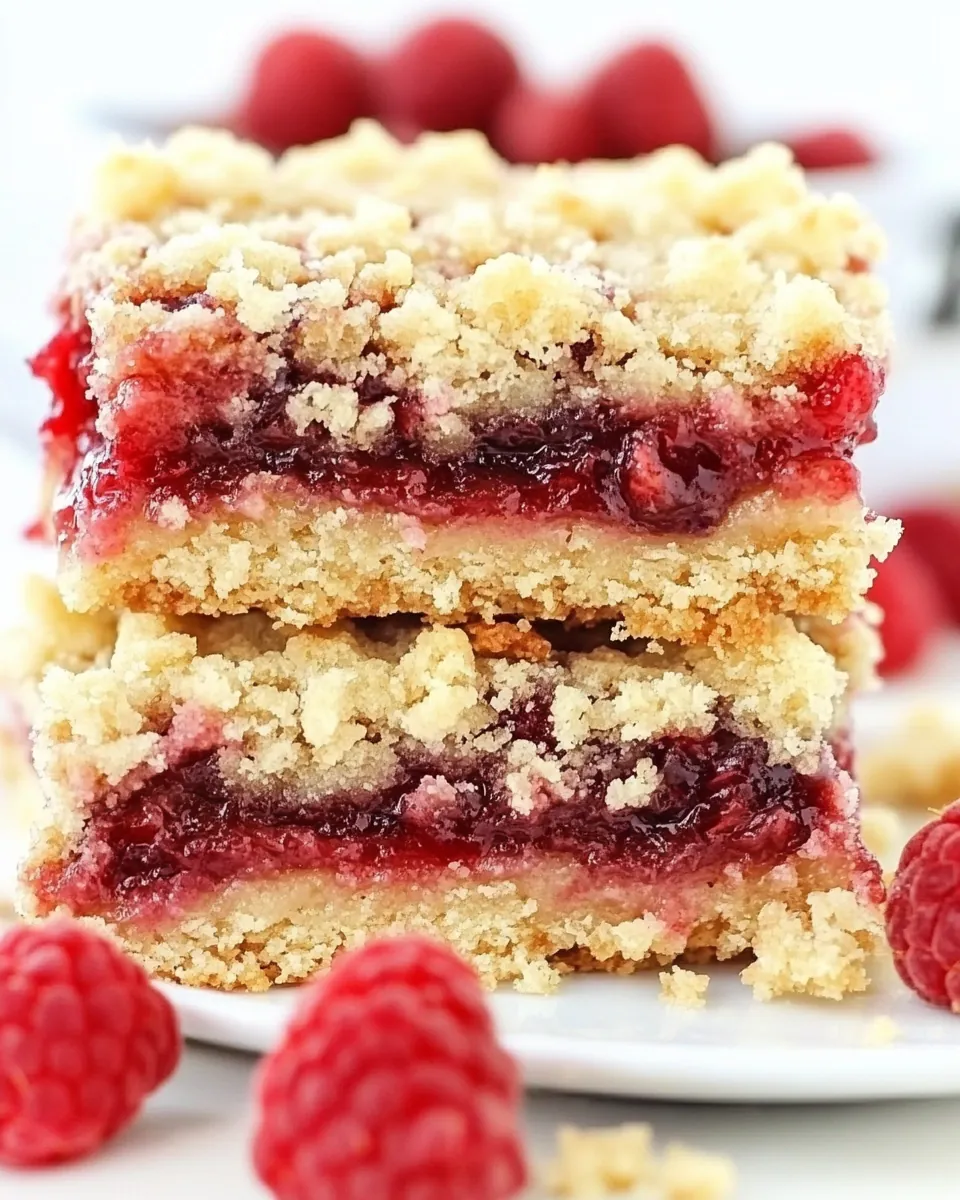
**Raspberry Jam Streusel Bars** are a delightful combination of sweet and tart, with a buttery crust that melts in your mouth. They make for the perfect treat to share with friends and family or to simply indulge in yourself. I encourage you to try making these bars and enjoy the wonderful flavors they offer. Each bite is a reminder of sunny days and sweet memories, making them a recipe worth revisiting time and time again.
Raspberry Jam Streusel Bars
Ingredients
Equipment
Method
- Preheat your oven to 375° F. This is a crucial step to ensure even baking. While your oven warms up, line an 8-inch square baking pan with parchment paper, leaving some overhang on the sides; this will help you lift out the bars later.
- In a microwave-safe bowl, melt ½ cup unsalted butter. Be careful not to let it get too hot; it should be just warm to the touch. Let it cool for a few minutes before using it in the next step, as we don't want it to cook the eggs prematurely if we were using them.
- Once the butter has cooled, pour it into a mixing bowl and add ½ cup granulated sugar. Whisk them together for about one minute until thoroughly combined. Let the mixture rest for a minute, then whisk again to incorporate air, which will add lightness to the bars.
- Add the dry ingredients: 1 ½ cups all-purpose flour, ½ teaspoon baking soda, ½ teaspoon baking powder, and ¼ teaspoon salt. Stir with a fork until everything is just combined. The mixture will resemble coarse crumbs.
- Reserve 1 cup of this crumb mixture for the topping. Press the remaining mixture into the prepared pan using your fingers or the bottom of a cup to create an even layer.
- Now, spread 1 cup raspberry jam evenly over the crust. Be gentle to avoid tearing the crust; a spatula can help with this.
- Sprinkle the reserved crumb mixture over the jam, followed by ¼ cup sliced almonds for added texture and flavor. This will create a nice crunchy topping.
- Place the pan in the preheated oven and bake for 23 to 25 minutes. You’ll know they’re done when the top is light golden brown and the edges are slightly darker. For me, 24 minutes was the sweet spot!
- Once baked, remove from the oven and let them cool in the pan for about 10 minutes. Use the parchment overhang to lift the bars out completely onto a cutting board. Allow them to cool until warm but not hot before cutting them into 9 squares.
- Serve these delicious bars warm or at room temperature. Enjoy every bite!
Notes
- Tip 1: Remember to fluff the flour in its container, then spoon into a measuring cup. Level off the top with a knife.
- Tip 2: If your jam is very thick, heat it up in the microwave for 15 seconds or so to "melt" it a little bit to make spreading easier.
- Tip 3: When cutting, keep in mind that the jam layer is sticky. For clean slices, wipe the knife in between cutting.
- Tip 4: Any jam works: berry, grape, peach, apricot, orange, etc. Have fun with this recipe by making different versions. It’s so easy, it’s fail-proof!
- Tip 5: Please note, that the nutrition value can vary depending on what product you use. The information below is an estimate. Always use a calorie counter you are familiar with.