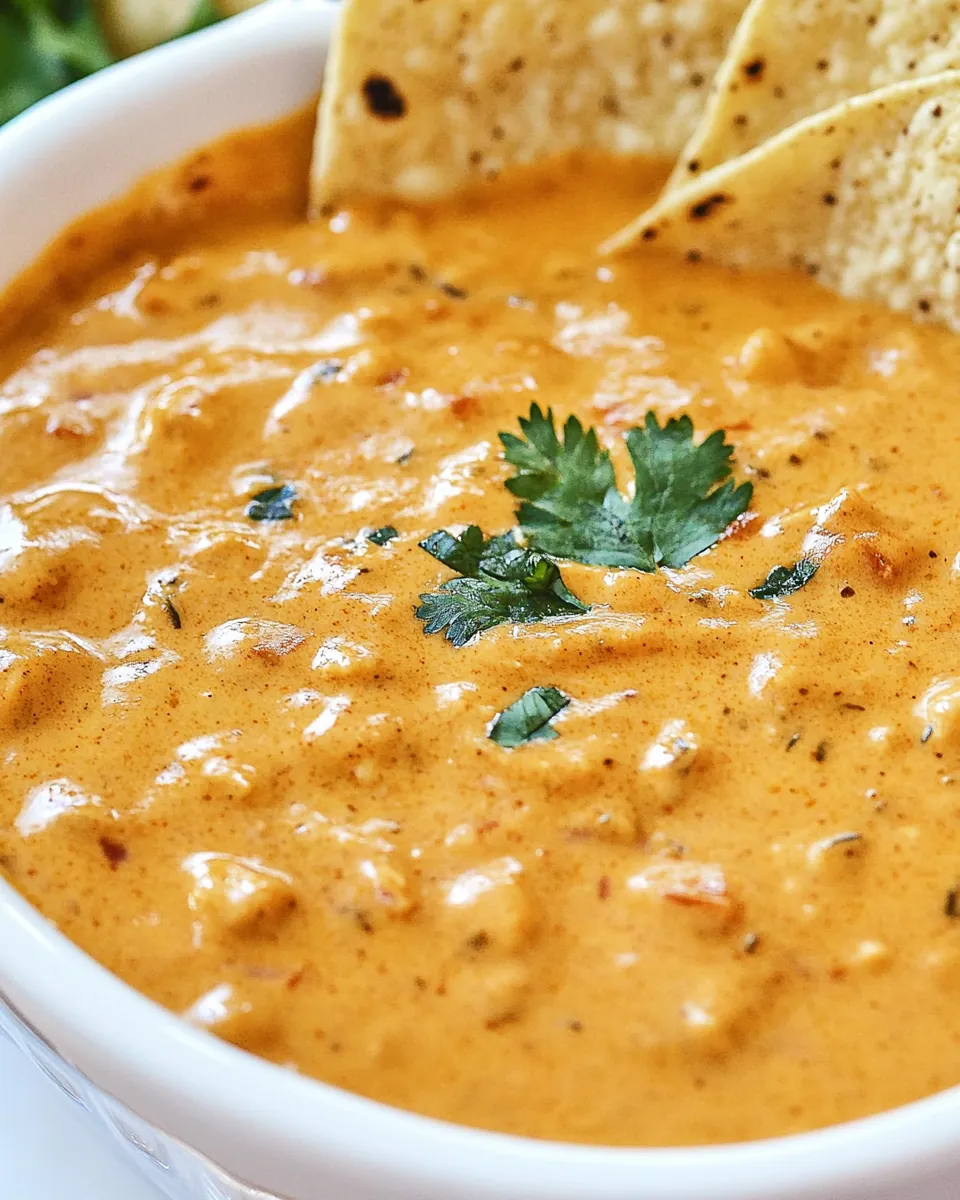
Chili’s Skillet Queso
There’s nothing quite like the smooth and creamy indulgence of Chili’s Skillet Queso to warm your soul on a chilly winter evening. I remember the first time I tasted this delightful dish at a family gathering. Everyone gathered around, dipping crispy tortilla chips into that velvety goodness, and I felt an instant connection with the flavors. It’s funny how food can evoke memories, isn’t it? With just two simple ingredients, you can recreate that same level of comfort in your own kitchen. Whether you’re hosting a game night or simply craving a cheesy snack, this Chili’s Skillet Queso will be your go-to recipe. Trust me, it’s an experience worth sharing!
Recipe Snapshot
20 mins
10 mins
10 mins
Easy
300 kcal
15 g
Gluten-Free, Low FODMAP
25 g
Wooden Spoon, Blender, Skillet, Frying Pan
The Magic of This Chili’s Skillet Queso
It’s Incredibly Simple
One of the reasons I absolutely love Chili’s Skillet Queso is how easy it is to prepare. You only need two main ingredients, and the cooking process is straightforward. You won’t have to spend hours in the kitchen, which means you can dedicate more time to enjoying the company of your friends and family.
Great for Any Occasion
This dish is incredibly versatile. Whether you’re having a casual weekday dinner, hosting a game night, or looking for a comforting snack on a winter night, Chili’s Skillet Queso fits the bill perfectly. It’s an all-around favorite, and no one can resist dipping into that cheesy goodness!
Perfect for Sharing
When it comes to food, sharing is caring. And what better way to bond than over a warm skillet of Chili’s Skillet Queso? It creates an inviting atmosphere where everyone can gather around, dip their chips, and enjoy each other’s company. It’s the ultimate crowd-pleaser!
Rich, Creamy Texture
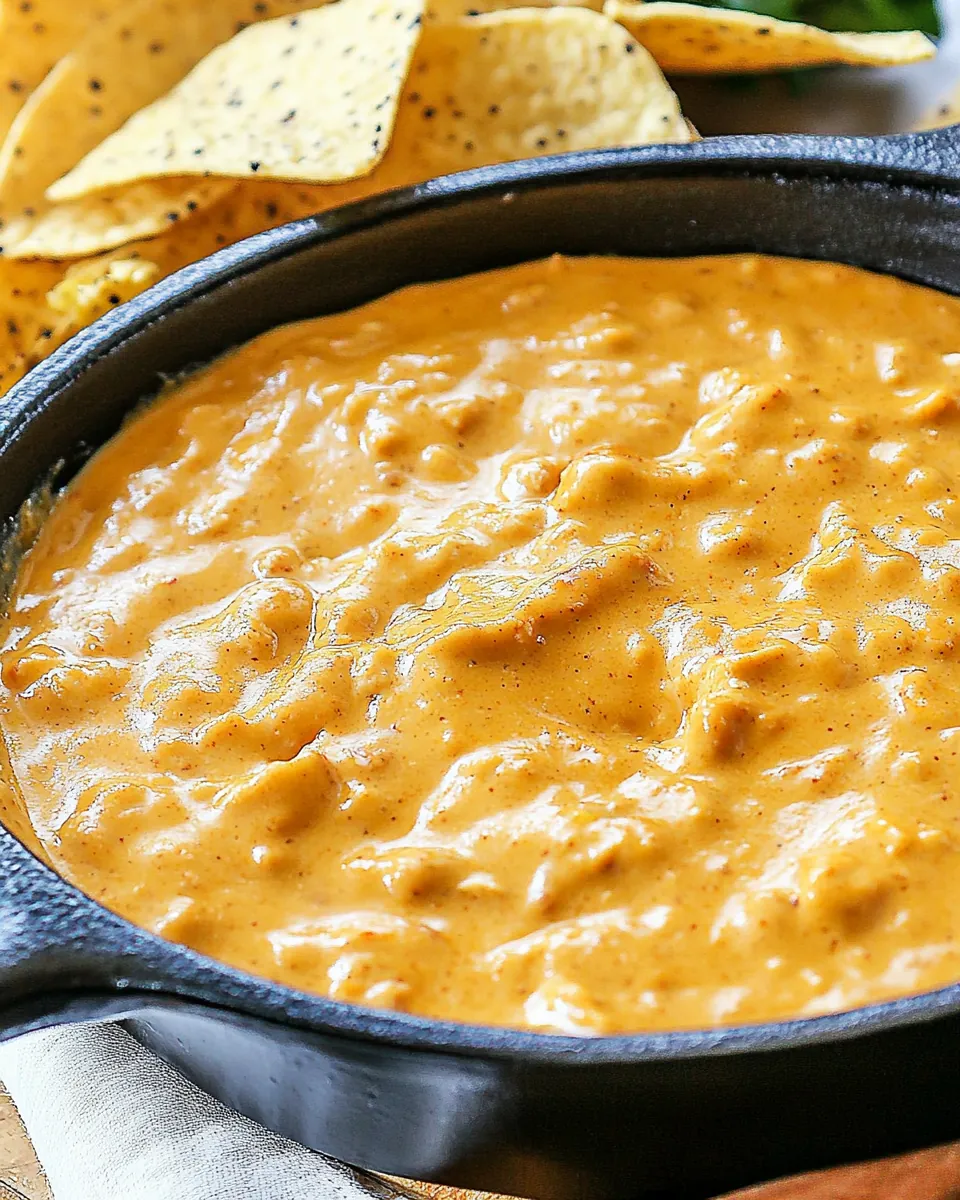
The texture of this queso is simply divine. When melted together, the ingredients create a smooth, creamy dip that’s rich and satisfying. Imagine dipping a crispy chip into this dreamy goodness; it’s an experience you won’t want to miss.
Flavorful and Satisfying
There’s something about the combination of flavors that makes Chili’s Skillet Queso utterly irresistible. The savory notes from the chili paired with the lushness of the cheese create a perfect balance that satisfies your cravings. Once you start, it’s hard to stop!
What’s In This Chili’s Skillet Queso
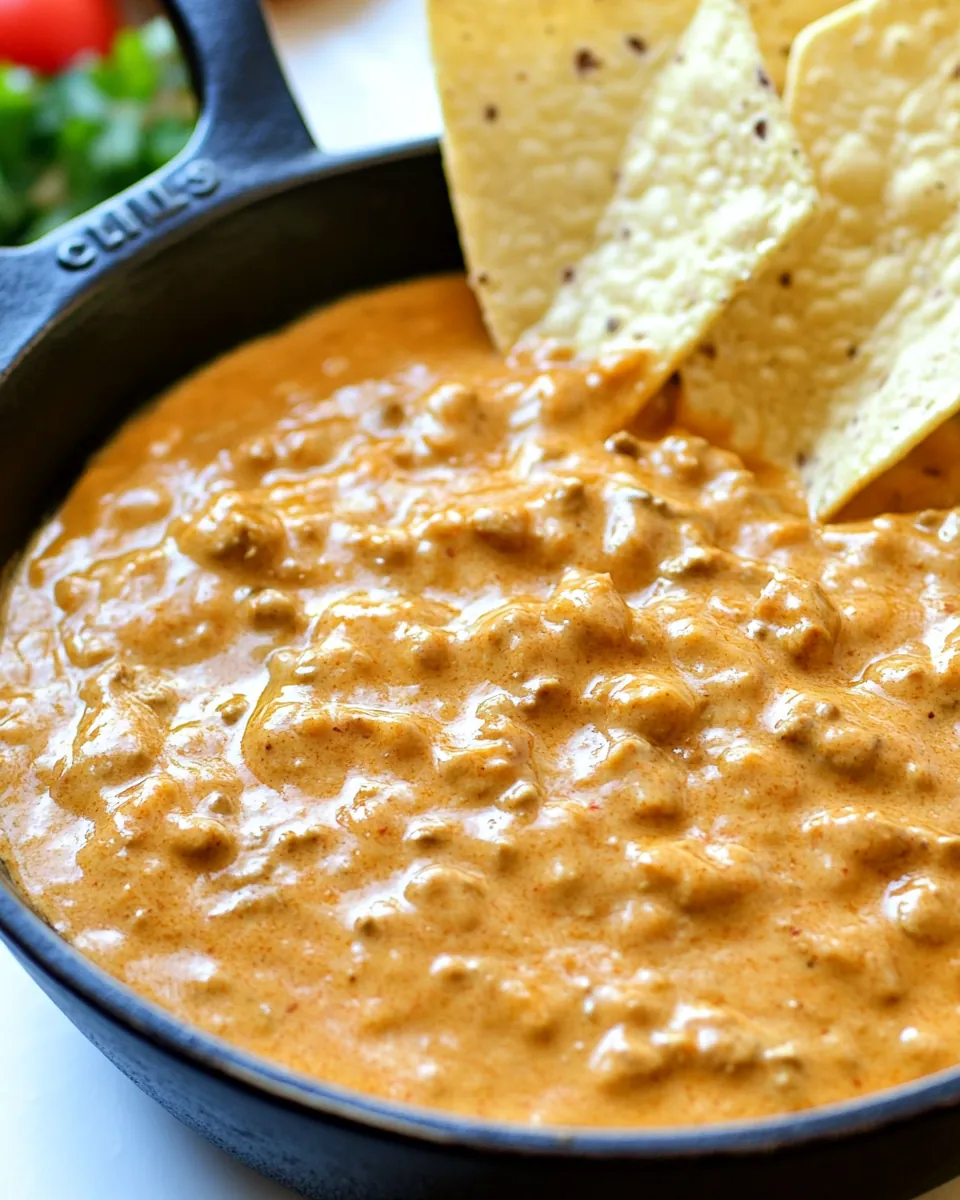
The beauty of Chili’s Skillet Queso lies in its simplicity. The two ingredients work harmoniously to create a dip that’s rich in flavor and texture. The star of the show is the Velveeta cheese, which melts beautifully, resulting in a creamy consistency. The Hormel No-Bean Chili adds a savory depth that elevates the dish, making it perfect for dipping.
- 2 pounds Velveeta cheese: This creamy cheese melts perfectly, giving the queso its signature texture. It’s crucial for achieving that luxurious, gooey dip.
- 30 ounces Hormel No-Bean Chili: This chili adds a rich, savory flavor to the queso. Plus, it eliminates the need for additional spices, streamlining the preparation process.
Cooking Instructions for Chili’s Skillet Queso
Cooking Chili’s Skillet Queso is a breeze, and you’ll be amazed at how quickly you can whip it up! Follow these simple steps for a delicious dip that everyone will love.
- Start by gathering your ingredients and setting them on the counter. Ensure you have a large skillet or saucepan ready for melting the cheese and chili together.
- Next, cut the Velveeta cheese into small cubes. This helps it melt evenly and rapidly. The smaller, uniform pieces will ensure a smooth texture in your queso.
- Place the cubed Velveeta cheese and the Hormel No-Bean Chili into the skillet. Make sure to spread them out evenly to promote even melting.
- Now, turn on the heat to low. Patience is key here! The goal is to melt the cheese without scorching it.
- As the cheese begins to melt, stir the mixture gently with a wooden spoon or silicone spatula. You’ll notice how the flavors start to marry together beautifully.
- Keep stirring occasionally to prevent any burning or sticking to the bottom of the skillet. This will ensure your queso remains smooth and creamy.
- Once the cheese is completely melted and combined with the chili, take a moment to appreciate the delightful aroma wafting through your kitchen.
- If you prefer a smoother texture, you can transfer the mixture to a blender. Puree it until it reaches your desired consistency. Just be careful, as the mixture will be hot!
- Return the blended queso to the skillet to keep it warm until serving. You can adjust the heat to a very low setting to maintain temperature without boiling.
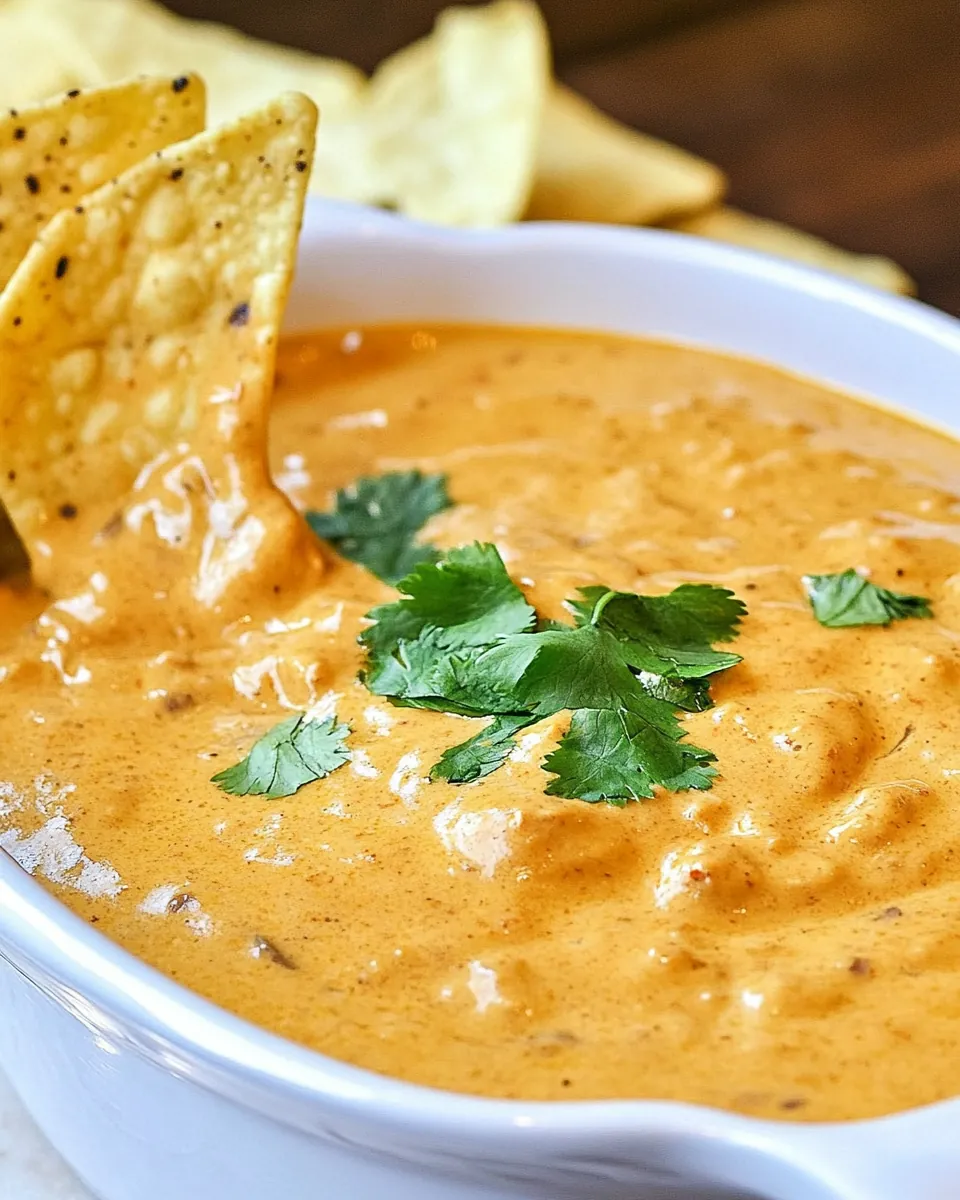
- Finally, serve your Chili’s Skillet Queso warm in a pre-warmed serving dish. Pair it with crispy tortilla chips, and watch everyone dig in!
Things Worth Knowing
- Temperature control: Always use low heat to melt the cheese gradually. Rushing the melting process can lead to a gritty texture.
- Stir constantly: This prevents scorching and ensures an even melt, keeping your queso smooth and creamy.
- Cube the cheese properly: Smaller, uniform cubes melt faster and integrate seamlessly with the chili.
- Pre-warm your serving dish: Running hot water over your serving dish before adding the queso helps maintain the perfect temperature for serving.
Expert Tips about Chili’s Skillet Queso
When it comes to making Chili’s Skillet Queso, a few expert tips can really elevate the final outcome. Here’s what I recommend for achieving the best results!
- Storage: Store any leftover queso in an airtight container in the refrigerator. It can last for up to three days. To reheat, warm it gently on the stove or in the microwave, adding a splash of milk to regain its creamy texture.
- Freezing: While it’s best enjoyed fresh, you can freeze queso for up to a month. Let it cool completely, then transfer it to a freezer-safe container. Thaw in the refrigerator overnight before reheating.
- Pairing: Serve with tortilla chips, but don’t stop there! This queso also makes a fantastic topping for tacos, nachos, or even baked potatoes.
- Double the Batch: If you’re serving a crowd, consider doubling the recipe. This delicious dip disappears fast!
- Ingredient Quality: Use high-quality Hormel No-Bean Chili for the most authentic flavor. Quality ingredients make all the difference in this simple recipe.
What Complements This Chili’s Skillet Queso
Serving Chili’s Skillet Queso is all about creating a fun, inviting atmosphere. Here are some ideas to elevate your serving game:
- Crispy Tortilla Chips: Serve with a generous bowl of crispy tortilla chips for dipping. The contrasting textures create a delightful experience.
- Fresh Vegetables: Pair with sliced bell peppers, carrots, or celery for a fresh crunch. These veggies provide a lighter option alongside the rich queso.
- Game Day Treat: This dip is perfect for sports events. Set up a queso bar with various toppings like jalapeños, diced tomatoes, and green onions, allowing guests to customize their experience.
- Party Appetizer: It’s ideal for gatherings. Serve it hot with a side of your favorite cocktails or beverages, making it a staple at any party.
- Seasonal Occasions: This dish shines during winter gatherings but can be enjoyed any time of year. Its warm, comforting nature makes it a hit during the cold months.
FAQ
Conclusion
In summary, Chili’s Skillet Queso is a comforting and easy recipe that brings people together. It’s perfect for any occasion, whether it’s a simple family dinner or a lively game night. I encourage you to try this dip at your next gathering and create memorable moments filled with laughter and good food.
Chili's Skillet Queso
Ingredients
Equipment
Method
- Heat the ingredients together in a skillet or saucepan over low heat until melted, stirring often. For the most accurate texture, you should puree the cooked dip in a blender.
Notes
- Cube the cheese properly: Smaller, uniform cubes melt faster and more evenly.
- Low and slow is key: Never rush the melting process with high heat.
- Stir constantly: The most crucial step for preventing scorching and ensuring smooth texture.
- Pre-warm your serving dish: Running hot water over your serving dish before adding the queso helps maintain the perfect temperature.
- Quality matters: While this is a simple recipe, using Hormel chili delivers explicitly the most authentic flavor.
- Temperature control: Remove from heat just as everything is melted and combined, before it reaches a boil.
- For entertaining: Make a double batch and keep warm in a slow cooker set to low.