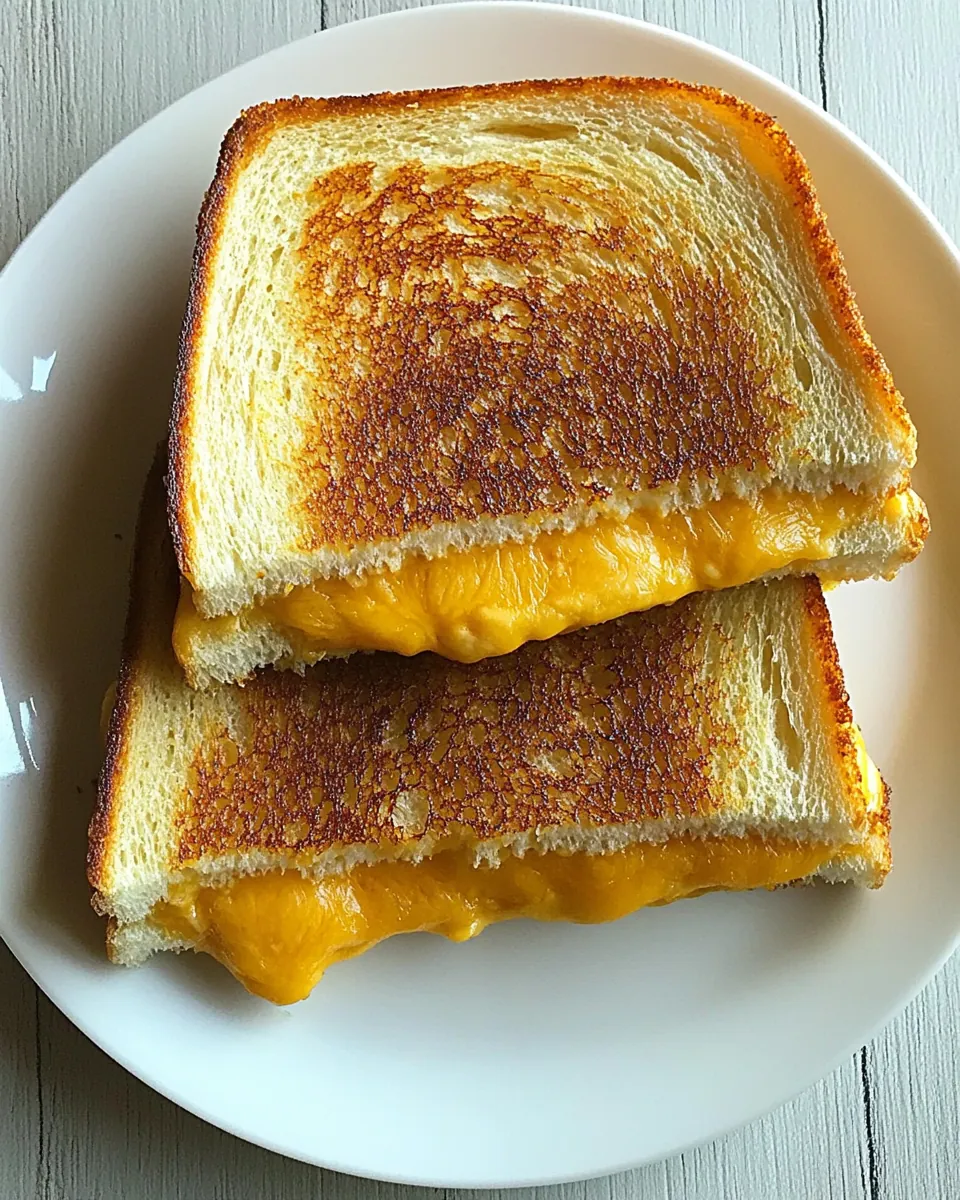
Baked Grilled Cheese Sandwiches
There’s something undeniably comforting about a warm, melty Baked Grilled Cheese Sandwiches. I remember the first time I made them; I was a child, huddled in the kitchen with my mom, watching the butter sizzle and the cheese ooze. It was a simple joy, one that transformed an ordinary day into a cozy one. Whenever I bite into one of these sandwiches now, it takes me back. I love how easy they are to whip up and how they fill the house with that irresistible aroma of toasty bread and melted cheese. It’s a dish that feels like a warm hug on a cold winter day, perfect for any meal. Whether it’s a quick lunch or a comforting dinner, these sandwiches never disappoint. Gather your favorite sandwich bread, some delightful cheeses, and let’s dive into this delicious recipe!
Recipe Snapshot
15 mins
5 mins
10 mins
Medium
350 kcal
15 g
Gluten-Free, Low FODMAP
20 g
Chef’s Knife, Oven, Baking Sheet
Why This Baked Grilled Cheese Sandwiches Stands Out
1. Comforting Soul Food
There’s something about the combination of melted cheese and crispy bread that just warms my heart. Every bite of these Baked Grilled Cheese Sandwiches brings back nostalgic memories of cozy family meals and lazy weekends. It’s like a warm blanket on a chilly day!
2. Easy to Make
Even if you’re a novice in the kitchen, this recipe is super straightforward. With just a few ingredients and simple steps, you can create a tasty meal in no time. It’s perfect for anyone looking to build their cooking confidence.
3. Endless Variations
What I adore about this recipe is how you can customize it. Want to experiment with different cheeses? Go for it! Add a slice of tomato or a sprinkle of herbs for an extra twist. The possibilities are endless, and that’s what keeps me coming back!
4. A Family Favorite
This recipe has become a staple in our household. My kids love it, and honestly, so do I! It’s a quick meal option when we’re all pressed for time, and it’s guaranteed to please picky eaters. You can’t go wrong with that!
5. Perfect for Any Occasion
These Baked Grilled Cheese Sandwiches are not just for lunch. They make for a fantastic dinner option paired with a warm bowl of soup, or even as a fun snack during a movie night. They’re versatile and always a hit!
6. Kid-Friendly Cooking
Get the kids involved! This is a great recipe to teach them some basic cooking skills. They can help spread the butter, layer the cheese, and even flip the sandwiches when baking. It’s a delightful way to spend time together in the kitchen.
Essential Ingredients for Baked Grilled Cheese Sandwiches
The ingredients in these sandwiches are simple, yet they come together to create something magical. The key players are butter, bread, and cheese. Each component plays a crucial role in delivering that perfect balance of flavors and textures. The butter provides a crispy, golden crust, while the cheese offers that gooey, satisfying stretch we all love. Choosing the right bread is also essential for a delightful crunch. Let’s take a closer look at these ingredients!
- Unsalted butter: 3 tablespoons of softened unsalted butter ensure a rich, creamy flavor. It’s perfect for spreading on the bread and helps achieve that golden-brown crust.
- Sandwich bread: You’ll need 8 slices of your favorite sandwich bread. Choose a hearty variety for a satisfying bite, or opt for a lighter bread if you prefer.
- Medium cheddar cheese: 8 thick slices of medium cheddar cheese add a sharp, creamy flavor that pairs beautifully with the bread. You can also mix in some other cheeses for added depth.
- mozzarella cheese: The addition of 4 slices of mozzarella cheese brings a delightful stretchiness to the sandwich, making every bite more enjoyable.
The Method for Baked Grilled Cheese Sandwiches
Making these Baked Grilled Cheese Sandwiches is a fun and straightforward process. It doesn’t take long to create something that feels gourmet! Let’s dive into the steps to achieve that perfect melt and crunch.
Start by preheating your oven to 400 degrees Fahrenheit. This is a crucial step to ensure that your sandwiches bake evenly and develop that lovely golden color.
Next, grab your unsalted butter and spread it generously over one side of half of your sandwich bread slices. Aim for about one teaspoon of butter per slice, ensuring a rich flavor in every bite.
Now, place the buttered slices of bread butter side down on a rimmed baking sheet. This will allow the bread to crisp up beautifully while baking.
On each slice of bread, layer one slice of cheddar cheese and one slice of mozzarella cheese. If you’re feeling adventurous, you can add additional layers of cheese for a more decadent sandwich.
Top each cheesy slice with another slice of sandwich bread, ensuring the butter side is facing up. This will create a nice crispy top as they bake.
Spread the remaining butter over the top of the new slices of bread. This extra layer of butter is what gives you that delectable crunch!
Place the baking sheet in the preheated oven and bake for about 10 minutes. Keep an eye on them; you want them to turn a beautiful golden brown.
About halfway through baking, flip the sandwiches gently to ensure an even bake. This step is essential for achieving that perfect crispiness on both sides.
Once they’re golden and crispy, remove the sandwiches from the oven. Let them cool for a minute before slicing them in half to reveal that gooey cheese.
Serve warm and enjoy every cheesy, crispy bite of your Baked Grilled Cheese Sandwiches!
Things Worth Knowing
Butter Temperature: Ensure your butter is softened, not melted. This helps it spread evenly without soaking the bread.
Layering Cheese: Feel free to experiment with different types of cheese. Mixing cheddar and mozzarella gives a lovely texture.
Oven Temperature: Adjust the oven temperature for a crispier finish. If you prefer a crunchy exterior, increase the temperature slightly.
Watch Your Time: Every oven is different, so keep an eye on your sandwiches. You want them golden brown, not burnt!
Pro Tips and Tweaks
Here are some handy tips to elevate your Baked Grilled Cheese Sandwiches experience. Follow these suggestions for an even more delightful meal!
- Storage: Store leftovers in an airtight container in the refrigerator for up to 5 days to maintain freshness.
- Freezing: These sandwiches can be frozen for up to 2 months. Thaw them overnight in the fridge before reheating.
- Reheating: For the best results, reheat the sandwiches on a baking sheet in the oven until warmed through at 165 degrees Fahrenheit.
- Seasoning: Add a sprinkle of garlic powder or herbs to the butter for an extra flavor punch.
- Pairing: Serve your sandwiches with a side of tomato soup for a classic comfort meal.
Pairing Suggestions for Baked Grilled Cheese Sandwiches
When it comes to serving these Baked Grilled Cheese Sandwiches, the options are as delicious as the recipe itself. Here are some fantastic ideas to elevate your meal:
- Tomato Soup: This classic pairing never fails. The creamy tomato soup complements the cheesy goodness perfectly.
- Salad: Serve with a light garden salad for a refreshing contrast to the richness of the sandwiches.
- Chips: A side of crispy chips adds a satisfying crunch, making your meal feel complete.
- Pickles: The tanginess of pickles provides an excellent balance to the rich flavors of the sandwich.
- Occasions: These sandwiches are perfect for casual family dinners, lunches, or even a cozy brunch with friends.
- Seasonal Variations: Try adding seasonal ingredients, like avocado in summer or roasted vegetables in fall, for a delicious twist.
FAQ
Conclusion
In conclusion, Baked Grilled Cheese Sandwiches are the epitome of comfort food. With their crispy exterior and gooey interior, they are sure to satisfy any craving. I encourage you to try making them at home, as they truly are a delight to enjoy. Gather your ingredients and let the memories of childhood comfort fill your kitchen. You won’t regret indulging in this classic dish!
Baked Grilled Cheese Sandwiches
Ingredients
Equipment
Method
- Preheat your oven to 400 degrees Fahrenheit.
- Spread 3 tablespoons of softened unsalted butter over one side of half your sandwich bread slices.
- Place the buttered slices of bread butter side down on a rimmed baking sheet.
- Layer each slice with one slice of medium cheddar cheese and one slice of mozzarella cheese.
- Top with another slice of sandwich bread, butter side up.
- Spread remaining butter over the top of the new slices of bread.
- Bake for about 10 minutes, flipping halfway through.
- Once golden brown, remove and let cool for a minute before slicing.
- Serve warm and enjoy!
Notes
- Storage: Store leftovers in an airtight container in the refrigerator for up to 5 days.
- Freezing: These sandwiches can be frozen for up to 2 months.
- Reheating: Reheat on a baking sheet until warmed through at 165 degrees Fahrenheit.
- Seasoning: Add garlic powder or herbs to the butter for extra flavor.
- Pairing: Serve with a side of tomato soup for a classic comfort meal.