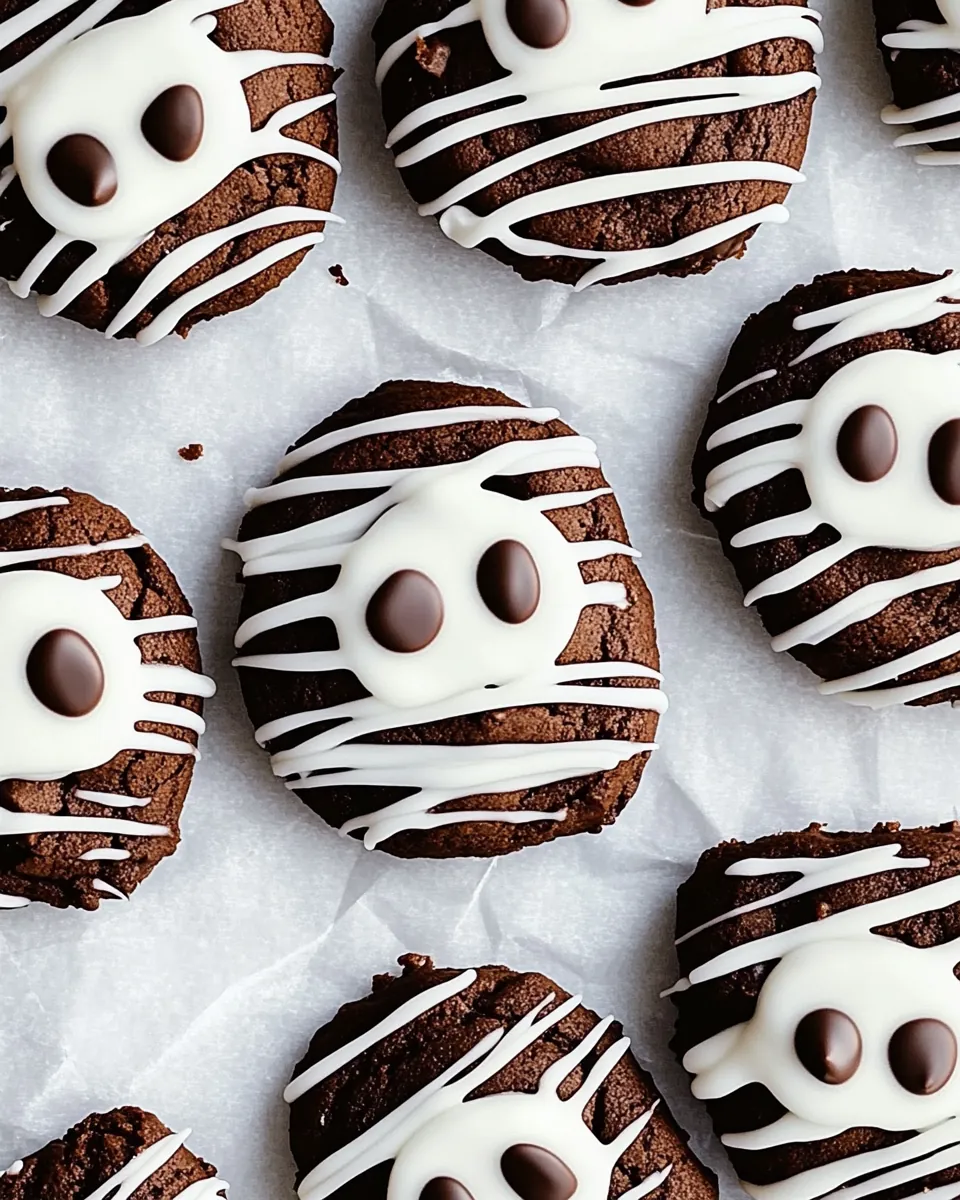
Chocolate Mummy Cookies
There’s something uniquely special about baking during the fall, and what better way to embrace the spooky season than with Chocolate Mummy Cookies? These delightful treats not only satisfy your sweet tooth but also bring a playful twist to your Halloween festivities. I still remember the first time I made these cookies; my kitchen was filled with the rich aroma of chocolate, making it impossible to resist sneaking a taste. As I decorated the cookies with white chocolate and candy eyeballs, I couldn’t help but feel like a kid again, excited to share these spooky delights with friends and family. Every bite of these cookies feels like a celebration, perfect for gatherings and festive occasions. Whether you’re throwing a Halloween party or simply indulging in a cozy evening at home, Chocolate Mummy Cookies are sure to bring smiles all around!
Recipe Snapshot
30 mins
15 mins
15 mins
Medium
150 kcal
4 g
Keto, Paleo, Gluten-Free
10 g
Oven, Baking Sheet, Mixing Bowl, Wooden Spoon
Why This Chocolate Mummy Cookies Is a Winner
They’re Fun to Make!
One of the best parts about Chocolate Mummy Cookies is how interactive the process is. Kids and adults alike can join in on the fun when it comes to decorating these spooky cookies. Whether you’re creating bandages with white chocolate or placing the candy eyeballs, there’s an element of creativity that makes this baking experience enjoyable for everyone.
Rich Chocolate Flavor
The combination of creamy peanut butter and rich cocoa powder results in a decadent flavor profile that will please any chocolate lover. Each bite delivers a satisfying chocolate experience, making them a great choice for satisfying those sweet cravings.
Perfect for Fall Celebrations
These cookies are not only delicious; they also capture the essence of the fall season. The spooky design makes them perfect for Halloween parties or as a fun treat to share with friends during a cozy movie night. They truly embody the spirit of the season!
Healthier Ingredients
Using natural ingredients like almond flour and coconut sugar provides a healthier twist compared to traditional cookie recipes. You can indulge in these cookies with less guilt, knowing they’re made with wholesome components.
Great for Gifting
Who wouldn’t appreciate a box of Chocolate Mummy Cookies? They make for a wonderful homemade gift during the holiday season. Wrapped in a cute box or bag, they are sure to delight anyone who receives them. Just imagine the joy on your friends’ faces when they get these delightful treats!
Customizable Decorations
While the classic mummy look is fun, you can also personalize the cookies for other occasions. Use different colors of chocolate or candy decorations to suit various themes or festive holidays, making them versatile treats throughout the year.
What Goes Into Chocolate Mummy Cookies
When it comes to making Chocolate Mummy Cookies, the choice of ingredients plays a pivotal role in achieving that perfect balance of flavor and texture. Each ingredient complements the others beautifully, creating a cookie that’s not only delicious but also brings a festive spirit to your baking. The combination of creamy peanut butter, chocolate, and natural sweeteners makes these cookies a delightful treat.
- Creamy Peanut Butter: This ingredient serves as the base of our cookies, providing a rich flavor and chewy texture. It’s also packed with protein, making these cookies a bit more nutritious.
- Eggs: Essential for binding the ingredients together, eggs help create the perfect consistency for the dough, ensuring that the cookies hold their shape while baking.
- Almond Flour: A gluten-free option that adds a lovely nutty flavor and tender texture to the cookies, making them lighter and healthier than traditional flour.
- Cocoa Powder: Unsweetened cocoa powder infuses the cookies with deep chocolate flavor, making them irresistible to any chocolate lover.
- Coconut Sugar: A natural sweetener that adds a touch of caramel flavor while keeping the cookies from being overly sweet.
- Chocolate Chips: The addition of chocolate chips brings even more chocolatey goodness to each bite. They melt slightly during baking, creating delightful pockets of chocolate.
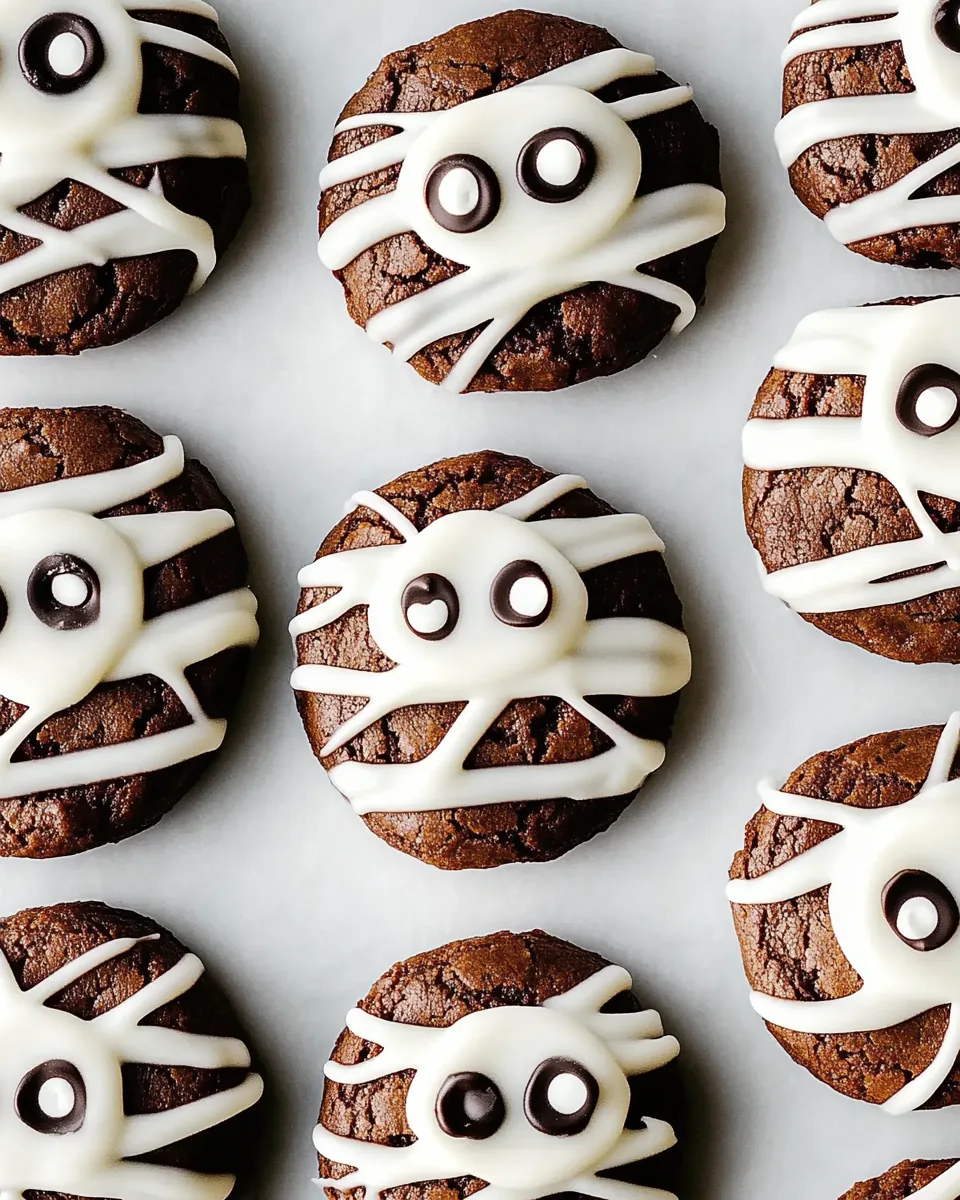
- White Chocolate Chips: Used for decorating, these add a fun contrast and help create the mummy look.
- Edible Candy Eyeballs: These whimsical decorations are what truly transform your cookies into adorable mummies, making them perfect for Halloween!
Recipe Directions for Chocolate Mummy Cookies
Making Chocolate Mummy Cookies is a wonderful experience that combines baking with creativity, and I can’t wait for you to try it! Follow these easy steps to create your own spooky treats that everyone will adore.
Preheat your oven to 375 degrees Fahrenheit. Preparing your oven beforehand ensures even baking. While it heats, gather your baking sheets and line them with parchment paper or aluminum foil to prevent sticking.
In a large mixing bowl, combine creamy peanut butter, eggs, and vanilla. Use a whisk or a hand mixer to blend until fully incorporated. You want this mixture to be smooth and creamy, without any lumps.
Now, it’s time to add the dry ingredients. Gradually mix in almond flour, cocoa powder, baking soda, coconut sugar, and salt. Stir until all the ingredients are well combined and the dough has a uniform consistency.
Fold in the chocolate chips gently with a spatula. Make sure they are evenly distributed throughout the dough for that delicious chocolatey surprise in every bite.
Using a medium-sized cookie scoop, drop tablespoonfuls of cookie dough onto the prepared baking sheet. Leave about two inches between each scoop, as they will spread while baking. Flatten the tops slightly with the back of a spatula.
Bake the cookies in the preheated oven for 12 to 15 minutes. Keep an eye on them; they’re done when the edges start to brown slightly and the centers are set. They might look a little soft, but they’ll firm up as they cool.
Once baked, remove the cookies from the oven and let them cool on the baking sheet for about 10 minutes. This allows them to firm up a bit before you transfer them.
After 10 minutes, transfer the cookies to a wire rack to cool completely. It’s essential to let them cool completely before decorating; otherwise, your chocolate will melt.
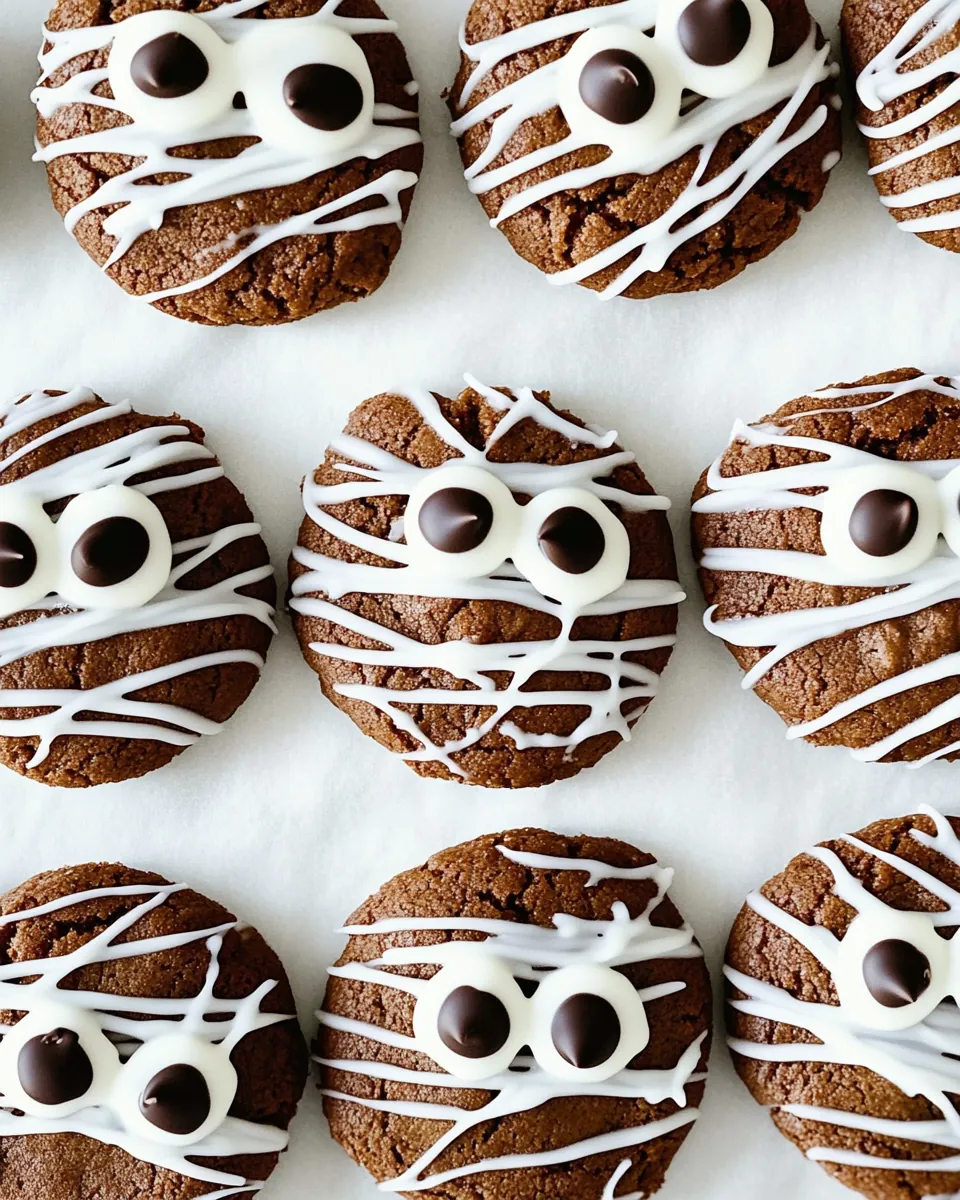
For decorating, melt the white chocolate chips (or white candy melts) in a small microwave-safe bowl. Heat in increments of 30 seconds, stirring in between, until fully melted. Be careful not to overheat!
Once your white chocolate is melted, cut a small slit at the tip of a piping bag or plastic baggie. Carefully squeeze the melted chocolate onto the cookies to create “bandages.” Get creative with your designs!
Finally, place the edible candy eyeballs onto the cookies while the chocolate is still warm so they’ll stick. And voila! Your Chocolate Mummy Cookies are ready to scare up some fun!
Things Worth Knowing
- Know your oven: Every oven is different. It’s a good idea to check your cookies a minute or two earlier than the suggested bake time to avoid overbaking.
- Consistency is key: Make sure your peanut butter is well-blended. If it’s too oily or dry, it can affect the texture of your cookies.
- Cooling is crucial: Allowing the cookies to cool properly helps them maintain their shape. Don’t rush this step!
- Storage matters: Store any leftover cookies in an airtight container at room temperature for up to a week. You can also freeze them for longer storage.
Pro Tips and Tweaks
Making Chocolate Mummy Cookies is an enjoyable experience, and a few pro tips can help elevate your baking game. Here’s a list of great suggestions!
- Storage: Keep your cookies in an airtight container at room temperature. This helps them stay soft and fresh for up to a week.
- Freezing: You can freeze the cookie dough before baking. Just scoop the dough onto a baking sheet, freeze until firm, then transfer to a zip-lock bag. When ready to bake, just take out and bake directly from the freezer.
- Pairing: These cookies pair wonderfully with a glass of milk or a scoop of vanilla ice cream. Perfect for an indulgent treat!
- Decorating: Feel free to experiment with different colors of melted chocolate for decoration or use various candies to create different spooky designs!
- Batch size: If you want to make a smaller batch, you can easily halve the recipe. Just keep an eye on the bake time!
Serving This Chocolate Mummy Cookies
When it comes to serving Chocolate Mummy Cookies, the possibilities are endless! Here are some fun ideas to consider:
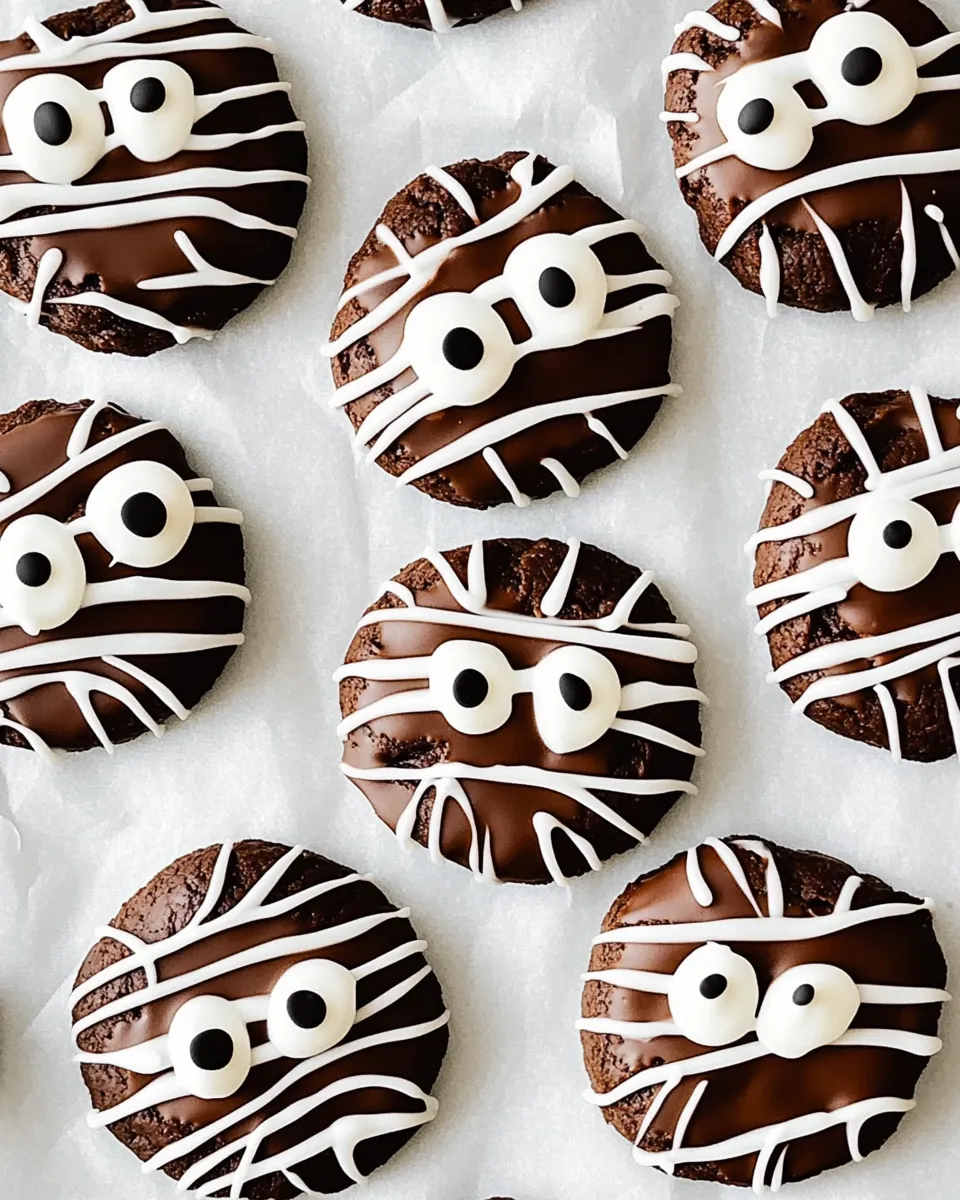
- Halloween Parties: These cookies are an absolute hit at Halloween gatherings. Present them on a spooky platter or in treat bags for guests to enjoy.
- School Treats: Send them in for school parties or bake sales. The kids will love the festive design!
- Cozy Movie Nights: Enjoy these cookies while watching your favorite Halloween movies. They make for the perfect sweet treat to share!
- Gift Giving: Package your cookies in cute containers or jars. They make delightful homemade gifts for friends and family during the fall season.
- Storage Tips: If you have leftovers, keep them in an airtight container. They can last up to a week at room temperature, making them great for snacking anytime.
FAQ
Conclusion
In summary, Chocolate Mummy Cookies are a unique and fun treat that captures the spirit of Halloween while satisfying your sweet tooth. These cookies are not only delicious but also offer a creative outlet for decorating. I encourage you to try making them for your next gathering or as a special indulgence at home. They’re sure to be a hit!
Chocolate Mummy Cookies
Ingredients
Equipment
Method
- Preheat oven to 375 degrees and line a baking sheet with parchment paper or aluminum foil.
- In a large bowl, mix together the peanut butter, eggs, and vanilla until all combined.
- Next, add in the almond flour, cocoa powder, baking soda, coconut sugar, and salt, stirring the mixture until smooth, then fold in the chocolate chips.
- Using a medium-sized cookie scoop, drop tablespoonfuls of cookie dough onto a prepared baking sheet and flatten the tops a bit with the back end of a spatula. You should get about 18 cookies.
- Bake the cookies for 12 to 15 minutes until cookies are set, and the edges start to brown.
- Let the cookies cool on the baking sheet for about 10 minutes before transferring them to a wire rack.
- To decorate the cookies, first, add white chocolate chips in a small microwave-safe bowl and microwave in 30-second intervals, mixing each time, until melted.
- Cut a small slit at the tip of a plastic baggy or piping bag and carefully pour in the melted white chocolate chips.
- Slowly pipe the chocolate onto the cookies to make them look like “bandages” and then use the melted chocolate to glue the candy eyes on.
Notes
- Tip 1: Store your cookies in an airtight container at room temperature for up to a week.
- Tip 2: You can freeze the cookie dough before baking for easy preparation later.
- Tip 3: These cookies pair wonderfully with a glass of milk or vanilla ice cream.
- Tip 4: Feel free to experiment with decorating these cookies for various themes!
- Tip 5: If you want a smaller batch, you can easily halve the recipe!