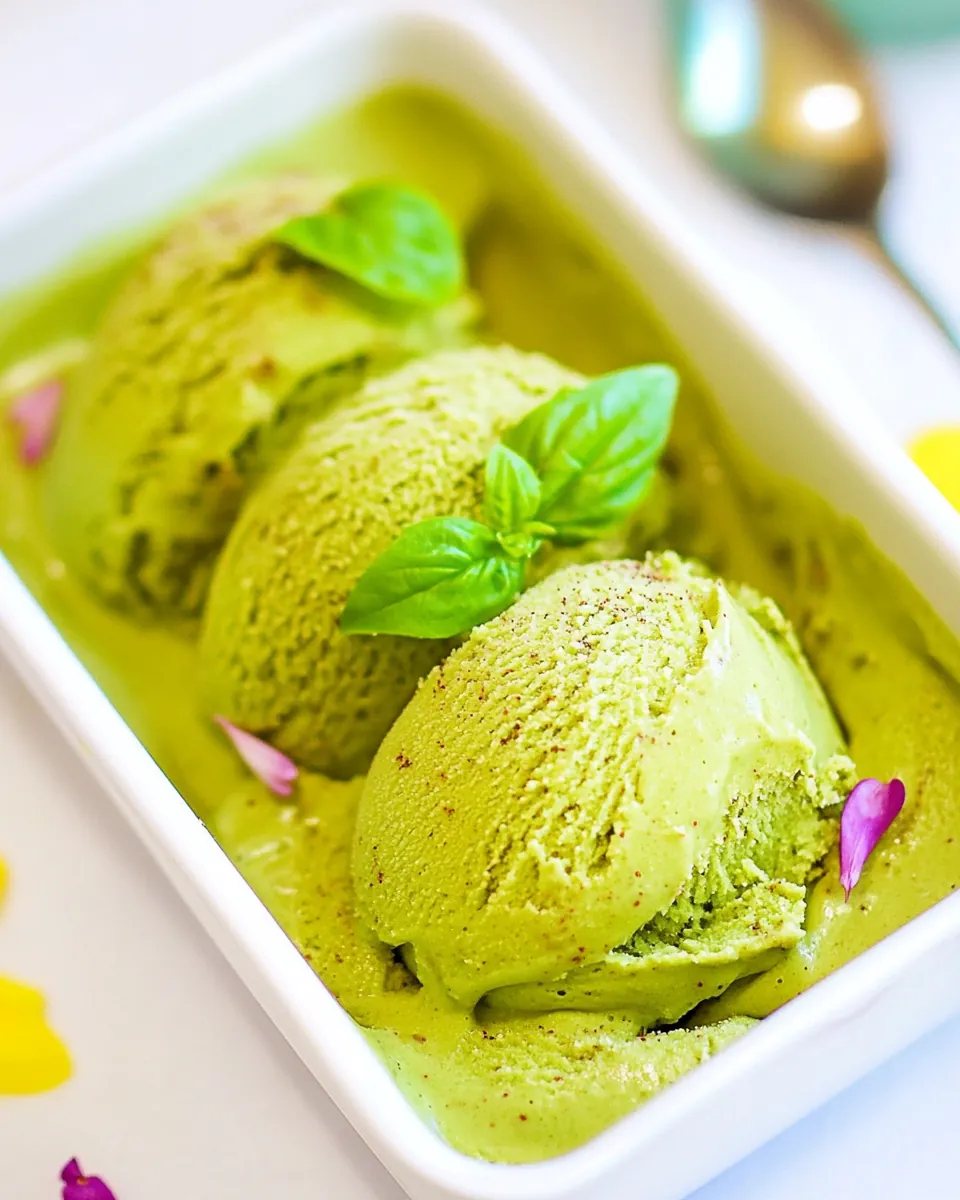
Avocado Ice Cream
The first time I made Avocado Ice Cream, I was skeptical. The combination of creamy avocados and cold, sweet flavors seemed like an odd pairing. But I was on a quest to create something that would wow my family during summer gatherings, and boy, did this recipe hit the mark! It was a hot afternoon, the sun was beaming, and my kids were begging for a cool treat. I decided to whip up this ice cream on a whim, and the result was nothing short of magical. The smoothness of the avocados blended perfectly with the rich coconut milk, creating a creamy texture that left everyone asking for seconds.
What I love about Avocado Ice Cream is not only how delicious it is, but also how easy it is to make! You don’t need an ice cream maker, and it only requires a few simple ingredients. My kids enjoy helping out, from mashing the avocados to drizzling in the maple syrup. It’s a wonderful family activity that brings everyone together. Plus, you can feel good about serving this treat, as it’s dairy-free and made with wholesome ingredients.
Whether it’s a backyard barbecue, a cozy movie night, or just a treat after a long day, this Avocado Ice Cream will undoubtedly impress your guests. Trust me, once you try it, you’ll want to keep this recipe close at hand for those hot summer days when ice cream is a must!
Recipe Snapshot
15 mins
15 mins
0 mins
Medium
250 kcal
2 g
Keto, Gluten-Free, Low FODMAP
13 g
Wooden Spoon, Food Processor, Blender, Mixing Bowl
Why This Avocado Ice Cream Works
It’s Healthy Yet Decadent
One of the best things about Avocado Ice Cream is that it’s a healthier alternative to traditional ice cream. Using avocados provides healthy fats and nutrients without sacrificing flavor. Instead of heavy cream, we use full-fat coconut milk, which not only contributes to a creamy texture but is also dairy-free.
Easy to Make
This recipe is so simple! You only need a handful of ingredients, and if you have a blender, you’re halfway there. You can prepare it in just a few minutes, with no special equipment required. Just mix, freeze, and enjoy!
Customizable Flavors
The beauty of Avocado Ice Cream is how customizable it is. You can add your favorite mix-ins like vegan chocolate chips, nuts, or even a swirl of fresh fruit puree. This allows you to create a unique flavor profile every time.
Perfect for Hot Days
When summer rolls in and the temperatures rise, this ice cream is a perfect way to cool off. It’s refreshing and light, offering a burst of flavor without weighing you down. This makes it the ideal dessert for warm evenings.
Impressive Yet Simple Dessert
Hosting a gathering? Avocado Ice Cream will impress your guests without requiring hours in the kitchen. It’s an unexpected treat that’s sure to be a conversation starter, and they’ll never guess how simple it is to make!
Kid-Friendly and Fun to Make
Getting the kids involved in the kitchen is always a win. They’ll love mashing the avocados and helping to pour the ingredients into the blender. It’s a fun family activity that leads to a delicious reward!
Ingredients for Avocado Ice Cream
Creating Avocado Ice Cream starts with a few key ingredients that blend beautifully together. The fundamental flavors come from ripe avocados, full-fat coconut milk, and maple syrup, which give this treat its unique creamy texture and natural sweetness. Each ingredient is essential in crafting a dessert that’s both satisfying and refreshing.
- 3 ripe avocados: The star of this recipe, providing a creamy base and healthy fats.
- 2 cans (14 oz each) full-fat coconut milk: This adds richness and a creamy texture without dairy.
- 3/4 cup maple syrup: A natural sweetener that enhances the flavor without overpowering it.
- 1/2 teaspoon mint extract: Adds a refreshing hint of mint to complement the avocados.
- 1 cup vegan chocolate chips: For a delightful chocolatey twist that makes this ice cream even more irresistible.
Making This Avocado Ice Cream
Making Avocado Ice Cream is a delightful process that brings the whole family together. Follow these steps, and you’ll be enjoying your homemade ice cream in no time! Start by chilling your equipment to ensure a smooth texture.
- Begin by chilling a mixing bowl and a freezer-safe container in the freezer for about 30 minutes. This helps keep the ice cream cold while you prepare the mixture.
- The day before making the ice cream, place the cans of coconut milk in the fridge upside down. This will help separate the coconut cream from the coconut water, which is essential for the right texture.
- Once you’re ready to make the ice cream, cut the avocados in half. Remove the pits and carefully scoop the flesh into a food processor or high-speed blender.
- Next, turn the cans of coconut milk upside down and open them. You’ll notice that the hard coconut cream has risen to the top. Spoon this into the blender, but save the remaining coconut water for your smoothies or enjoy it on its own.
- Add the maple syrup and mint extract to the blender. Blend the mixture on medium-high speed until everything is thoroughly combined and smooth, which should take about 3 to 4 minutes. Look for a silky texture without any lumps.
- Pour the ice cream mixture into the chilled mixing bowl. Stir in the vegan chocolate chips, folding them in gently to distribute them evenly throughout.
- Transfer the ice cream mixture into the chilled freezer-safe container. Cover the top with plastic wrap so that it touches the surface of the ice cream; this prevents ice crystals from forming.
- Seal the container with its lid and freeze for 6 hours, or overnight, to allow the flavors to meld and the mixture to firm up.
- Before serving, remove the ice cream from the freezer and let it stand at room temperature for about 20 to 30 minutes. This makes scooping much easier.
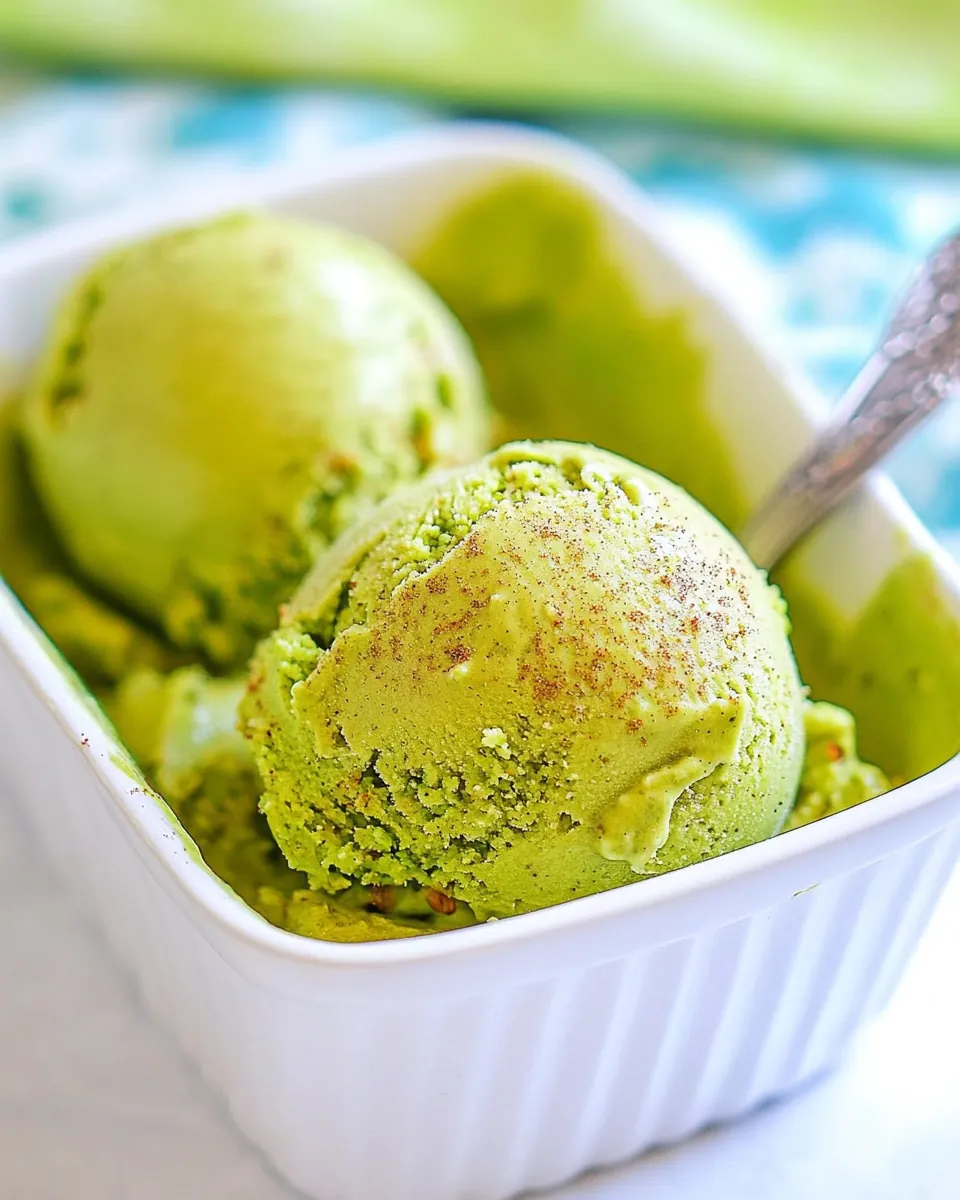
- Once softened, serve the Avocado Ice Cream in bowls or cones, and enjoy this delightful treat!
Things Worth Knowing
- Chill your equipment: Remember to chill your bowl and container to help maintain the ice cream’s creaminess.
- Separate the cream: This step is crucial for achieving the perfect texture. Make sure the coconut milk is chilled upside down overnight.
- Use ripe avocados: The riper the avocados, the creamier and more flavorful your ice cream will be.
- Store properly: Cover the ice cream with plastic wrap as it freezes to prevent ice crystals from forming.
Tips for Success
To ensure your Avocado Ice Cream turns out perfectly, here are some helpful tips to consider. These are simple yet effective strategies to enhance your ice cream-making adventure!
- Storage: Store any leftovers in an airtight container in the freezer. This keeps the ice cream fresh and prevents freezer burn.
- Freezing: For the best results, allow the ice cream to freeze for at least 6 hours to fully set.
- Pairing: Serve with fresh fruit or a sprinkle of nuts for added texture and flavor.
- Variations: Experiment with different add-ins like crushed cookies or fruit purees for a unique twist on the classic recipe.
- Serving: Let the ice cream sit out for a few minutes before serving to soften, making it easier to scoop.
Serving Suggestions
When it comes to serving Avocado Ice Cream, there are plenty of delightful options to consider. Here are some ideas that will elevate your serving experience:
- Garnish with Fresh Fruit: Slices of fresh strawberries or a handful of blueberries add a vibrant color contrast and a burst of flavor.
- Drizzle with Chocolate Sauce: For chocolate lovers, a drizzle of melted dark chocolate takes this ice cream to the next level.
- Serve in Waffle Cones: Scoop the ice cream into crunchy waffle cones for a fun treat that’s easy to enjoy.
- Enjoy with Nuts: A sprinkle of chopped nuts, such as almonds or walnuts, provides a satisfying crunch with every bite.
- Pair with Pie: This ice cream is lovely served alongside a slice of warm pie, especially on cozy evenings.
- Creative Sundaes: Build a sundae with layers of Avocado Ice Cream, fresh fruit, and a sprinkle of granola for a nutritious treat.
- Occasions: Perfect for summer cookouts, birthday parties, or just a relaxing afternoon treat.
FAQ
Conclusion
In conclusion, Avocado Ice Cream is a unique, delicious treat that stands out for its creamy texture and delightful flavors. It’s easy to make, healthy, and a wonderful way to cool off during hot summer days. I encourage you to give this recipe a try; it might just become your new favorite dessert!

Avocado Ice Cream
Ingredients
Equipment
Method
- Chill a mixing bowl and a freezer-safe container in the freezer for 30 minutes.
- The day before making the ice cream, place the cans of coconut milk in the fridge upside down and let them sit overnight. This will separate the coconut cream from the coconut water.
- Cut the avocados in half, remove the pits, and spoon the flesh into a food processor or high-speed blender.
- Turn the cans of coconut milk upside down, open them, and spoon the hard coconut cream into the blender. Save the remaining coconut water for a smoothie or drink.
- Add maple syrup and mint extract and blend on medium-high speed until smooth, about 3-4 minutes.
- Pour the mixture into the chilled bowl and stir in the vegan chocolate chips.
- Transfer to the chilled container, cover with plastic wrap touching the surface of the ice cream, and freeze for at least 6 hours or overnight.
- Before serving, let it sit at room temperature for 20-30 minutes for easier scooping.
- Serve and enjoy!
Notes
- Tip 1: Be sure to place a piece of plastic on top of the ice cream and ensure it touches the top to prevent crystals from forming when freezing it.
- Tip 2: Remove it from the freezer 20-30 minutes before serving for easier scooping.
- Tip 3: Chill the cans of coconut milk upside down overnight to separate the cream from the coconut water.
- Tip 4: Don’t toss out the coconut water; use it for a smoothie or drink it.
- Tip 5: I recommend Haas avocados for this ice cream because they are the smoothest.