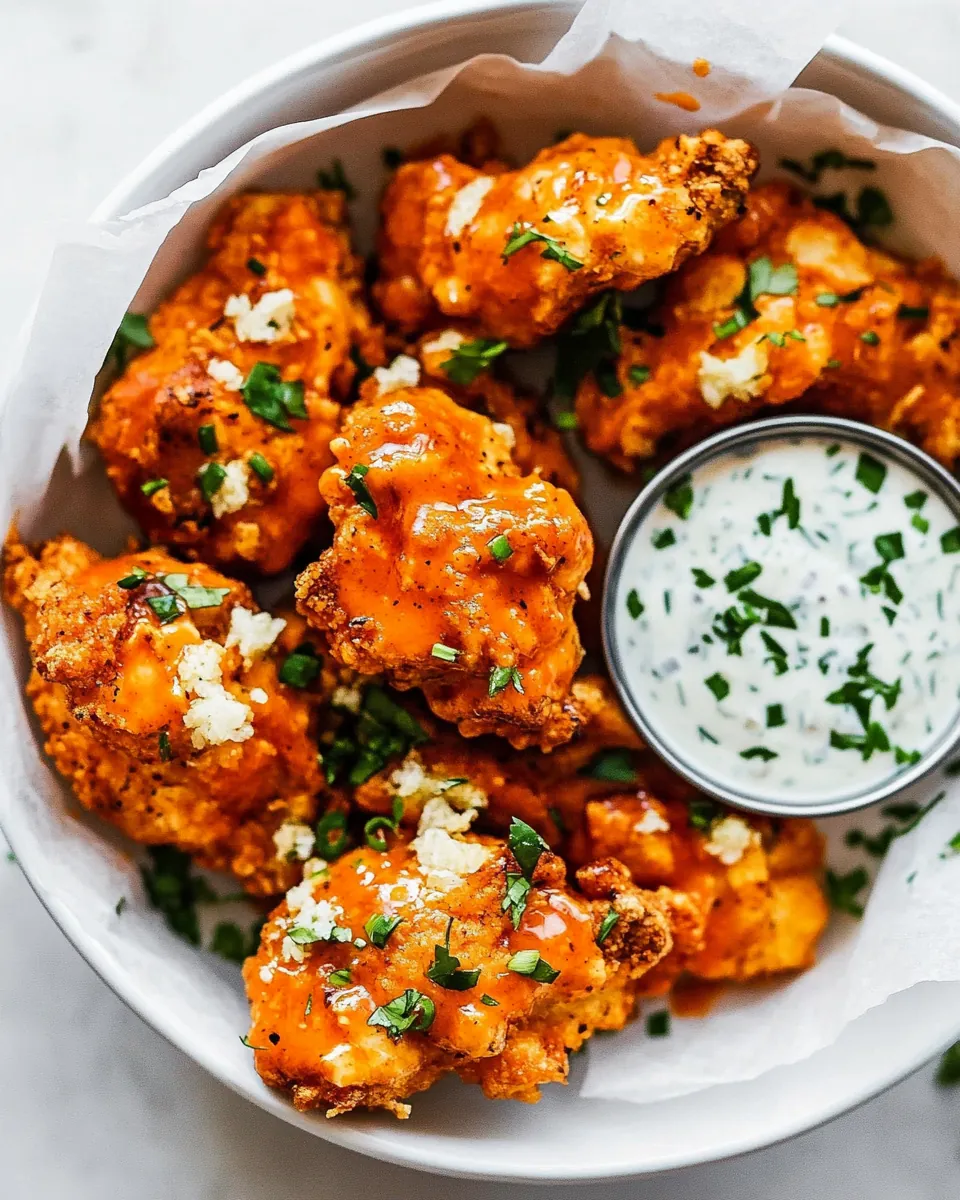
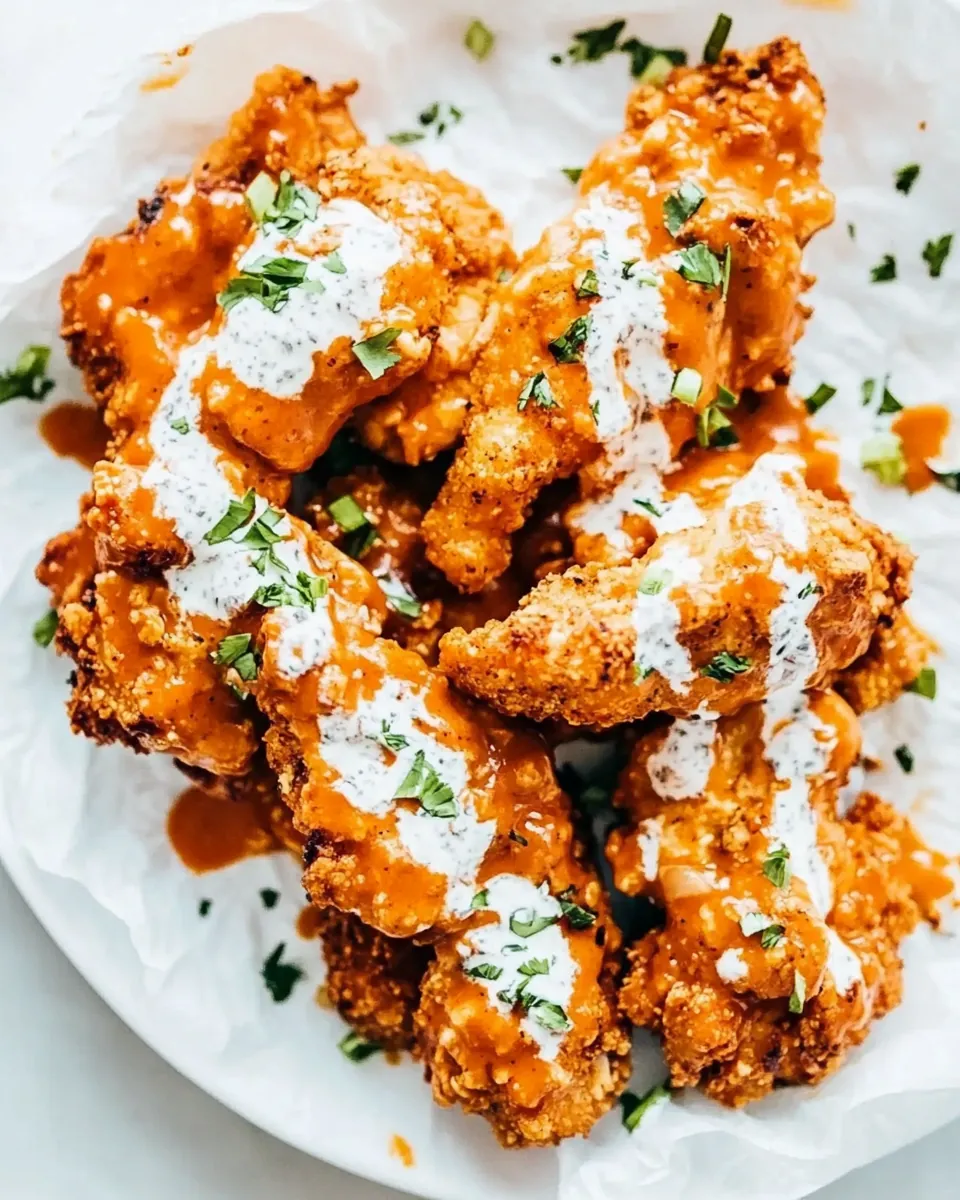
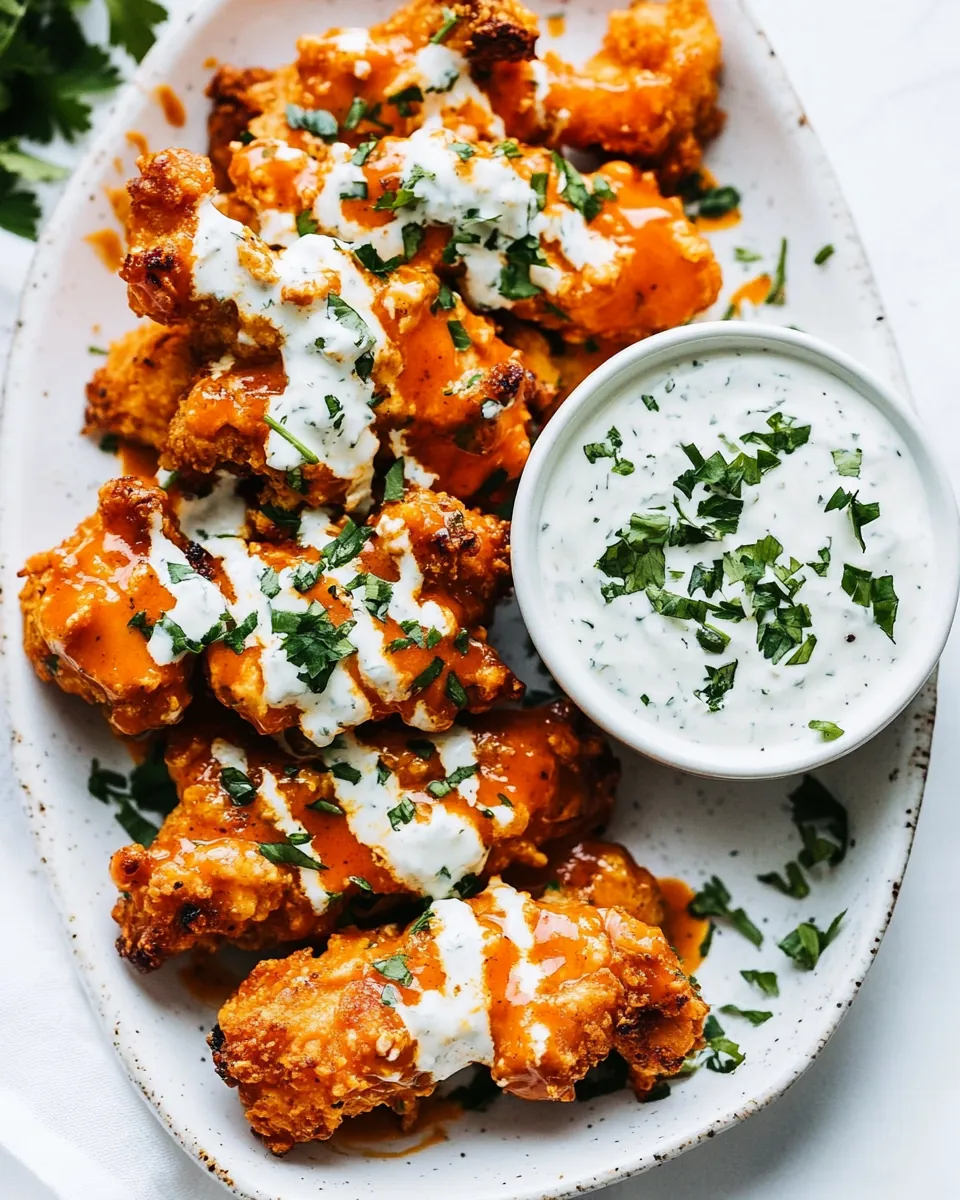
Buffalo Chicken Tenders
There’s something utterly irresistible about Buffalo Chicken Tenders. Picture this: it’s a cozy weekend evening, and the aroma of crispy chicken fills the air. My friends and I are gathered around the table, eagerly waiting for a plate piled high with these spicy, golden delights. Each tender is perfectly coated, creating a crunchy exterior that gives way to juicy, flavorful chicken within. As we dip them into cooling ranch dressing or tangy blue cheese, laughter fills the room, and we can’t help but share stories while savoring every bite. This dish has become a staple in our get-togethers, an ultimate crowd-pleaser that brings everyone together, making it not just a meal, but a memory.
Recipe Snapshot
40 mins
15 mins
25 mins
Medium
350 kcal
25 g
Gluten-Free, Low FODMAP
18 g
Deep Fry Oil Thermometer
What You’ll Enjoy About This Buffalo Chicken Tenders
It’s All About the Flavor
What sets Buffalo Chicken Tenders apart is the bold flavor profile. The combination of spices used in the coating, particularly the subtle kick from the Buffalo sauce, creates a tantalizing taste that leaves everyone wanting more. You can easily adjust the spiciness to fit your preference by varying the amount of sauce!
A Crunch You Can Count On
There’s nothing quite like the crunch of a well-fried tender. The double-dipping method—first in flour, then in the egg mixture, and back in the flour—ensures that each tender is perfectly coated, resulting in that satisfying crunch with every bite. Trust me; this technique makes all the difference!
Versatility is Key
These tenders aren’t just for game day. They’re perfect for casual dinners, parties, or even as a fun snack. You can serve them as an appetizer, or make them the star of your next family meal. The versatility makes them a go-to in my kitchen!
Easy to Customize
One of my favorite aspects of Buffalo Chicken Tenders is how easy they are to customize. Want to experiment with flavors? Add some cayenne pepper to the flour for an extra kick, or maybe a hint of garlic powder to enhance the flavor. The possibilities are endless!
Perfect for Sharing
Whether it’s a party or just a cozy night in, these tenders are best when shared. Serve them with an array of dipping sauces for a fun and interactive meal. Your friends and family will love picking their favorites and trying different combinations!
Great Leftovers
If you happen to have leftovers (which is rare!), they reheat beautifully. I love warming them up in the oven or air fryer to restore that crispy texture, making them just as delicious the next day.
Main Ingredients for Buffalo Chicken Tenders
The ingredients for Buffalo Chicken Tenders work together in harmony to create a delicious, satisfying dish. Each component plays a crucial role, from the crispy coating to the flavorful chicken. The combination of all-purpose flour, spices, and Buffalo sauce sets the stage for a mouthwatering experience.
- 1½ cups All-Purpose Flour: The base for the crunchy coating, providing the perfect texture.
- 1 teaspoon Kosher Salt: Enhances the flavor of the chicken, bringing out its natural taste.
- 1 teaspoon Onion Powder: Adds depth and a subtle sweetness to the coating.
- ½ teaspoon Garlic Powder: Infuses the dish with a delicious garlic flavor.
- 2 large Eggs: Helps the flour adhere to the chicken for a perfectly crispy coating.
- 2 tablespoons Water: Used to create the egg wash, binding the flour to the chicken.
- 2 pounds Boneless, Skinless Chicken Tenders: The star of the dish, juicy and tender.
- Canola Oil: Essential for frying, providing a crispy texture and rich flavor.
- 2 tablespoons Unsalted Butter: Adds creaminess to the sauce, balancing the heat of the Buffalo sauce.
- 1 cup Buffalo Sauce: The highlight of the dish, giving it that signature spicy kick.
- Ranch Dressing: A cooling dip that pairs perfectly with the spicy tenders.
- Blue Cheese Crumbles: Optional topping for those who love that tangy flavor contrast.
How to Prepare Buffalo Chicken Tenders
Preparing Buffalo Chicken Tenders is a fun process that results in a delicious meal. You’ll want to start by setting up your workspace, and then follow each step carefully. Let’s dive into the detailed method for making these crispy delights.
- Start by preparing two clean plates, lining one with paper towels to absorb excess oil. This will help keep the tenders crispy after frying.
- In a shallow bowl, combine the flour, kosher salt, onion powder, and garlic powder. Mix thoroughly to ensure an even distribution of the spices.
- In another shallow bowl, whisk together the eggs and water until well combined. This egg wash will help the flour adhere to the chicken.
- Take the chicken tenders and dredge them in the flour mixture, ensuring they are coated completely. This initial coating sets the stage for the crunchy exterior.
- Next, dip the coated tenders into the egg mixture, allowing any excess to drip off before returning them to the flour mixture for a second coating. This double-dipping method creates a thicker crust.
- Once all the tenders are coated, set them aside on a plate. Letting them rest for a few minutes allows the coating to stick better during frying.
- In a large frying pan, pour in about 2 inches of canola oil. Heat the oil over medium-high heat until it reaches approximately 350°F. A deep-frying thermometer can be helpful to ensure the correct temperature.
- Once the oil is hot, carefully place a few tenders into the pan at a time, making sure not to overcrowd. Fry them for about 3 to 4 minutes on each side, or until they are golden brown and crispy.
- Using tongs, carefully transfer the fried tenders to the plate lined with paper towels to drain any excess oil. This step is crucial for maintaining their crunchiness.
- In a small saucepan, melt the unsalted butter over medium heat. Once melted, add the Buffalo sauce and stir to combine. Allow the mixture to heat up for a minute.
- Pour the sauce over the fried tenders and gently toss to coat them evenly, ensuring each piece is well covered in the zesty sauce.
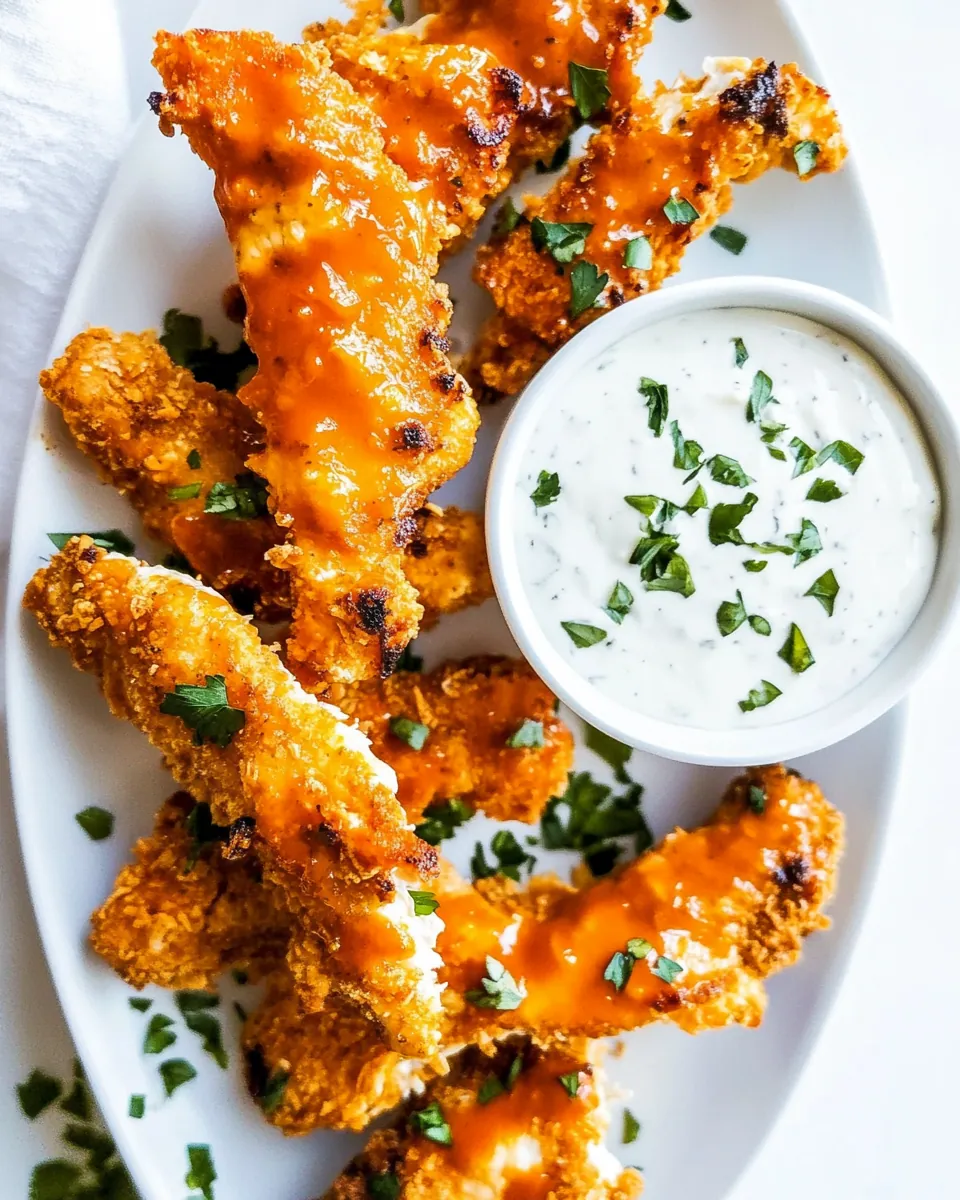
- Serve the tenders with a side of ranch dressing or blue cheese crumbles for an irresistible dipping experience!
Things Worth Knowing
- Resting the Chicken: Letting the coated chicken rest for 5 to 10 minutes before frying helps the flour stick better, resulting in a crispier crust.
- Temperature Control: Use a deep-frying thermometer to maintain the oil temperature at 350°F for even frying and crispy results.
- Batch Frying: Fry the chicken tenders in small batches to prevent the oil temperature from dropping, ensuring they cook evenly and remain crispy.
- Cooking Time: The tenders are done when they reach an internal temperature of 165°F. Always check with a meat thermometer for safety.
- Storage Method: To keep leftover tenders crispy, place them on a wire rack instead of on paper towels after frying. This allows air circulation and prevents sogginess.
Pro Tips and Tweaks
When making Buffalo Chicken Tenders, there are several tips to enhance your cooking experience and final product. Here are some of my favorite suggestions:
- Spice it Up: For an extra kick, add ⅛ teaspoon of ground cayenne pepper to the flour mixture.
- Resting Time: Allowing the coated chicken to rest before frying helps the flour adhere better.
- Maintain Oil Temperature: Keep a close eye on the oil temperature. If it drops too low, your tenders won’t get that crispy exterior.
- Careful Frying: Fry in small batches to ensure even cooking and prevent crowding in the pan.
- Keeping it Crispy: Place fried tenders on a wire rack over paper towels to keep them from getting soggy.
- Adjust the Sauce: Modify the amount of butter in the Buffalo sauce to control the spice level—more butter means a creamier, milder flavor.
- Reheating: To restore the crispiness of leftover tenders, warm them in a 375°F oven or air fryer for 6 to 8 minutes.
Accompaniments for Buffalo Chicken Tenders
When it comes to serving Buffalo Chicken Tenders, the possibilities are endless! They can be paired with various sides and enjoyed on different occasions:
- Classic Sides: Serve with crispy French fries or a side of coleslaw for a traditional touch.
- Fresh Veggies: Pair with a platter of fresh veggies, such as carrot and celery sticks, for a refreshing crunch.
- Game Day Snacks: These tenders are perfect for game day! Serve alongside chips and salsa for a fun, casual gathering.
- Family Dinners: Make them the star of a family dinner by adding a hearty side salad and some garlic bread.
- Party Appetizers: Offer them as a party appetizer, accompanied by various dips like honey mustard and barbecue sauce.
- Seasonal Pairings: Enjoy during summer barbecues or cozy winter evenings with friends and family.
- Leftover Storage: Store leftovers in an airtight container in the refrigerator for up to three days. Reheat them in the oven for maximum crispiness!
FAQ
Conclusion
In summary, Buffalo Chicken Tenders are not just a dish; they are an experience that combines crispy texture with bold, spicy flavors. Perfect for gatherings, game days, or simply satisfying a craving, this recipe is one to keep in your repertoire. So gather your ingredients, invite over some friends, and enjoy this delicious treat tonight!
Buffalo Chicken Tenders
Ingredients
Equipment
Method
- Set out two clean plates. Line one with paper towels. Set aside.
- In a shallow bowl, combine the flour, salt, onion powder, and garlic powder. In a separate shallow bowl, whisk the eggs and water together.
- Dredge the chicken tenders in the flour, dip them into the egg mixture, then dip them in the flour again, being sure to coat them completely.
- Pour about 2 inches of oil into a large frying pan set over medium-high heat. The oil should be about 350°F.
- Once heated, fry the tenders, a few at a time, in the oil until golden brown and crispy, about 3-4 minutes per side. Transfer to the towel-lined plate. Set aside.
- Heat the butter and Buffalo sauce in a saucepan over medium heat. Pour the sauce over the tenders and gently toss to coat.
- Serve the tenders with ranch or blue cheese dressing and blue cheese.
Notes
- Spice it Up: For an extra kick, add ⅛ teaspoon of ground cayenne pepper to the flour mixture.
- Resting Time: Allowing the coated chicken to rest before frying helps the flour adhere better.
- Maintain Oil Temperature: Keep a close eye on the oil temperature. If it drops too low, your tenders won't get that crispy exterior.
- Careful Frying: Fry in small batches to ensure even cooking and prevent crowding in the pan.
- Keeping it Crispy: Place fried tenders on a wire rack over paper towels to keep them from getting soggy.