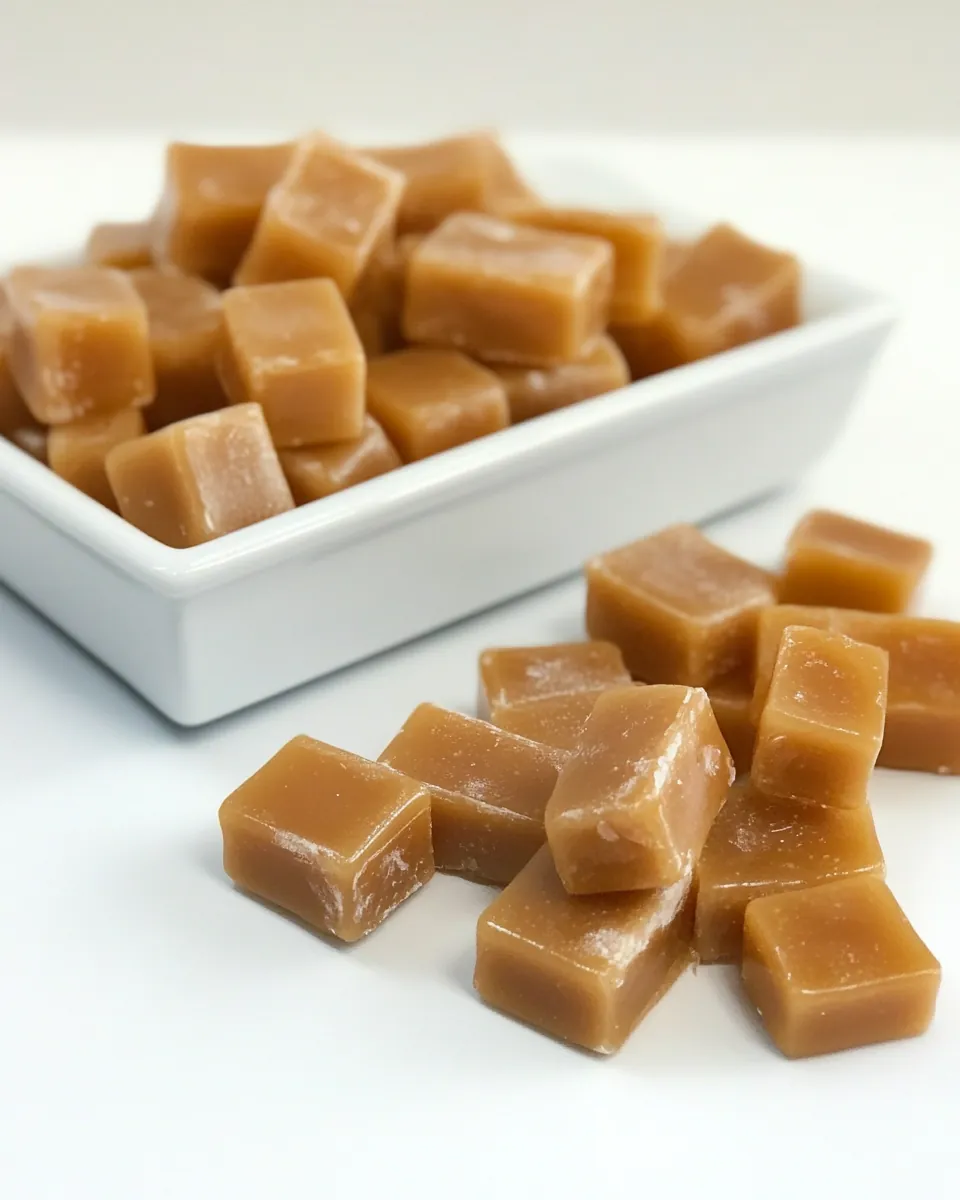
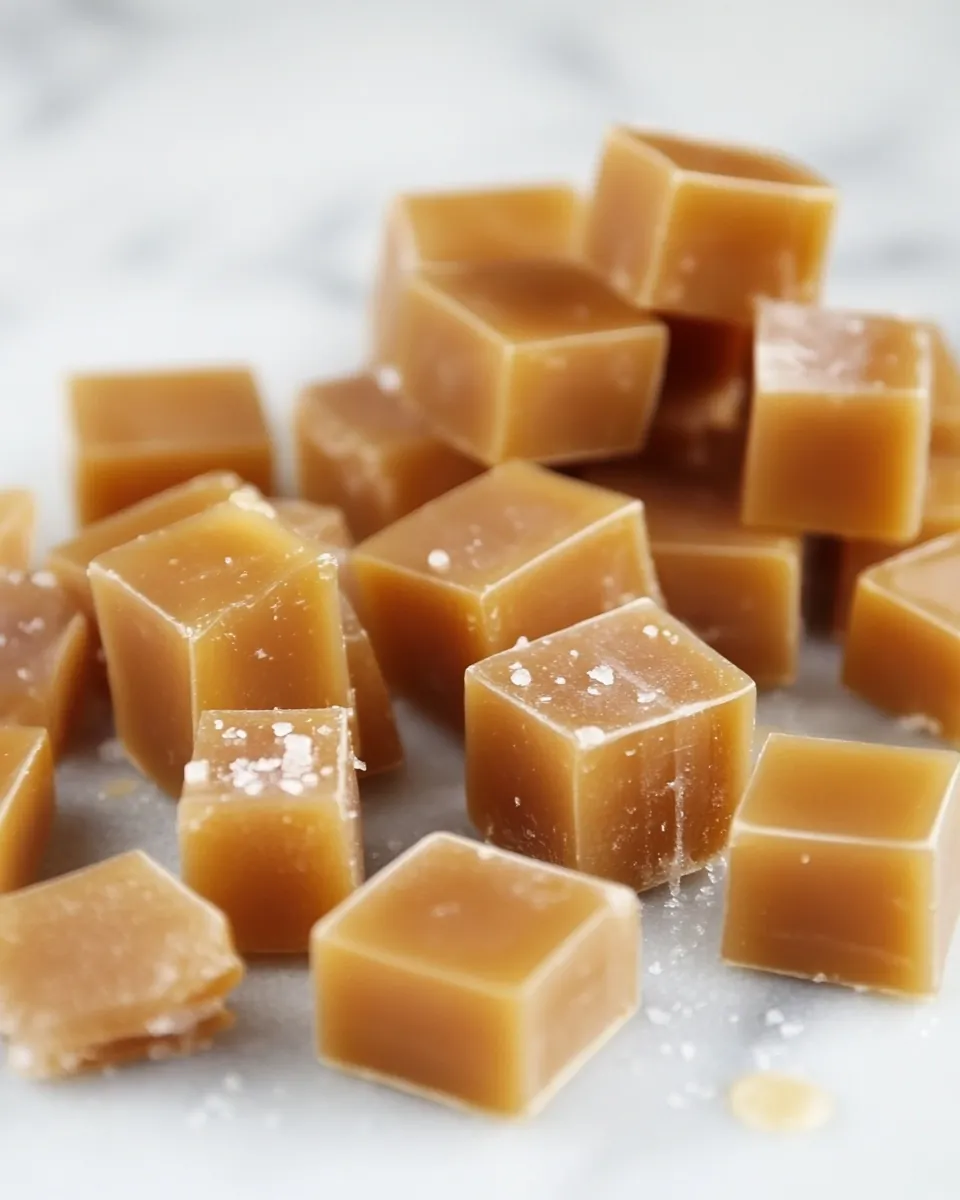
Caramels
Growing up, there was always a special treat that made its way into my home during festive gatherings and cozy evenings. That treat was none other than homemade Caramels. I remember the sweetness of the air as my mother melted together creamy butter, rich sweetened condensed milk, and sugary goodness to create these delightful bites. The anticipation would build as the mixture simmered on the stove, and the warmth spread throughout the kitchen. As I watched her work, I couldn’t help but be captivated by the transformation of simple ingredients into something magical. Each square of caramel seemed to hold a piece of my childhood, a memory wrapped in waxed paper.
Now, years later, I find myself making Caramels with my own family. The recipe, passed down through generations, brings us together during the holidays and makes any day feel special. It’s a simple process that yields incredible results, and there’s nothing quite like the satisfaction of sharing a sweet treat that you made from scratch. So, let’s dive into the wonderful world of homemade Caramels and create memories that will last a lifetime!
Recipe Snapshot
40 mins
20 mins
20 mins
Easy
150 kcal
1 g
Gluten-Free, Low FODMAP
7 g
Frying Pan, Wooden Spoon
The Charm of This Caramels
Rich Flavor
One of the reasons to love these homemade Caramels is the depth of flavor. The combination of melted butter and sweetened condensed milk creates a creamy texture that is both luxurious and satisfying. Each bite is a perfect balance of sweetness and richness, making them a delightful treat for any occasion.
Versatility
These Caramels are incredibly versatile. You can enjoy them as they are, or you can get creative! Dipping them in melted chocolate or sprinkling them with sea salt adds a new dimension to the flavor. They make fantastic gifts, especially when wrapped beautifully, and can be customized to suit any palate.
Family Tradition
Making Caramels is more than just a recipe; it’s a family tradition. From the stirring of the pot to the cooling process, it’s an activity that invites everyone to participate. Sharing stories and laughter while waiting for the candy to set creates lasting memories that are cherished for years to come.
Perfect for Any Occasion
Whether it’s a cozy family night, a holiday celebration, or a thoughtful gift for a friend, Caramels fit seamlessly into any occasion. They are perfect for sharing, and their classic appeal means they are always well-received. Plus, they are a great way to satisfy a sweet tooth!
Simple Ingredients
The beauty of these Caramels lies in their simplicity. With just a handful of ingredients, you can create something divine. No special equipment is needed—just a heavy saucepan and a little bit of patience will yield delicious results.
Ingredients to Make Caramels
When it comes to making Caramels, the ingredients are simple yet essential. Each component plays a crucial role in achieving that perfect, smooth texture and delightful flavor. The key players—the butter, sweetened condensed milk, sugar, and corn syrup—work together to create a rich and luscious treat.
- ½ cup (1 stick) salted butter: This adds a creamy richness and depth to the caramels. Be sure to use quality butter for the best flavor.
- One 14 ounce can sweetened condensed milk: This ingredient is a game changer. It adds sweetness and a velvety texture that is crucial for the perfect caramel.
- 2 cups granulated white sugar: The main sweetener in this recipe, the sugar caramelizes beautifully, giving the caramels their signature taste.
- 1½ cups light corn syrup: This helps to prevent crystallization, ensuring your caramels come out smooth and creamy. It’s a must-have in candy-making!
- 1 teaspoon vanilla extract: The finishing touch, vanilla adds warmth and enhances the overall flavor of the caramels.
The Process for Making Caramels
Making Caramels is a rewarding process that fills your kitchen with sweet aromas. Follow these simple steps to create your own batch of delicious homemade treats.
Start by preparing your workspace. Butter a 9×13 inch pan generously. This will help the caramels release easily once they are set.
In a heavy saucepan, melt the butter over medium heat. As the butter starts to melt, it will immediately begin to smell wonderful. Once it’s completely melted, proceed to the next step.
Add the sweetened condensed milk, granulated sugar, and corn syrup to the melted butter. Stir all the ingredients together with a wooden spoon until everything is well combined. You’re creating the base for your caramels!
Continue stirring over medium heat. Watch closely as the mixture begins to bubble and thicken. This is where the magic happens—be patient, as it takes some time. Stir continuously to prevent burning, and keep an eye on the color.
Using a candy thermometer, monitor the temperature. Continue stirring until the mixture reaches 240 degrees Fahrenheit. At this point, you’ll notice a beautiful golden hue developing. This indicates that your caramels are almost ready!
Once the mixture reaches the desired temperature, remove it from the heat. Be cautious as it will be extremely hot. Stir in the vanilla extract, mixing it in thoroughly. The aroma will be intoxicating!
Pour the hot caramel mixture into your prepared pan. Use a spatula to spread it evenly, ensuring it fills the corners. Let it cool at room temperature for a while before transferring it to the refrigerator.
Allow the caramels to firm up in the refrigerator for several hours, or until set. This patience will pay off when you finally taste them!
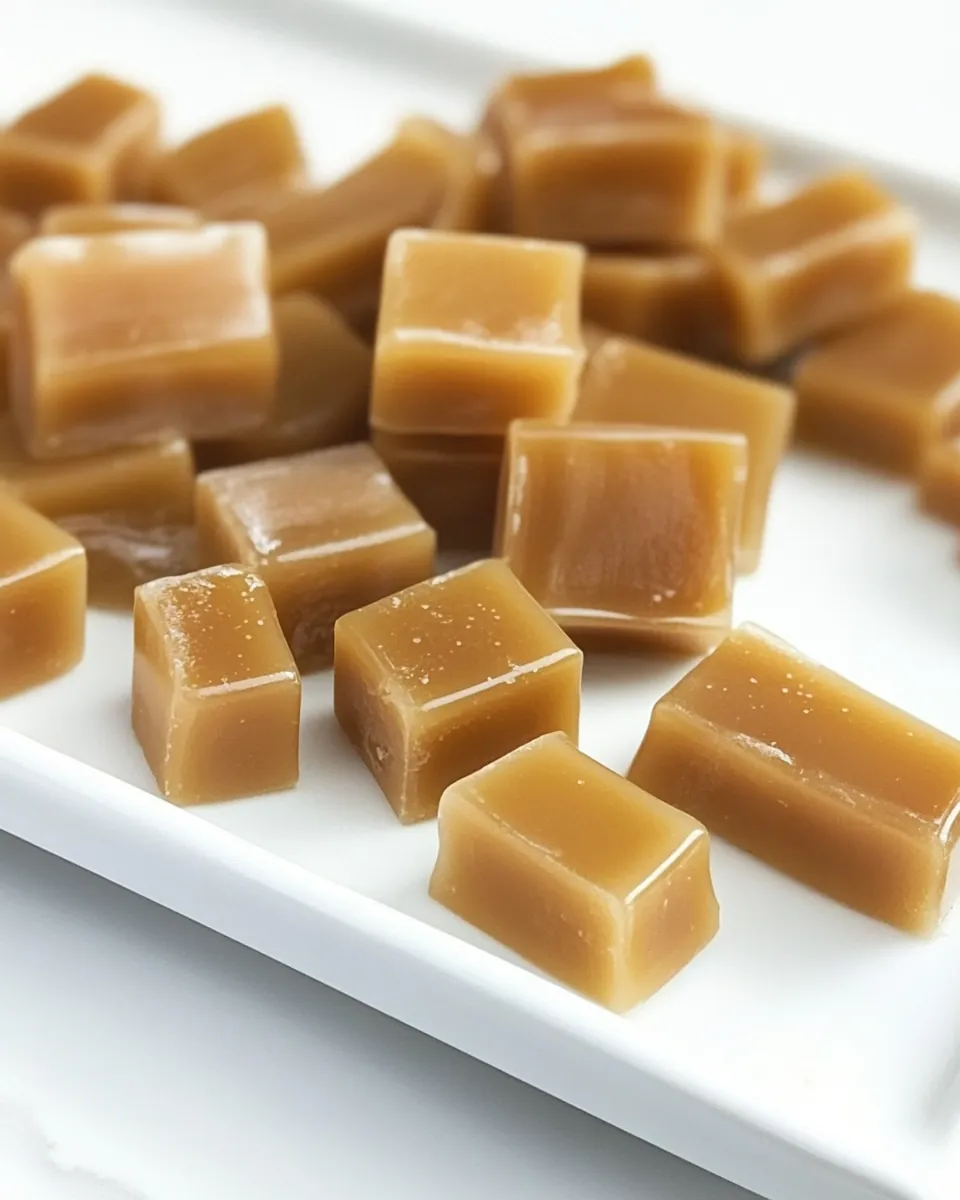
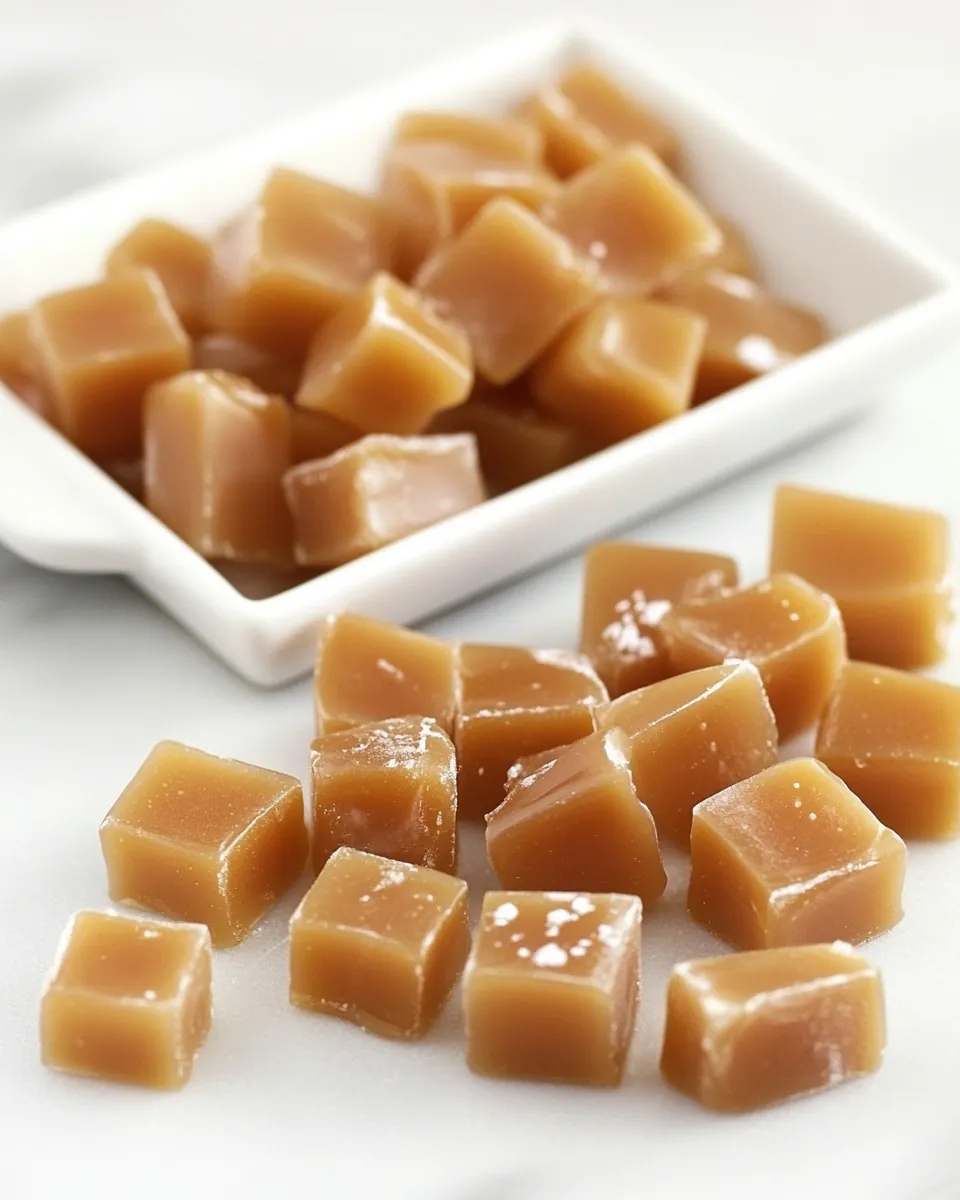
Once firm, pop the block of caramel out onto a cutting board. Use a sharp knife to cut it into 2 inch cubes. Wrap each piece in waxed paper to keep them fresh and make them easy to enjoy.
Enjoy your homemade caramels! Share with friends or savor them all for yourself. Either way, you’ve created something truly special.
Things Worth Knowing
- Watch the temperature closely: The key to perfect caramels is hitting the right temperature. Make sure your candy thermometer is accurate to avoid undercooking or burning.
- Stir continuously: Stirring constantly helps distribute heat evenly and prevents the mixture from sticking or burning on the bottom of the pan.
- Use a heavy-bottomed pan: This helps to ensure even cooking and prevents hot spots that can lead to burnt caramels.
- Cool completely: Letting the caramels cool fully ensures they set properly. Don’t rush this step!
Tips and Variations
Making Caramels opens up a world of possibilities. Here are some tips and variations to elevate your homemade treats:
- Storage: Store your caramels in an airtight container at room temperature for up to two weeks. Make sure they are wrapped individually to prevent sticking.
- Freezing: You can freeze caramels for longer storage. Just make sure they are wrapped well to prevent freezer burn. Thaw at room temperature before enjoying.
- Flavor variations: Experiment with flavorings such as almond extract or a hint of espresso for a unique twist on traditional caramels.
- Chocolate dip: For an indulgent treat, dip your caramels in melted chocolate and sprinkle with sea salt.
- Gifting: Wrap your caramels in colorful wax paper and present them in a decorative box for a thoughtful gift.
- Caramel sauce: If you prefer a drizzle, cook the mixture slightly less and pour it into jars for a delicious homemade caramel sauce.
What Complements This Caramels
Homemade Caramels are a delightful treat that pairs well with numerous occasions and dishes. Here are a few ideas:
- Pairing with Coffee: Enjoy your caramels alongside a hot cup of coffee or tea. The sweetness complements the bitterness of your beverage beautifully.
- Perfect for Parties: Serve caramels at gatherings, holiday parties, or as wedding favors. They are always a hit with guests!
- Seasonal Treats: These caramels are perfect for fall and winter celebrations, bringing warmth and sweetness to festive occasions.
- Gift Ideas: Wrap them up in decorative paper as gifts for friends and family. Who wouldn’t appreciate a homemade treat?
- Ice Cream Topping: Drizzle your caramel sauce over ice cream for an indulgent dessert that everyone will love.
- Comfort Food: Enjoy these caramels while curling up with a good book or movie. They add a touch of sweetness to any cozy evening.
FAQ
Conclusion
Homemade Caramels are truly a special treat that evokes nostalgia and love. The creamy texture and rich flavor make them irresistible, whether enjoyed on their own or as part of a festive spread. I encourage you to try making these caramels; it’s a simple process that yields amazing results. Share them with family and friends, or keep them all to yourself—either way, you won’t be disappointed!
Caramels
Ingredients
Equipment
Method
- Butter a 9x13 inch pan.
- Melt the butter in a heavy saucepan over medium heat. Add the sweetened condensed milk, sugar, and corn syrup. Stir continuously with a wooden spoon until a candy thermometer reaches 240 degrees F. Take off heat immediately and stir in the vanilla extract.
- Pour into your prepared pan. Cool in the refrigerator until firm. Pop caramel block onto a cutting board. Cut into 2 inch cubes and wrap each caramel in waxed paper.
Notes
- Storage: Store your caramels in an airtight container at room temperature for up to two weeks. Make sure they are wrapped individually to prevent sticking.
- Freezing: You can freeze caramels for longer storage. Just make sure they are wrapped well to prevent freezer burn. Thaw at room temperature before enjoying.
- Flavor variations: Experiment with flavorings such as almond extract or a hint of espresso for a unique twist on traditional caramels.
- Chocolate dip: For an indulgent treat, dip your caramels in melted chocolate and sprinkle with sea salt.
- Gifting: Wrap your caramels in colorful wax paper and present them in a decorative box for a thoughtful gift.
- Caramel sauce: If you prefer a drizzle, cook the mixture slightly less and pour it into jars for a delicious homemade caramel sauce.