Cherry Poke Cake
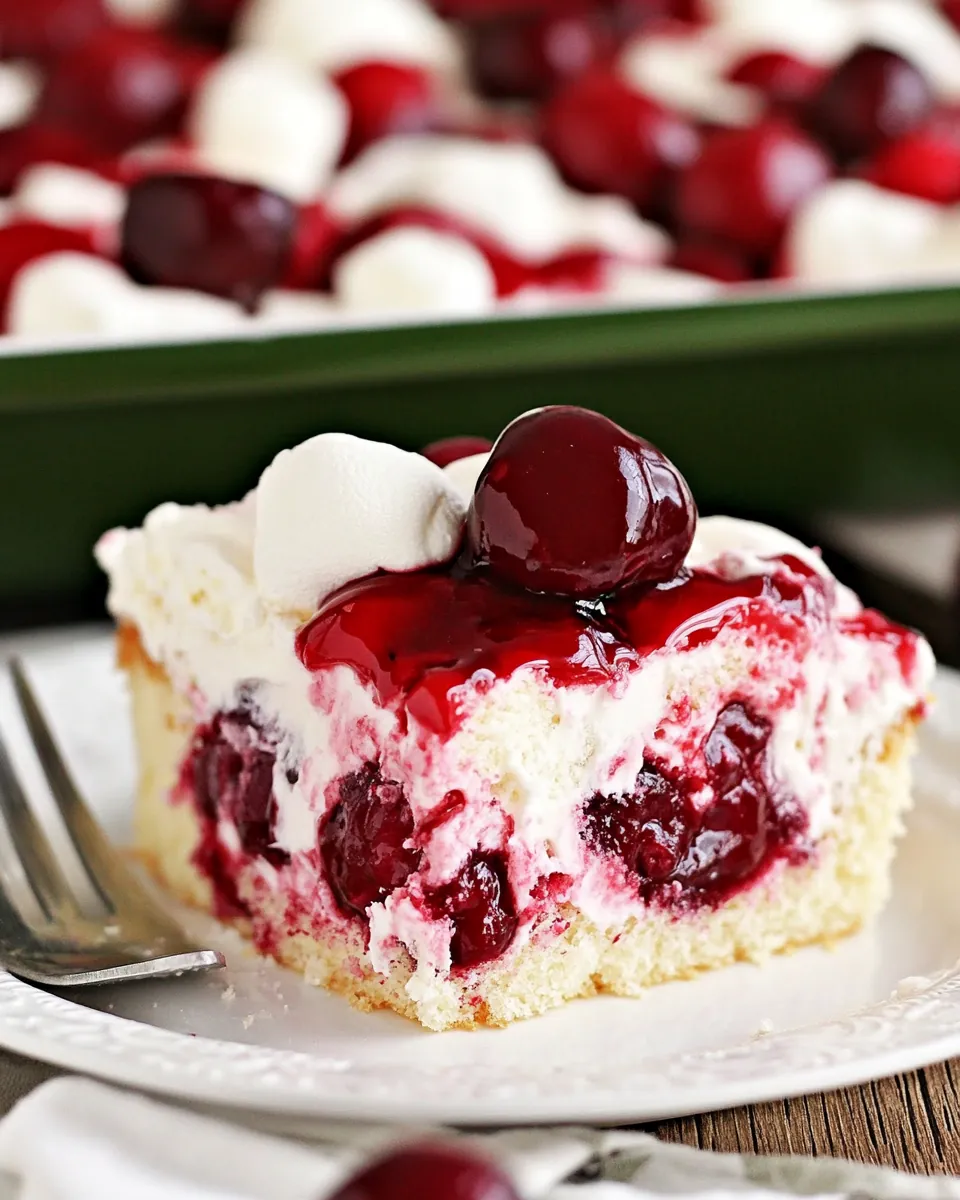
There’s something irresistible about a Cherry Poke Cake. This delightful cake has been a staple at family gatherings for as long as I can remember. I recall the first summer picnic I attended, where my aunt brought her famous poke cake. As soon as the first slice was served, the sweet scent of cherries wafted through the air, and I was instantly drawn in. Each bite was a burst of flavor, with the moist cake soaking up the cherry goodness beneath a fluffy topping. It became an instant favorite amongst all the kids, and I knew I had to learn how to make it myself.
The beauty of Cherry Poke Cake is how simple yet satisfying it is. Whether it’s a birthday party, a summer barbecue, or just a regular weeknight, this cake brings smiles and a sense of nostalgia. The combination of fluffy cake and sweet cherry filling topped with whipped cream is a perfect treat, especially on warm days. I often make it in anticipation of gatherings, and the joy on everyone’s faces when they take that first bite is simply priceless. Not to mention, it’s a breeze to whip up, which gives me more time to enjoy with family and friends.
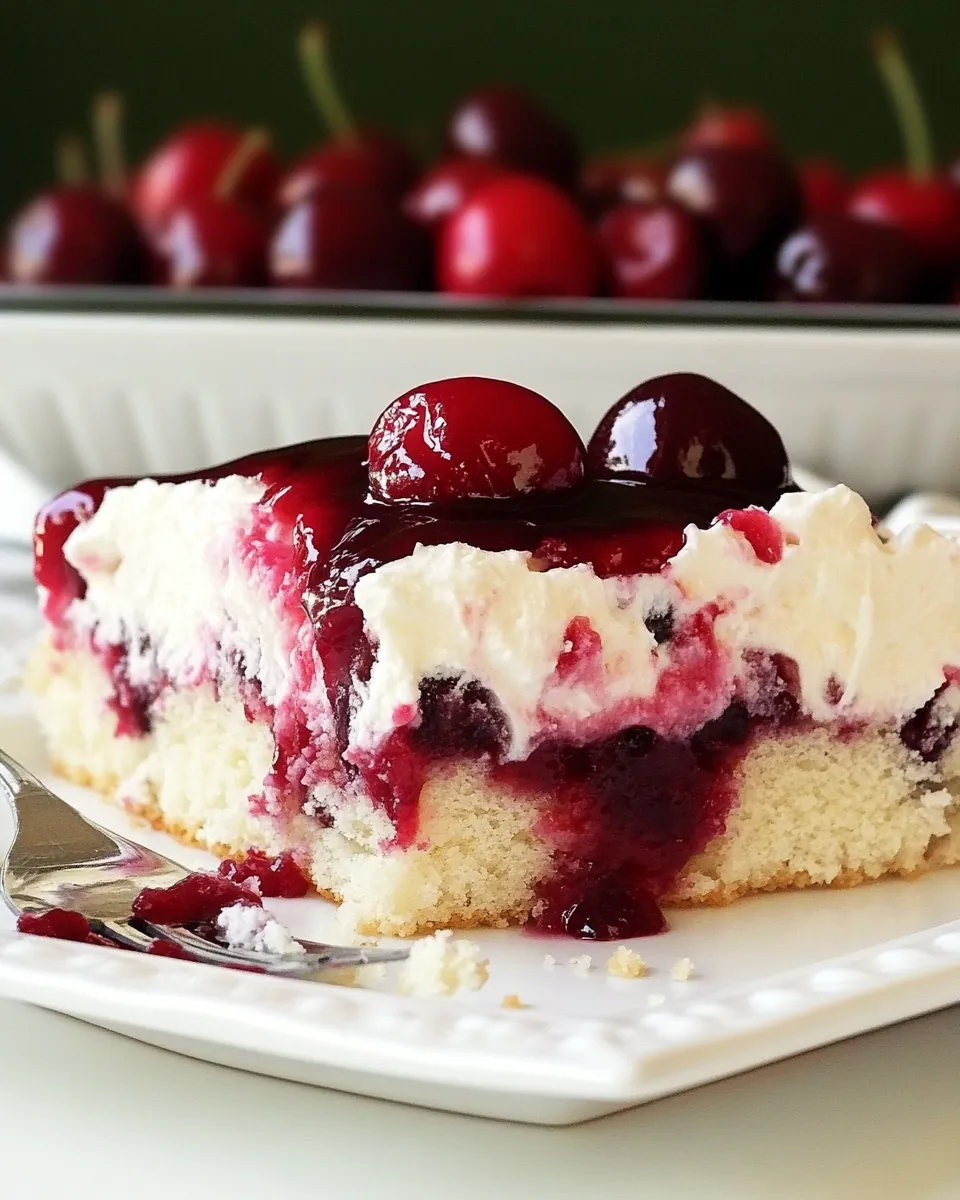
This cake is more than just a dessert; it’s a way to bring people together. I love to serve it after a hearty meal, allowing the sweetness to linger as we relax and share stories over coffee. The vibrant cherries not only make it visually appealing but also add a refreshing twist that complements the lightness of the cake. So, if you’re looking for a recipe that’s sure to impress and spread joy, look no further than this Cherry Poke Cake!
Recipe Snapshot
35 mins
15 mins
20 mins
Medium
320 kcal
3 g
Gluten-Free
14 g
Oven, Baking Sheet, Frying Pan, Whisk, Mixing Bowl
What Makes This Cherry Poke Cake Special
It’s a Family Favorite
One of the best things about Cherry Poke Cake is that it’s steeped in family memories. Every time I make it, I’m reminded of the summer picnics and family reunions where laughter and joy filled the air. Each bite carries a piece of nostalgia, and it’s like sharing a hug in dessert form. I always find it brings everyone together, making the meal more special.
Easy to Make
This recipe for Cherry Poke Cake is incredibly straightforward, making it accessible for bakers of all skill levels. With just a few simple ingredients, you can create a stunning dessert that looks and tastes like it took hours to prepare. I love how it requires minimal hands-on time; simply mix, bake, poke, and top!
Versatile for Any Occasion
What I adore about Cherry Poke Cake is its versatility. It works for birthdays, holidays, or even a “just because” treat. You can dress it up for a celebration with some fresh fruit or keep it simple for a casual family dinner. It adapts effortlessly to different occasions, making it a staple in my baking repertoire.
Perfect for Cherry Lovers
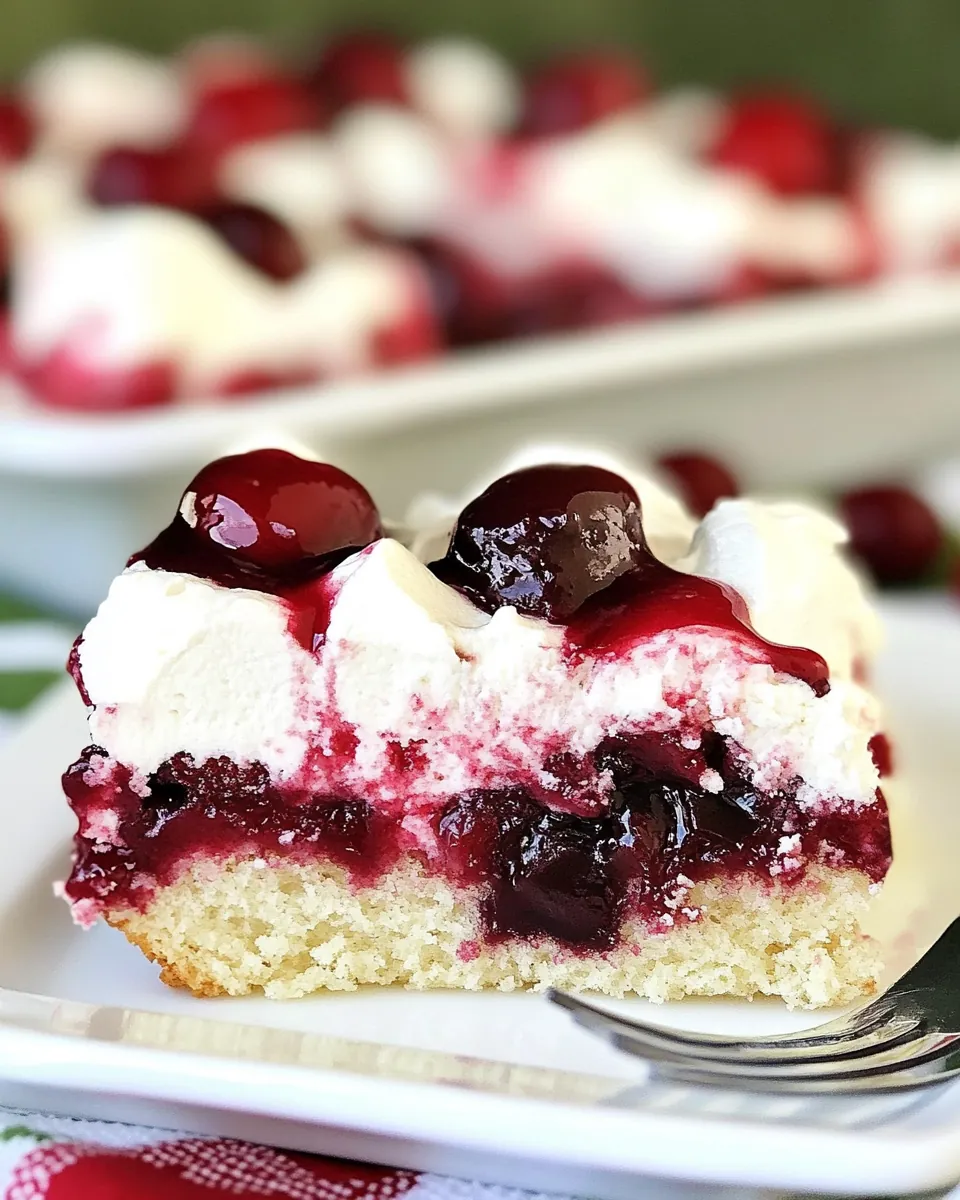
If you’re a fan of cherries, this cake is a dream come true. The cherry filling seeps into the cake, creating a moist and flavorful dessert that sings with cherry goodness. For those who enjoy a burst of fruit in their sweets, the Cherry Poke Cake will be a huge hit.
Great for Sharing
Lastly, I appreciate that this cake is perfect for sharing. It serves a crowd, so it’s ideal for gatherings where you want to impress without spending all day in the kitchen. Plus, it looks beautiful on the table, with the colorful cherry topping and whipped cream. I always feel a sense of joy when I see others enjoying my baking!
Cherry Poke Cake Shopping List

The ingredients for Cherry Poke Cake are simple yet essential for crafting this delightful dessert. The perfect blend of all-purpose flour, granulated sugar, and a few other key players come together to create a moist cake that soaks up the sweet cherry filling. Each ingredient plays a vital role, from the fluffy heavy whipping cream topping that balances the sweetness to the cherry pie filling that adds a fruity burst of flavor. Let’s dive into what you’ll need!
- All-purpose flour: 1 and ½ cups – The foundation of the cake that provides structure.
- Salt: ¼ teaspoons – Enhances flavor and balances sweetness.
- Granulated sugar: ½ cup – Sweetens the cake and helps it brown.
- Baking powder: 1.5 teaspoons – Leavening agent that gives the cake its rise.
- Baking soda: ½ teaspoon – Works with the baking powder to make the cake fluffy.
- Buttermilk: ¾ cup – Adds moisture and a slight tang to the cake.
- Large egg: 1 – Binds the ingredients together for a smooth batter.
- Vanilla extract: 1 teaspoon – Adds a lovely aroma and enhances flavor.
- Vegetable oil: ¼ cup – Keeps the cake moist and tender.
- Cherry pie filling: 1 can – The star of the show that soaks into the cake.
- Heavy whipping cream: 1 cup – Used for the whipped topping that adds richness.
- Marshmallow fluff: ¾ cup – A sweet and fluffy topping that complements the cherries.
- Pure vanilla extract: ½ teaspoon – Extra flavor for the whipped cream.
- Fudge sauce: optional – A decadent drizzle on top enhances presentation.
How to Cook Cherry Poke Cake
Making a Cherry Poke Cake is not just about following steps; it’s about creating something special. Let’s walk through the process together, so you can enjoy the delightful flavors and textures that come together beautifully. Here’s how to turn those simple ingredients into a luscious cake!
- Start by greasing and flouring a 13 x 9-inch baking pan. This will prevent the cake from sticking and ensure easy serving later. Set it aside as you prepare the batter.
- Next, preheat your oven to 350 degrees F. This temperature is perfect for baking a cake that is fluffy and golden brown.
- In a large mixing bowl, whisk together the dry ingredients: all-purpose flour, salt, granulated sugar, baking powder, and baking soda. Make sure there are no lumps, as a smooth batter will yield a lighter cake.
- In another mixing bowl, whisk together the buttermilk, egg, vanilla extract, and vegetable oil until well combined. This mixture should be smooth and creamy, setting the stage for a moist cake.
- Now, pour the wet ingredients into the bowl with the dry ingredients. Using a whisk, gently mix until just combined. You don’t need an electric mixer; a good old-fashioned whisk will do just fine!
- Once the batter is combined, pour it into the prepared baking pan, spreading it evenly. Gently tap the pan against the counter to release any air bubbles trapped in the batter.
- Place the pan in the preheated oven and bake for about 18 to 20 minutes. The cake is done when it’s golden brown on top, and a toothpick inserted into the center comes out clean.
- When the cake is done, remove it from the oven and allow it to cool completely in the pan at room temperature. This cooling step is essential to ensure that the cake holds its shape.
- Once the cake is cool, poke the surface with the round end of a wooden spoon or a wooden dowel. This is where the magic happens—the holes will allow the cherry pie filling to seep into the cake, creating moist pockets of flavor.
- Spread the cherry pie filling evenly over the top of the cake, ensuring that it seeps into the holes. This step is critical for flavor—let the cherries work their way into the cake!
- In a separate bowl, whip the heavy whipping cream until soft peaks form. Gently fold in the marshmallow fluff and the additional vanilla extract for a light and fluffy topping.
- Top the cake with the whipped cream mixture, spreading it evenly over the cherries. Don’t be shy; make it nice and fluffy!
- If you want to take it to the next level, drizzle with fudge sauce just before serving. This is an optional but delicious touch that adds extra sweetness and flair.
Ways to Customize
There are so many fun ways to make Cherry Poke Cake your own! Whether you’re looking to switch up the flavors or presentation, let’s explore some creative ideas to customize your cake. Here are some suggestions:
- Add different fruit fillings: Experiment with other fruit pie fillings like blueberry or strawberry for a new twist on the classic.
- Make it chocolate: Incorporate chocolate cake mix instead of vanilla, and use chocolate syrup instead of fudge sauce for a rich dessert.
- Top with fresh fruit: Add slices of fresh strawberries or blueberries on top of the whipped cream for color and freshness.
- Try flavored whipped cream: Add a few tablespoons of cocoa powder to your whipped cream for a chocolate version or experiment with flavored extracts.
- Change the cake base: Use a white or yellow cake mix instead of a basic vanilla recipe to elevate the flavor.
- Layer it: Create a layered poke cake by using two 9-inch round cakes and stacking them with cherry filling in between.
- Serve it a la mode: Top each slice with a scoop of vanilla ice cream for an indulgent dessert.
Best Served With
Cherry Poke Cake is a delightful dessert that pairs wonderfully with a variety of sides and drinks. Here are some ideas to consider when serving this sweet treat:- Fresh fruit salads: A refreshing fruit salad complements the sweetness of the cake perfectly.
- Ice cream: Vanilla ice cream or whipped cream is a classic pairing that enhances the richness of the cake.
- Coffee or tea: A warm cup of coffee or herbal tea provides a perfect balance to the dessert’s sweetness.
- Picnic or potluck gatherings: This cake is great for sharing at outdoor barbecues or family reunions.
- Special occasions: Serve it at birthdays, anniversaries, or any festive celebration to make it even more memorable.
- Seasonal gatherings: Its bright colors make it an excellent choice for summer parties or holiday feasts.
- Storage tip: Keep leftovers covered in the refrigerator for a few days to maintain freshness.
FAQ
Conclusion
The Cherry Poke Cake is truly a delightful treat that brings together the sweetness of cherries and the moistness of cake in a way that’s sure to impress. I encourage you to give this recipe a try; it’s perfect for any occasion and easy enough for anyone to make. You’ll find that it not only satisfies your sweet tooth but also creates wonderful moments with loved ones around the table.
Cherry Poke Cake
Ingredients
Equipment
Method
- Start by greasing and flouring a 13 x 9-inch baking pan. This will prevent the cake from sticking and ensure easy serving later. Set it aside as you prepare the batter.
- Next, preheat your oven to 350 degrees F. This temperature is perfect for baking a cake that is fluffy and golden brown.
- In a large mixing bowl, whisk together the dry ingredients: all-purpose flour, salt, granulated sugar, baking powder, and baking soda. Make sure there are no lumps, as a smooth batter will yield a lighter cake.
- In another mixing bowl, whisk together the buttermilk, egg, vanilla extract, and vegetable oil until well combined. This mixture should be smooth and creamy, setting the stage for a moist cake.
- Now, pour the wet ingredients into the bowl with the dry ingredients. Using a whisk, gently mix until just combined. You don’t need an electric mixer; a good old-fashioned whisk will do just fine!
- Once the batter is combined, pour it into the prepared baking pan, spreading it evenly. Gently tap the pan against the counter to release any air bubbles trapped in the batter.
- Place the pan in the preheated oven and bake for about 18 to 20 minutes. The cake is done when it’s golden brown on top, and a toothpick inserted into the center comes out clean.
- When the cake is done, remove it from the oven and allow it to cool completely in the pan at room temperature. This cooling step is essential to ensure that the cake holds its shape.
- Once the cake is cool, poke the surface with the round end of a wooden spoon or a wooden dowel. This is where the magic happens—the holes will allow the cherry pie filling to seep into the cake, creating moist pockets of flavor.
- Spread the cherry pie filling evenly over the top of the cake, ensuring that it seeps into the holes. This step is critical for flavor—let the cherries work their way into the cake!
- In a separate bowl, whip the heavy whipping cream until soft peaks form. Gently fold in the marshmallow fluff and the additional vanilla extract for a light and fluffy topping.
- Top the cake with the whipped cream mixture, spreading it evenly over the cherries. Don’t be shy; make it nice and fluffy!
- If you want to take it to the next level, drizzle with fudge sauce just before serving. This is an optional but delicious touch that adds extra sweetness and flair.
Notes
- Storage: Keep leftovers covered in the refrigerator for up to three days.
- Freezing: You can freeze the cake without the topping for up to three months.
- Variations: Feel free to experiment with different fruit fillings or cake flavors!
- Serving: Perfect for summer events or as a light dessert after dinner.
- Presentation: Garnish with fresh cherries or mint leaves for a pop of color.