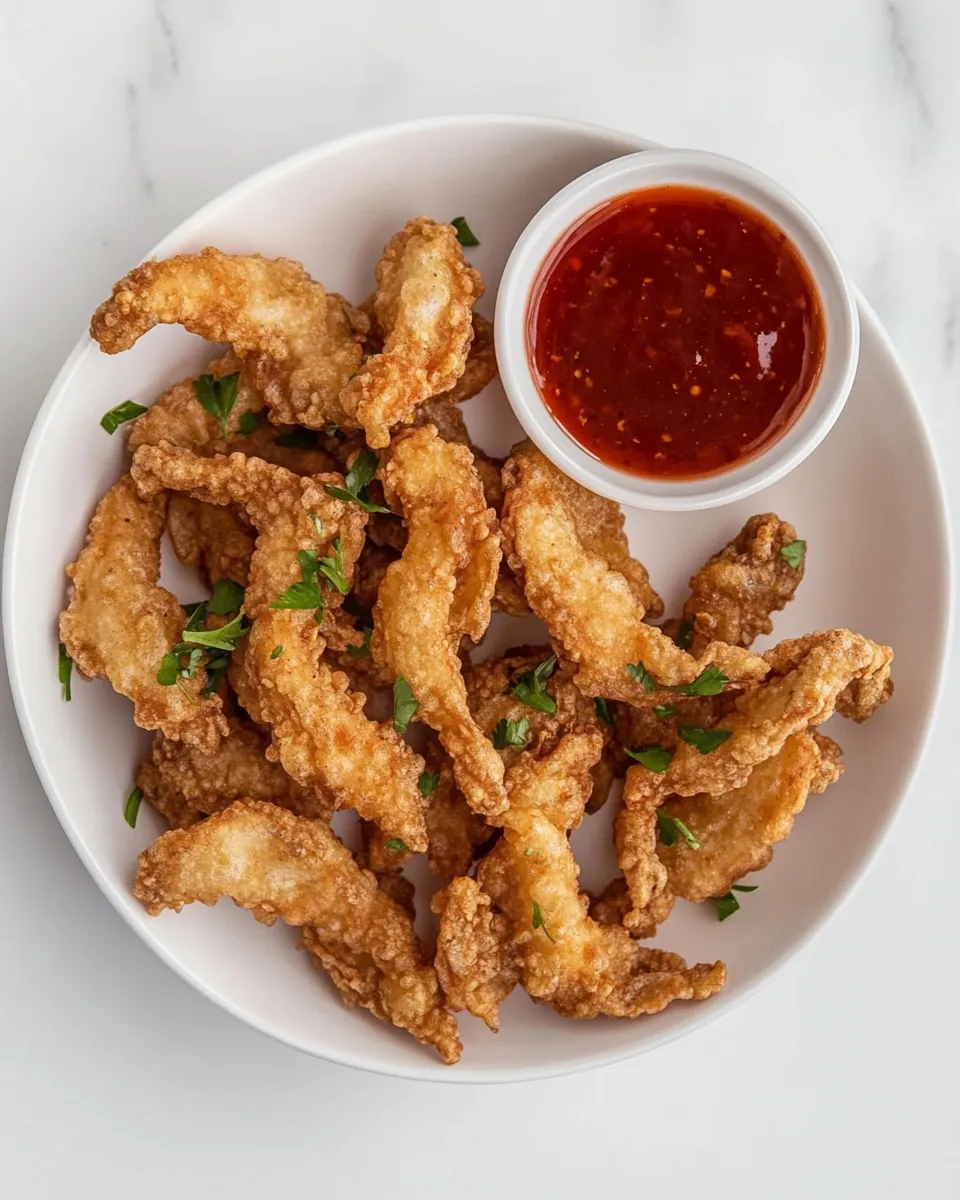
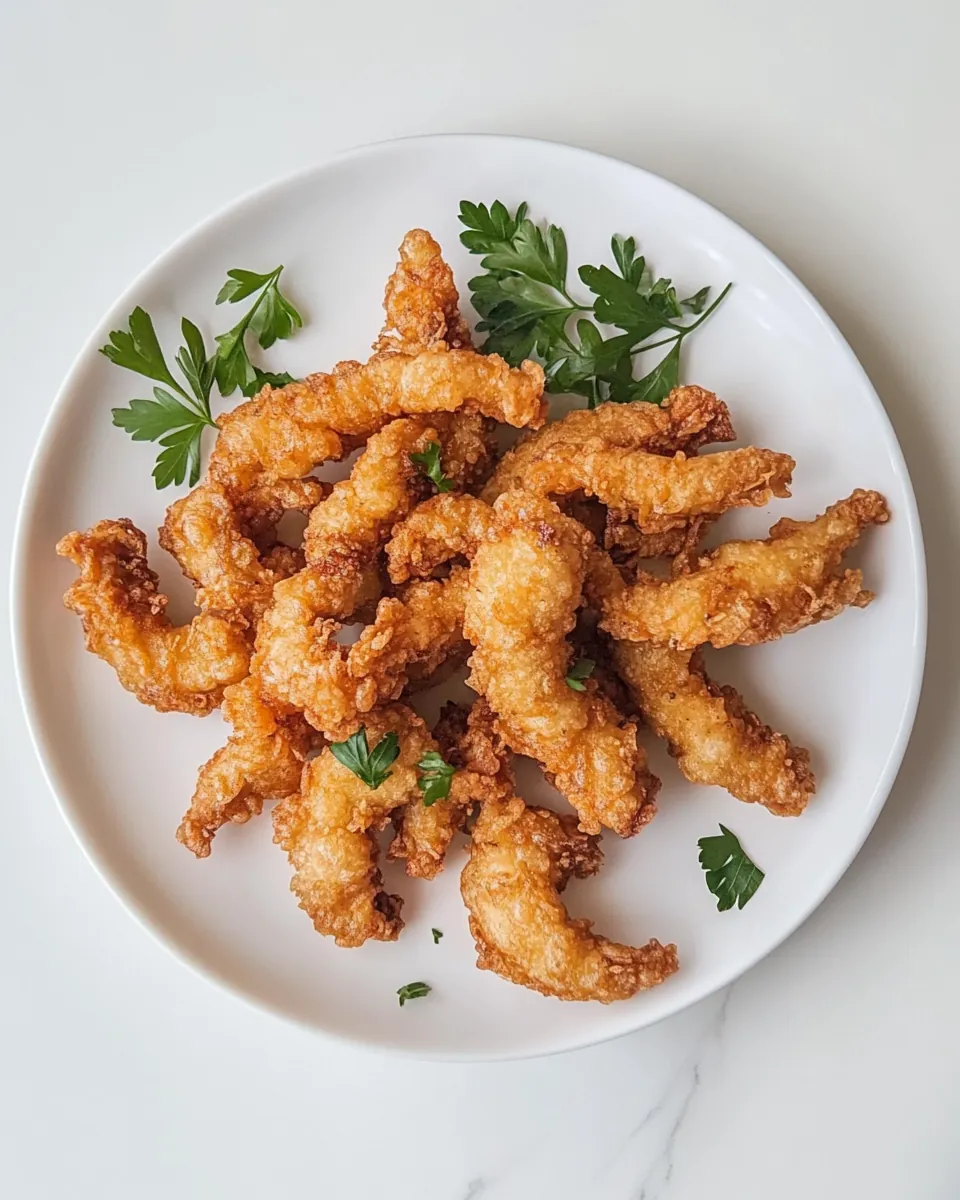
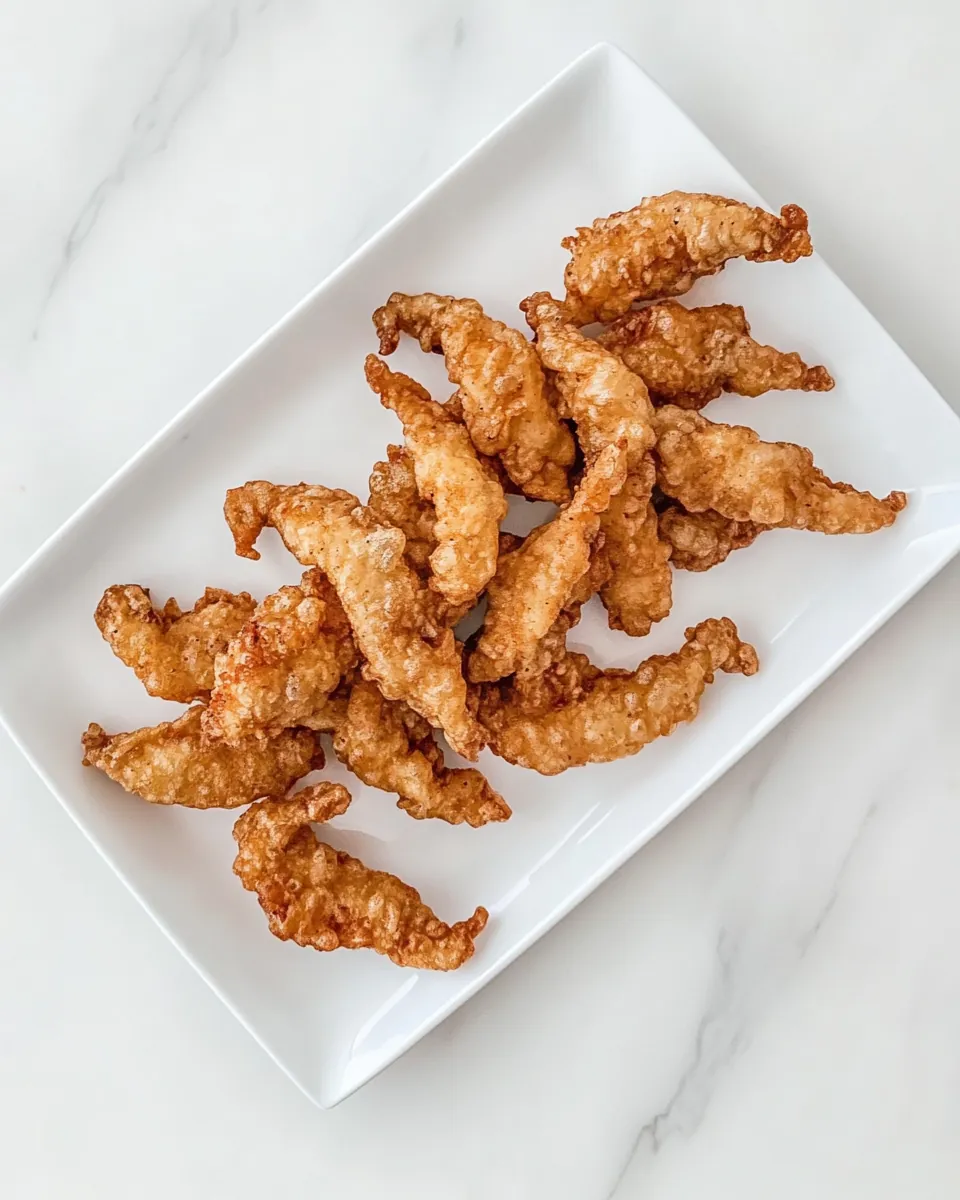
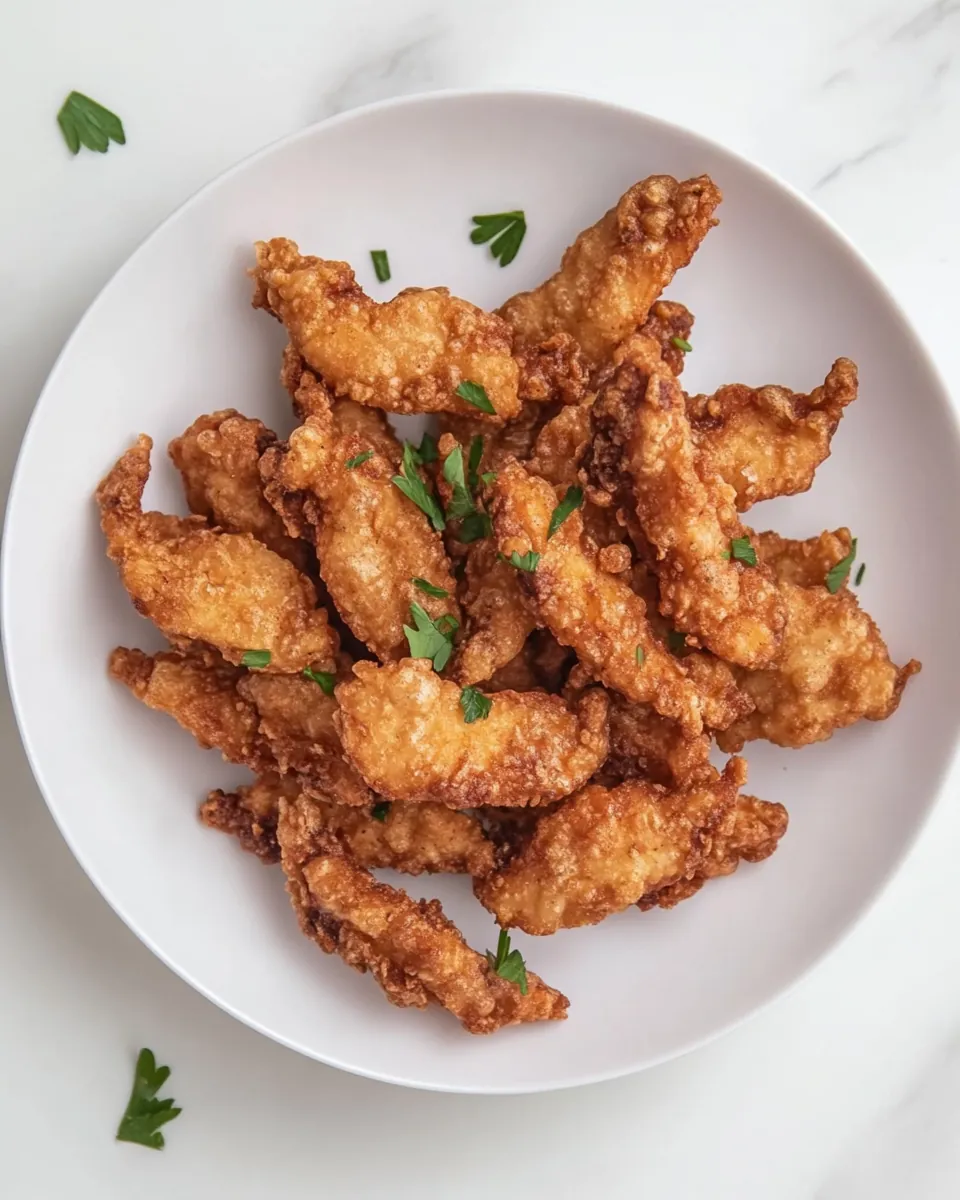
Chicken Tempura
There’s something about the crispy crunch of Chicken Tempura that takes me back to my favorite Japanese restaurant. I remember the first time I tried it, the moment that delightful golden batter met my taste buds, dancing with flavor and texture. It was love at first bite! Now, I often recreate that experience at home, and I think you’ll find it just as magical. Whether it’s for a cozy dinner or a fun get-together with friends, this dish brings a bit of excitement to the table. The best part? It’s surprisingly easy to prepare, making it a perfect addition to your culinary repertoire. Trust me, once you make Chicken Tempura, it will become a staple in your kitchen, too!
Recipe Snapshot
15 mins
10 mins
5 mins
Easy
350 kcal
25 g
Paleo, Whole30, Vegan
15 g
Skillet, Frying Pan, Wooden Spoon, Mixing Bowl
What You’ll Enjoy About This Chicken Tempura
A Crispy Delight
The thing I love most about Chicken Tempura is its incredible crunch. The batter is light, airy, and so satisfying! It creates a beautiful contrast with the juicy, tender chicken inside. The secret to that crunch lies in the cold sparkling water that you mix into the batter, allowing it to puff up beautifully when fried.
Perfect for Any Occasion
Whether it’s a weekday meal or a special occasion, Chicken Tempura is a hit! I’ve served it at family gatherings and dinner parties, and it always impresses. It’s a versatile dish that pairs well with various sides and dipping sauces, making it adaptable to any palate.
Healthier Frying Option
Frying at home can often be a concern when it comes to health, but Chicken Tempura uses less oil than you might think. The quick frying process locks in moisture and flavor while keeping each piece light and crispy. Plus, you can control the ingredients, ensuring everything is fresh and delicious.
A Fun Cooking Experience
Cooking Chicken Tempura is an enjoyable activity! I love the hands-on approach of battering and frying each piece, and it’s a great way to get the whole family involved. Kids love dipping the chicken in the batter, and it can turn into a fun cooking lesson while creating lasting memories.
Endless Variations
Once you master the basic Chicken Tempura, the variations are endless! You can try different proteins like shrimp or vegetables like zucchini and bell peppers. Each variation brings a unique flavor profile, allowing you to get creative in the kitchen!
Shopping List for Chicken Tempura
The ingredients for Chicken Tempura are simple yet crucial for achieving that delightful texture and flavor. Each component plays a vital role in the final dish. The star of the show, of course, is the chicken, but the batter made from flour and cornstarch is what makes it extraordinary. The combination of these ingredients ensures the perfect balance of crunch and tenderness.
- 1 pound chicken breasts – The main ingredient; tender and juicy, perfect for frying.
- 2 1/2 tablespoons soy sauce – Adds a savory depth and enhances the chicken flavor.
- 1/2 teaspoon salt – Essential for seasoning the chicken.
- 1/2 teaspoon black pepper – Brings a subtle heat to the dish.
- 3/4 cup all-purpose flour – Forms the batter that creates the crispy exterior.
- 5 tablespoons cornstarch – Adds extra crunch and lightness to the batter.
- 1/4 teaspoon baking soda – Helps the batter rise and crisp up.
- 1 large egg, lightly beaten – Binds the batter for a cohesive texture.
- 1 cup cold sparkling water – Creates a light batter that fries beautifully.
- Vegetable oil – For frying; opt for a neutral oil with a high smoke point.
- Preferred dipping sauce (optional) – Complements the chicken tempura for an extra flavor burst.
Step by Step Instructions for Chicken Tempura
Cooking Chicken Tempura is a delightful journey that results in a crisp and flavorful dish. Follow these steps closely, and you’ll be enjoying your homemade tempura in no time!
- Begin by cutting the chicken into strips, about one inch thick. Place them in a bowl and add the soy sauce, salt, and black pepper. Toss everything together to ensure the chicken is evenly coated. Let it marinate while you prepare the batter.
- In a separate bowl, sift together the flour, cornstarch, and baking soda. This will help to prevent lumps in your batter. Take a moment to appreciate how the ingredients blend together.
- Next, pour in the lightly beaten egg and the cold sparkling water into the dry ingredients. Stir gently until just combined; be cautious not to overmix as this can make the batter tough.
- If you want to achieve an extra crispiness, you can dust the marinated chicken with a touch of extra flour before dipping it into the batter. This step helps the batter adhere better.
- Heat the vegetable oil in a deep pan to around 350°F. Use a thermometer to ensure the oil is at the right temperature for frying.
- Once the oil is hot, carefully dip each piece of battered chicken in the oil, frying them in small batches. Avoid overcrowding the pan; this ensures even cooking.
- Fry each piece for about 2 to 3 minutes on each side or until the batter is golden brown and crispy. Keep an eye on the color; it should be a beautiful golden hue.
- Once cooked, remove the chicken tempura from the oil and let them drain on paper towels. This step helps remove excess oil and keep your tempura crispy.
- Serve your Chicken Tempura immediately with your favorite dipping sauce, enjoy the crunch, and relish the flavors!
Things Worth Knowing
- Oil temperature matters: Always ensure your oil is at the right temperature for frying. Too low and the batter will absorb oil, too high and it will burn.
- Marination enhances flavor: Allowing the chicken to soak in the marinade helps develop a deeper flavor profile.
- Batter consistency is key: Aim for a smooth batter; lumps can affect the final texture of the tempura.
- Resting the batter: Letting the batter sit for a few minutes can help it achieve a lighter texture when fried.
Tips for Success
Making Chicken Tempura is a rewarding experience, and with a few tips, you can master it in no time. Here’s some advice to ensure your tempura turns out perfectly!
- Storage: Store any leftover Chicken Tempura in an airtight container in the fridge for up to two days. Reheat in the oven for crispiness.
- Freezing: You can freeze the battered chicken before frying. Just ensure they are spaced apart and fully frozen before transferring to a freezer bag.
- Pairing: Chicken Tempura pairs beautifully with a side of steamed rice and a refreshing salad for a complete meal.
- Experiment with sauces: Try different dipping sauces like sweet chili or ponzu for a flavor twist.
- Practice frying technique: Perfect your frying technique by trying a small batch first to get the hang of the oil temperature.
What to Serve Alongside Chicken Tempura
- Steamed Rice: A fluffy bowl of steamed rice complements the Chicken Tempura, soaking up the delicious flavors.
- Fresh Salad: A crisp green salad with light dressing cuts through the richness of the fried tempura.
- Vegetable Stir-Fry: Pair with a colorful vegetable stir-fry for a delightful balance of textures and tastes.
- Light Soups: A clear broth soup like miso can serve as a soothing starter.
- Seasonal Dishes: In the fall, consider serving with roasted vegetables, while in summer, a light cucumber salad is refreshing.
- Perfect for Gatherings: Chicken Tempura is a great dish for parties and celebrations, making it a versatile choice for various occasions.
FAQ
Conclusion
In conclusion, Chicken Tempura is a delightful dish that combines the crunch of batter with the juicy tenderness of chicken. It’s quick to prepare and perfect for any occasion, whether you’re hosting friends or enjoying a cozy meal at home. I encourage you to try this recipe and experience the burst of flavors yourself. You won’t regret it!
Chicken Tempura
Ingredients
Equipment
Method
- Cut the chicken into strips and place them in a bowl. Add soy sauce, salt, and black pepper, then toss to ensure an even coating. Allow the chicken to marinate while you prepare the batter.
- In another bowl, sift together the flour, cornstarch, and baking soda. Pour in the beaten egg and cold sparkling water, stirring gently until just combined. Do not overmix.
- If desired, lightly dust the marinated chicken with a little extra flour to help the batter stick. Dip each piece into the batter, allowing excess to drip off.
- Heat vegetable oil in a deep pan to 350°F. Carefully add the battered chicken in small batches. Fry for 2-3 minutes per side until the batter is crisp and the chicken is cooked through.
- Remove and drain on paper towels. Serve with your favorite dipping sauce if desired.
Notes
- Storage: Store any leftover Chicken Tempura in an airtight container in the fridge for up to two days. Reheat in the oven for crispiness.
- Freezing: You can freeze the battered chicken before frying. Just ensure they are spaced apart and fully frozen before transferring to a freezer bag.
- Pairing: Chicken Tempura pairs beautifully with a side of steamed rice and a refreshing salad for a complete meal.
- Experiment with sauces: Try different dipping sauces like sweet chili or ponzu for a flavor twist.
- Practice frying technique: Perfect your frying technique by trying a small batch first to get the hang of the oil temperature.