Chicken Tenders
There’s something magical about Chicken Tenders that brings out the kid in all of us. Whether you’re enjoying a cozy family dinner or serving up some snacks for a gathering, these tasty bites are always a hit. I remember the first time I made them at home; the smell wafting through the kitchen transported me back to happy childhood moments spent at my favorite diner, where I’d devour crispy tenders with a side of tangy dipping sauce. Using just a few simple ingredients, you can create an irresistible dish that the whole family will love.
These Chicken Tenders are not only quick to make but also customizable! You can play around with the seasoning or even the breadcrumbs to suit your taste. Plus, they’re a great way to get kids involved in the kitchen. There’s nothing like seeing their faces light up when they realize they can help coat the chicken and watch it transform into golden brown perfection. Every bite is a combination of crunch and tenderness that will leave you wanting more.
Recipe Snapshot
25 mins
5 mins
20 mins
Medium
330 kcal
28 g
Keto, Paleo, Whole30
14 g
Oven, Frying Pan, Mixing Bowl, Baking Sheet
The Beauty of This Chicken Tenders
They’re Irresistibly Crunchy
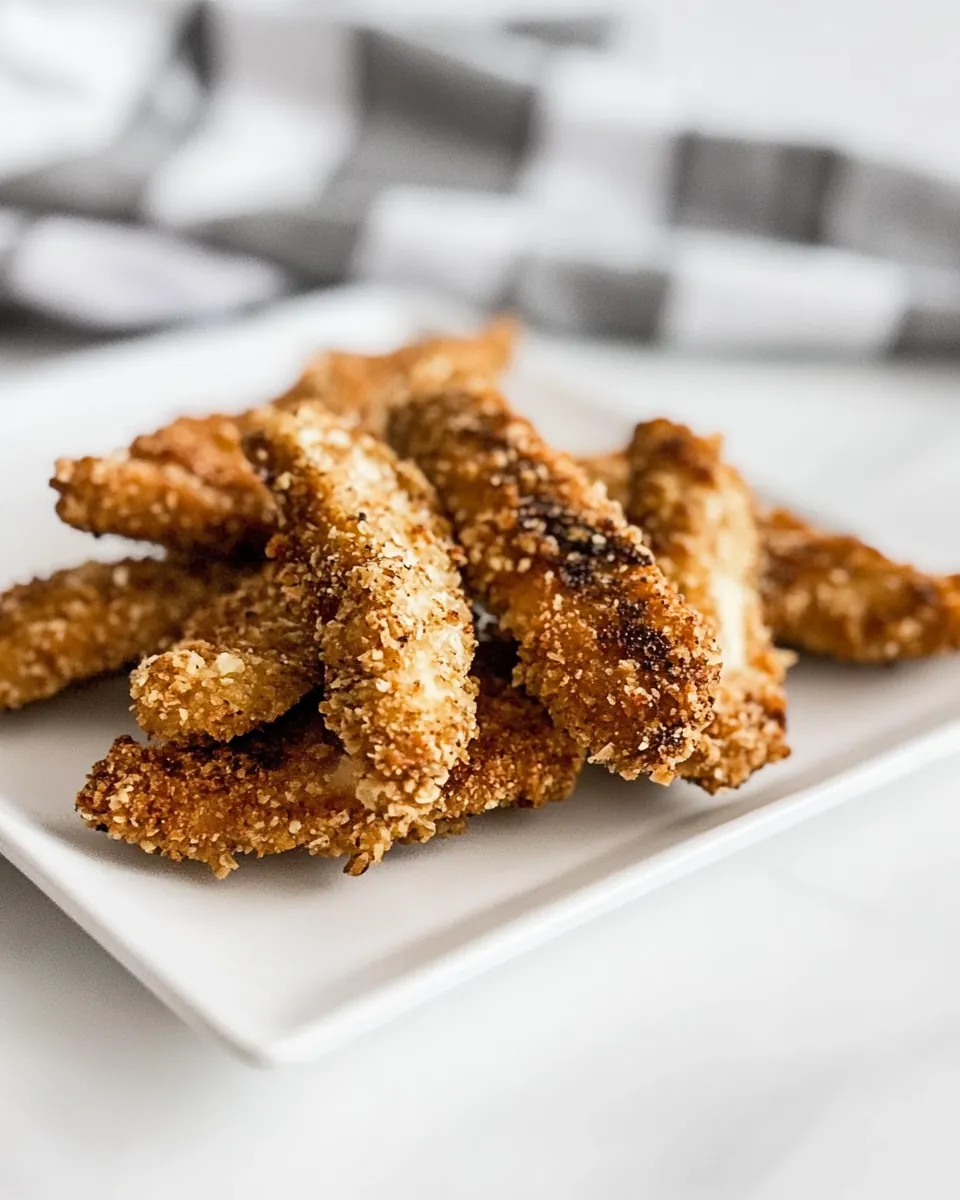
One of the best things about these Chicken Tenders is that they achieve that perfect balance of crispy on the outside and juicy on the inside. The seasoned breadcrumbs and panko create a crunchy coating that is simply addictive. You won’t be able to stop at just one!
Versatile for Any Occasion
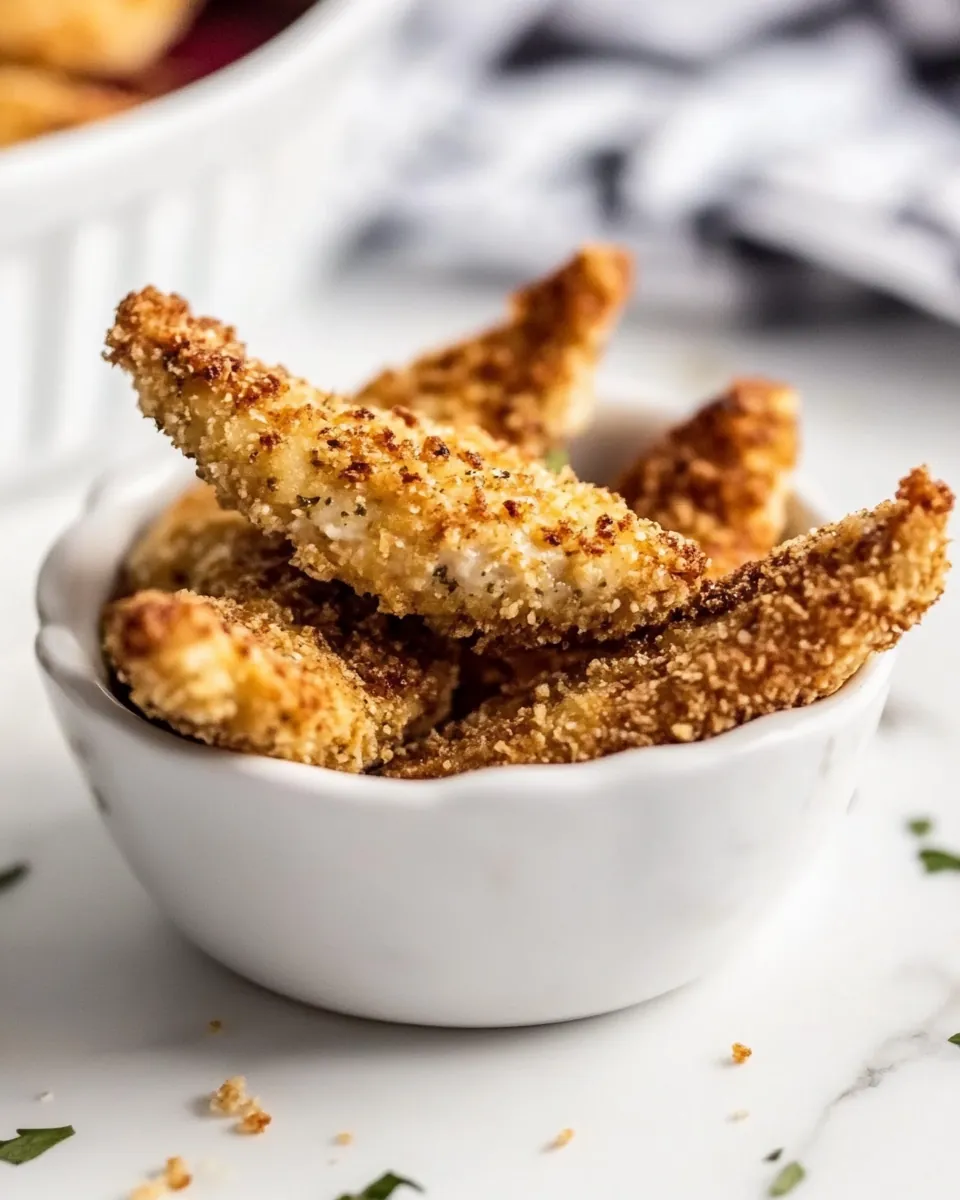
No matter if it’s game day, a family gathering, or just a weeknight dinner, these Chicken Tenders fit right into any occasion. They can be served as a main dish or as an appetizer for guests. Simply pair them with your favorite dipping sauces, and you’re good to go!
Quick and Easy to Prepare
If you’re short on time, this recipe has got you covered! You can whip up a batch of Chicken Tenders in under an hour. With a simple breading process and just 18 minutes in the oven, you’ll have dinner ready to serve in no time.
Perfect for Kids
Kids and adults alike love Chicken Tenders. They’re fun to eat and allow for hands-on enjoyment. You can even let your kids choose their own seasonings, making it a fun family activity!
Healthy Option
By making Chicken Tenders at home, you have control over the ingredients. You can use fresh, high-quality chicken and choose healthier breading options, ensuring that you’re serving up a dish that’s not only delicious but better for you.
Meal Prep Friendly
These tenders are perfect for meal prep. You can easily double the recipe, and they freeze beautifully. Just reheat them in the oven for a quick meal during your busy week.
What You’ll Need for Chicken Tenders
For this delightful dish, you’ll need a combination of fresh ingredients that come together to create a flavor-packed experience. The key players include tender chicken and a crunchy, seasoned coating that elevates every bite. Let’s take a look at what you’ll need to make these Chicken Tenders truly shine!
- 12 chicken tenderloins (1 ¼ lbs total) – The star ingredient that provides a juicy and tender base for your dish.
- 1 large egg – This will help bind the breadcrumbs and panko to the chicken, ensuring a crispy coating.
- 1 teaspoon kosher salt – Enhances the flavor of the chicken and the coating.
- ½ cup seasoned breadcrumbs – Adds a crunchy texture and flavor. I prefer 4C, but gluten-free breadcrumbs work just as well!
- ½ cup seasoned panko crumbs – These provide an extra layer of crunch that makes the tenders irresistible.
- Olive oil spray – Helps to create a crispy finish without the need for excessive oil.
- Ketchup or BBQ sauce (optional for dipping) – A classic pairing that adds a tangy flavor to each bite.
How to Assemble Chicken Tenders
Making Chicken Tenders at home is a straightforward and enjoyable process. Let’s dive into the steps to create these tasty nuggets of goodness!
Preheat your oven to 425°F. This high temperature is key for achieving that perfect crispy texture. While the oven is heating up, you can prepare your baking sheet.
Line a sheet pan with parchment paper or aluminum foil for easy cleanup, then spray it lightly with olive oil. This step prevents the tenders from sticking and ensures they fry up nicely.
Take your chicken tenderloins and season them with kosher salt. This enhances the flavor and helps to tenderize the meat.
In a shallow bowl, crack and beat the egg. This will act as the glue for the breadcrumbs.
In another shallow bowl, combine the seasoned breadcrumbs and seasoned panko crumbs. Mixing them together creates a delightful variety of textures that will make your tenders extra crunchy.
Take a piece of seasoned chicken, dip it into the bowl with the egg, ensuring it’s fully coated, and then transfer it to the breadcrumb mixture. Make sure to shake off any excess before placing it on the sheet pan.
Repeat the process with all the chicken tenderloins until they’re all coated. Once done, spray both sides of the tenders generously with the olive oil spray. This helps achieve a golden brown finish.
Place the sheet pan in the oven and bake the chicken for about 18 minutes. Flip them halfway through to ensure even cooking and a crispy exterior.
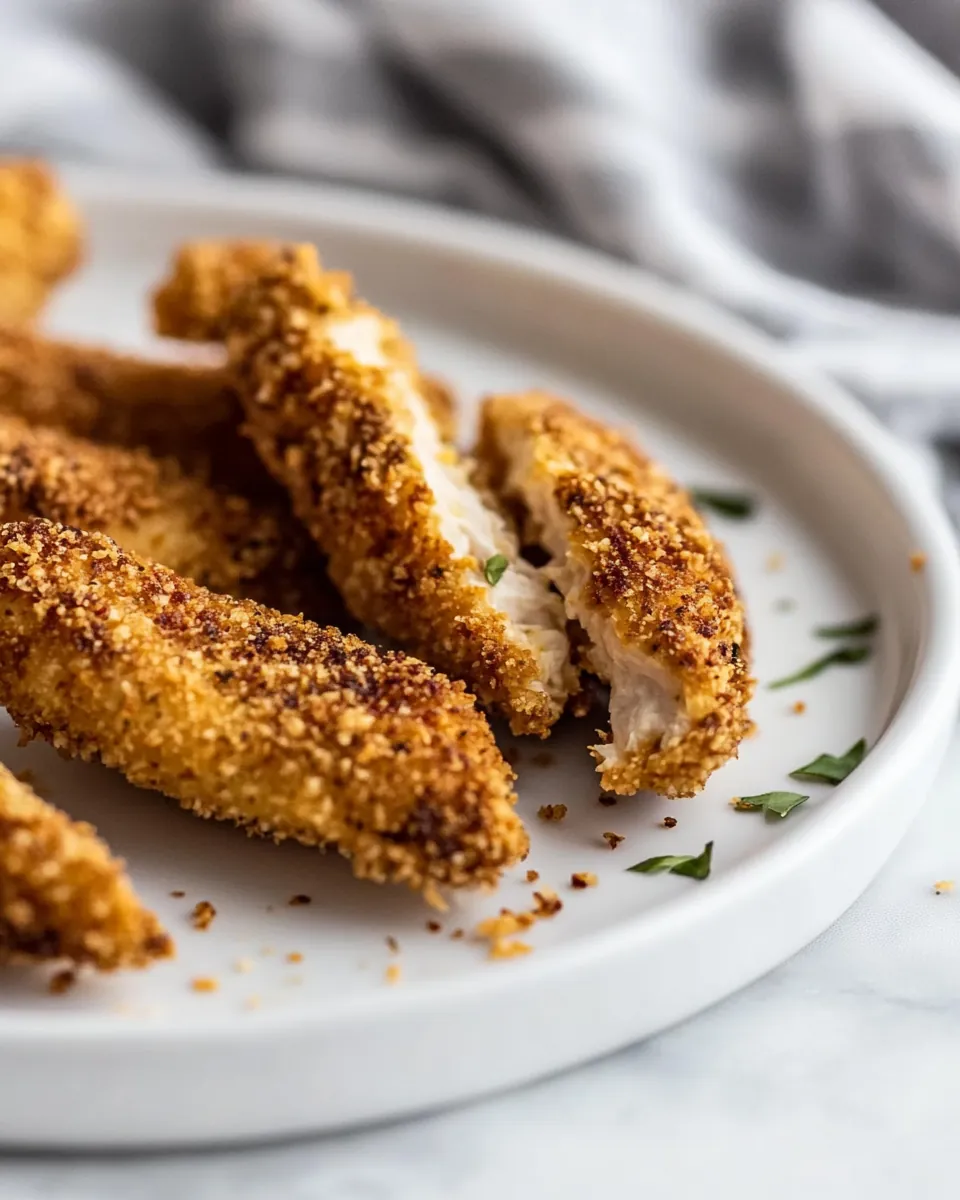
After 18 minutes, check for doneness. The chicken should be cooked through and reach an internal temperature of 165°F. Once they’re done, remove them from the oven and let them rest for a few minutes. Serve with ketchup or BBQ sauce for dipping!
Things Worth Knowing
- Use Fresh Chicken: Fresh chicken tenderloins yield the best texture and flavor. Avoid pre-packaged ones if possible.
- Don’t Skimp on the Coating: Make sure to fully coat the chicken in the egg and then the breadcrumb mixture to achieve that perfect crunch.
- Watch the Bake Time: Every oven is different. Keep an eye on the chicken towards the end of the cooking time to avoid overcooking.
- Let Them Rest: Allowing the Chicken Tenders to rest after baking lets the juices redistribute, keeping them moist.
Helpful Hints
Here are some additional tips to make your cooking experience smooth and enjoyable!
- Storage: Store any leftover Chicken Tenders in an airtight container in the fridge for up to three days.
- Freezing: These freeze well! Place cooled tenders in a single layer on a baking sheet, then freeze before transferring to a container. They can be frozen for up to three months.
- Pairing: Serve your Chicken Tenders with sides like a fresh salad or crispy fries for a complete meal.
- Variations: Try different spices in the breadcrumb mixture for a unique flavor. Consider adding some garlic powder or paprika for a kick!
- Reheating: To reheat, bake them in the oven at 375°F for about 10 minutes until heated through, maintaining their crispiness.
- Serving Size: For larger gatherings, consider doubling the recipe. They’re sure to disappear quickly!
Side Dish Ideas for Chicken Tenders
When it comes to serving Chicken Tenders, the options are nearly endless! Here are some of my favorite side dish ideas:
- Crispy French Fries: A classic choice that pairs perfectly with tender chicken. You can even make sweet potato fries for a healthier twist.
- Coleslaw: A refreshing side that complements the crunch of the chicken and balances the meal with some freshness.
- Mac and Cheese: For a comforting and hearty pairing, mac and cheese is always a winner.
- Vegetable Sticks: Serve some carrot and celery sticks with ranch dressing for a fun and healthy crunch.
- Salads: A simple mixed greens salad with a light vinaigrette can balance the richness of the tenders nicely.
- Fruit Salad: Fresh fruit adds a sweet touch that contrasts beautifully with the savory chicken.
FAQ
Conclusion
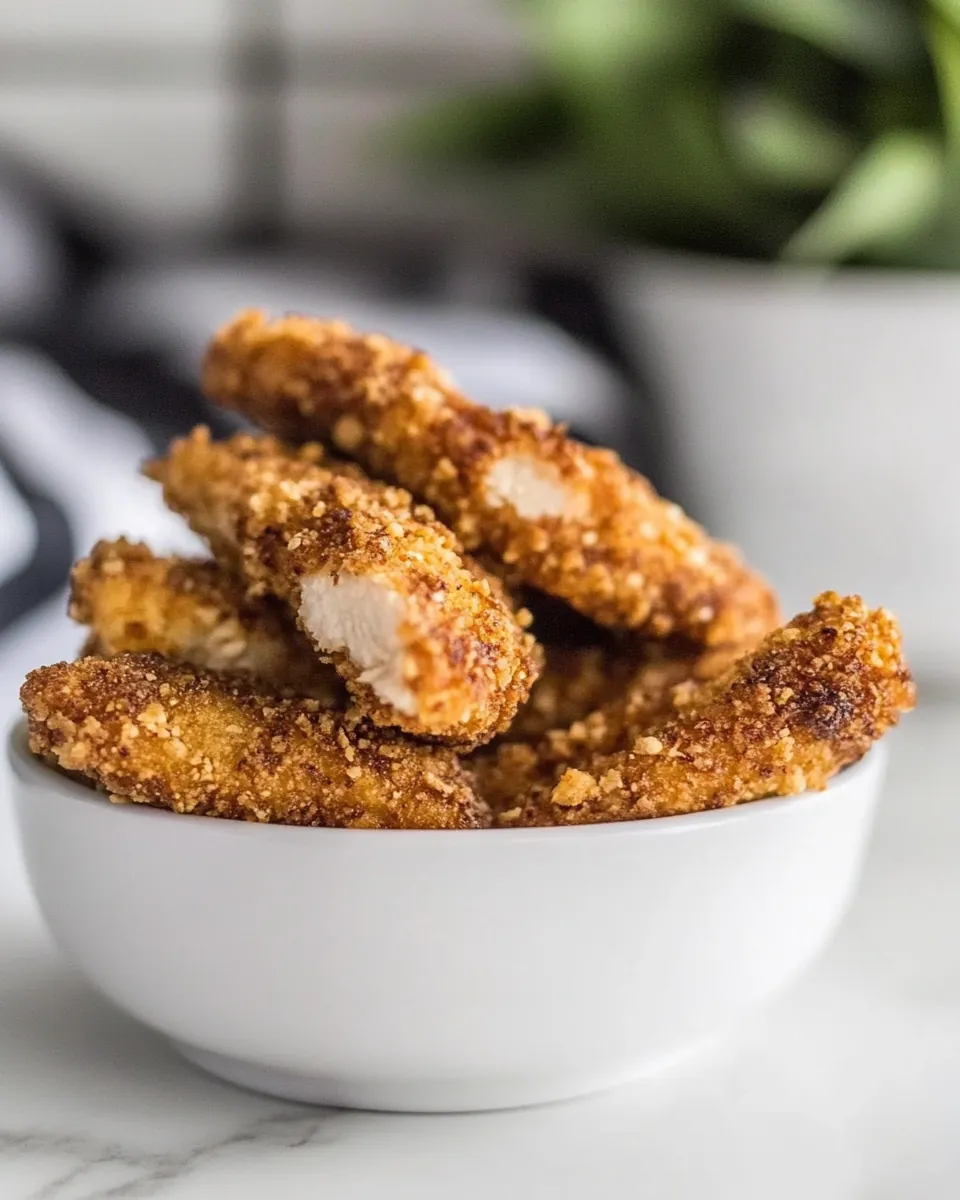
In summary, these Chicken Tenders are a delightful and easy-to-make dish that brings family and friends together. I encourage you to give this recipe a try. With their crispy exterior and juicy interior, they are sure to become a favorite in your home. Enjoy every bite!
Chicken Tenders
Ingredients
Equipment
Method
- Preheat your oven to 425°F.
- Line a sheet pan with parchment paper or aluminum foil and spray it lightly with olive oil.
- Season the chicken tenderloins with kosher salt.
- In a shallow bowl, crack and beat the egg.
- In another shallow bowl, combine the seasoned breadcrumbs and seasoned panko crumbs.
- Dip each chicken piece into the egg, then into the breadcrumb mixture, shaking off excess.
- Repeat the process for all chicken tenderloins and spray both sides with olive oil.
- Bake the chicken for about 18 minutes, flipping halfway through.
- Serve with ketchup or BBQ sauce.
Notes
- Tip 1: Store any leftover Chicken Tenders in an airtight container in the fridge for up to three days.
- Tip 2: These freeze well! Place cooled tenders in a single layer on a baking sheet, then freeze before transferring to a container. They can be frozen for up to three months.
- Tip 3: Serve your Chicken Tenders with sides like a fresh salad or crispy fries for a complete meal.
- Tip 4: Try different spices in the breadcrumb mixture for a unique flavor.
- Tip 5: To reheat, bake them in the oven at 375°F for about 10 minutes until heated through.