Chocolate Caramel Pretzel Cups
I first stumbled upon these delectable treats at a friend’s birthday party, and it was love at first bite. The Chocolate Caramel Pretzel Cups combine the perfect balance of sweet and salty, making them an indulgent yet satisfying dessert. Picture this: crunchy pretzel bases topped with a rich caramel layer, finished off with smooth, melted chocolate. It’s a flavor combination that never fails to impress! Since that day, I’ve made these little delights countless times for gatherings and special occasions, and they never last long. You can make them for parties, gifts, or just when you want a sweet treat at home. The best part? They’re relatively simple to whip up, and you can get creative with toppings! So, gather your ingredients, and let’s dive into this sweet adventure!
Recipe Snapshot
19 mins
15 mins
4 mins
Medium
120 kcal
1 g
Gluten-Free, Low FODMAP
7 g
Food Processor, Frying Pan, Wooden Spoon, Chef’s Knife, Mixing Bowl
Why We Love This Chocolate Caramel Pretzel Cups
They’re a Sweet and Salty Sensation
There’s something truly magical about the combination of salty and sweet. The crunch from the pretzels combined with the gooey caramel and smooth chocolate creates a taste that you’ll crave over and over. It’s a treat that keeps your taste buds dancing!
Perfect for Any Occasion
Whether it’s a birthday, holiday, or just a charming afternoon snack, the Chocolate Caramel Pretzel Cups are versatile enough to shine on any dessert table. They make a fantastic gift, too, when placed in a lovely box or jar.
Fun to Make with the Kids
This recipe is an excellent opportunity to involve your little ones in the kitchen. Watching them crush the pretzels and pour the caramel can be quite entertaining. Plus, they’ll love being part of the creation process, and they’ll feel proud when you serve the final product.
Customizable Toppings
One of the best aspects of these cups is how easy it is to personalize them. You can top them with festive sprinkles, chopped nuts, or even drizzles of white chocolate. The possibilities are endless, allowing your creativity to shine!
Quick to Prepare
With minimal prep and cooking time, this recipe is a go-to when you need a quick dessert option. You can whip them up in no time, making it perfect for last-minute gatherings.
Irresistible Texture
The texture of the Chocolate Caramel Pretzel Cups is truly something to savor. With a delightful crunch from the pretzels, creamy caramel, and silky chocolate, each bite offers satisfying layers that will keep you coming back for more.
Chocolate Caramel Pretzel Cups Ingredients
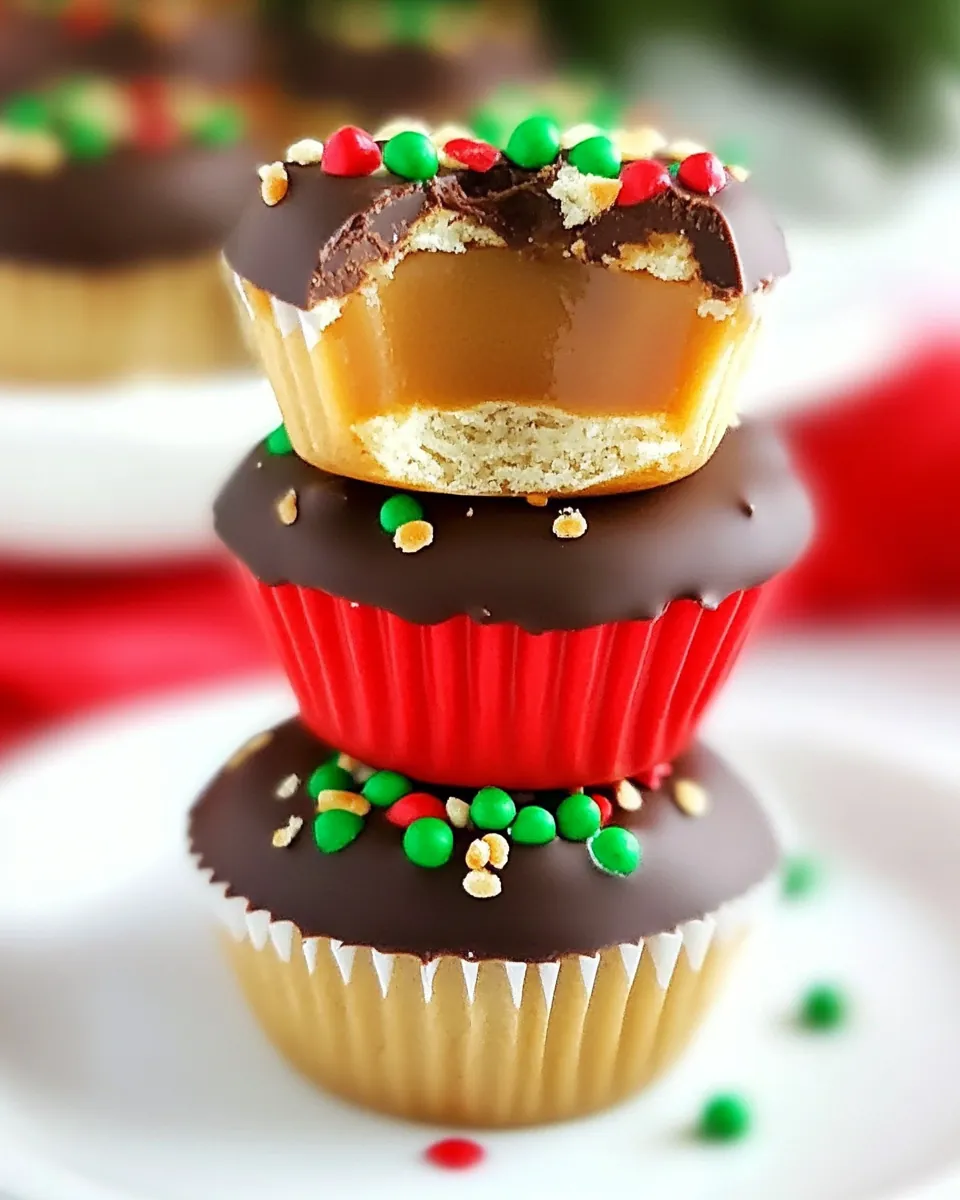
Creating the Chocolate Caramel Pretzel Cups requires a delightful mix of ingredients that each play a crucial role in the final flavor and texture. The key players here are the crunchy pretzel sticks, which form the base, while the combination of butter, sugars, and sweetened condensed milk creates a rich caramel layer that perfectly complements the sweet and salty profile. To finish it off, semi-sweet chocolate chips bring a smooth richness that ties everything together.
- 1 cup crushed pretzel sticks
- ¼ cup unsalted butter
- ¼ cup granulated sugar
- ¼ cup packed brown sugar
- ¼ cup corn syrup
- ¼ teaspoon salt
- ¼ cup sweetened condensed milk
- ¼ teaspoon vanilla extract
- 1 cup semi-sweet chocolate chips
- 1 teaspoon vegetable oil
Making This Chocolate Caramel Pretzel Cups
Let’s get started on crafting these delightful Chocolate Caramel Pretzel Cups. The process is straightforward and fun! You’ll want to start by lining your mini cupcake pan with liners for easy removal later on. Once that’s set, we’ll move on to crush those pretzels and prepare the caramel layer, which is always a treat to work with. Follow along as we create these little bites of joy!
- Line a mini cupcake pan with liners. If you’re using pretty paper liners, consider spraying them very lightly with cooking spray. This simple step will help prevent the caramel from sticking to the liners, ensuring your cups come out easily.
- In a Ziploc bag, crush the pretzel sticks using a rolling pin, or place them in a small food processor and pulse a few times. Be careful not to pulverize them into dust; you want them crushed enough to hold together but still have some texture. Once done, place about 1 teaspoon of the crushed pretzels into each liner.
- Now let’s create the caramel layer. In a heat-proof bowl, place the unsalted butter and microwave for about 30 seconds. Note that it may not fully melt; that’s okay! Add in the granulated sugar, brown sugar, corn syrup, and sweetened condensed milk. Stir the mixture well to combine.
- Microwave the mixture for a total of 3 minutes, stopping to stir every 45 seconds. This will ensure the ingredients meld well together without burning. After the final stir, pour about 2 to 3 teaspoons of the warm caramel over the pretzel layer in each cup.
- Next, let’s make the chocolate topping. In another heat-proof bowl, combine the semi-sweet chocolate chips with the vegetable oil and microwave for 20 seconds. Stir the mixture, then continue heating in 15-second intervals, stirring until it’s completely smooth and melted.
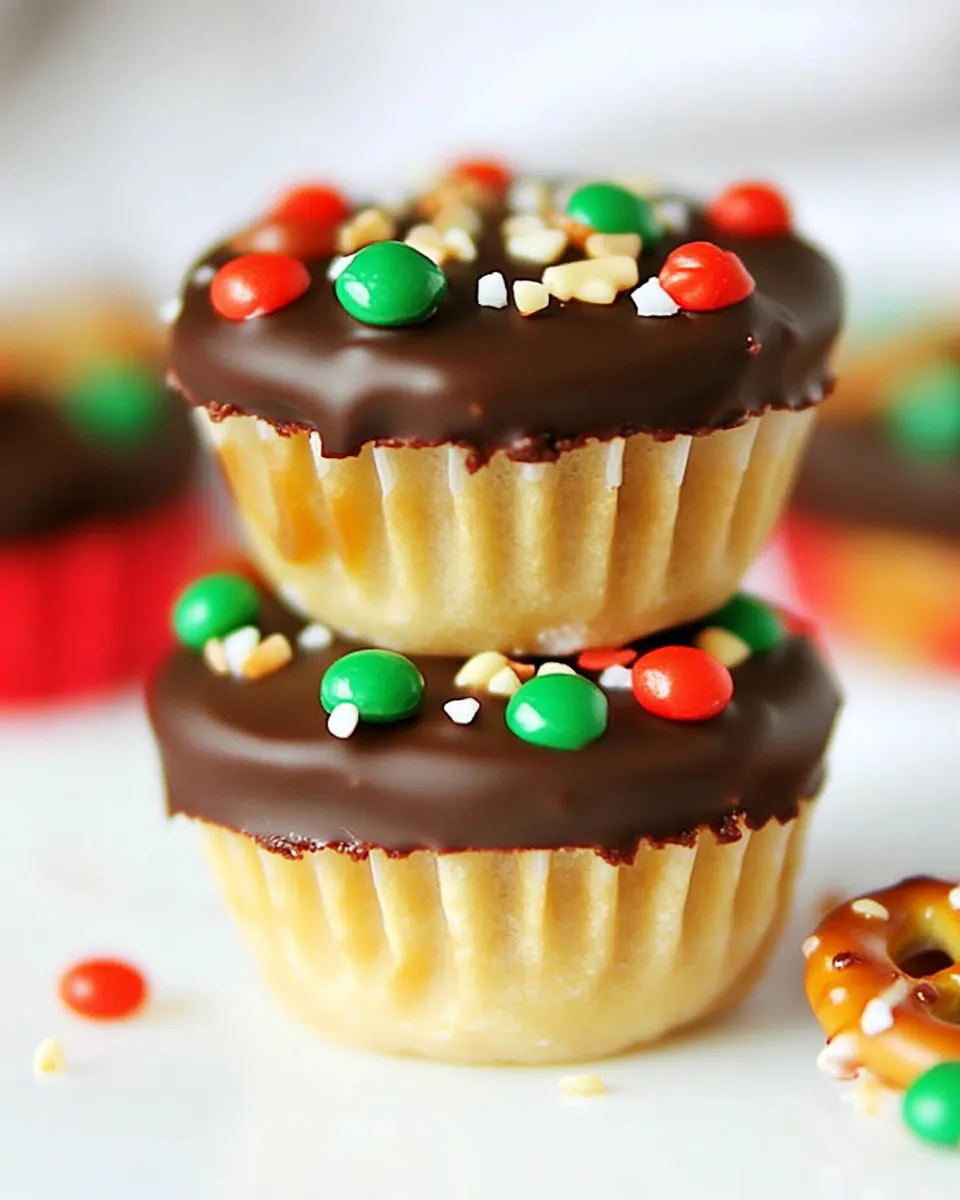
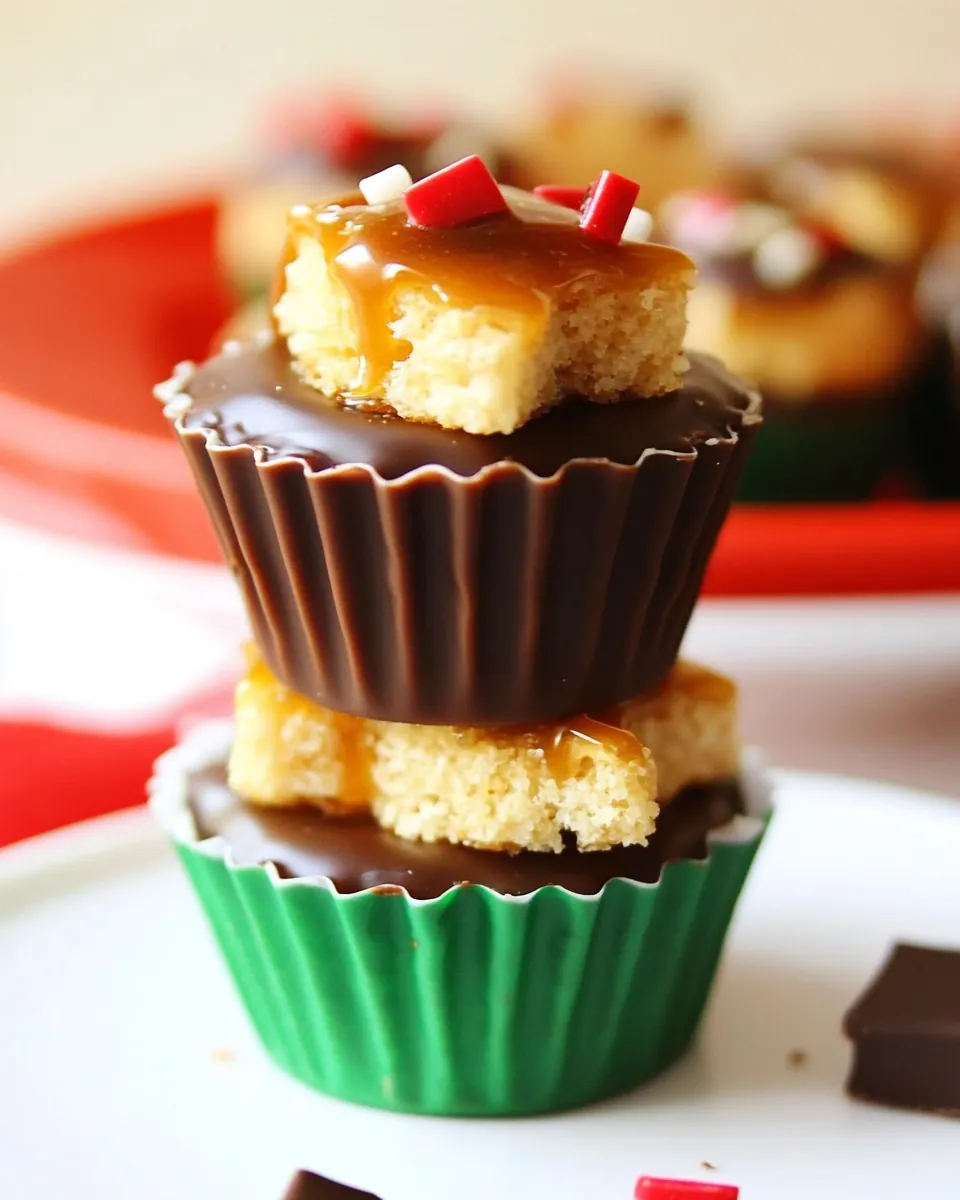
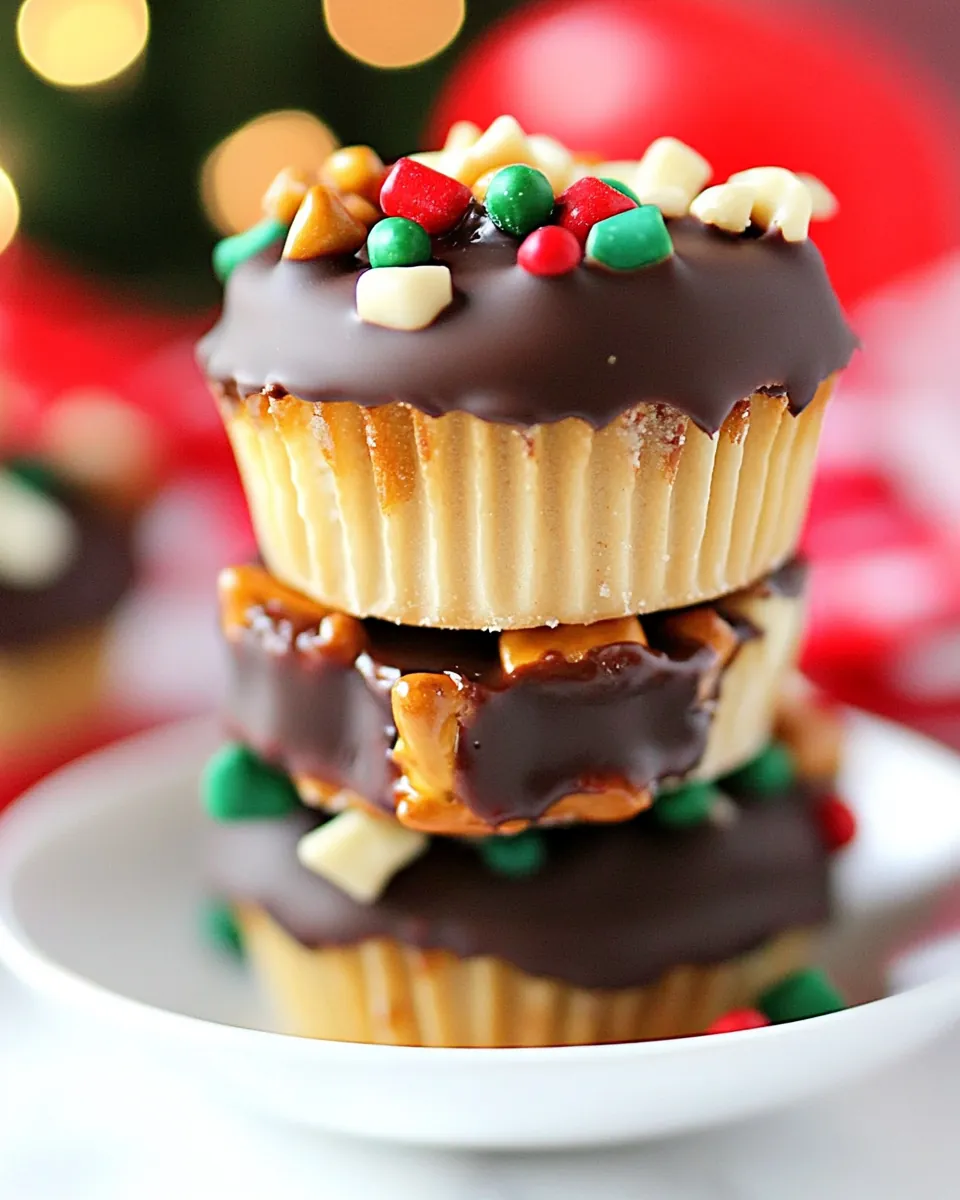
- Using a spoon, divide the melted chocolate evenly among all the cups, pouring it over the set caramel layer. Get creative with toppings if you like—add festive sprinkles, chopped nuts, or shredded coconut for a fun touch!
- Let the cups sit at room temperature for at least 1 hour to set. This is the hardest part—waiting! But trust me, once they’re set, the flavor and texture will be worth the wait.
- Once set, carefully peel the liners off the cups, and serve them to family and friends. Enjoy the delightful combinations of flavors and textures!
- Store any leftovers in an airtight container at room temperature for up to a week, if they last that long!
Things Worth Knowing
- When crushing pretzels, aim for a coarse texture. This allows for better adherence to the caramel layer.
- Allow the caramel to cool slightly before adding it to the pretzels to prevent it from becoming too runny.
- For a fancier presentation, consider drizzling some extra melted chocolate over the top before adding any decorations.
- If you’re making these for a special occasion, try using colored liners that match the theme!
Substitutions and Tips
Making the Chocolate Caramel Pretzel Cups is a rewarding experience, and there are plenty of tips to help you along the way! Here are some ideas to keep in mind as you prepare:
- Storage: Keep the cups in an airtight container at room temperature to ensure they remain fresh. If storing for longer periods, consider refrigeration to extend their shelf life.
- Freezing: You can freeze the unwrapped cups for up to a month. Just make sure to let them thaw at room temperature before serving.
- Variations: Feel free to switch up the toppings! Use crushed candies, nuts, or even drizzle caramel or chocolate on top for added flair.
- Presentation: For special occasions, consider using decorative cupcake liners or placing the cups in a beautiful gift box.
- Leftovers: If you have leftover chocolate, you can temper it and make chocolate-covered pretzels for another treat!
Serving Suggestions
When it comes to serving your Chocolate Caramel Pretzel Cups, there’s no shortage of delightful ideas! Here are some ways to make the most of these treats:
- Sweet Snack: Serve them as a sweet afternoon snack with a glass of milk or a cup of tea.
- Party Treat: They make perfect finger foods for parties, and they will definitely be a crowd-pleaser!
- Gifts: Package them in a nice box and give them as gifts for birthdays, holidays, or any special occasion.
- Movie Night: Pair these cups with popcorn for a fun movie night at home—who can resist sweet and salty together?
- Holiday Dessert: They are great for festive occasions, especially when decorated with seasonal sprinkles!
FAQ
Conclusion
The Chocolate Caramel Pretzel Cups are a unique blend of flavors and textures that create an irresistible dessert. With their crunchy base, gooey caramel, and rich chocolate topping, they’re sure to become a favorite in your household. I encourage you to try making them soon; they’ll not only satisfy your sweet tooth but also impress your family and friends!
Chocolate Caramel Pretzel Cups
Ingredients
Equipment
Method
- Line a mini cupcake pan with liners. If you're using pretty paper liners, consider spraying them very lightly with cooking spray. This simple step will help prevent the caramel from sticking to the liners, ensuring your cups come out easily.
- In a Ziploc bag, crush the pretzel sticks using a rolling pin, or place them in a small food processor and pulse a few times. Be careful not to pulverize them into dust; you want them crushed enough to hold together but still have some texture. Once done, place about 1 teaspoon of the crushed pretzels into each liner.
- Now let’s create the caramel layer. In a heat-proof bowl, place the unsalted butter and microwave for about 30 seconds. Note that it may not fully melt; that’s okay! Add in the granulated sugar, brown sugar, corn syrup, and sweetened condensed milk. Stir the mixture well to combine.
- Microwave the mixture for a total of 3 minutes, stopping to stir every 45 seconds. This will ensure the ingredients meld well together without burning. After the final stir, pour about 2 to 3 teaspoons of the warm caramel over the pretzel layer in each cup.
- Next, let’s make the chocolate topping. In another heat-proof bowl, combine the semi-sweet chocolate chips with the vegetable oil and microwave for 20 seconds. Stir the mixture, then continue heating in 15-second intervals, stirring until it's completely smooth and melted.
- Using a spoon, divide the melted chocolate evenly among all the cups, pouring it over the set caramel layer. Get creative with toppings if you like—add festive sprinkles, chopped nuts, or shredded coconut for a fun touch!
- Let the cups sit at room temperature for at least 1 hour to set. This is the hardest part—waiting! But trust me, once they’re set, the flavor and texture will be worth the wait.
- Once set, carefully peel the liners off the cups, and serve them to family and friends. Enjoy the delightful combinations of flavors and textures!
- Store any leftovers in an airtight container at room temperature for up to a week, if they last that long!