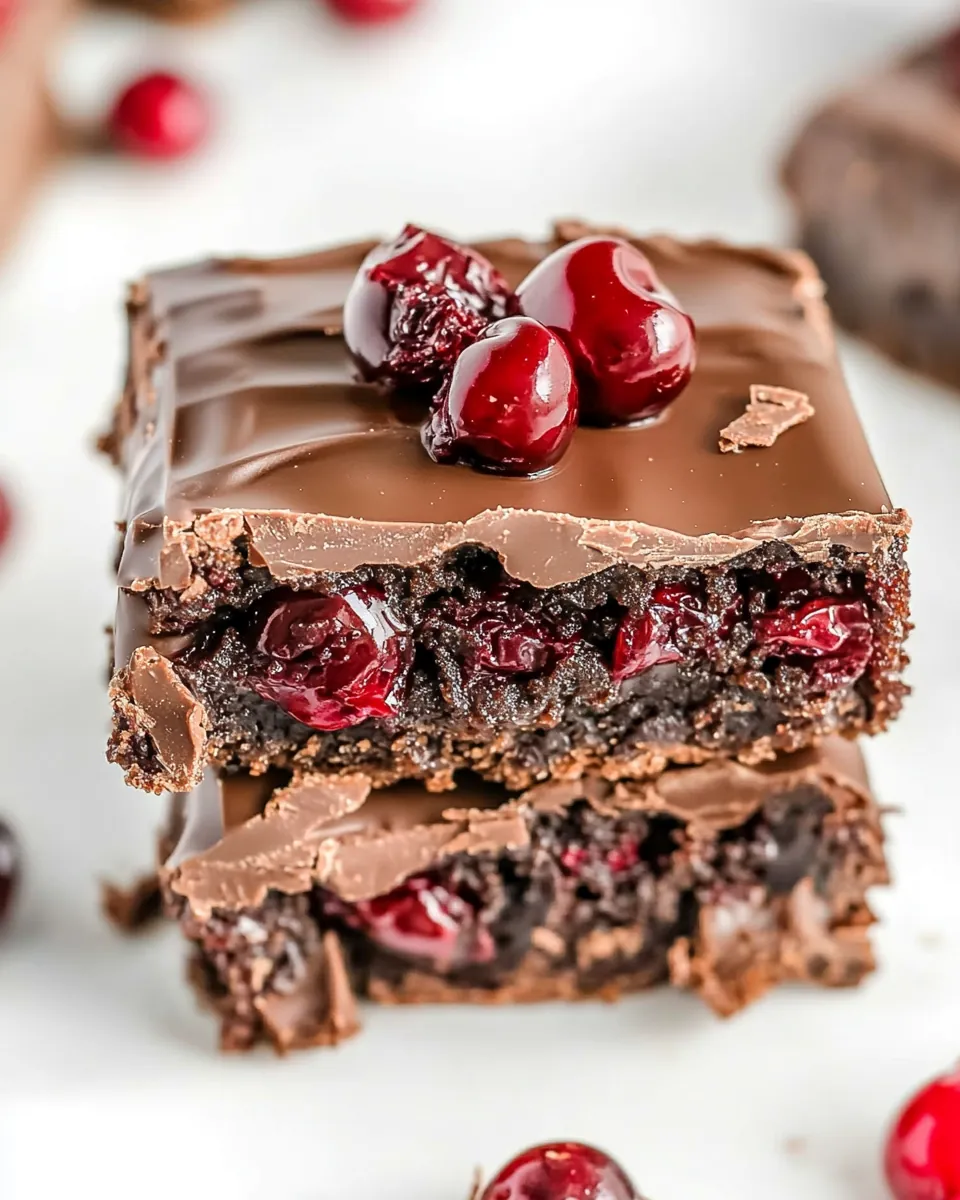
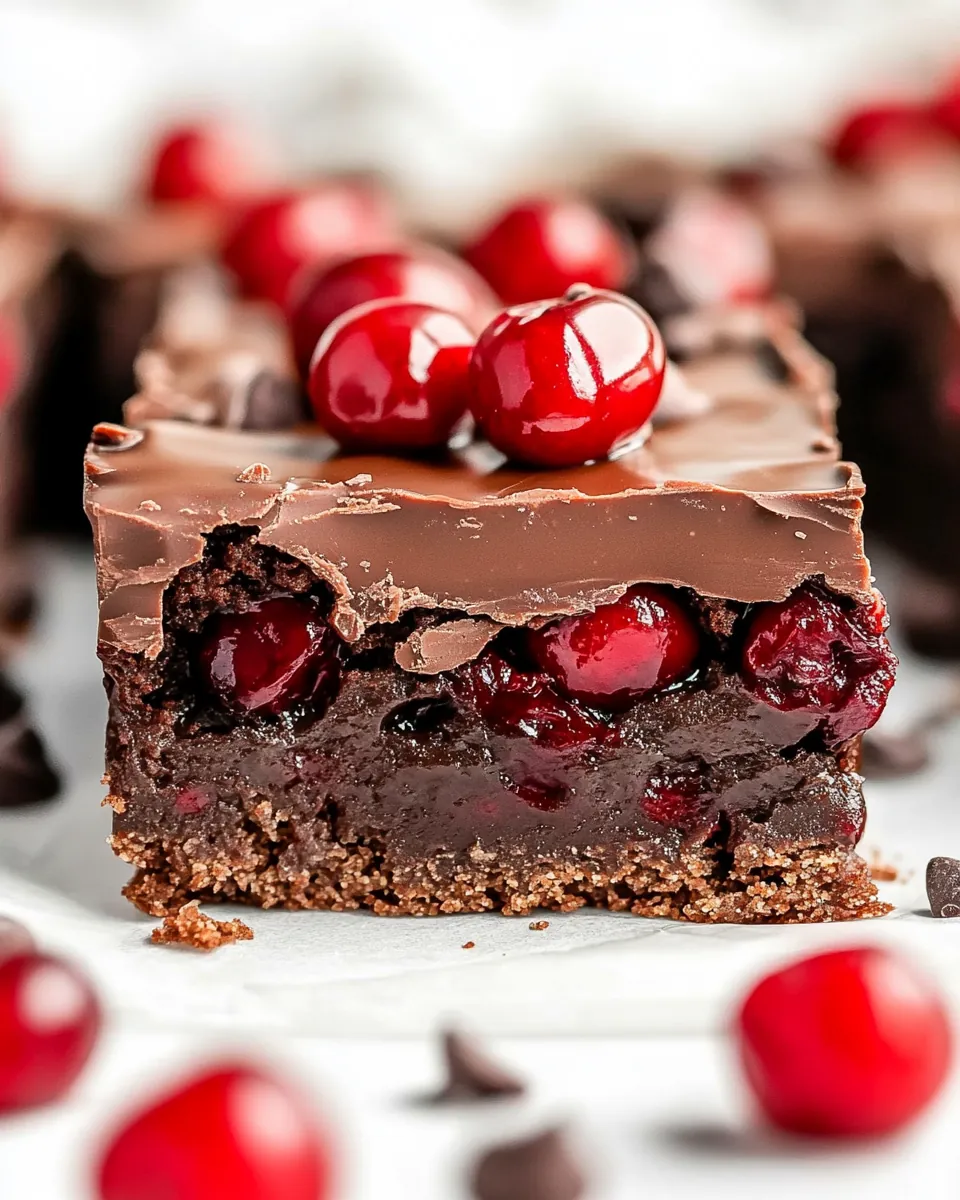
Chocolate Cherry Bars
There’s something truly special about a batch of Chocolate Cherry Bars baking in the oven. I remember the first time I made these delicious treats; it was a rainy afternoon, and the house filled with the irresistible aroma of chocolate mingling with sweet cherries. As a kid, I always looked forward to my mom whipping up something special when the weather turned gray, and these bars quickly became a family favorite. The combination of rich chocolate and tart cherry is simply divine!
Recipe Snapshot
45 mins
15 mins
30 mins
Medium
280 kcal
3g g
Keto, Paleo, Whole30
12g g
Large Pot, Oven, Baking Sheet, Frying Pan, Wooden Spoon, Mixing Bowl
The Charm of This Chocolate Cherry Bars
Irresistible Flavor Combination
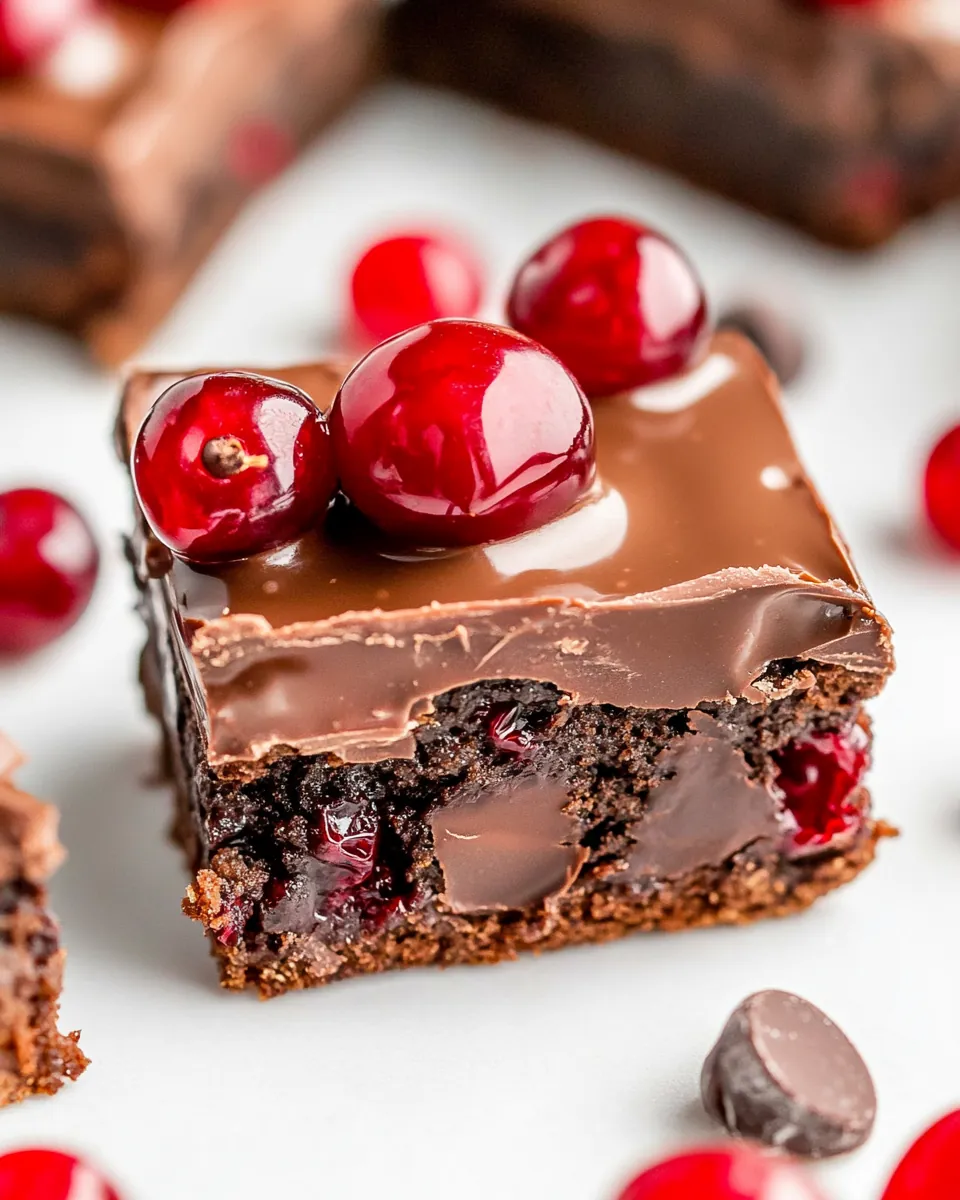
The balance of rich chocolate and tart cherry in Chocolate Cherry Bars creates an explosion of flavor that’s hard to resist. The sweetness of the cherry pie filling complements the deep chocolate notes beautifully, making every bite a delightful experience.
Easy to Make
Even if you’re not a baking pro, you’ll find that these bars are incredibly easy to make. Just mix the ingredients, pour into a pan, and let the oven do the magic. In about an hour, you can have a scrumptious dessert that looks and tastes like it came from a bakery.
Perfect for Any Occasion
Whether it’s a family gathering, a potluck, or just a cozy night in, Chocolate Cherry Bars are perfect for any occasion. They’re a hit at parties and will satisfy any sweet tooth. Plus, they’re easy to cut into squares, making them perfect for sharing.
Great for Leftovers
These bars keep surprisingly well, and their flavors only seem to deepen with time. You can enjoy them for days after baking, which makes them an excellent option for meal prep or snacks during the week.
Irresistible Icing
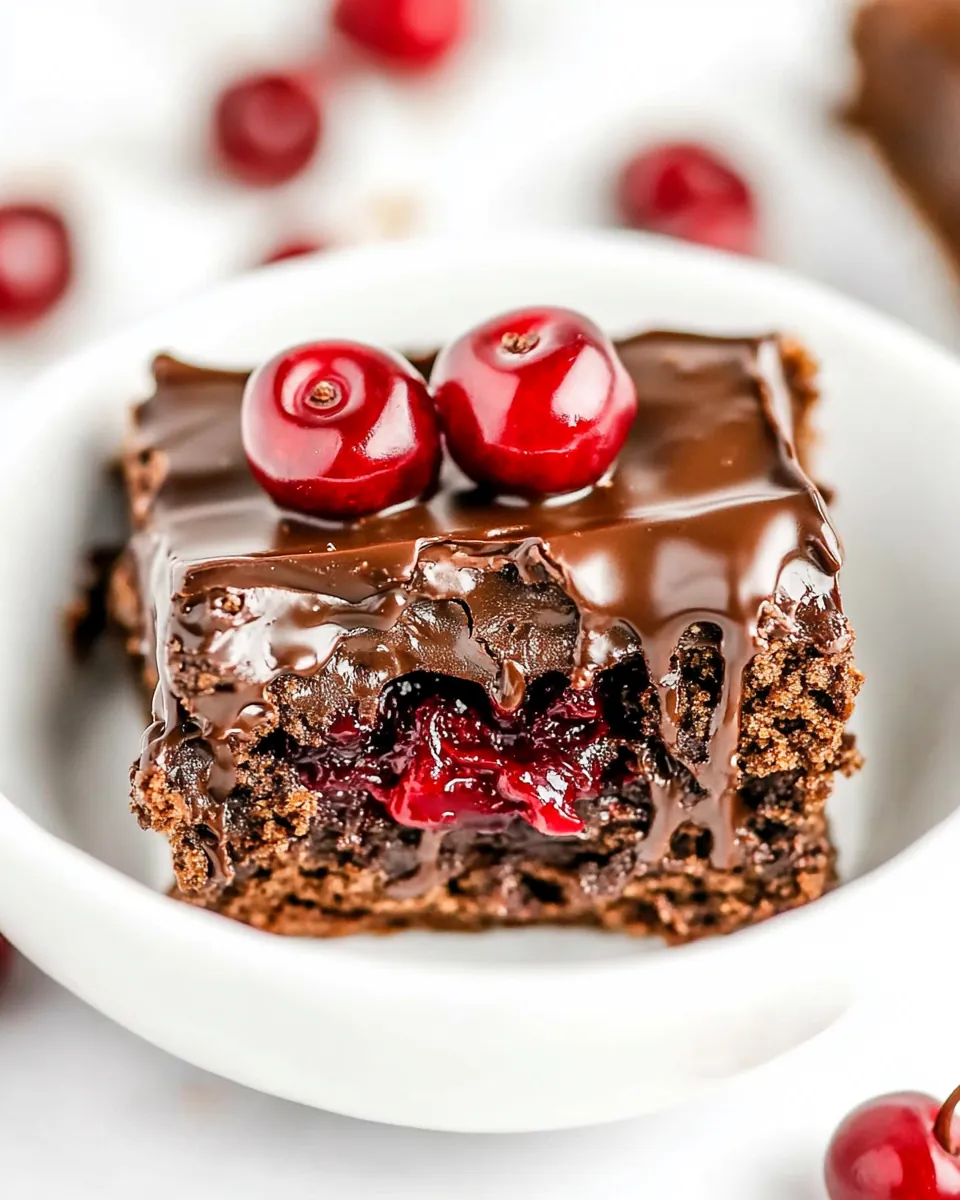
The rich icing made from butter, sugar, and chocolate chips adds an extra layer of decadence to the Chocolate Cherry Bars. It’s the final touch that elevates these bars from ordinary to extraordinary!
What Goes Into Chocolate Cherry Bars
The ingredients for Chocolate Cherry Bars are simple yet powerful. Each ingredient plays a vital role in creating that perfect balance of flavors and texture. The star ingredients—chocolate cake mix and cherry pie filling—combine beautifully to give these bars their signature taste. Let’s break down what you need!
- 15.25 ounces Devil’s Food cake mix: This rich cake mix is the foundation of the bars, providing a deep chocolate flavor and moist texture.
- 21 ounces cherry pie filling: The sweet and tart cherry filling adds a burst of flavor and moisture that complements the chocolate perfectly.
- 1 teaspoon almond extract: This adds a subtle nutty depth to the bars, enhancing the overall flavor profile.
- 2 eggs: Beaten eggs help bind the ingredients together and contribute to the rich texture of the bars.
- 2 cups sugar: Sweetness is key in any dessert, and this sugar helps balance the tartness of the cherries.
- 8 tablespoons butter: Melted butter gives the bars a rich, moist texture and enhances the flavor.
- ½ cup milk: Milk adds moisture and helps achieve the right consistency for the batter.
- 1 ¼ cups semi-sweet chocolate chips: These are sprinkled on top of the bars and melted into the icing, providing an extra layer of chocolatey goodness.
Cooking Instructions for Chocolate Cherry Bars
Making Chocolate Cherry Bars is a breeze! Follow these simple steps, and you’ll have a delicious treat ready in no time. Let’s dive into the process.
- Preheat your oven to 350 degrees Fahrenheit. This ensures that your Chocolate Cherry Bars bake evenly.
- Grease and flour a 15″ x 10″ jelly roll pan. This step is essential to prevent the bars from sticking and to make cutting them easier later on.
- In a large mixing bowl, combine the Devil’s Food cake mix, cherry pie filling, almond extract, and beaten eggs. Use a stand mixer or an electric mixer to mix until everything is fully incorporated. You want a smooth batter without lumps.
- Pour the batter into the prepared pan, spreading it out evenly with a spatula. This helps ensure that all parts of the bars bake uniformly.
- Place the pan in the oven and bake at 350 degrees Fahrenheit for 20 to 30 minutes. Start checking for doneness around the 20-minute mark by inserting a toothpick into the center. If it comes out clean, your bars are ready!
- As soon as you take the bars out of the oven, prepare the icing. In a saucepan, combine sugar, butter, and milk. Bring it to a boil for one minute. This will create a rich, creamy icing.
- After boiling, remove the saucepan from heat and stir in the semi-sweet chocolate chips. Mix until the chips are completely melted and the icing is smooth.
- Spread the icing over the warm bars, allowing it to melt slightly into the batter for extra flavor. This step is crucial for getting that delicious chocolate topping.
- Let the bars cool completely in the pan before attempting to cut them. It’s important for the icing to harden slightly, making it easier to slice.
- Once cooled, cut into squares and serve! Enjoy your homemade Chocolate Cherry Bars as a delightful dessert or snack.
Things Worth Knowing
- Don’t overmix: When combining the ingredients, mix just until combined to avoid tough bars.
- Check doneness carefully: Ovens can vary, so keep an eye on your Chocolate Cherry Bars to avoid overbaking.
- Cool completely: Ensure the bars are fully cooled before icing to prevent the icing from melting off.
- Use high-quality chocolate: The flavor of the chocolate chips can significantly affect the overall taste of your bars.
Substitutions and Tips
While the original recipe for Chocolate Cherry Bars is fantastic, here are some helpful tips and substitutions to consider.
- Storage: To store leftovers, make sure the bars are completely cooled to room temperature. Cover them tightly with the pan cover or wrap in plastic wrap or foil to keep them fresh.
- Freezing: These bars can be frozen for longer storage. Just cut them into squares and wrap each piece individually before placing them in a freezer bag.
- Pairing: These bars go wonderfully with a scoop of vanilla ice cream or a dollop of whipped cream to balance the richness.
- Variations: Feel free to experiment with different pie fillings, like blueberry or raspberry, to create unique flavor combinations.
- Serving size: Adjust the size of the bars depending on your occasion. You can cut them smaller for gatherings or larger for a more indulgent treat.
Accompaniments for Chocolate Cherry Bars
When it comes to serving Chocolate Cherry Bars, there are endless possibilities to make them even more delightful.
- Pair with ice cream: Serve warm bars with a scoop of vanilla ice cream for an indulgent dessert.
- Perfect for gatherings: These bars are ideal for potlucks, birthdays, or any casual get-together; they’re easy to transport and share.
- A warm dessert: These bars can be served warm right out of the oven for a cozy treat on a chilly day.
- Seasonal touch: In the summer, pair them with fresh berries for a fruity contrast; in the winter, consider adding a sprinkle of cinnamon for warmth.
- Storing leftovers: Make sure to store any leftovers in an airtight container at room temperature for up to three days.
FAQ
Conclusion
In summary, Chocolate Cherry Bars are a delightful treat that perfectly balances rich chocolate and sweet cherries. They’re easy to make and can brighten up any occasion, from casual family dinners to special celebrations. I encourage you to give this recipe a try and enjoy the delicious flavor and texture of these bars. You won’t regret it!
Chocolate Cherry Bars
Ingredients
Equipment
Method
- Preheat your oven to 350 degrees Fahrenheit. This ensures that your Chocolate Cherry Bars bake evenly.
- Grease and flour a 15" x 10" jelly roll pan. This step is essential to prevent the bars from sticking and to make cutting them easier later on.
- In a large mixing bowl, combine the Devil's Food cake mix, cherry pie filling, almond extract, and beaten eggs. Use a stand mixer or an electric mixer to mix until everything is fully incorporated. You want a smooth batter without lumps.
- Pour the batter into the prepared pan, spreading it out evenly with a spatula. This helps ensure that all parts of the bars bake uniformly.
- Place the pan in the oven and bake at 350 degrees Fahrenheit for 20 to 30 minutes. Start checking for doneness around the 20-minute mark by inserting a toothpick into the center. If it comes out clean, your bars are ready!
- As soon as you take the bars out of the oven, prepare the icing. In a saucepan, combine sugar, butter, and milk. Bring it to a boil for one minute. This will create a rich, creamy icing.
- After boiling, remove the saucepan from heat and stir in the semi-sweet chocolate chips. Mix until the chips are completely melted and the icing is smooth.
- Spread the icing over the warm bars, allowing it to melt slightly into the batter for extra flavor. This step is crucial for getting that delicious chocolate topping.
- Let the bars cool completely in the pan before attempting to cut them. It’s important for the icing to harden slightly, making it easier to slice.
- Once cooled, cut into squares and serve! Enjoy your homemade Chocolate Cherry Bars as a delightful dessert or snack.