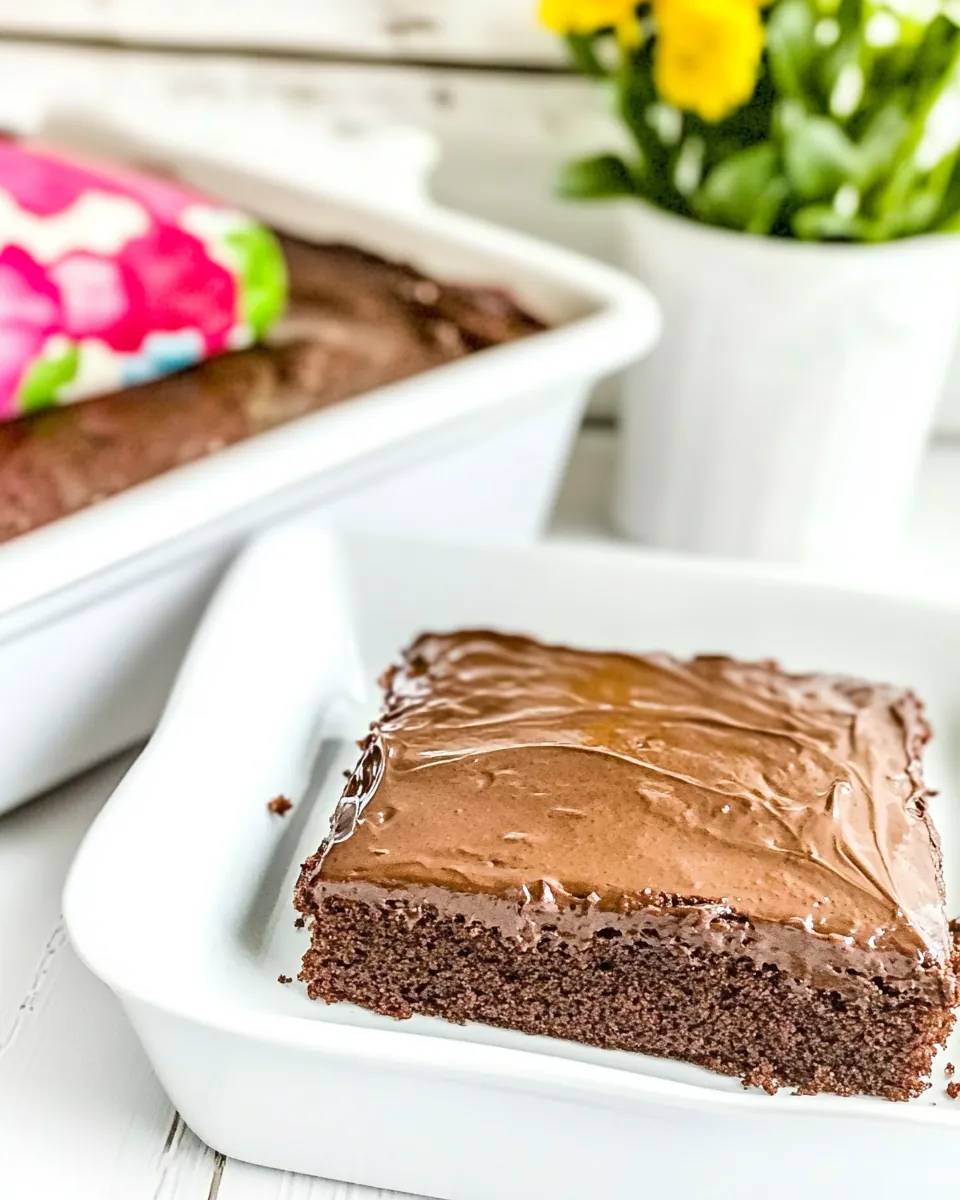
Chocolate Miracle Whip Cake
There’s something truly magical about a cake that combines rich chocolate flavor with the unique creaminess of Miracle Whip. The Chocolate Miracle Whip Cake has a special place in my heart, reminding me of family gatherings filled with laughter and sweet indulgence. One summer afternoon, I decided to surprise my family with this delightful cake. The blend of ingredients seemed unconventional, but I was curious to see how the tangy Miracle Whip would elevate the chocolate experience. To my delight, the cake turned out incredibly moist and flavorful, making it an instant hit. It’s a perfect go-to recipe for any occasion, be it a birthday party, a casual get-together, or just because you want to treat yourself to something extraordinary.
Recipe Snapshot
45 mins
15 mins
30 mins
Medium
320 kcal
4 g
Gluten-Free, Low FODMAP
13 g
9×13-inch Cake Pan, Kitchen-Aid Mixer, Hand Mixer
Why You Need This Chocolate Miracle Whip Cake
Unexpected Moisture
The use of Miracle Whip in the Chocolate Miracle Whip Cake is what truly sets it apart. Unlike traditional cakes that rely solely on butter or oil, this cake gets an extra boost of moisture and richness. The result is a cake that remains tender and fluffy for days, making it perfect for those who love to enjoy their treats over time.
Easy to Make
One of the best aspects of this cake is how easy it is to prepare. With just a few steps, you can whip it up in no time. There’s no need for complicated techniques or special equipment; all you need is a mixing bowl and a whisk. This simplicity means that even novice bakers can confidently tackle the Chocolate Miracle Whip Cake without fear of failure.
Versatile Frosting Options
While the cake itself is delicious on its own, the frosting options are what make it truly versatile. Whether you prefer a classic cream cheese frosting or a decadent chocolate ganache, the Chocolate Miracle Whip Cake can accommodate your preferences. You can even experiment with different flavors, like adding a hint of cinnamon or a touch of espresso to the frosting for a unique twist.
Perfect for Any Occasion
This cake is great for birthdays, holidays, or even just a regular Tuesday! Its unique flavor profile makes it an excellent conversation starter at gatherings. Plus, who can resist a slice of chocolate cake? No matter the occasion, the Chocolate Miracle Whip Cake is sure to impress.
Great for Leftovers
One of the best things about this cake is that it keeps exceptionally well. Whether you store it in the fridge or at room temperature, it maintains its deliciousness for several days. This makes it perfect for those of us who love to have a sweet treat ready to go whenever the craving strikes.
What Goes Into Chocolate Miracle Whip Cake
The magic of the Chocolate Miracle Whip Cake lies in its simple yet flavorful ingredients. Each component plays a crucial role in creating the perfect balance of taste and texture. The key players, like sugar and flour, provide the foundation, while Miracle Whip adds a delightful creaminess that you won’t find in traditional cakes. Together, they create a harmonious blend that results in a moist and delicious dessert.
- 1 cup sugar: Essential for sweetness, it creates a balanced flavor profile that complements the richness of the cake.
- 1 cup Miracle Whip: This unexpected ingredient replaces the need for additional fat, ensuring the cake remains moist and tender.
- 1 cup water: Helps to blend the ingredients smoothly and adds moisture to the batter.
- 1 tsp vanilla: A classic flavor that enhances the overall taste of the cake.
- 2 cups all-purpose flour: The backbone of any cake, it provides structure and helps the cake rise.
- 2 tsp baking soda: This leavening agent is crucial for giving the cake its fluffy texture.
- ¼ cup cocoa powder: Adds the rich chocolate flavor that makes this cake so irresistible.
- 4 oz cream cheese, softened: Key for frosting, it adds creaminess and tang to the sweet topping.
- ¼ cup butter, softened: Contributes to the creamy texture of the frosting.
- 1 tsp vanilla extract: Reinforces the vanilla flavor in the frosting.
- 1 (16 oz) package powdered sugar: The primary sweetener for the frosting, making it smooth and sweet.
- ¼ cup unsweetened cocoa: Deepens the chocolate flavor in the frosting.
- 3 tbsp heavy cream: For a luscious consistency in the frosting, enhancing its creaminess.
How to Prepare Chocolate Miracle Whip Cake
Making the Chocolate Miracle Whip Cake is straightforward and fun! With just a few simple steps, you’ll have a delicious cake ready to enjoy. Let’s dive into the process and make some baking magic happen.
Preheat your oven to 350ºF. This step is crucial to ensure even baking. While the oven is heating, grab your 9×13-inch cake pan and grease it with a bit of butter or cooking spray and then dust it lightly with flour. This will prevent the cake from sticking and make for easier removal once it’s baked.
In a large mixing bowl, combine sugar, Miracle Whip, water, and vanilla. Use a whisk to blend these ingredients together until they are well combined and smooth. The Miracle Whip will give the mixture a unique texture that you’ll love.
Next, add in the all-purpose flour, baking soda, and cocoa powder to the wet mixture. Stir gently until everything is just combined. Be careful not to overmix, as this can lead to a denser cake.
Pour the batter into the prepared cake pan, spreading it evenly with a spatula. Make sure to tap the pan lightly on the counter to release any air bubbles that may have formed in the batter.
Place the cake pan in the preheated oven and bake for 30 to 35 minutes. To check for doneness, insert a wooden pick into the center of the cake. If it comes out clean, your cake is ready!
Once baked, remove the cake from the oven and let it cool in the pan for about 10 minutes. Then transfer it to a wire rack to cool completely, which should take around 1 hour. This cooling step is important to ensure a beautifully set cake that’s easy to frost.
While your cake is cooling, it’s time to prepare the frosting. In a mixing bowl, beat together the softened cream cheese, butter, and vanilla using a hand mixer on medium speed until creamy. You want it to be light and fluffy.
Gradually add the powdered sugar and cocoa powder, alternating with the heavy cream, while mixing on low speed. This will help prevent a sugar cloud from forming. Once everything is combined, increase the mixer speed to medium and beat for 1 to 2 minutes until the frosting is fluffy.
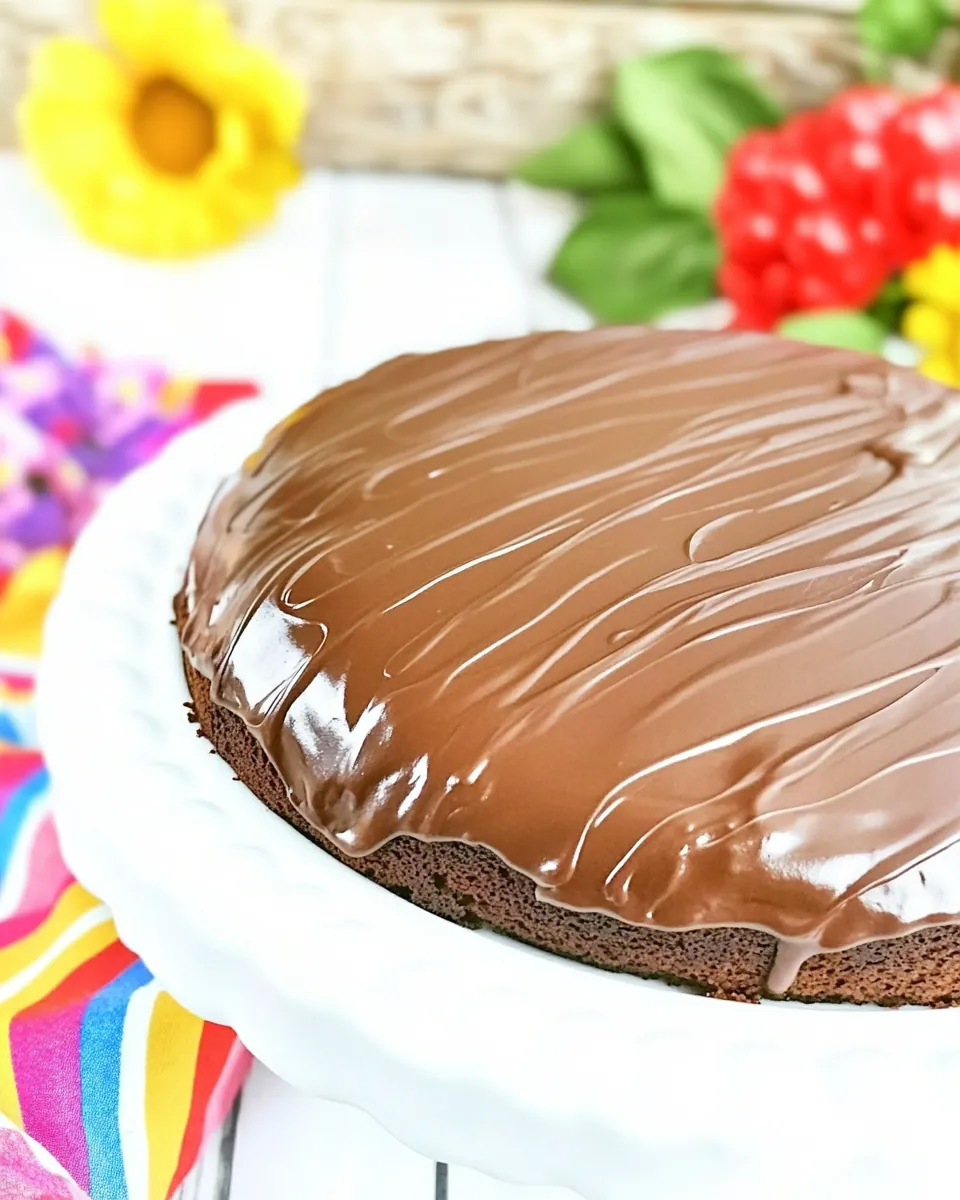
Spread the delicious frosting over the cooled cake. Make sure to cover the entire top for an indulgent experience! If desired, you can also add chocolate chips on top for an extra touch of chocolatey goodness.
Things Worth Knowing
- Room Temperature Ingredients: It’s essential for your butter and cream cheese to be at room temperature before making the frosting. This ensures they mix together smoothly, resulting in a creamy texture.
- Don’t Overmix: When combining your dry and wet ingredients, be careful not to overmix. This can lead to a denser cake rather than a light and fluffy one.
- Oven Thermometer: If you’re concerned about your cake baking evenly, consider using an oven thermometer. This will help ensure that your oven is at the correct temperature.
- Cooling Time: Allow your cake to cool completely before frosting; this is critical. If the cake is warm, the frosting will melt and slide off.
- Frosting Variations: Feel free to experiment with different flavors in your frosting. You can add a splash of espresso or even some orange zest for a unique twist!
Variations to Try
There are many exciting ways to switch up the Chocolate Miracle Whip Cake. Here are some tasty variations to consider when baking this delightful treat.
- Storage: To store any leftovers, tightly cover the cake with plastic wrap or place it in an airtight container. This will help keep it fresh for up to five days in the refrigerator.
- Freezing: You can freeze the whole cake or individual slices! Just wrap it tightly in plastic wrap, then aluminum foil, and store it in the freezer. Let it sit at room temperature for about 30 minutes before serving.
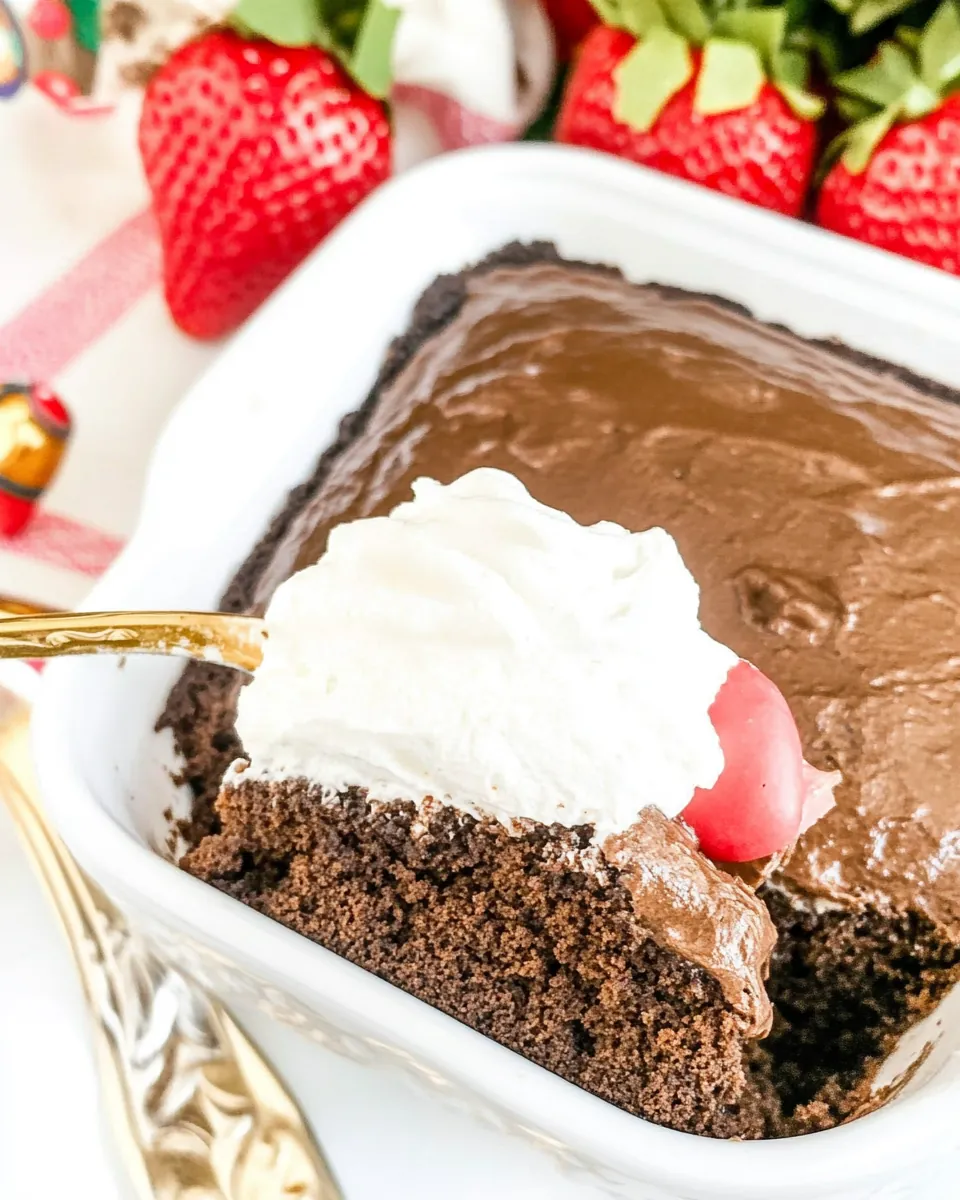
- Pairing: Serve the cake with a scoop of vanilla ice cream or a dollop of whipped cream for an extra special treat.
- Cinnamon Twist: For a hint of spice, consider adding a teaspoon of cinnamon to the batter. It complements the chocolate beautifully!
- Chocolate Chip Addition: You can mix in some chocolate chips into the batter for an extra chocolatey flair.
What to Serve With Chocolate Miracle Whip Cake
Finding the right accompaniments for your Chocolate Miracle Whip Cake can elevate the entire experience. Here are some delightful options to consider:
- Ice Cream: A scoop of vanilla or chocolate ice cream pairs excellently with the cake, adding a creamy contrast to the rich flavors.
- Coffee: Enjoy a slice of cake with a warm cup of coffee or espresso. The bittersweet notes complement the sweetness of the cake beautifully.
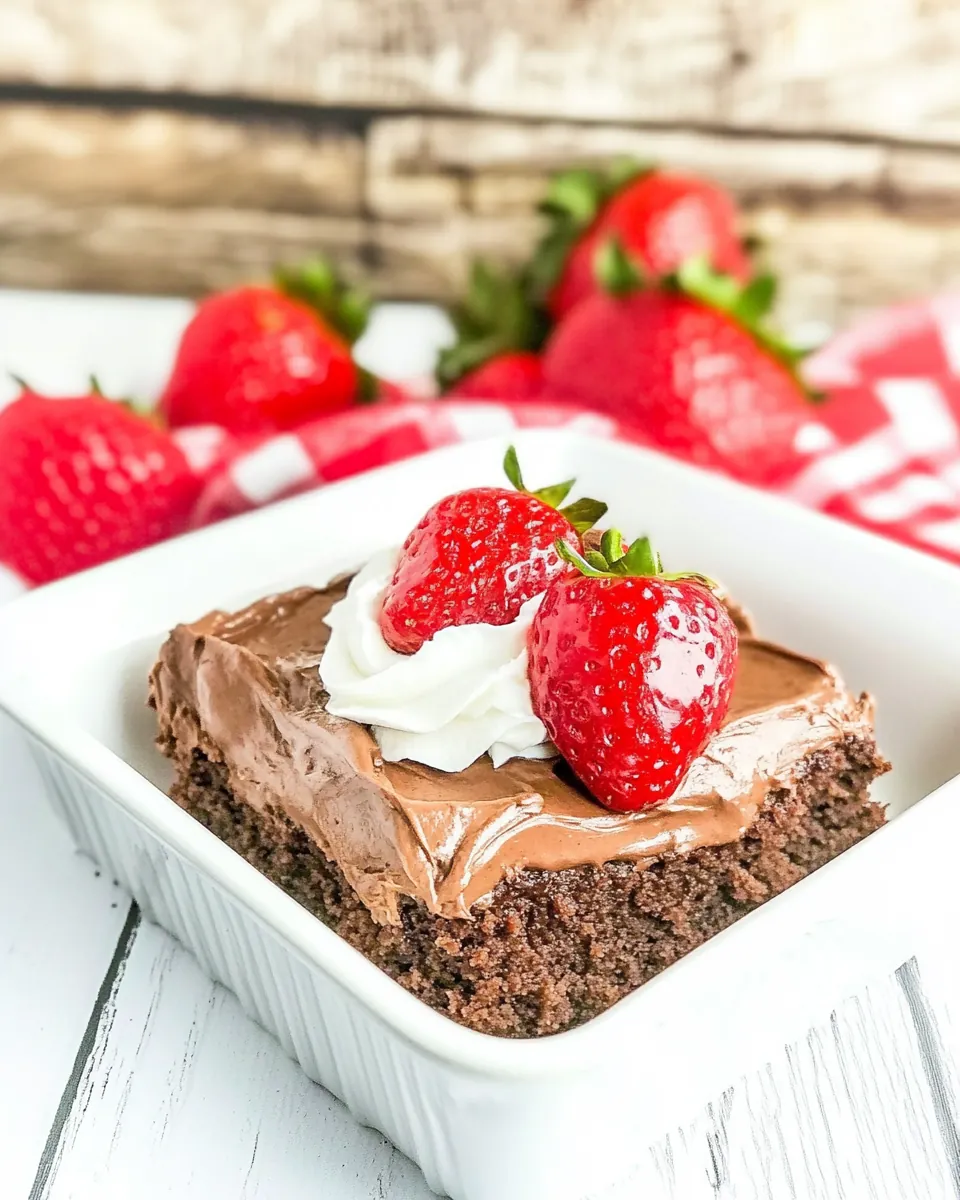
- Fresh Berries: Serve the cake with a side of fresh strawberries or raspberries. The fruity tartness balances the rich chocolate.
- Whipped Cream: A dollop of freshly whipped cream can make your cake feel even more indulgent.
- Seasonal Fruits: Consider pairing the cake with seasonal fruits like peaches or cherries during summer for a refreshing twist.
- For Special Occasions: This cake is perfect for celebrations like birthdays or family gatherings. Its unique flavor is sure to impress your guests!
FAQ
Conclusion
The Chocolate Miracle Whip Cake is a delightful blend of moistness and rich chocolate flavor, making it a standout dessert for any occasion. The unique use of Miracle Whip not only adds creaminess but also enhances the cake’s texture. I encourage you to give this recipe a try—it’s simplicity and deliciousness makes it a dessert you’ll find yourself reaching for time and again!
Chocolate Miracle Whip Cake
Ingredients
Equipment
Method
- Preheat your oven to 350ºF. Grease and flour a 9×13-inch cake pan.
- Whisk together sugar, Miracle Whip, water, and vanilla.
- Add flour, baking soda, and cocoa powder.
- Pour batter into the prepared cake pan.
- Bake at 350° for 30 to 35 minutes or until a wooden pick inserted in center comes out clean.
- Cool completely on a wire rack (about 1 hour).
- Spread with frosting.
- Beat together cream cheese, butter, and vanilla until creamy.
- Gradually add powdered sugar and cocoa powder to butter mixture, alternately with heavy cream.
- Beat until light and fluffy and spread frosting on cooled cake.
Notes
- Refrigerate: I like to refrigerate this cake before serving so the frosting can set.
- Room Temperature: Remove the cake from the refrigerator about 30 minutes to an hour before serving so it can come to room temperature.
- Storage: Store the leftover cake tightly covered with plastic wrap in the refrigerator.
- Counter Storage: If your kitchen isn’t hot, you can store the cake on the counter overnight and it will be just fine.
- Shelf Life: This cake will keep 4 or 5 days in the refrigerator or 2 to 3 days on the counter.
- Freezing: You can freeze the whole cake or individual slices. Just take the cake out of the freezer and let it sit on the counter about 30 minutes before eating.