Christmas Fudge
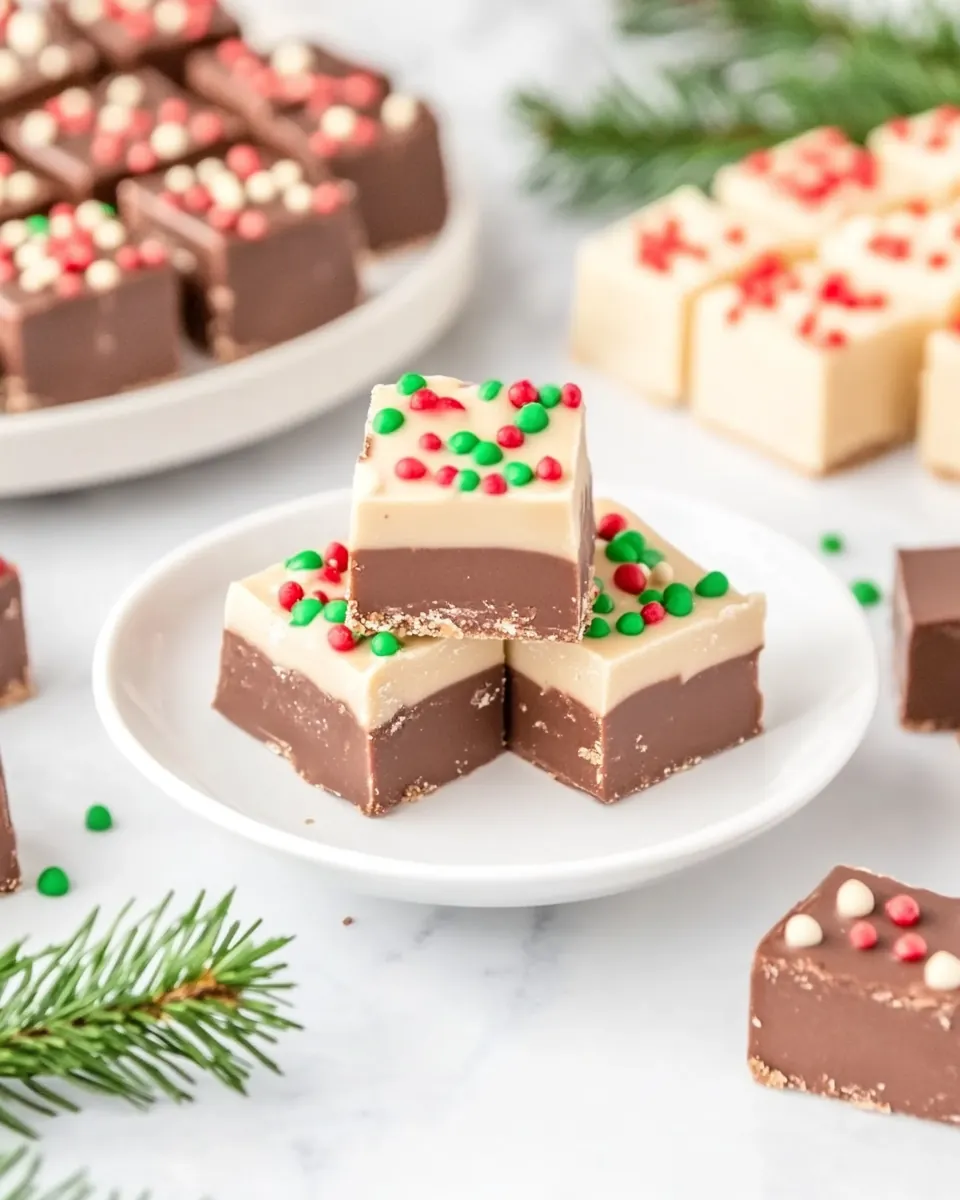
There’s something truly magical about making Christmas Fudge during the holiday season. Every year, I look forward to gathering in the kitchen, surrounded by the tantalizing aromas of chocolate and sweetness. As the cold winter air wraps around our home, we melt the chocolate and mix in colorful sprinkles, creating a festive atmosphere filled with laughter and joy. This isn’t just a recipe; it’s a cherished tradition that brings family and friends together. Whether it’s for gifting or simply indulging, Christmas Fudge is the perfect treat to celebrate the season. The anticipation builds as we wait for the fudge to set, eager to cut it into perfect squares and share with loved ones. It’s a simple yet delightful way to spread holiday cheer.
Recipe Snapshot
10 mins
10 mins
0 mins
Easy
120 kcal
1 g
Keto, Gluten-Free, Low FODMAP
6 g
Parchment Paper, 8×8 baking pan
Why You Need This Christmas Fudge
1. Easy to Make
One of the best things about Christmas Fudge is how incredibly easy it is to make. With just a handful of ingredients and minimal prep, you can whip up a batch in no time. The microwave takes the guesswork out of melting chocolate, making this a stress-free treat even for those new to baking.
2. Customizable Delight
This recipe allows for creativity! You can easily customize the flavors and toppings to your liking. Do you prefer dark chocolate? Swap out the semi-sweet chips for dark chocolate ones. Want a festive touch? Add crushed candy canes or different holiday sprinkles. The possibilities are endless!
3. Perfect for Gift Giving
Homemade treats always make heartfelt gifts, and Christmas Fudge is no exception. Pack it in a pretty box or jar with a ribbon, and you have a perfect present for friends, neighbors, or coworkers. It’s a sweet way to show you care, and everyone loves receiving delicious homemade goodies.
4. Fun for the Whole Family
Making Christmas Fudge is an activity that everyone can enjoy. Kids can help with mixing, pouring, and of course, sprinkling on the toppings. It’s a fantastic way to create lasting memories with your family while enjoying the festive spirit together.
5. A Holiday Staple
Once you start making Christmas Fudge, it will become a holiday staple in your home. Its rich, creamy texture and festive flavors embody the essence of the season. Every bite will remind you of the warmth and joy of the holidays, making it a beloved tradition for years to come.
Christmas Fudge Shopping List
When it comes to making Christmas Fudge, the ingredients are simple yet essential to create that rich, indulgent flavor. Each component plays a vital role in achieving the perfect balance of sweetness and creaminess, making this treat irresistible. Let’s gather the key players that will bring this festive delight to life!
- 7 ounces sweetened condensed milk: This ingredient adds a creamy texture and sweet flavor that’s essential for fudge.
- 1 tablespoon unsalted butter: Adds richness and helps with the smooth texture.
- 1 cup semi-sweet chocolate chips: The main chocolate component that gives the fudge its delicious chocolate flavor.
- 1 teaspoon vanilla extract: Enhances the overall flavor of the fudge.
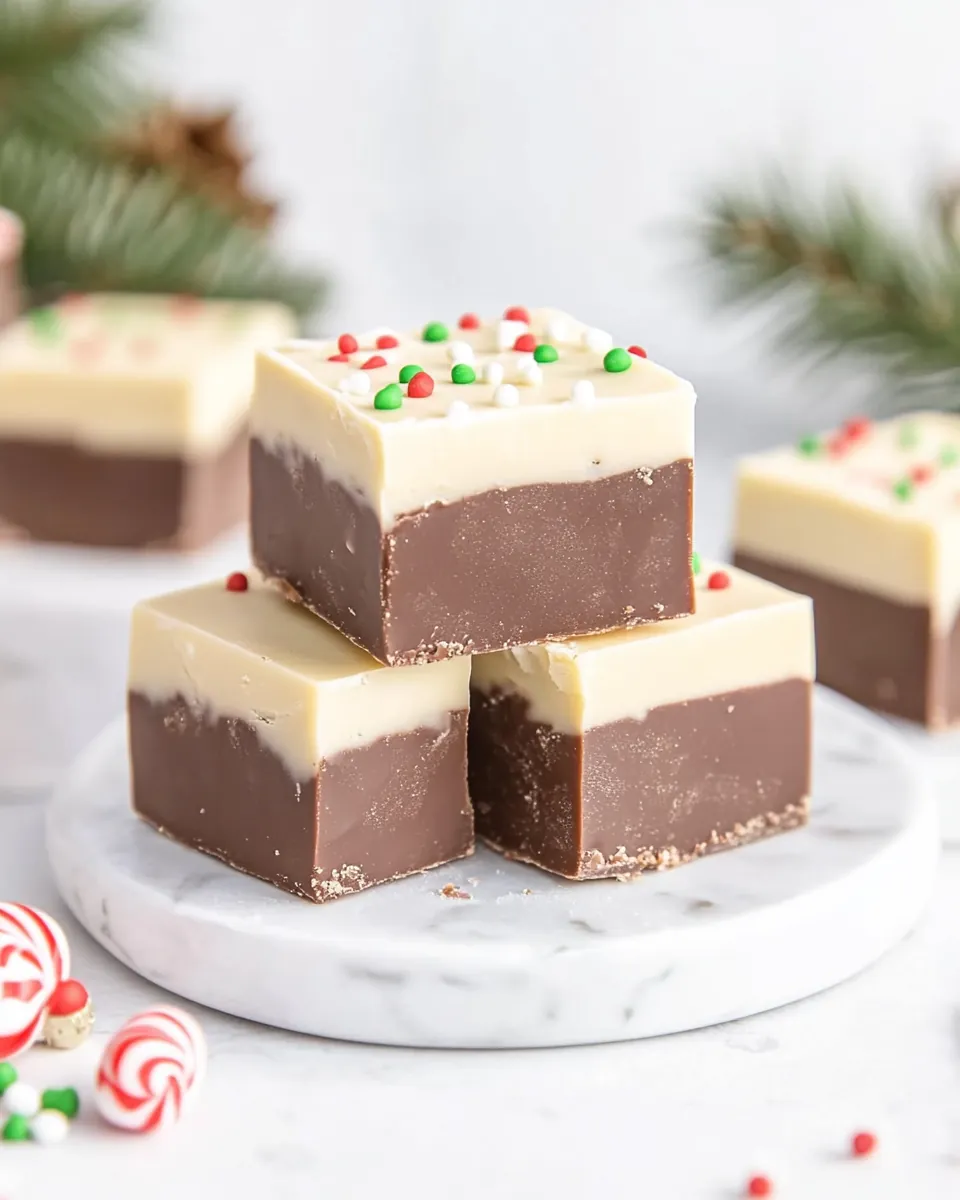
- 1 cup white chocolate chips: Creates a beautiful contrast in flavor and color when layered.
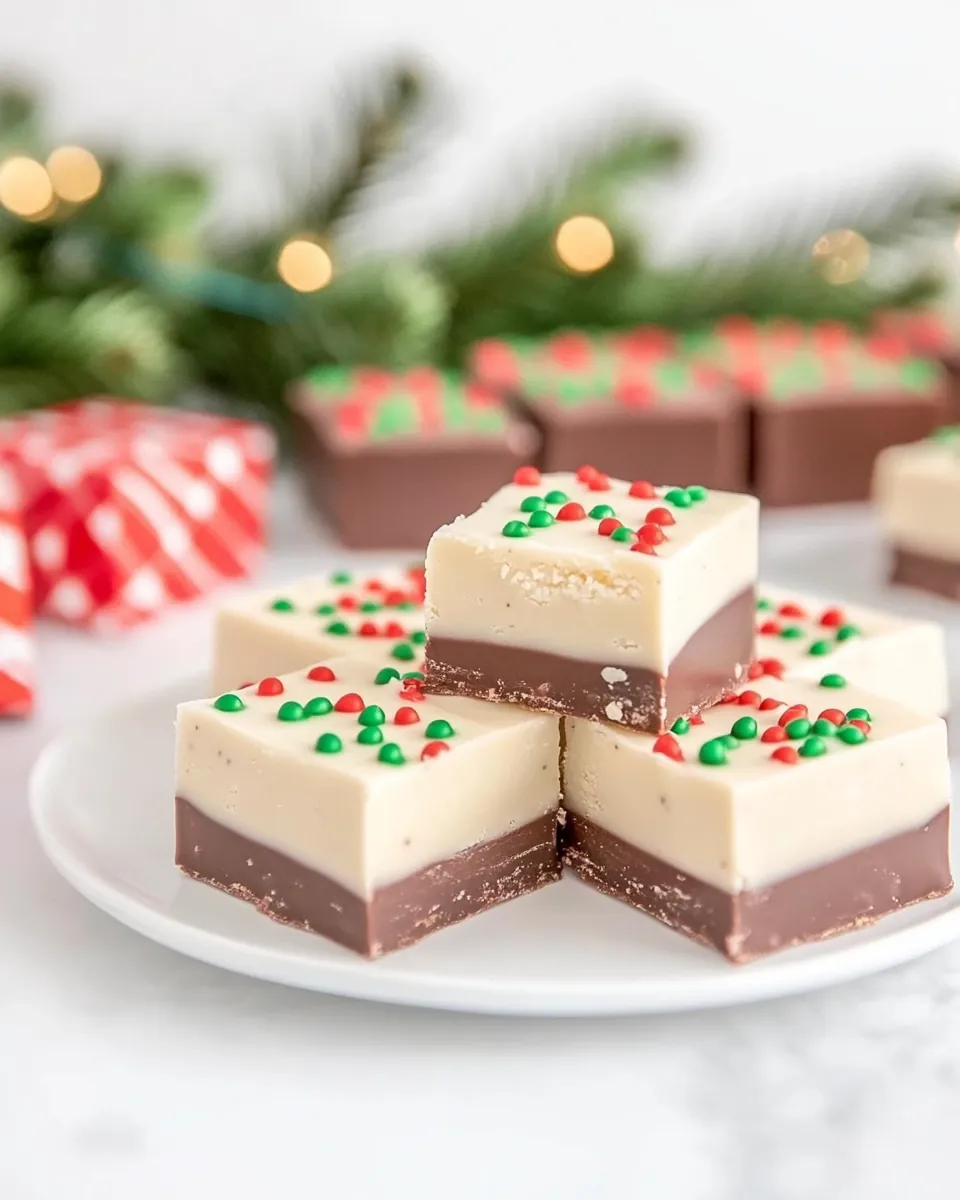
- 2 tablespoons Christmas nonpareils: These festive sprinkles not only add color but also a fun crunch.
Cooking Instructions for Christmas Fudge
Making Christmas Fudge is an enjoyable experience that comes together quickly. You’ll be amazed at how easily these delicious layers form. Let’s walk through the steps to create this holiday treat!
- Line an 8×8 baking pan with parchment paper and set it aside. This prevents the fudge from sticking and makes for easy removal later.
- In a heat-safe medium bowl, place 1 cup semi-sweet chocolate chips, 1 tablespoon unsalted butter, and 7 ounces sweetened condensed milk. Microwave in 30-second increments, stirring in between, until the mixture is fully melted and smooth. The chocolate should be glossy and completely incorporated.
- Once melted, stir in 1 teaspoon vanilla extract for that extra depth of flavor. Mix until fully combined.
- Spread the chocolate mixture evenly into the prepared baking pan using a spatula. It should be level and smooth. Now, allow this layer to chill in the refrigerator for about 15 to 20 minutes, or until the chocolate has set up.
- While the first layer is chilling, prepare the white chocolate layer. In another heat-safe medium bowl, combine 1 cup white chocolate chips, 1 tablespoon unsalted butter, and 7 ounces sweetened condensed milk. Again, microwave in 30-second intervals, stirring in between, until melted and smooth.
- Once melted, stir in an additional 1 teaspoon vanilla extract to enhance the flavor of the white chocolate layer.
- Carefully pour the white chocolate mixture over the set chocolate layer in the baking pan. Use an offset spatula to spread it evenly if needed. Immediately sprinkle 2 tablespoons Christmas nonpareils over the top for a festive look.
- Cover the pan with a lid or plastic wrap and refrigerate until the fudge is completely set, which usually takes 2 to 3 hours. However, I recommend letting it sit overnight for the best texture and flavor.
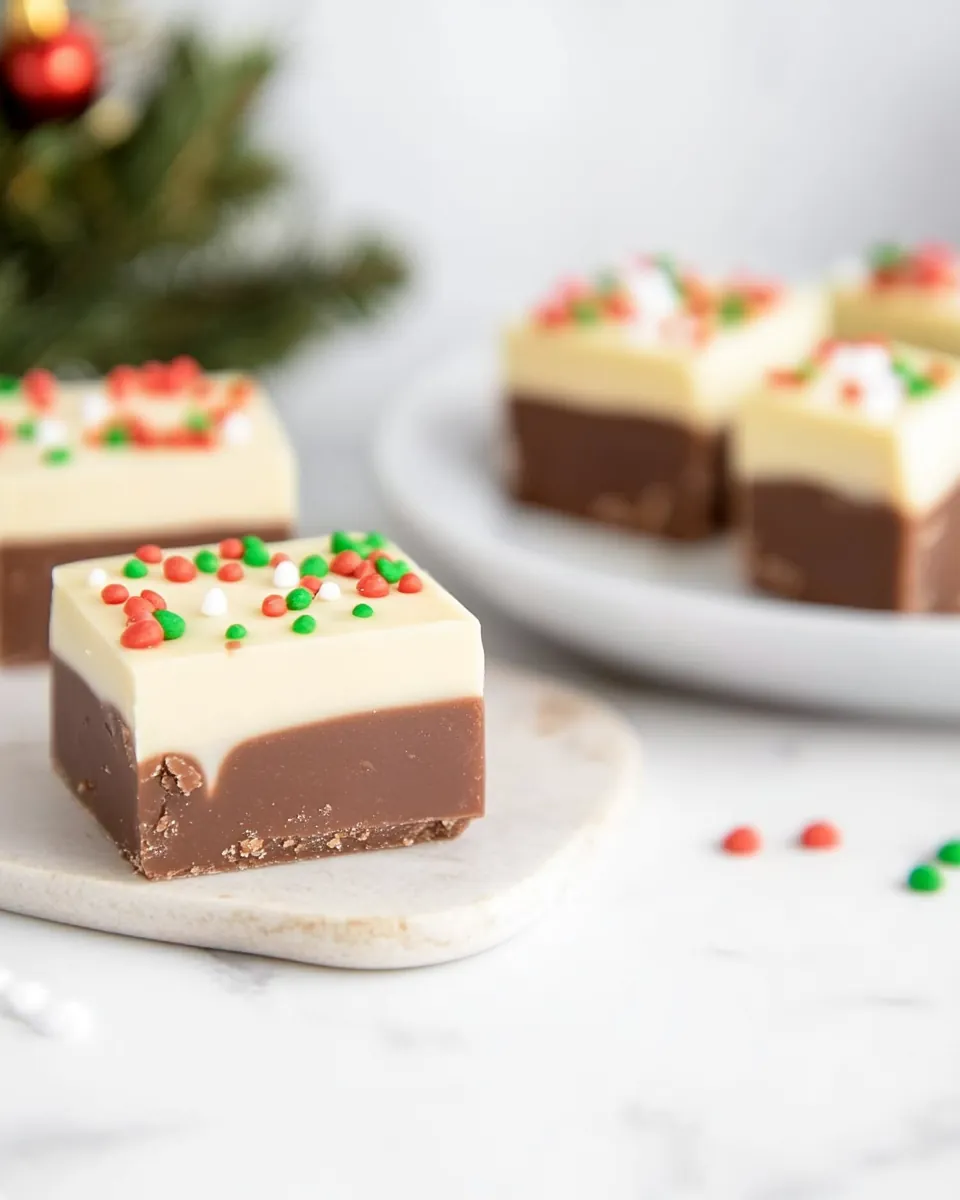
- Once the fudge is set, gently lift it from the pan using the edges of the parchment paper. Cut it into 1-inch squares. Serve and enjoy your homemade Christmas Fudge!
Things Worth Knowing
- Microwave Melting: Always melt chocolate in short intervals to prevent burning. Stir well after each interval to achieve a smooth consistency.
- Chilling Time: For the best results, allow the fudge to chill overnight. This enhances the flavors and ensures a firmer texture.
- Ingredient Quality: Use high-quality chocolate chips for the best flavor. The better the chocolate, the richer your fudge will be.
- Storage: Ensure you store your fudge in an airtight container to keep it fresh and prevent it from drying out.
Helpful Notes about Christmas Fudge
Making Christmas Fudge is a delightful experience, but it’s helpful to keep a few tips in mind to ensure perfect results every time. Here are some key notes to consider!
- Storage: Store the fudge in an airtight container in the refrigerator for up to 2 weeks. This will keep it fresh and delicious.
- Freezing: I don’t recommend freezing Christmas Fudge as it can change the texture, making it less enjoyable when thawed.
- Sprinkle Options: Feel free to use any holiday sprinkles you like, or you could use crushed candy canes for a peppermint twist on this fudge.
- Single Chocolate Variation: If you prefer a simpler approach, you can use all semi-sweet or all white chocolate instead of layering.
- Serving Idea: Pair the fudge with fresh fruit or a warm beverage for a delightful dessert experience.
What Complements This Christmas Fudge
- Festive Platters: Arrange the fudge alongside other holiday sweets like cookies, truffles, and candies for a beautiful dessert table.
- Seasonal Drinks: Enjoy with warm drinks such as hot cocoa or spiced cider to enhance the cozy holiday experience.
- Gift Giving: Package fudge pieces in decorative boxes or tins for heartfelt gifts that friends and family will cherish.
- Holiday Parties: Serve at gatherings or potlucks as a sweet treat to delight guests.
- Special Occasions: Perfect for Christmas gatherings, birthday parties, or any celebration needing a touch of sweetness!
FAQ
Conclusion
In summary, Christmas Fudge is a delightful holiday treat that combines rich chocolate flavors with festive toppings, making it a perfect gift or dessert for any occasion. I encourage you to give this recipe a try and enjoy the process of making something truly special. This holiday season, let the warmth of your kitchen fill the air with sweet scents, and share the love with family and friends through this delicious fudge.
Christmas Fudge
Ingredients
Equipment
Method
- Line an 8×8 baking pan with parchment paper and set aside. This prevents the fudge from sticking.
- In a heat-safe medium bowl, place 1 cup semi-sweet chocolate chips, 1 tablespoon unsalted butter, and 7 ounces sweetened condensed milk. Microwave in 30-second increments, stirring until melted and smooth.
- Stir in 1 teaspoon vanilla extract. Spread the mixture evenly into the prepared pan. Chill in the fridge for 15 to 20 minutes until set.
- For the white chocolate layer, melt 1 cup white chocolate chips, 1 tablespoon unsalted butter, and 7 ounces sweetened condensed milk in the same way. Stir in another 1 teaspoon vanilla extract.
- Pour the white chocolate mixture over the set layer, spreading it evenly. Immediately sprinkle with 2 tablespoons Christmas nonpareils.
- Cover and refrigerate until set, about 2 to 3 hours or overnight for best flavor. Once set, lift out using parchment and cut into squares.
Notes
- Storage: Store the fudge in an airtight container in the refrigerator for up to 2 weeks.
- Freezing: I don't recommend freezing the fudge as it can change texture.
- Sprinkle Options: Use any holiday sprinkles or crushed candy canes for a twist.
- Single Chocolate Variation: Use all semi-sweet or all white chocolate for a simpler version.
- Serving Idea: Pair with fresh fruit or warm beverages for a delightful dessert experience.