Classic Chicken Kiev Recipe
As I remember the first time I made Classic Chicken Kiev Recipe, it was one of those evenings filled with excitement and a hint of nervousness. I had invited friends over for dinner, and I wanted to impress them with something special. The thought of creating a dish that was not only delicious but also looked elegant on the plate thrilled me. Classic Chicken Kiev Recipe fit the bill perfectly! The crispy, golden exterior reveals a delightful surprise of melting garlic butter inside, making it a dish that would surely make everyone’s mouths water. I can still recall the smiles on my friends’ faces as they took their first bite. The combination of tender chicken, fragrant garlic, and fresh herbs wrapped in a crispy crust has a way of bringing people together, transforming any meal into a special occasion.
Recipe Snapshot
31 mins
15 mins
16 mins
Medium
450 kcal
28 g
Gluten-Free
25 g
Skillet, Chef’s Knife, Mixing Bowl, Whisk, Food Processor, Baking Sheet, Oven, Frying Pan
Why This Classic Chicken Kiev Recipe Is So Good
Comfort and Indulgence
One of the main reasons I adore Classic Chicken Kiev Recipe is its comfort factor. It’s the kind of dish that wraps you in warmth with every bite. The crispy coating contrasts beautifully with the juicy chicken and the rich garlic butter. It’s indulgent without being overwhelming, which makes it perfect for any gathering or cozy night in.
Versatile and Adaptable
Another reason to love this recipe is its versatility. You can easily tweak the flavors in the garlic butter by adding different herbs or even a hint of lemon zest. This adaptability means that you can personalize it to suit your taste or to impress your guests with something unique.
Impressive Presentation
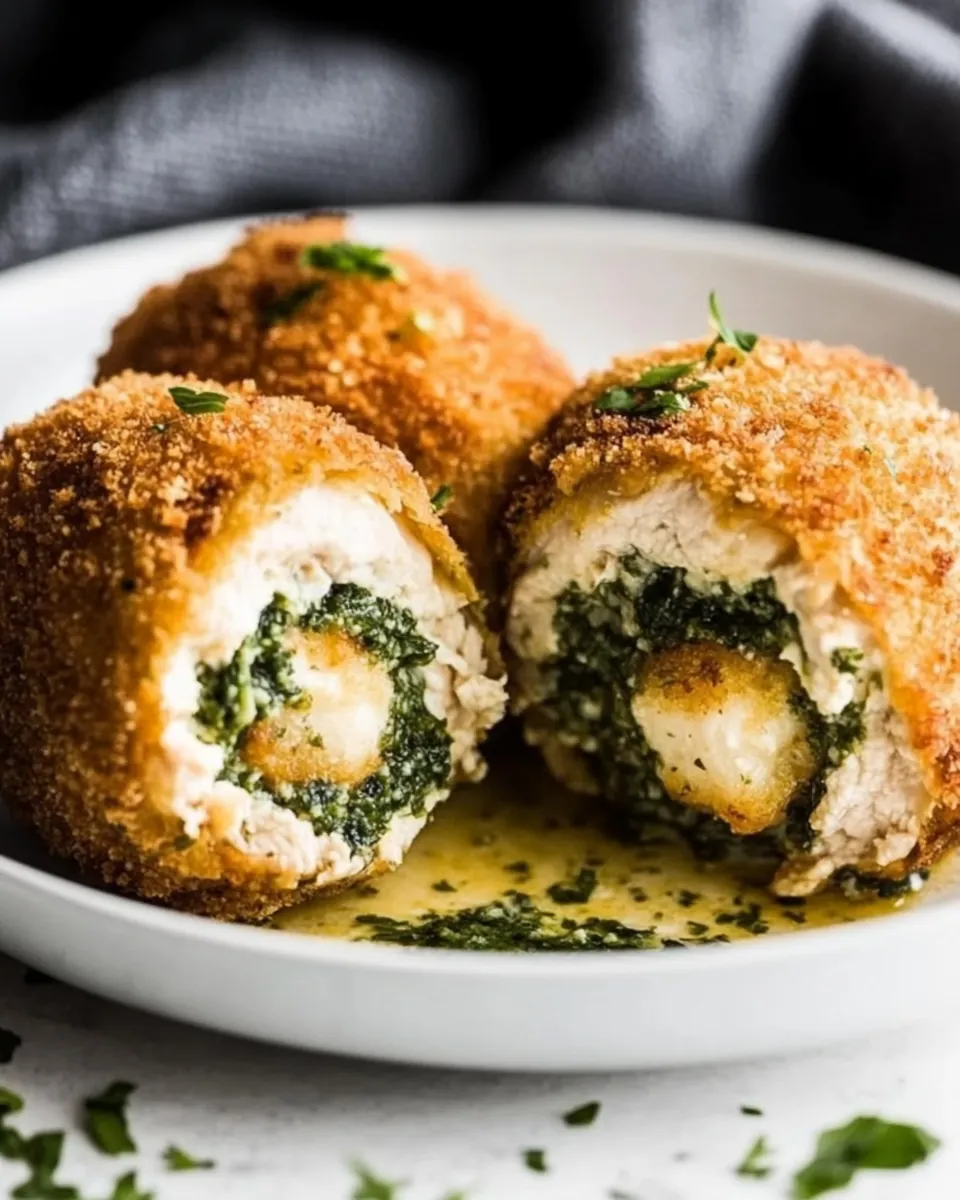
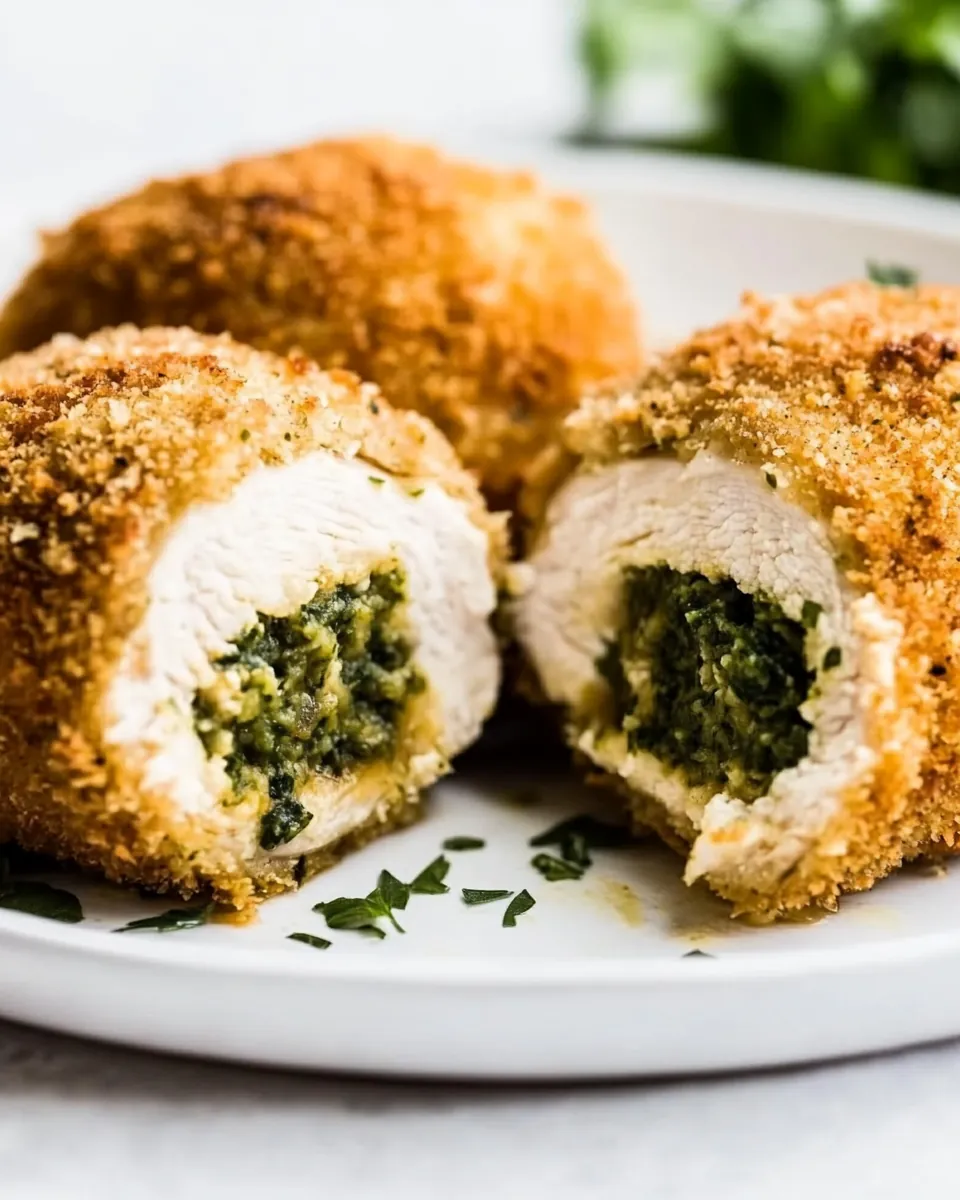
When you plate up Classic Chicken Kiev Recipe, it looks quite impressive. The golden-brown crust, perfectly shaped chicken roll, and the rich, buttery sauce peeking out when you cut into it create a visual feast. It’s a dish that feels like a gourmet experience, even if you made it in your own kitchen.
Perfect for Special Occasions
This is not just an everyday meal; Classic Chicken Kiev Recipe is perfect for celebrations and special occasions. Whether it’s a birthday, anniversary, or even a holiday meal, it elevates the dining experience and adds a touch of elegance to your table.
Memories and Tradition
Making this dish comes with nostalgia for me. It reminds me of family gatherings and celebrations from my childhood. Sharing this recipe allows me to pass those joyful memories onto others, creating new ones in the process.
Easy to Make
Despite how fancy it sounds, Classic Chicken Kiev Recipe is surprisingly easy to make. With just a few simple steps, you can create a restaurant-quality dish at home. It’s a great way to build your confidence in the kitchen!
Ingredients Required for Classic Chicken Kiev Recipe

The ingredients for Classic Chicken Kiev Recipe come together beautifully to create a dish that’s both flavorful and comforting. Each element plays a vital role in achieving that perfect balance of textures and tastes. The key players here are the tender chicken breasts, the rich butter infused with garlic and parsley, and the crispy breadcrumbs that form the delicious crust. Let’s take a closer look at what you’ll need:
- 1 stick softened unsalted butter
- ¼ cup finely minced fresh parsley
- 1 finely minced garlic clove
- Zest and juice of ½ lemon
- Salt and pepper to taste
- 4 boneless skinless chicken breasts
- ½ cup all-purpose flour
- 2 large eggs
- 1 cup breadcrumbs
- Salt and pepper to taste
- Neutral flavored oil for frying
Making This Classic Chicken Kiev Recipe
Cooking Classic Chicken Kiev Recipe is a rewarding experience that leads to a delicious meal. Let’s dive into the process step-by-step to ensure your chicken turns out perfectly every time. Follow along, and you’ll impress yourself with how easily you can create this delightful dish.
- Start by mixing the butter, parsley, garlic, lemon juice, lemon zest, salt, and pepper in a medium-sized bowl until completely combined. This mixture is the star of the dish, so make sure it’s well blended.
- Form the butter into a log shape and place it on a half sheet of parchment paper. Roll it tightly into a cylinder, ensuring it is well enclosed. Once rolled, place it in the freezer for about 20 to 25 minutes or until very firm. This step is crucial for having that gooey center.
- Pound each chicken breast one at a time using a mallet, placing them between two pieces of plastic wrap, until they are about a quarter-inch thick. This helps them cook evenly and makes it easier to roll them later.
- Once the butter is chilled, cut it into four equal pieces. Set aside, as this will be used for each chicken breast.
- Season the inside of one of the pounded-out chicken breasts with salt and pepper. Place one piece of the butter mixture in the center and roll it up tightly, folding in the sides to seal it well.
- Wrap the rolled chicken Kiev in a piece of plastic wrap, ensuring it’s tight and secure. Twist the ends to make sure it maintains its shape. Place these rolls in the freezer for another 15 to 20 minutes to firm up.
- In a shallow bowl, mix together the flour with salt and pepper. In a separate bowl, whisk the eggs with a pinch of salt and pepper. Finally, in another bowl, mix the breadcrumbs with salt and pepper.
- Remove the chicken from the plastic wrap, dredging it in the seasoned flour, shaking off any excess. Next, coat it thoroughly in the egg wash, then finally roll it in the breadcrumbs, ensuring it’s completely covered. Repeat this for all the chicken rolls.
- Heat enough neutral flavored oil in a medium-sized saucepan to cover half of the chicken at 350 degrees Fahrenheit. Fry the chicken for about 3 to 4 minutes per side or until golden brown on both sides. Watch closely to achieve that perfect color.
- After frying, transfer the chicken Kiev to a sheet tray lined with a rack and parchment paper. Bake on the bottom rack of the oven at 400 degrees Fahrenheit for 10 to 12 minutes or until cooked throughout. The internal temperature should reach 165 degrees Fahrenheit for safety.
- Once done, slice the chicken and serve immediately, allowing everyone to enjoy the delicious buttery center!
Things Worth Knowing
- Butter Temperature: Ensure your butter is softened but not melted for easy mixing.
- Chicken Thickness: Pound the chicken breasts evenly for consistent cooking.
- Sealing Technique: Make sure to roll the chicken tightly to prevent leakage during frying.
- Frying Oil Temperature: Use a thermometer to check the oil temperature for the best frying results.
Change It Up
There are so many ways to get creative with Classic Chicken Kiev Recipe. Here are some tips for changing it up and making it your own:
- Storage: To store leftovers, cool the chicken completely and cover it. Keep in the refrigerator for up to 4 days.
- Freezing: You can freeze Classic Chicken Kiev Recipe for up to 3 months. Make sure to wrap tightly to prevent freezer burn.
- Pairing: Serve with a side of mashed potatoes or a fresh salad for a complete meal.
- Flavor Variations: Experiment with different herbs like thyme or dill in the butter for unique flavors.
- Vegetarian Option: Substitute chicken with thick slices of eggplant or zucchini for a vegetarian version.
Serving Ideas for Classic Chicken Kiev Recipe
When it comes to serving Classic Chicken Kiev Recipe, there are endless possibilities to elevate your meal:
- Mashed Potatoes: Serve alongside creamy mashed potatoes for a comforting combination.
- Green Salad: Pair with a fresh green salad for a refreshing contrast to the rich chicken.
- Steamed Vegetables: Brighten the plate with steamed asparagus or green beans.
- Special Occasions: This dish is perfect for celebrations like anniversaries or family gatherings.
- Storing Leftovers: If you have leftovers, store covered in the refrigerator and reheat in the oven for best results.
- Wine Pairing: Enjoy with a crisp white wine for a delightful dining experience.
FAQ
Conclusion
Classic Chicken Kiev Recipe is a delightful dish that combines crispy texture with a luscious, buttery filling. It brings a sense of comfort and joy, making it perfect for special occasions or cozy dinners at home. I encourage you to try making it; the experience of cooking and sharing this dish will create warm memories. Enjoy the flavors and the smiles it brings to your table!

Classic Chicken Kiev Recipe
Ingredients
Equipment
Method
- Start by mixing the butter, parsley, garlic, lemon juice, lemon zest, salt, and pepper in a medium size bowl until completely combined.
- Form the butter into a log and place it on a half sheet of parchment paper and roll it until is enclosed, and place it in the freezer for 20 to 25 minutes or until very firm.
- Pound each chicken breast one at a time with a mallet between two pieces of plastic until it is about a ¼” thick and set them to the side.
- Once the butter is chilled, cut it into 4 equal size pieces. Set aside.
- Season the inside of one of the pounded-out chicken breasts with salt and pepper and place the 1 butter chunk in the center and roll it up and fold in the sides, making sure that it is tight and sealed.
- Place the rolled chicken Kiev on a piece of plastic wrap, roll it up tight, and twist the ends to ensure it is a tight chicken roll. Freeze for 15 to 20 minutes or until firmer.
- In a shallow bowl, mix together the flour with salt and pepper. In a separate shallow bowl, whisk together the eggs with salt and pepper. Finally, in another separate shallow bowl, mix together the breadcrumbs with salt and pepper.
- Remove the chicken from the plastic and dredge in the flour, shaking lose any excess, then thoroughly coat it in the egg wash, and then finally the breadcrumbs ensuring it is completely coated.
- Fry the chicken in enough oil to cover half of it at 350° in a medium size saucepan for 3 to 4 minutes per side or until golden brown on both sides.
- Transfer to a sheet tray with a rack and parchment paper and bake on the bottom rack of the oven at 400° for 10 to 12 minutes or until cooked throughout.
- Slice and serve.
Notes
- Make-Ahead: This recipe is meant to be eaten as soon as it is finished cooking.
- How to Store: Cover the chicken Kiev and keep it in the refrigerator for up to 4 days. This will freeze covered for up to 3 months. Thaw it in the refrigerator for one day before reheating.
- How to Reheat: Place the desired number of chicken on a sheet tray lined with parchment paper and bake at 350° for 10 to 12 minutes or until warm throughout.
- Variations: You can use dark thigh meat and pound it out thin, although the finished product will certainly be smaller.
- Cooking Tip: If the chicken begins to brown too quickly, turn the heat down to medium-low.
- Alternative Meat: Feel free to also try this with veal scallopini.
- Pounding Tip: You can also pound the chicken in a plastic zip bag.