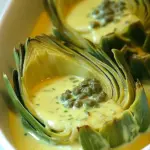
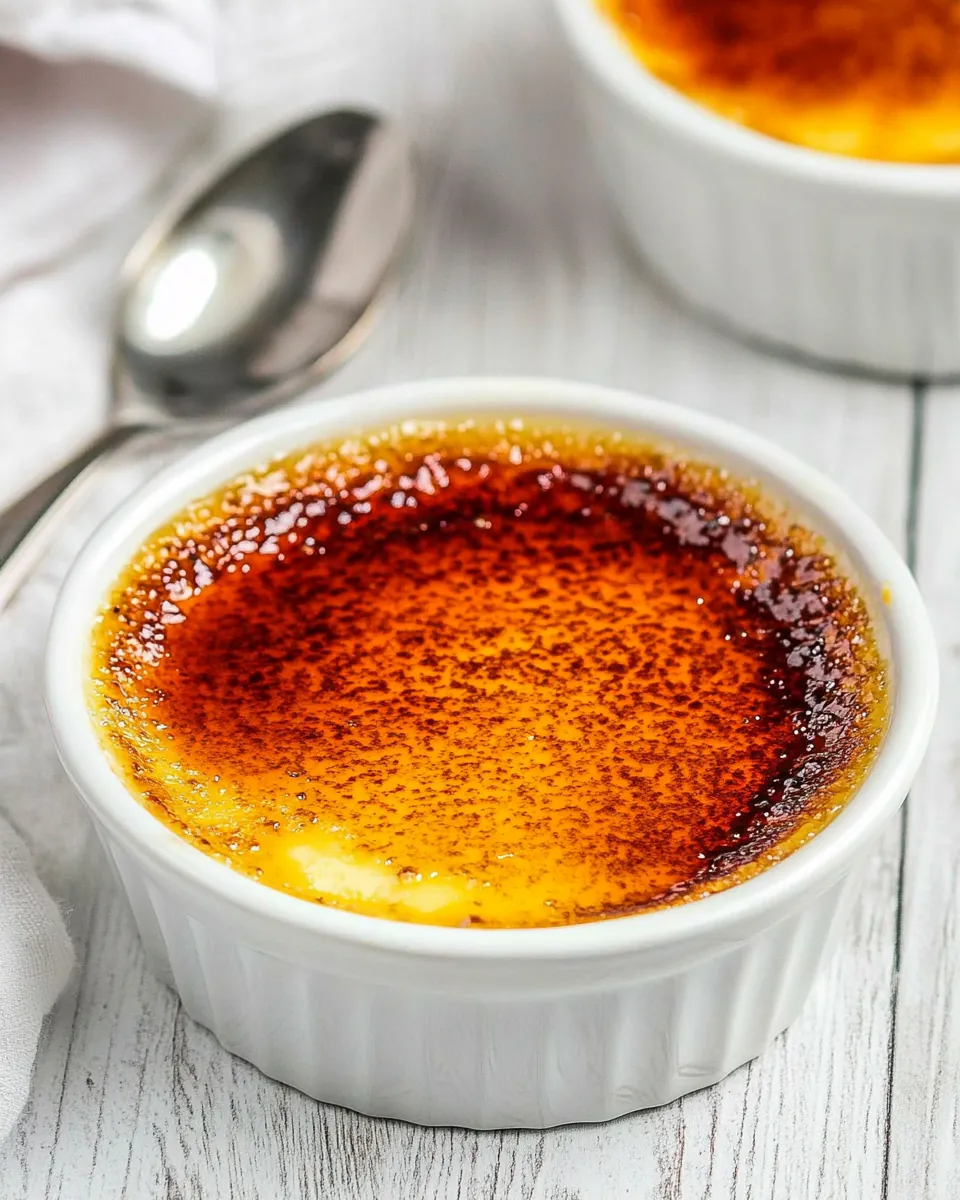
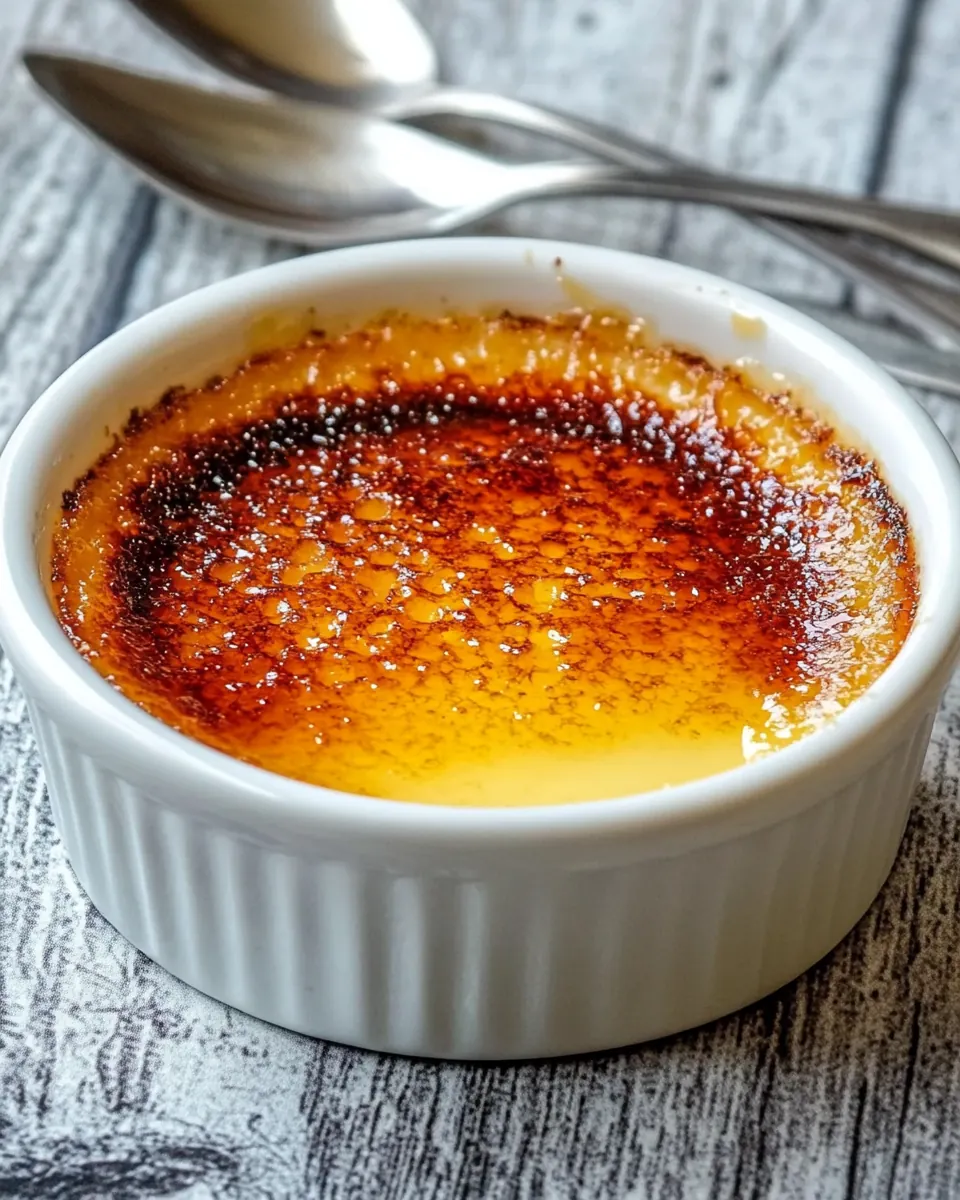
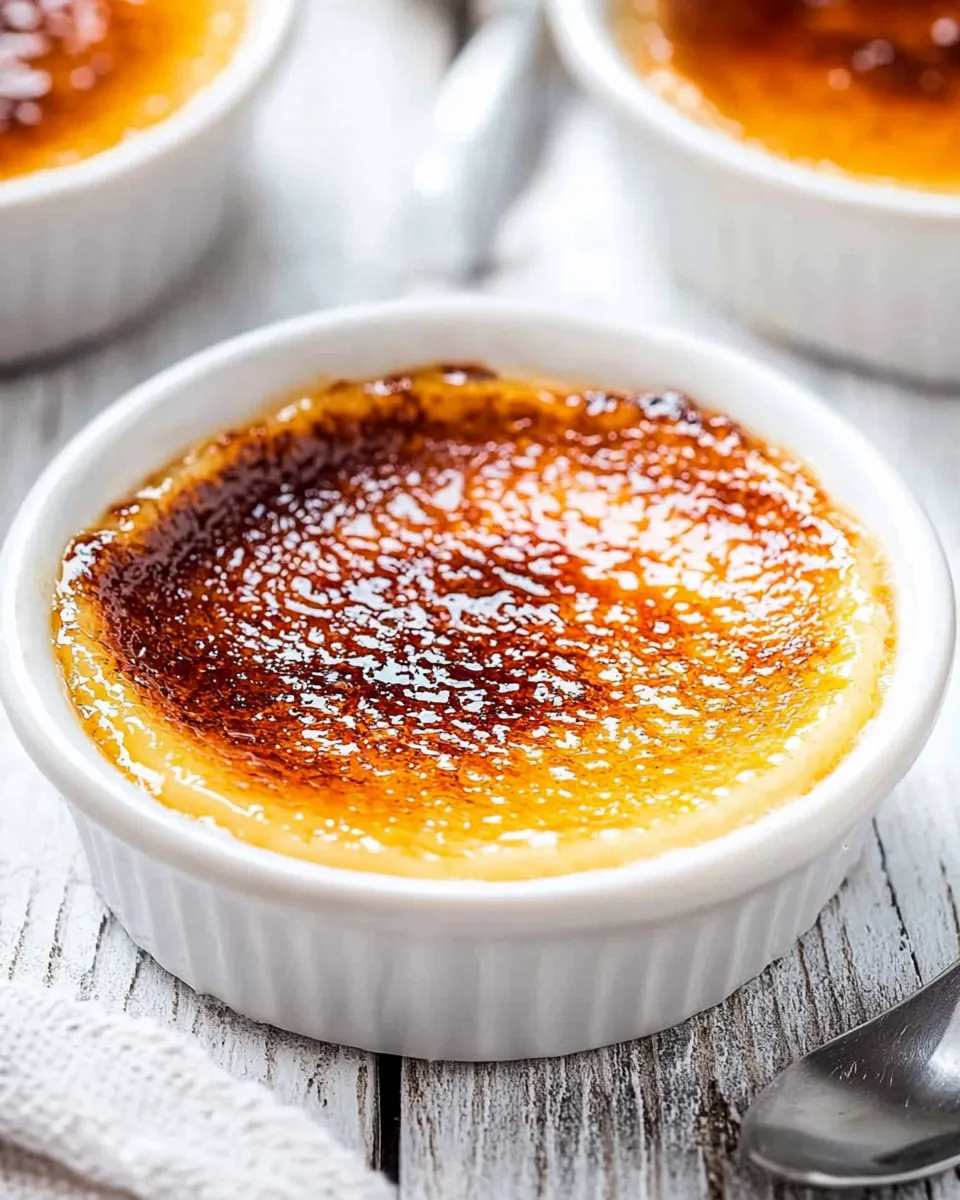
Classic Vanilla Bean Creme Brulee
There’s something truly magical about indulging in a classic dessert like Classic Vanilla Bean Creme Brulee. I remember the first time I tasted it at a quaint little restaurant, the moment when the caramelized sugar cracked under the spoon was pure bliss. The creamy custard, with flecks of real vanilla bean, enveloped my taste buds in a warm embrace. Since then, I’ve made it my mission to recreate that experience at home, and let me tell you, nothing compares to the satisfaction of crafting your own Classic Vanilla Bean Creme Brulee.
As I learned the ropes of this elegant dessert, I discovered the joy of mastering techniques that elevate simple ingredients to extraordinary heights. Each step is an adventure, from pouring the heavy cream into the pot to expertly caramelizing the sugar on top. The aroma of the warming cream and the fragrant vanilla bean fills the kitchen, making it feel like a special occasion. Whether it’s a dinner party or a simple family gathering, serving Classic Vanilla Bean Creme Brulee always impresses.
There’s also a playful side to making it. The anticipation while the custards cool in the fridge and the thrill of using the blow torch to create that perfect, crispy topping is exhilarating. I genuinely believe that cooking should be a blend of artistry and enjoyment, and this dessert embodies that philosophy beautifully. So grab your ramekins and a blow torch, and let’s dive into the delightful world of Classic Vanilla Bean Creme Brulee!
Recipe Snapshot
20 mins
10 mins
10 mins
Medium
350 kcal
6 g
Gluten-Free, Low FODMAP
28 g
Blow torch
What We Adore About This Classic Vanilla Bean Creme Brulee
It’s Impressively Simple
One of the best things about the Classic Vanilla Bean Creme Brulee is how straightforward it is. With just a handful of ingredients, you can whip up a dessert that feels fancy without requiring culinary school experience. The simplicity allows the quality of the ingredients to shine through.
Perfect for Any Occasion
This dessert is remarkably versatile. Whether it’s a romantic dinner, a holiday gathering, or just a weekend treat, Classic Vanilla Bean Creme Brulee fits the bill. Its elegance makes it a standout at any event, ensuring that your guests will be talking about it long after the meal is over.
Customizable Flavors
While I adore the classic flavor, there’s so much you can do with Classic Vanilla Bean Creme Brulee. You can infuse the cream with citrus zest or coffee for a twist on the traditional recipe. This flexibility allows you to tailor it to match your preferences or the season.
Texture That’s Irresistible
The contrast between the creamy custard and the crunchy caramelized topping is one of the highlights. With each spoonful, you get a delightful mix of textures, making every bite an experience to cherish. The smoothness of the custard paired with the crackling sugar is simply unforgettable.
A Fun Cooking Experience
There’s a certain thrill that comes from using a blow torch to caramelize the sugar. It’s an engaging technique that can be a fun activity to share with family or friends. Watching the sugar melt and transform into a beautiful, golden crust is rewarding.
Make Ahead Convenience
Another reason I love Classic Vanilla Bean Creme Brulee is that it can be made ahead of time. You can prepare the custards a day in advance and torch them just before serving, making it the perfect dessert for entertaining without the stress.
Classic Vanilla Bean Creme Brulee Ingredients
Every great recipe starts with high-quality ingredients. For Classic Vanilla Bean Creme Brulee, the key players are the heavy cream and the vanilla bean, which come together to create a rich and flavorful custard. The balance of sweetness from the sugar enhances the natural flavors, making this dessert a true indulgence.
- 1 quart heavy cream: This is the base of your custard, providing the luxurious texture essential for any good creme brulee.
- 1 vanilla bean: For that authentic vanilla flavor, nothing beats a real vanilla bean. You will scrape the seeds to infuse the cream with its rich essence.
- 1/2 cup sugar: This will sweeten the custard beautifully and is crucial in creating the caramelized topping.
- 6 egg yolks: These impart richness and help to thicken the custard, giving it that velvety mouthfeel.
- 1/4 cup sugar for brulee: Use this to sprinkle on top before caramelizing, creating that iconic crunchy layer.
Instructions for Classic Vanilla Bean Creme Brulee
Making Classic Vanilla Bean Creme Brulee is a delightful process that’s just as enjoyable as eating it. Follow these personal steps to create your own masterpiece!
- Begin by pouring the heavy cream into a heavy-bottomed pot. This will ensure even heat distribution, which is crucial for making a smooth custard. Turn the heat to medium and allow the cream to warm gently, stirring occasionally.
- Next, split the vanilla bean in half lengthwise using a sharp knife. Carefully scrape out the tiny seeds with the back of the knife. Add both the seeds and the pod to the warming cream; this is where the magic happens!
- Let the cream come to a gentle boil for about 30 seconds, then remove it from the heat. Allow the cream to cool slightly, letting those wonderful vanilla flavors infuse into the cream.
- While your cream is cooling, preheat your oven to 300 degrees Fahrenheit. This is the perfect temperature for baking your custards.
- In a separate bowl, whisk together the egg yolks and sugar until the mixture becomes light and creamy. The goal here is to incorporate air, giving your custard a lovely texture.
- Now, it’s time to temper the eggs. Gradually add a small amount of the warmed cream into the yolks, whisking briskly to avoid scrambling the eggs. This process ensures your custard will be light and smooth.
- Continue to add the warmed cream in small amounts, whisking constantly until fully incorporated. Be patient and don’t rush this step to achieve the perfect custard consistency!
- Once combined, strain the mixture through a fine mesh sieve into a large measuring cup or bowl. This helps remove any lumps or bits of the vanilla pod, resulting in a silky custard.
- Fill six ramekins with the custard mixture, taking care not to overfill. Place the ramekins in a baking dish and add boiling water to the dish, ensuring it reaches halfway up the sides of the ramekins. This water bath will help create a gentle cooking environment.
- Bake the custards in the oven for about 30 minutes, or until they are just set. The centers may still jiggle slightly, but they will firm up as they cool.
- Once baked, remove the ramekins from the water bath and allow them to cool at room temperature for a while. Then, place them in the refrigerator for at least a couple of hours, giving the custards time to chill and set completely.
- When you’re ready to serve, blot the tops of the custards dry with a paper towel. Sprinkle about 1 to 1.5 teaspoons of sugar on top of each custard evenly.
- Using your blow torch, ignite the flame and sweep the flame across the sugar, moving from the outside of the ramekin toward the center. This will create the beautiful caramelized crust you desire.
- Rotate the ramekin as you torch the sugar to ensure even caramelization. Once done, let the ramekins sit for a minute to allow the sugar to harden.
- For the best experience, refrigerate the custards for about an hour before serving. This allows the flavors to meld beautifully.
Things Worth Knowing
- Temperature control: It’s essential for perfect custard. Aim for an internal temperature of about 170–175°F.
- Do not rush the cooling: The custards will continue to set while cooling, so they may seem undercooked when you first remove them from the oven.
- Using a torch: A kitchen torch works best for caramelizing the sugar, but a regular hardware store torch can work in a pinch. Just ensure it uses safe fuel.
- Variations: You can infuse the cream with other flavors such as citrus zest or spices like cardamom for unique twists.
Pro Tips and Tweaks
Having a few pro tips in your back pocket can elevate your Classic Vanilla Bean Creme Brulee experience. Here are some insights I’ve gathered over the years.
- Storage: Keep your finished custards in the refrigerator, covered, for up to three days. Just remember to add the sugar topping and torch them right before serving.
- Freezing: Creme brulee can be frozen, but it might alter the texture. If you choose to freeze, allow it to thaw in the fridge before torching.
- Pairing: Serve with fresh berries or a light fruit coulis for a refreshing contrast to the rich custard.
- Experiment! Don’t be afraid to play with flavors. Lavender, mint, or even coffee can add unique notes to the classic.
- Serving suggestion: A simple dusting of powdered sugar on top before serving can make for a beautiful presentation.
Serve This Classic Vanilla Bean Creme Brulee With
Enhancing your Classic Vanilla Bean Creme Brulee can make for a delightful dining experience. Here are some great suggestions for serving:
- Fresh Berries: A side of raspberries or strawberries adds a tartness that beautifully balances the richness of the custard.
- Shortbread Cookies: The buttery crunch of shortbread is a perfect complement to the creaminess of the brulee.
- Seasonal Fruits: Pair with seasonal fruits like poached pears or figs during the fall for a lovely contrast in flavors.
- Light Beverages: Consider serving with a light dessert wine or herbal tea, which can enhance the dessert’s flavors.
- After Dinner Treat: This dessert works beautifully after a rich meal, providing a light yet satisfying end to the evening.
- Special Occasions: Perfect for anniversaries, birthdays, or any celebration where you want to impress your guests.
FAQ
Conclusion
The Classic Vanilla Bean Creme Brulee is a timeless dessert that never fails to impress. Its creamy custard combined with the satisfying crunch of caramelized sugar creates an unforgettable dining experience. I encourage you to try this recipe at home, as it’s not only easy to make but also a delightful treat that will elevate any occasion. Gather your ingredients and get ready to savor each bite of this luxurious dessert!

Classic Vanilla Bean Creme Brulee
Ingredients
Equipment
Method
- Begin by pouring the heavy cream into a heavy-bottomed pot. This will ensure even heat distribution, which is crucial for making a smooth custard. Turn the heat to medium and allow the cream to warm gently, stirring occasionally.
- Next, split the vanilla bean in half lengthwise using a sharp knife. Carefully scrape out the tiny seeds with the back of the knife. Add both the seeds and the pod to the warming cream; this is where the magic happens!
- Let the cream come to a gentle boil for about 30 seconds, then remove it from the heat. Allow the cream to cool slightly, letting those wonderful vanilla flavors infuse into the cream.
- While your cream is cooling, preheat your oven to 300 degrees Fahrenheit. This is the perfect temperature for baking your custards.
- In a separate bowl, whisk together the egg yolks and sugar until the mixture becomes light and creamy. The goal here is to incorporate air, giving your custard a lovely texture.
- Now, it’s time to temper the eggs. Gradually add a small amount of the warmed cream into the yolks, whisking briskly to avoid scrambling the eggs. This process ensures your custard will be light and smooth.
- Continue to add the warmed cream in small amounts, whisking constantly until fully incorporated. Be patient and don’t rush this step to achieve the perfect custard consistency!
- Once combined, strain the mixture through a fine mesh sieve into a large measuring cup or bowl. This helps remove any lumps or bits of the vanilla pod, resulting in a silky custard.
- Fill six ramekins with the custard mixture, taking care not to overfill. Place the ramekins in a baking dish and add boiling water to the dish, ensuring it reaches halfway up the sides of the ramekins. This water bath will help create a gentle cooking environment.
- Bake the custards in the oven for about 30 minutes, or until they are just set. The centers may still jiggle slightly, but they will firm up as they cool.
- Once baked, remove the ramekins from the water bath and allow them to cool at room temperature for a while. Then, place them in the refrigerator for at least a couple of hours, giving the custards time to chill and set completely.
- When you’re ready to serve, blot the tops of the custards dry with a paper towel. Sprinkle about 1 to 1.5 teaspoons of sugar on top of each custard evenly.
- Using your blow torch, ignite the flame and sweep the flame across the sugar, moving from the outside of the ramekin toward the center. This will create the beautiful caramelized crust you desire.
- Rotate the ramekin as you torch the sugar to ensure even caramelization. Once done, let the ramekins sit for a minute to allow the sugar to harden.
- For the best experience, refrigerate the custards for about an hour before serving. This allows the flavors to meld beautifully.
Notes
- Temperature control: It's essential for perfect custard. Aim for an internal temperature of about 170–175°F.
- Do not rush the cooling: The custards will continue to set while cooling, so they may seem undercooked when you first remove them from the oven.
- Using a torch: A kitchen torch works best for caramelizing the sugar, but a regular hardware store torch can work in a pinch. Just ensure it uses safe fuel.
- Variations: You can infuse the cream with other flavors such as citrus zest or spices like cardamom for unique twists.