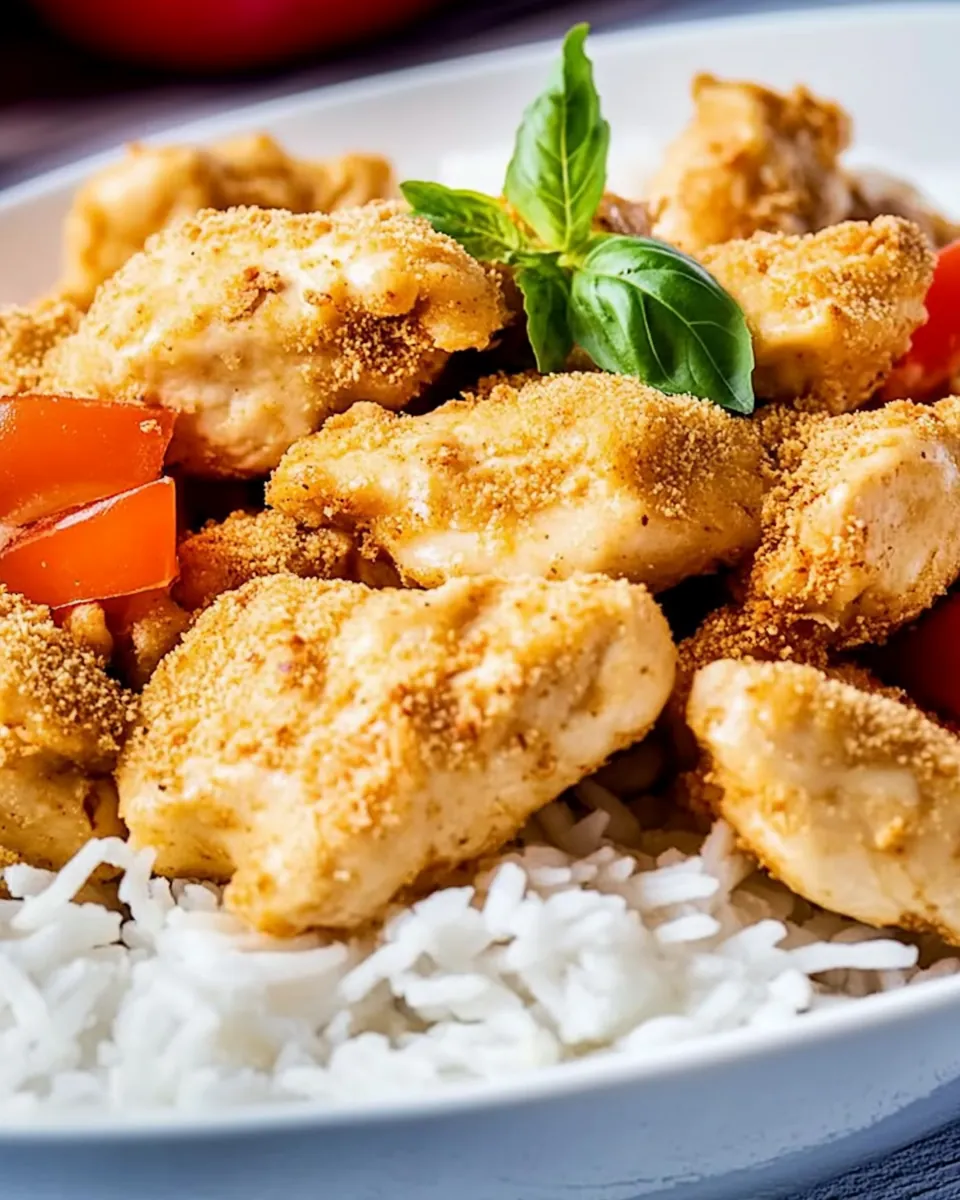
Coconut Chicken
There’s something so comforting about a dish like Coconut Chicken. It brings me back to warm summer evenings spent grilling in the backyard, the sweet scent of coconut wafting through the air as the sun sets. Every bite of this dish is a little crunch followed by a burst of flavor. I remember the first time I made it; I had a few friends over, and we couldn’t get enough of the crispy exterior and juicy chicken inside. This recipe has become a staple in my home, perfect for any gathering or a simple weeknight dinner. The combination of coconut and chicken is nothing short of magic, and I can’t wait for you to experience it!
Recipe Snapshot
40 mins
20 mins
20 mins
Easy
380 kcal
25 g
Keto, Paleo, Whole30
20 g
Oven, Skillet, Mixing Bowl, Baking Sheet
What You’ll Enjoy About This Coconut Chicken
Unique Flavor Profile
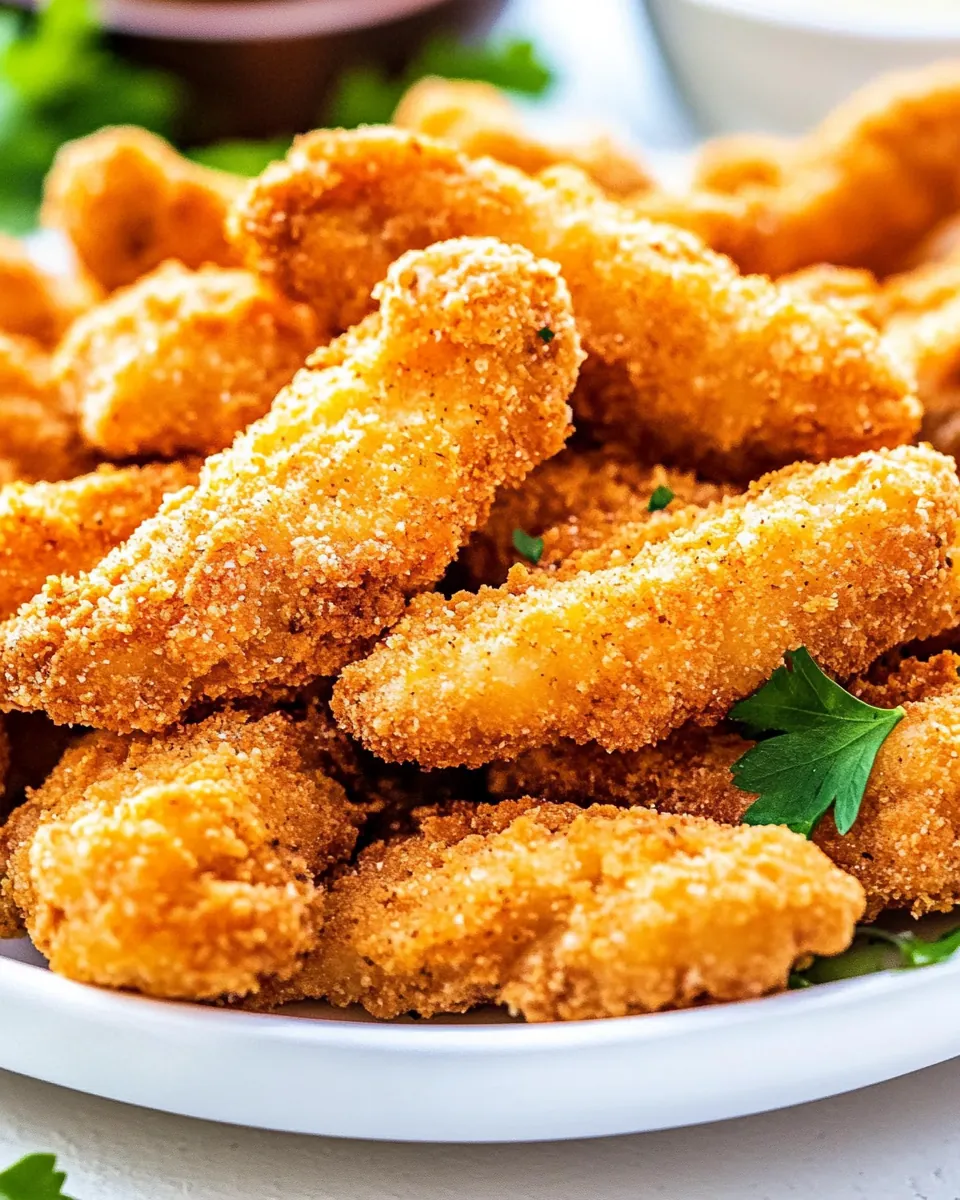
The blend of coconut and chicken creates a delightful contrast. The sweetness of the coconut pairs beautifully with the savory chicken, making each bite a flavor explosion. This balance is what sets Coconut Chicken apart from other fried chicken recipes. You get that satisfying crunch, followed by a tender and juicy center that keeps you coming back for more.
Versatile Recipe
This recipe is incredibly versatile. You can easily adjust the spices to tailor it to your taste! Whether you prefer it spicy with some added chili flakes or more on the mild side, there’s room for creativity. This adaptability makes it suitable for everyone at the table.
Easy to Prepare
Even if you’re not a seasoned cook, making Coconut Chicken is straightforward. The steps are simple to follow, and you’ll be amazed at how easily you can create such a delicious dish. It’s perfect for weeknight dinners or even a gathering of friends—everyone will be impressed!
Perfect for Any Occasion
From casual dinners to special occasions, Coconut Chicken fits right in. Serve it with a side of salad for a lighter meal or with rice and dipping sauces for a more filling option. Whatever the occasion, this dish shines.
Kid-Friendly
If you have picky eaters at home, they’ll love Coconut Chicken. The golden, crispy coating and the sweetness of the coconut make it appealing to children. Plus, it’s a fun dish to get them involved in making. Let them help dredge the chicken in the coconut flakes!
Coconut Chicken Shopping List
When it comes to making Coconut Chicken, using the right ingredients is key to achieving that perfect flavor and texture. Each ingredient plays a vital role in this delightful dish, from the crunch of the coconut to the juiciness of the chicken. Here’s what you’ll need to whip up this delicious recipe!
- Cornstarch: This is essential for creating that crispy coating on the chicken. It helps the other ingredients adhere while frying.
- Cayenne pepper: Adds a subtle kick to balance the sweetness of the coconut.
- Salt: Essential for enhancing the flavor. Adjust to taste.
- Pepper: Adds a touch of warmth.
- Eggs: Acts as a binder to hold the coating onto the chicken.
- Coconut flakes: The star of the dish that gives it a sweet, tropical flavor and crunchy texture.
- Chicken breasts: Boneless and skinless cuts that are perfect for frying.
- Oil: Needed for frying, choose a high smoke point oil for best results.
Making Coconut Chicken
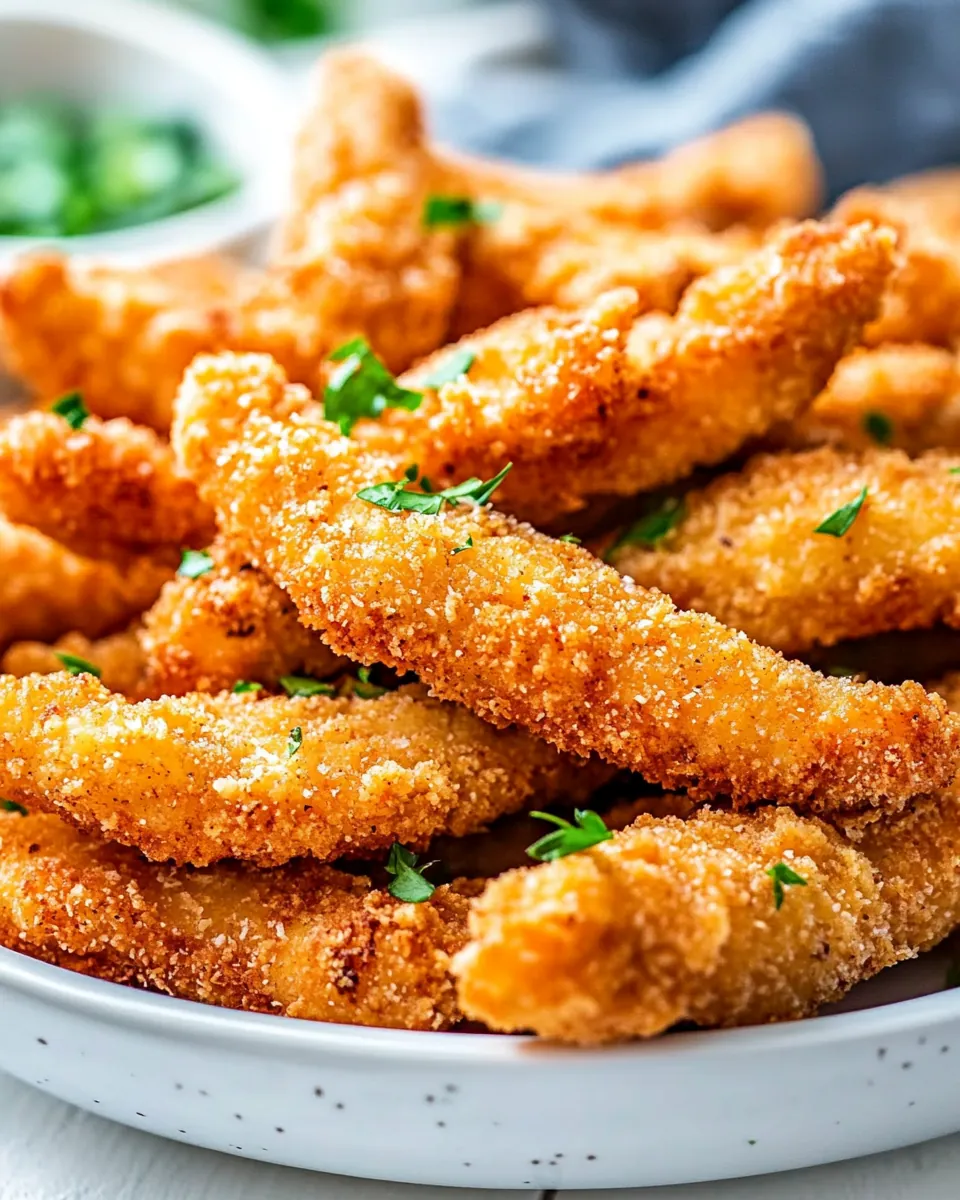
Preparing Coconut Chicken is a rewarding experience. The aroma of frying chicken fills the air, and it’s incredibly satisfying to see the golden color develop. Follow these detailed steps for a perfect result every time!
Prep the ingredients: Start by gathering three shallow bowls. In the first bowl, mix together cornstarch, cayenne pepper, salt, and pepper. This mixture will act as the first layer of coating for the chicken. In the second bowl, beat the eggs until well mixed. This will help the coating stick. Finally, fill the third bowl with coconut flakes. Make sure to have everything ready to go.
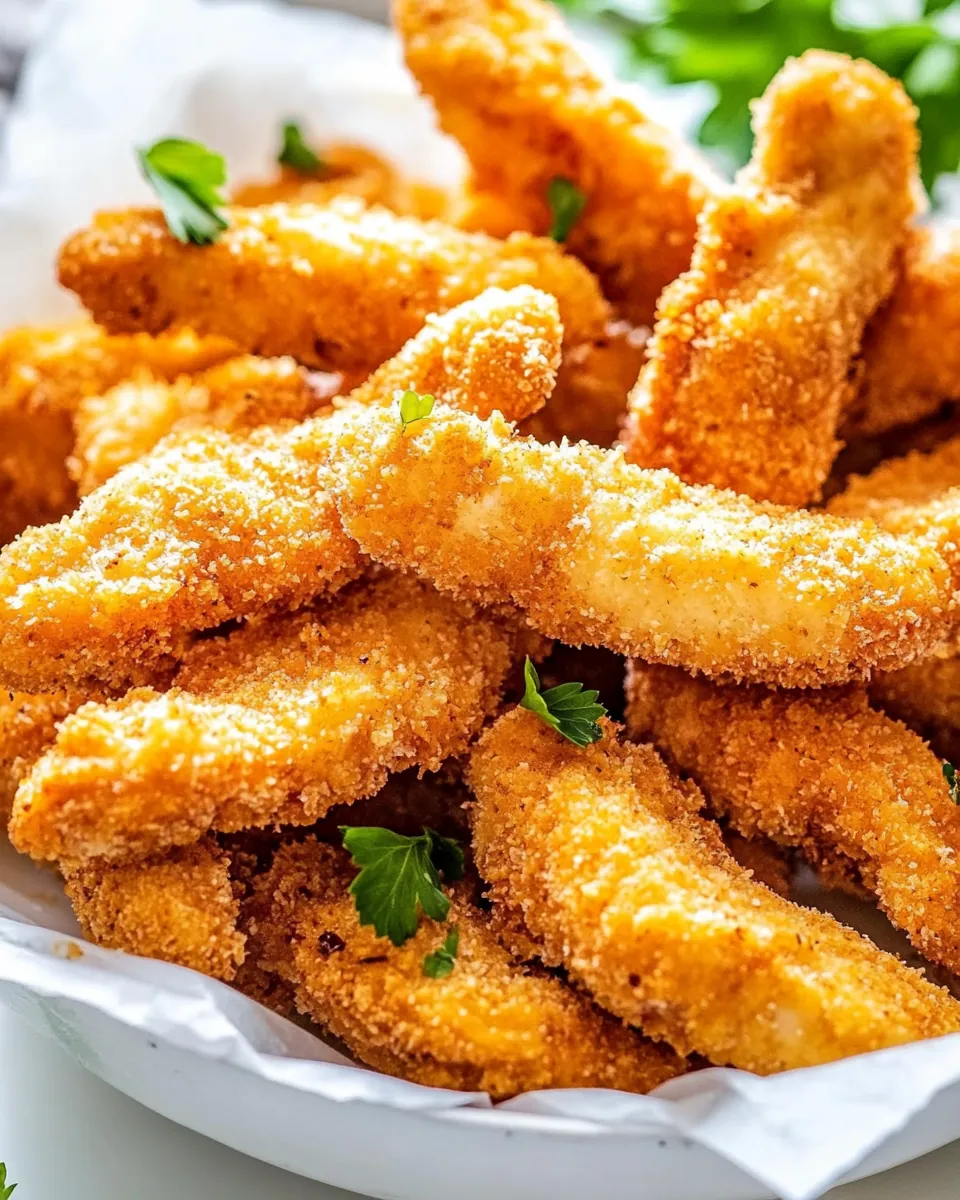
Dredge the chicken: Take your pieces of chicken and dredge them one by one. First, coat them in the cornstarch mixture, making sure each piece is fully covered. Next, dip the coated chicken into the beaten eggs, allowing any excess to drip off. Finally, roll the chicken in the coconut flakes, pressing gently to adhere the flakes well. Repeat this process with all the chicken pieces until they are all coated.
Fry the chicken: In a deep pot or skillet, heat about 1 to 2 inches of oil to 350°F. It’s important not to overcrowd the pan, so add only a few pieces of chicken at a time. Fry for about 2 to 3 minutes on each side, until they are golden brown and cooked through. Use a thermometer to check that the internal temperature reaches 165°F. Once done, transfer the fried chicken to a paper towel-lined plate to drain excess oil. Repeat this step with the remaining chicken pieces.
Serve: You can serve Coconut Chicken with sweet and sour sauce or your favorite dipping sauce. The crispy texture pairs wonderfully with a tangy sauce. Enjoy your meal!
Prep for baking: If you prefer a healthier option, preheat your oven to 400°F and line a baking sheet with parchment paper. Dredge the chicken as instructed in step 2, ensuring it is fully coated in the coconut.
Bake the chicken: Place the dredged chicken on the prepared baking sheet. Bake for about 15 to 20 minutes, or until the chicken is crisp and golden brown. This method is fantastic for those looking to enjoy Coconut Chicken without frying.
Things Worth Knowing
- Frying Oil Temperature: Ensure your oil is at the right temperature, around 350°F, for a crispy texture. Use a kitchen thermometer for accuracy.
- Uniform Coating: Make sure each piece of chicken is evenly coated with the coconut to achieve a consistent crunch.
- Cooling Time: Allow the chicken to cool slightly before serving to retain its crispiness.
- Storage Tips: Store any leftovers in an airtight container in the fridge to keep them fresh for up to 3 to 4 days.
Substitutions and Tips
While Coconut Chicken is delicious as is, here are some tips and substitutions that can elevate your dish even further:
- Storage: To keep your leftovers fresh, store them in an airtight container in the fridge for 3 to 4 days.
- Freezing: For longer storage, freeze the cooked chicken in a single layer on a baking sheet, then transfer to a freezer bag for up to 2 months.
- Pairing: Serve with fresh salads or steamed vegetables for a complete meal.
- Spices: Don’t hesitate to add your personal touch by mixing in your favorite spices into the cornstarch mixture.
- Reheating: To reheat and keep the crispiness, preheat your oven to 325°F and bake the chicken for about 7 to 10 minutes.
What Complements This Coconut Chicken
- Rice: Serve Coconut Chicken over a bed of fluffy white rice or coconut rice to enhance the flavors.
- Salad: A light salad with a citrus vinaigrette pairs perfectly with the sweetness of the coconut.
- Dipping Sauces: Sweet and sour sauce, teriyaki, or even a spicy mayo adds an extra layer of flavor.
- Occasions: Perfect for casual dinners, outdoor barbecues, or family gatherings.
- Seasonal Pairings: Great for summer cookouts or festive occasions where tropical flavors are a hit.
FAQ
Conclusion
Overall, Coconut Chicken is a delightful dish that brings together a perfect blend of crispy, sweet, and savory flavors. It’s a fantastic choice for any occasion, whether it’s a cozy family dinner or a fun gathering with friends. I truly hope you give this recipe a try and enjoy every bite. You won’t regret making Coconut Chicken a staple in your kitchen!
Coconut Chicken
Ingredients
Equipment
Method
- Prep the ingredients: Start by gathering three shallow bowls. In the first bowl, mix together cornstarch, cayenne pepper, salt, and pepper. This mixture will act as the first layer of coating for the chicken. In the second bowl, beat the eggs until well mixed. This will help the coating stick. Finally, fill the third bowl with coconut flakes. Make sure to have everything ready to go.
- Dredge the chicken: Take your pieces of chicken and dredge them one by one. First, coat them in the cornstarch mixture, making sure each piece is fully covered. Next, dip the coated chicken into the beaten eggs, allowing any excess to drip off. Finally, roll the chicken in the coconut flakes, pressing gently to adhere the flakes well. Repeat this process with all the chicken pieces until they are all coated.
- Fry the chicken: In a deep pot or skillet, heat about 1 to 2 inches of oil to 350°F. It's important not to overcrowd the pan, so add only a few pieces of chicken at a time. Fry for about 2 to 3 minutes on each side, until they are golden brown and cooked through. Use a thermometer to check that the internal temperature reaches 165°F. Once done, transfer the fried chicken to a paper towel-lined plate to drain excess oil. Repeat this step with the remaining chicken pieces.
- Serve: You can serve Coconut Chicken with sweet and sour sauce or your favorite dipping sauce. The crispy texture pairs wonderfully with a tangy sauce. Enjoy your meal!
- Prep for baking: If you prefer a healthier option, preheat your oven to 400°F and line a baking sheet with parchment paper. Dredge the chicken as instructed in step 2, ensuring it is fully coated in the coconut.
- Bake the chicken: Place the dredged chicken on the prepared baking sheet. Bake for about 15 to 20 minutes, or until the chicken is crisp and golden brown. This method is fantastic for those looking to enjoy Coconut Chicken without frying.
Notes
- Tip 1: Nutritional information is for fried coconut chicken.
- Tip 2: Add your own spices into the mix to create different flavor combinations!
- Tip 3: Let the chicken fully cool down to room temperature. Place the chicken pieces in an airtight container and store in the fridge for 3 to 4 days.
- Tip 4: To reheat and retain crispiness, preheat the oven to 325°F. Let the chicken sit at room temperature for 10 to 15 minutes as the oven preheats. Place the chicken on a parchment paper-lined baking sheet. Bake for about 7 to 10 minutes, or until heated through.