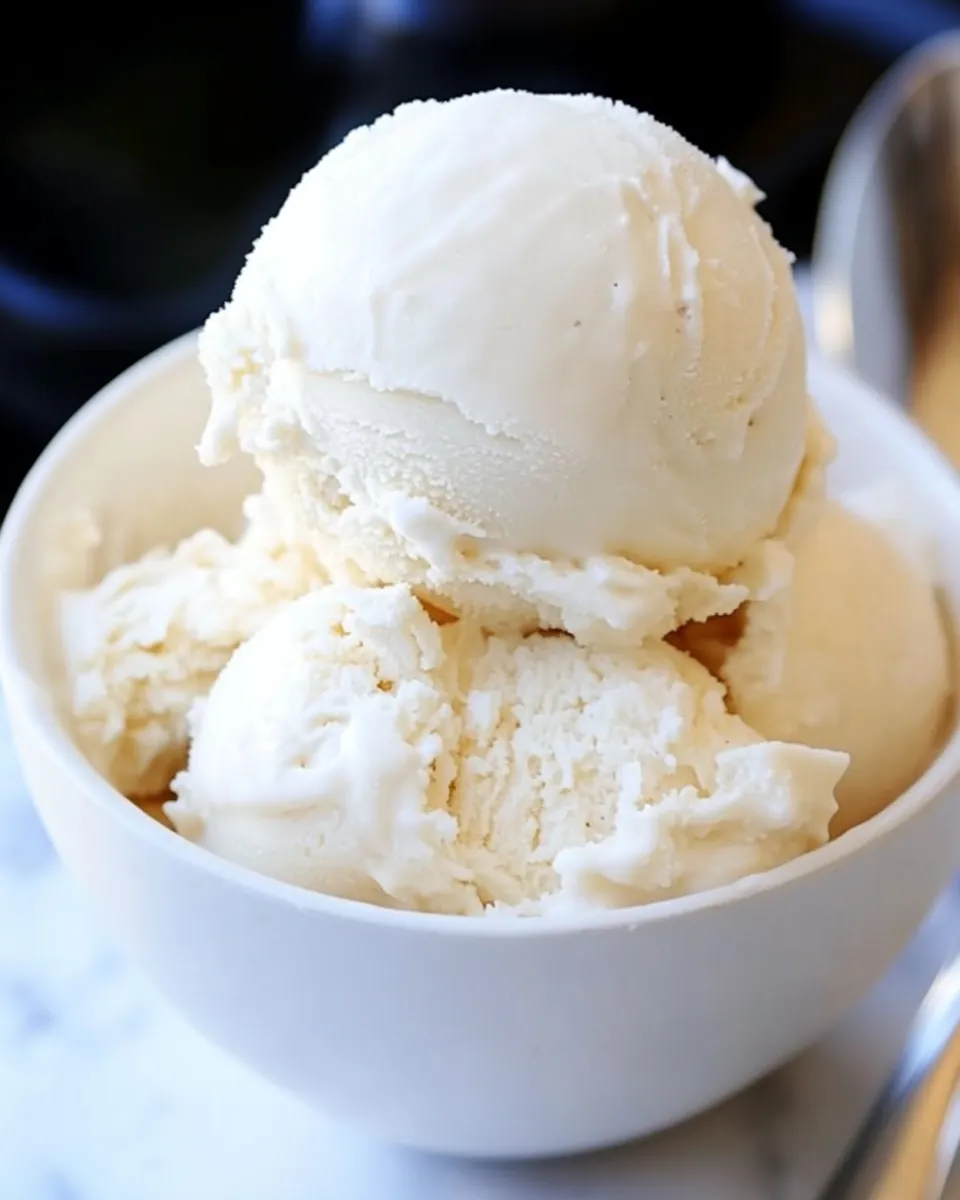
Coconut Ice Cream
Every summer, the heat would turn my childhood backyard into a playground of vibrant colors and laughter. As the sun blazed overhead, my family would gather to indulge in the sweetest treats, but nothing compared to the heavenly Coconut Ice Cream that my mother made. With its creamy texture and tropical flavor, each scoop was like a little slice of paradise. I remember the excitement of watching her blend together rich, creamy coconut milk and sweeteners, transforming simple ingredients into a delightful dessert. It became a ritual, a way to cool down and savor life’s simple pleasures. Whether enjoyed poolside or during family gatherings, this Coconut Ice Cream was always a crowd favorite that brought smiles to everyone’s faces.
Recipe Snapshot
10 mins
10 mins
0 mins
Medium
300 kcal
3 g
Gluten-Free, Low FODMAP
20 g
Mixing Bowl, Blender, Wooden Spoon
Why This Coconut Ice Cream Is So Good
1. Refreshing Delight
Nothing beats the summer heat quite like a scoop of Coconut Ice Cream. Its smooth, creamy texture and tropical flavor make it an instant refresher on warm days.
2. Easy to Make
If you’ve been intimidated by making ice cream, fear not! This Coconut Ice Cream is incredibly simple. With just a few ingredients and minimal effort, you can create a delicious treat at home.
3. Customizable Flavors
One of my favorite aspects of this recipe is its versatility. You can easily add your favorite flavors or mix-ins, whether it’s chunks of fruit, chocolate, or even a swirl of nut butter.
4. Dairy-Free Option
This Coconut Ice Cream is not only delightful but also a great option for those who are dairy-free. Using rich coconut milk means you can enjoy creamy goodness without any dairy products.
5. Perfect for Any Occasion
Whether it’s a backyard barbecue, a birthday party, or a quiet night in, Coconut Ice Cream is a perfect dessert that fits every occasion. It’s a treat everyone can enjoy!
6. Freeze and Enjoy Anytime
Once made, this ice cream can be stored in the freezer for weeks, so you can indulge in its creamy bliss whenever the mood strikes. There’s nothing like having a batch ready to go!
Coconut Ice Cream Shopping List
When making Coconut Ice Cream, the quality of your ingredients matters. The combination of rich coconut milk, a sweetener, and a pinch of salt creates a well-balanced, creamy dessert. Each ingredient plays a vital role, ensuring a smooth and satisfying flavor.
- 1 1/2 cups of canned coconut milk: The base of this ice cream, providing creaminess and a rich coconut flavor.
- 1/2 cup of additional coconut milk or a milk of your choice: Enhances the creaminess and can be adjusted to taste.
- 1/3 cup of sweetener: This can be sugar, pure maple syrup, or your preferred sweetener to balance the coconut flavor.
- 1/8 tsp of salt: A tiny pinch to enhance the flavors.
- 1 1/2 tsp of pure vanilla extract: Adds depth and a delightful aroma to the ice cream.
- Optional ingredients for different flavors: Get creative with fruits, nuts, or spices to customize your ice cream!
How to Make Coconut Ice Cream
Making Coconut Ice Cream is a fun and rewarding process. Follow these steps and get ready for a delicious treat that’s perfect for any occasion!
Start by gathering all your ingredients. It’s important to use full-fat canned coconut milk for the creamiest texture. Avoid light versions or coconut milk beverages as they might yield a different consistency.
In a large mixing bowl, combine the canned coconut milk, additional coconut milk, sweetener, salt, and vanilla extract. Use a whisk to blend everything together until smooth. Make sure there are no lumps, and the mixture is well combined.
Taste the mixture to adjust the sweetness if needed. You want a balanced flavor that isn’t too overpowering. If you prefer it sweeter, add a little more sweetener.
If you own an ice cream maker, transfer the mixture into the machine. Follow the manufacturer’s instructions for churning. This usually takes about 20 to 30 minutes.
For those without an ice cream maker, pour the mixture into ice cube trays. Once frozen, transfer the cubes into a high-speed blender like a Vitamix.
Blend the frozen cubes until smooth. You may need to stop and scrape down the sides to ensure everything is blended evenly.
Once the ice cream reaches a creamy consistency, you can eat it straight from the blender. However, for a firmer texture, transfer it back into a container and freeze for a few hours.
Enjoy your homemade Coconut Ice Cream right away or store it in the freezer. It’s best enjoyed fresh, but can stay frozen for up to a few weeks.
Remember to allow it to thaw slightly before scooping if it has been in the freezer for a long time, as it may harden.
Things Worth Knowing
- Ingredient Quality: Using high-quality coconut milk is crucial for achieving the best texture and flavor. Look for brands that have minimal additives.
- Churning Time: Proper churning time is essential for the creamy texture of the ice cream. Over-churning can lead to a grainy consistency.
- Mixing Techniques: When blending frozen cubes, ensure your blender is powerful enough to handle them for a smooth result.
- Storage Tips: To prevent ice crystals, store the ice cream in an airtight container, pressing plastic wrap directly onto the surface before sealing.
Recipe Tips about Coconut Ice Cream
Here are some tips to make your Coconut Ice Cream experience even better!
- Storage: Keep your ice cream in an airtight container to avoid freezer burn. It’s best enjoyed fresh but can last up to two weeks.
- Freezing: For a firmer texture, allow the ice cream to freeze for an additional few hours after churning.
- Pairing: Enjoy your Coconut Ice Cream with fresh fruits, like mango or pineapple, for a refreshing twist.
- Flavor Variations: Feel free to experiment with flavors by adding cocoa powder for chocolate ice cream or matcha powder for a green tea version.
- Vegan Friendly: This recipe is perfect for vegans as it uses coconut milk instead of dairy.
Accompaniments for Coconut Ice Cream
When serving your Coconut Ice Cream, consider these delicious accompaniments:
- Fresh Berries: Top your ice cream with a medley of fresh berries for a burst of flavor and color.
- Chopped Nuts: Sprinkle some toasted coconut or chopped nuts for added crunch and texture.
- Sauces: Drizzle with chocolate sauce or a homemade fruit syrup to elevate the dessert.
- Seasonal Enjoyment: Perfect for summer barbecues, birthday parties, or a cozy night in with family.
- Storage Tips: For best results, consume within the first week of making, but it can last longer if kept airtight.
FAQ
Conclusion
The Coconut Ice Cream recipe is a delightful way to enjoy a creamy and refreshing dessert that captures the essence of summer. It’s easy to make, customizable, and perfect for any occasion. I encourage you to give it a try and indulge in this tasty treat. You won’t regret making a batch of this ice cream to savor on warm days!
Coconut Ice Cream
Ingredients
Equipment
Method
- Start by gathering all your ingredients. It’s important to use full-fat canned coconut milk for the creamiest texture.
- In a large mixing bowl, combine the canned coconut milk, additional coconut milk, sweetener, salt, and vanilla extract. Use a whisk to blend everything together until smooth.
- Taste the mixture to adjust the sweetness if needed. You want a balanced flavor that isn’t too overpowering.
- If you own an ice cream maker, transfer the mixture into the machine. Follow the manufacturer’s instructions for churning.
- For those without an ice cream maker, pour the mixture into ice cube trays. Once frozen, transfer the cubes into a high-speed blender.
- Blend the frozen cubes until smooth. You may need to stop and scrape down the sides.
- Once the ice cream reaches a creamy consistency, you can eat it straight from the blender.
- For a firmer texture, transfer it back into a container and freeze for a few hours.
- Enjoy your homemade Coconut Ice Cream right away or store it in the freezer.