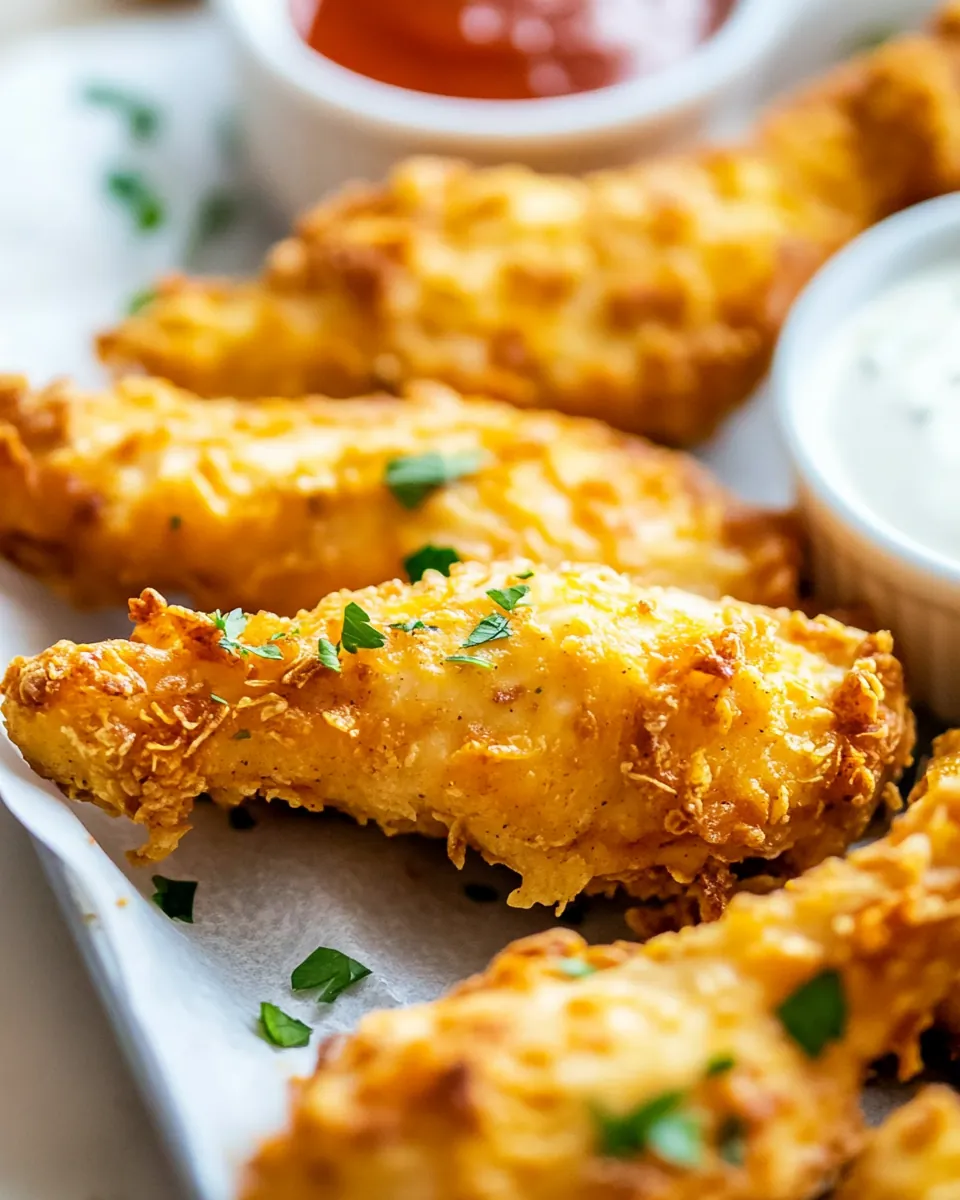
Crispy Baked Chicken Fingers
Let me tell you about my love for Crispy Baked Chicken Fingers. It all started on a rainy afternoon when I found myself craving something crispy yet comforting. I rummaged through my kitchen and reached for some tender chicken breasts, eager to transform them into golden, crunchy bites. The aroma of these delicious treats baking in the oven filled my home, making it feel warm and inviting. As the timer chimed, I eagerly awaited the first bite, and I knew I had stumbled upon a recipe that would become a family favorite.
Recipe Snapshot
45 mins
15 mins
30 mins
Medium
350 kcal
32 g
Paleo, Whole30, Vegan
12 g
Grater, Mixing Bowl, Whisk, Baking Sheet, Oven
Why This Crispy Baked Chicken Fingers Hits Different
Perfect for Any Occasion
One of the reasons I adore Crispy Baked Chicken Fingers is their versatility. Whether it’s a casual dinner, a party appetizer, or even a fun lunch for the kids, they always hit the spot. They can easily be dressed up with various dips or served simply with a side of veggies. I’ve made them for game days and family gatherings, and they never disappoint.
Healthier Alternative
Unlike their fried counterparts, these baked chicken fingers offer all the crunch without the excess oil. Baking them allows the flavors to shine and keeps the chicken juicy. I feel great serving this dish because I know it’s a healthier option that doesn’t sacrifice taste. Every bite brings a satisfying crunch, making it hard to believe they’re baked!
Fun for Everyone
Baking Crispy Baked Chicken Fingers can be a delightful experience, especially when cooking with family or friends. Kids love getting involved, whether it’s dipping the chicken into the egg wash or coating it with the crunchy corn flakes. It’s a fun way to engage everyone in the kitchen, making the meal preparation a memorable part of the experience.
Customizable to Your Taste
This recipe is wonderfully adaptable. You can spice it up by adding your favorite spices to the corn flakes or even experimenting with different types of breadcrumbs. Whether you like them spicy or mild, there’s no wrong way to prepare them. The base recipe is incredibly forgiving, allowing you to make it your own.
Great Leftovers
If there are any Crispy Baked Chicken Fingers left over, they make for a fantastic next-day lunch. Just pop them back in the oven for a few minutes to revive that crunchy texture, and you’re good to go! They’re perfect for meal prep, and you can easily pair them with a fresh salad or wrap them in a tortilla for a quick meal on the run.
What You Need for Crispy Baked Chicken Fingers
When making Crispy Baked Chicken Fingers, the choice of ingredients is crucial to achieving that perfect crunch and flavor. Each component plays a vital role in bringing this dish together. The star of the show is, of course, the chicken breasts, which provide a juicy foundation. The corn flakes and flour create a delightful crunch that encases the chicken, while the seasonings elevate every bite.
- 2 Chicken breasts: The main ingredient; tender and juicy.
- 1 cup corn flakes (crushed): Provides a satisfying crunch and a flavorful coating.
- 1 cup all-purpose flour: Helps the coating stick to the chicken.
- 1 egg: Binds the flour and coating to the chicken.
- ½ tsp salt: Enhances the flavor.
- ½ tsp black pepper: Adds a mild kick.
- 1 tsp sweet paprika: Offers a gentle sweetness and color.
- ¼ cup grated parmesan: Adds richness and depth to the flavor.
Making This Crispy Baked Chicken Fingers
Making Crispy Baked Chicken Fingers is a straightforward process that will have you indulging in homemade goodness in no time. Follow these simple steps, and you’ll have a plate full of crispy delight.
Preheat your oven to 400 degrees Fahrenheit. A properly preheated oven is essential for achieving that perfect crunch.
Line a baking tray with parchment paper. This prevents sticking and makes clean-up a breeze.
Place a cooling rack onto the lined baking tray. This allows air to circulate around the chicken fingers, ensuring they become evenly crispy.
Spray the cooling rack with non-stick cooking spray. This step guarantees that nothing sticks, and cleanup is easy.
Cut the chicken breasts into strips. Aim for even sizes so they cook uniformly.
In a medium-sized mixing bowl, combine the crushed corn flakes, flour, salt, black pepper, paprika, and parmesan. Mix well to ensure even distribution of the seasonings.
In another bowl, crack and whisk the egg. This will be the binding agent for the chicken.
Take each chicken strip and dip it into the whisked egg, making sure it’s well-coated.
Then, one by one, dip each egg-coated strip into the corn flakes mixture, ensuring they are entirely coated. This layer is what brings the crunch!
Place the coated chicken strips onto the cooling rack, ensuring they are spaced apart for even baking.
Bake for 20 minutes, or until golden brown. Keep an eye on them; they should be crispy and cooked through.
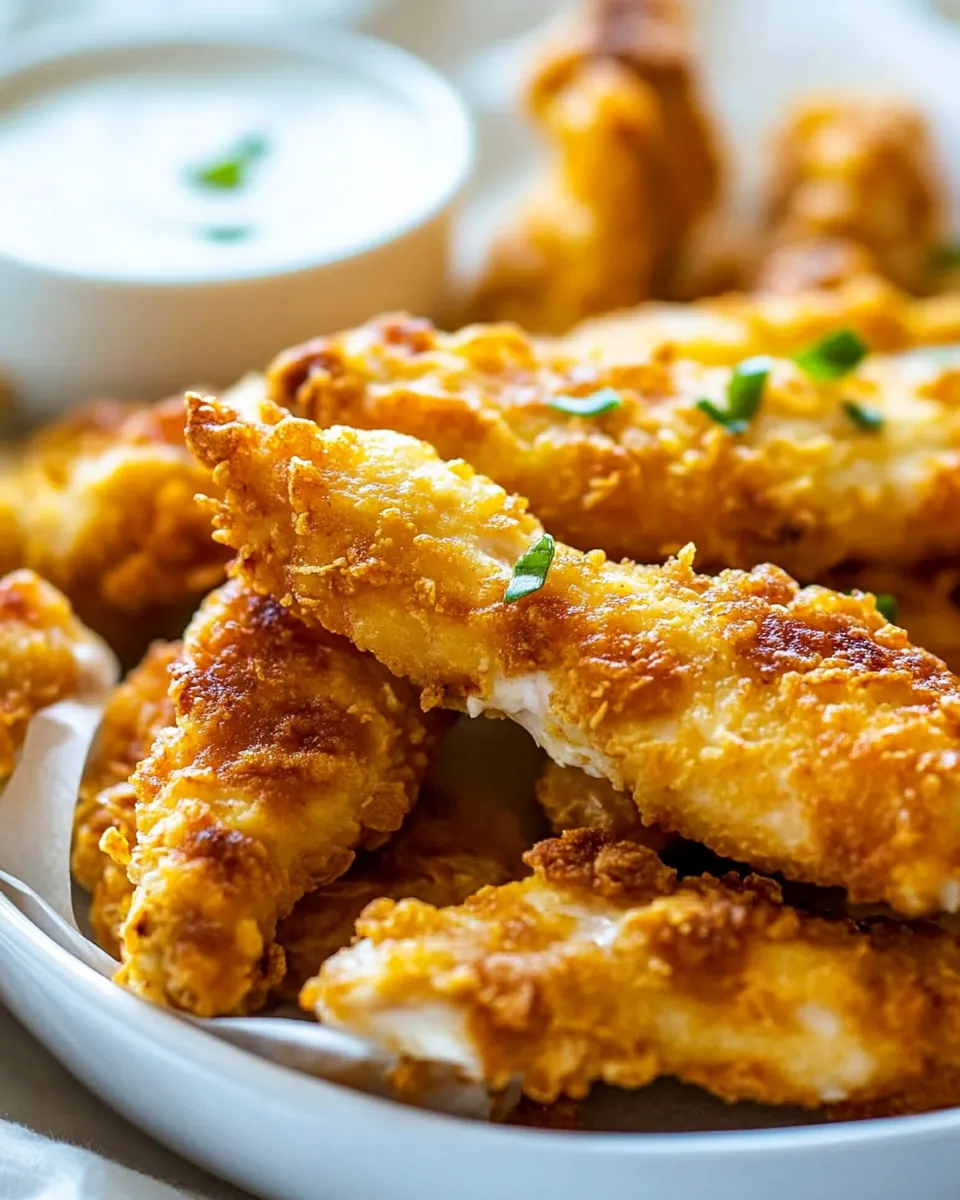
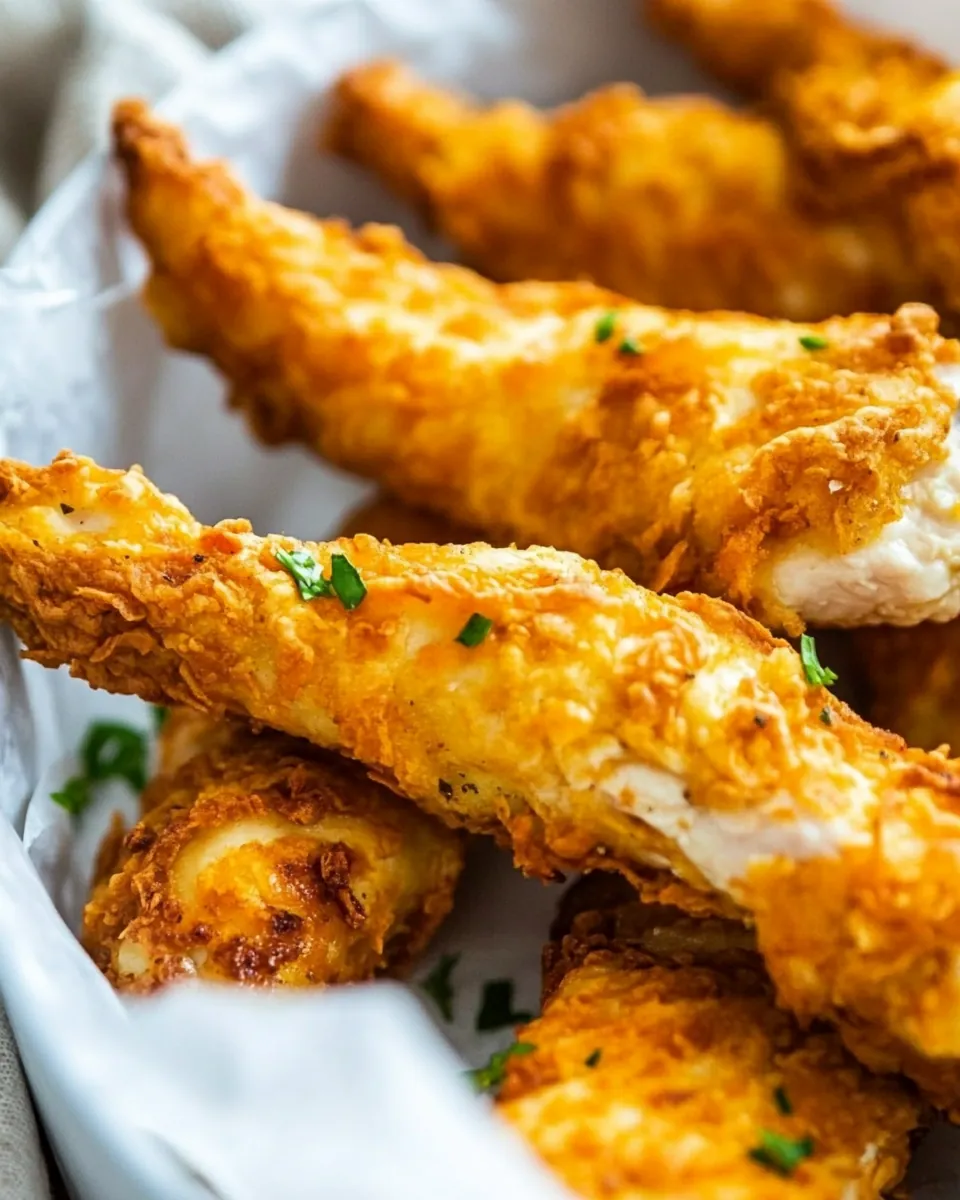
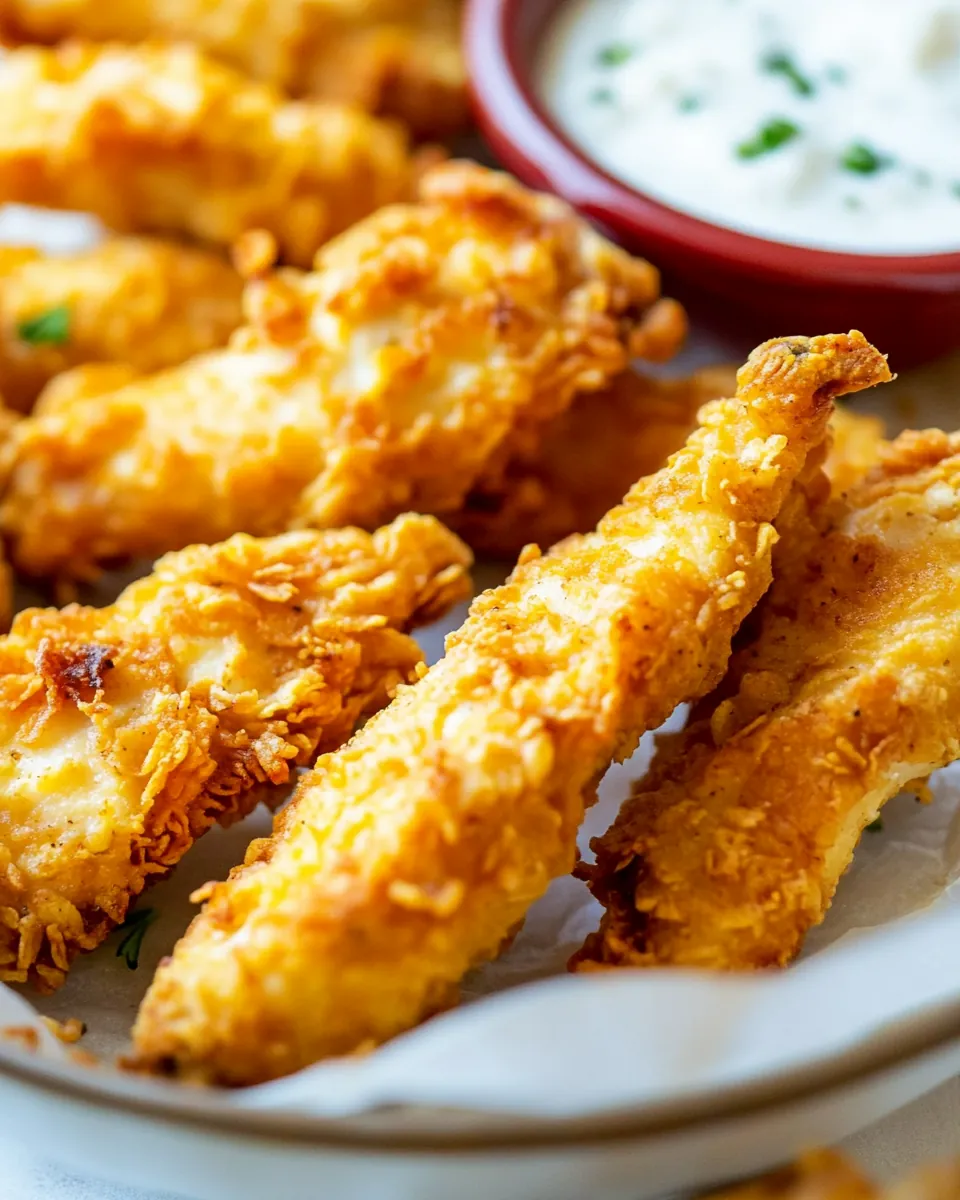
Once done, take them out and allow them to cool slightly. Enjoy your Crispy Baked Chicken Fingers warm, with your favorite dips!
Things Worth Knowing
- Chicken Selection: Choose fresh, high-quality chicken breasts for the best flavor and texture.
- Crushing Corn Flakes: For an even crunch, crush the corn flakes into fine pieces, but don’t turn them into powder.
- Spacing on the Rack: Make sure the chicken strips aren’t touching on the cooling rack to get that desired crispiness.
- Don’t Skip the Parchment: Using parchment paper eases cleanup and prevents sticking.
- Resting Time: Letting the chicken rest for a few minutes after baking allows the juices to redistribute, keeping them juicy.
How to Switch It Up
Feeling adventurous? There are countless ways to personalize your Crispy Baked Chicken Fingers. Here are some ideas to keep your meals exciting.
- Storage: Store leftovers in an airtight container in the fridge for up to three days. Reheat in the oven to retain crispiness.
- Freezing: These chicken fingers freeze well! Layer them between parchment paper in a freezer bag and store for up to two months.
- Pairing: Serve with dipping sauces like honey mustard, barbecue, or ranch for an extra flavor kick.
- Spice it Up: Add cayenne pepper or hot sauce to the corn flakes mixture for a spicy version.
- Kid-Friendly Variations: For picky eaters, consider using different seasonings or even a fun-shaped cutter to make the chicken fingers more appealing.
What to Pair With Crispy Baked Chicken Fingers
When it comes to serving Crispy Baked Chicken Fingers, the possibilities are endless! Here are some ideas to elevate your meal.
- Classic Sides: Pair with crispy fries or sweet potato wedges for a traditional combo.
- Fresh Salads: A light side salad with mixed greens and a tangy vinaigrette complements the richness of the chicken.
- Fun Dips: Consider serving with an array of dips like ranch, honey mustard, or spicy aioli.
- Picnic Perfect: These chicken fingers make for a great picnic item; pack them with fresh fruits and veggies.
- Seasonal Variations: In summer, serve with corn on the cob and a refreshing cucumber salad; in colder months, pair with roasted vegetables.
- Game Day: Serve them at gatherings with chips and guacamole for a fun finger food spread.
FAQ
Conclusion
The Crispy Baked Chicken Fingers recipe is a delightful blend of crunch and flavor, perfect for any occasion. They’re easy to make, healthier than traditional fried options, and a hit with both kids and adults. I encourage you to give them a try; you may just find them becoming a staple in your household!
Crispy Baked Chicken Fingers
Ingredients
Equipment
Method
- Preheat your oven to 400 degrees Fahrenheit. A properly preheated oven is essential for achieving that perfect crunch.
- Line a baking tray with parchment paper. This prevents sticking and makes clean-up a breeze.
- Place a cooling rack onto the lined baking tray. This allows air to circulate around the chicken fingers, ensuring they become evenly crispy.
- Spray the cooling rack with non-stick cooking spray. This step guarantees that nothing sticks, and cleanup is easy.
- Cut the chicken breasts into strips. Aim for even sizes so they cook uniformly.
- In a medium-sized mixing bowl, combine the crushed corn flakes, flour, salt, black pepper, paprika, and parmesan. Mix well to ensure even distribution of the seasonings.
- In another bowl, crack and whisk the egg. This will be the binding agent for the chicken.
- Take each chicken strip and dip it into the whisked egg, making sure it’s well-coated.
- Then, one by one, dip each egg-coated strip into the corn flakes mixture, ensuring they are entirely coated. This layer is what brings the crunch!
- Place the coated chicken strips onto the cooling rack, ensuring they are spaced apart for even baking.
- Bake for 20 minutes, or until golden brown. Keep an eye on them; they should be crispy and cooked through.
- Once done, take them out and allow them to cool slightly. Enjoy your Crispy Baked Chicken Fingers warm, with your favorite dips!
Notes
- Storage: Store leftovers in an airtight container in the fridge for up to three days. Reheat in the oven to retain crispiness.
- Freezing: These chicken fingers freeze well! Layer them between parchment paper in a freezer bag and store for up to two months.
- Pairing: Serve with dipping sauces like honey mustard, barbecue, or ranch for an extra flavor kick.
- Spice it Up: Add cayenne pepper or hot sauce to the corn flakes mixture for a spicy version.
- Kid-Friendly Variations: For picky eaters, consider using different seasonings or even a fun-shaped cutter to make the chicken fingers more appealing.