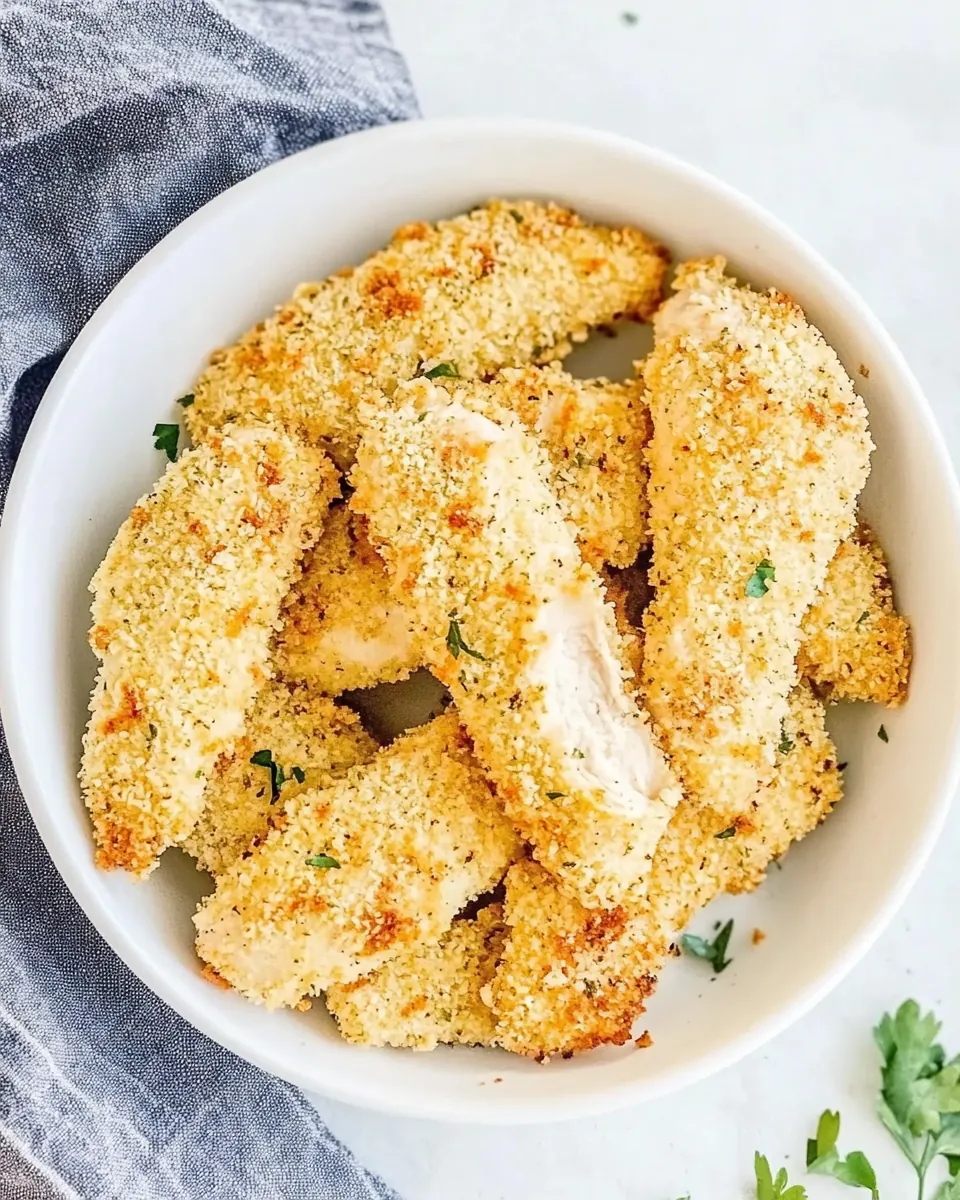
Crispy Baked Chicken Tenders
There’s something incredibly comforting about Crispy Baked Chicken Tenders. Growing up, I remember the excitement as the aroma of chicken wafted through our house on those busy weeknights. My family would gather around the table, eager to dig into perfectly baked tenders, golden and crisp on the outside, juicy on the inside. It wasn’t just a meal; it was a moment of joy, laughter, and connection. As I got older, I realized how easy it is to recreate that magic in my own kitchen. With a few simple ingredients, you can whip up a batch that rivals your favorite restaurant’s! Trust me, whether you’re feeding kids, hosting friends, or just treating yourself, these tenders never disappoint.
Recipe Snapshot
22 mins
10 mins
12 mins
Medium
350 kcal
30 g
Gluten-Free, Low FODMAP
15 g
Oven, Grater, Mixing Bowl, Baking Sheet
Why This Crispy Baked Chicken Tenders Shines
Healthier Alternative
One of the things I love most about making Crispy Baked Chicken Tenders at home is that you have complete control over the ingredients. Unlike their deep-fried counterparts, these tenders are baked, making them a far healthier option. You can enjoy the delicious crunch without the guilt!
Perfect for Meal Prep
These tenders are fantastic for meal prepping! You can make a large batch at once, and they store beautifully in the fridge or freezer. Just reheat them in the oven to retain that crunch. It makes weeknight dinners a breeze!
Kid-Friendly Recipe
Kids adore these tenders! They’re not just tasty but also fun to eat. You can serve them with a variety of dips—think honey mustard, BBQ sauce, or ranch dressing. It’s a meal that even the pickiest of eaters will love!
Versatile Pairings
Another reason to love Crispy Baked Chicken Tenders is their versatility. They can be served in countless ways, from a simple dinner plate to a fun lunchbox treat. Pair them with a fresh salad or some crispy fries, and you’re all set!
Great for Any Occasion
These tenders are not just for casual dinners. They can make an appearance at parties, game days, or any gathering. Everyone loves them! Just set out a platter with various dipping sauces, and watch them disappear.
Deliciously Simple
Lastly, the simplicity of this recipe is a huge plus. With just a handful of ingredients and straightforward steps, you can have a delicious meal ready in no time. It’s a go-to recipe that’s always in my rotation.
Essential Ingredients for Crispy Baked Chicken Tenders
When it comes to making Crispy Baked Chicken Tenders, the ingredients are what truly matter. Each one plays a vital role in achieving that perfect balance of flavor and texture. The key players include tender, juicy chicken, crispy bread crumbs, and the unmistakable kick of garlic powder. Together, they transform simple components into a dish that’s both satisfying and delicious.
- Chicken tenderloins: These are the star of the show! Tender and juicy, they cook evenly and retain moisture, making them ideal for baking.
- Flour: This is used for dredging the chicken, helping the egg and breadcrumbs stick better for that extra crunch.
- Plain bread crumbs: The secret to that crispy exterior. They toast beautifully in the oven, creating a golden crust.
- Parmesan cheese: Adds an extra layer of flavor and richness. It melts slightly during baking, giving a delightful taste.
- Garlic powder: Elevates the flavor profile, giving the tenders a savory kick.
- Salt: Essential for enhancing the flavors of all the other ingredients.
- Smoked paprika: Brings a subtle smokiness and depth of flavor to the dish.
- Ground black pepper: Adds a touch of heat and depth.
- Eggs: Used to bind the breading, ensuring it adheres well to the chicken.
How to Make Crispy Baked Chicken Tenders

Making Crispy Baked Chicken Tenders is an enjoyable process! With just a few steps, you’ll create a mouthwatering dish that’s sure to impress. Let’s dive into the method!
- First, preheat your oven to 400°F (200°C). It’s crucial to start with a hot oven, as this helps the tenders become crispy. While the oven heats, you can get your breading stations ready.
- In a shallow dish, combine the bread crumbs, parmesan cheese, garlic powder, salt, smoked paprika, and ground black pepper. Mix them well; this will be your flavorful coating.
- In another shallow dish, add the flour. You want to keep this separate because it will help dry the chicken and ensure the egg sticks.
- In a third dish, crack the eggs and scramble them lightly. This will be the adhesive that helps the breading stick to the chicken.
- Now, take a piece of chicken tenderloin and dredge it in the flour. Make sure to coat it evenly, shaking off any excess.
- Next, dip the floured chicken into the egg mixture, ensuring it’s fully coated. This step is crucial for getting that crunchy layer.
- Finally, roll the chicken in the bread crumb mixture, pressing gently to ensure it sticks on all sides. Set aside and repeat with the remaining tenders.
- Grease a large cookie sheet with cooking spray or a little oil. Place each breaded chicken tender on the sheet, ensuring they’re spaced about an inch apart.
- Once all the tenders are on the baking sheet, discard any leftover flour, eggs, or bread crumbs. It’s important for even cooking.
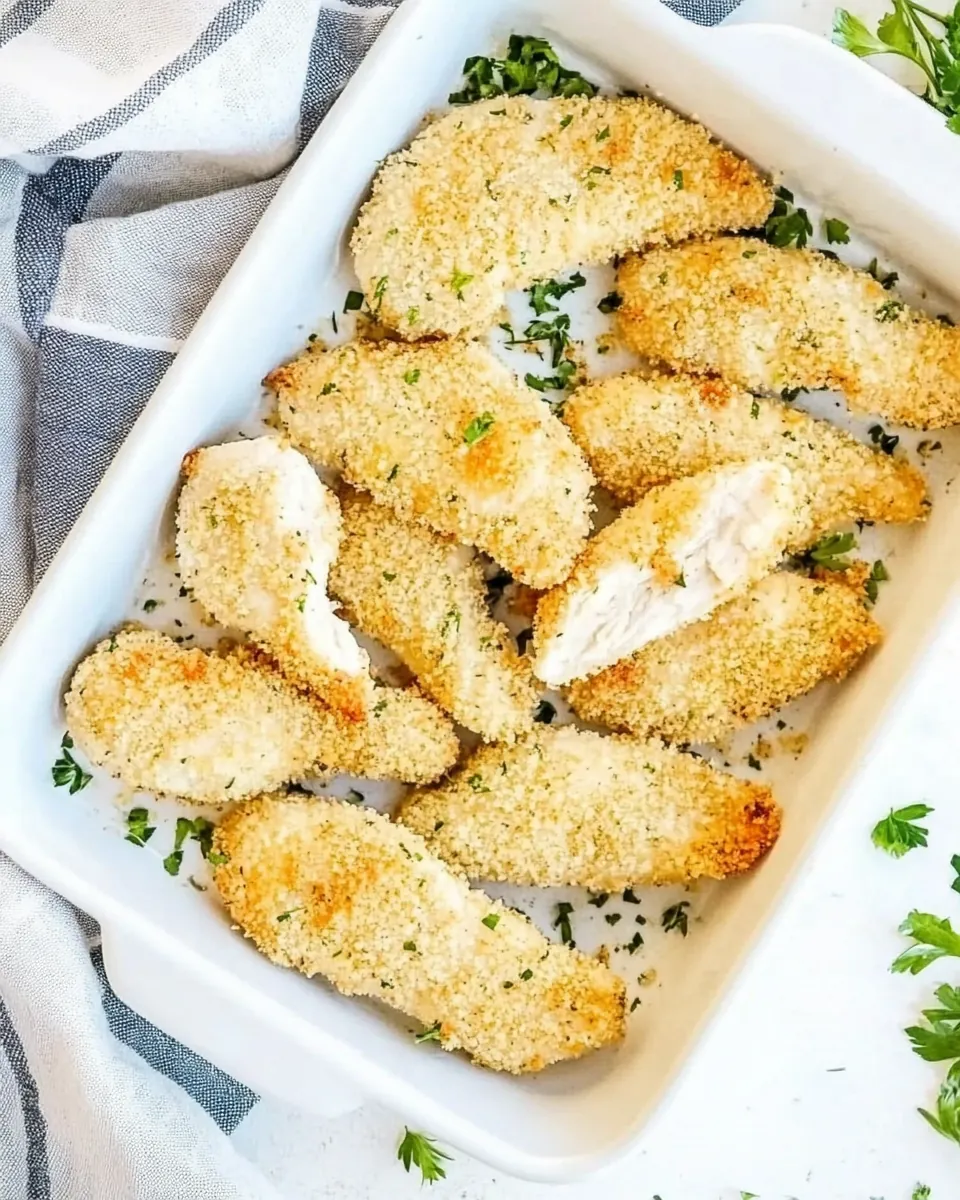
- Bake in the preheated oven for 10 to 12 minutes. The chicken should reach an internal temperature of 165°F (74°C) when done. Keep an eye on them; they should be golden brown and crisp!
- Once cooked, remove them from the oven and serve them immediately, or let them cool on a wire rack if you’re preparing for later. Enjoy those delicious Crispy Baked Chicken Tenders!
Things Worth Knowing
- Don’t rush the breading: Take your time when coating the chicken to ensure an even layer of breadcrumbs. This makes a big difference in texture.
- Use a cooling rack: If you want to keep your tenders crispy, use a wire rack instead of placing them directly on a plate.
- Experiment with spices: Feel free to adjust the spices based on your taste. You can add cayenne for heat or Italian seasoning for a herby twist.
- Check for doneness: Always use a meat thermometer to check that the chicken reaches 165°F (74°C) to ensure safety while eating.
Pro Tips and Tweaks

Let’s dive into some pro tips to elevate your Crispy Baked Chicken Tenders experience! These handy suggestions will ensure your dish turns out perfectly every time.
- Storage: If you have leftovers, store them in an airtight container in the fridge for up to three days. Recrisp in the oven before serving.
- Freezing: You can freeze the uncooked, breaded tenders for quick meals. Just bake them directly from frozen when you’re ready to eat.
- Pairing: Serve these tenders with fresh veggies or a light salad for a balanced meal.
- Customization: Try using different types of cheese or breadcrumbs (like panko) for varied flavor and texture.
- Dipping sauces: Complement your chicken tenders with a selection of sauces like ranch, honey mustard, or spicy mayo for an extra kick.
What to Pair With Crispy Baked Chicken Tenders
When it comes to serving Crispy Baked Chicken Tenders, the possibilities are endless! Here are some great pairings to consider:
- Classic French Fries: You can’t go wrong with crispy fries to accompany your tenders. They make a delightful duo!
- Coleslaw: A tangy coleslaw adds a refreshing crunch that complements the crispy texture of the tenders.
- Mac and Cheese: For a heartier meal, serve with creamy mac and cheese for the ultimate comfort food experience.
- Fresh Salad: Pair with a light salad. The freshness balances the richness of the chicken.
- Vegetable Slices: Carrot and cucumber sticks with a dip can be a healthy side that kids will love.
- Game Day Snacks: Perfect for parties, set up a platter of tenders with a variety of dips for guests to enjoy.
- Seasonal Vegetables: Serve alongside roasted seasonal vegetables for a nutritious and colorful plate.
FAQ
Conclusion
The beauty of **Crispy Baked Chicken Tenders** lies in their simplicity and deliciousness. They bring back fond memories of family dinners and gatherings, all while being easy to make and customize. I urge you to try this recipe for your next meal. You won’t be disappointed!
Crispy Baked Chicken Tenders
Ingredients
Equipment
Method
- First, preheat your oven to 400°F (200°C). It’s crucial to start with a hot oven, as this helps the tenders become crispy. While the oven heats, you can get your breading stations ready.
- In a shallow dish, combine the bread crumbs, parmesan cheese, garlic powder, salt, smoked paprika, and ground black pepper. Mix them well; this will be your flavorful coating.
- In another shallow dish, add the flour. You want to keep this separate because it will help dry the chicken and ensure the egg sticks.
- In a third dish, crack the eggs and scramble them lightly. This will be the adhesive that helps the breading stick to the chicken.
- Now, take a piece of chicken tenderloin and dredge it in the flour. Make sure to coat it evenly, shaking off any excess.
- Next, dip the floured chicken into the egg mixture, ensuring it’s fully coated. This step is crucial for getting that crunchy layer.
- Finally, roll the chicken in the bread crumb mixture, pressing gently to ensure it sticks on all sides. Set aside and repeat with the remaining tenders.
- Grease a large cookie sheet with cooking spray or a little oil. Place each breaded chicken tender on the sheet, ensuring they’re spaced about an inch apart.
- Once all the tenders are on the baking sheet, discard any leftover flour, eggs, or bread crumbs. It’s important for even cooking.
- Bake in the preheated oven for 10 to 12 minutes. The chicken should reach an internal temperature of 165°F (74°C) when done. Keep an eye on them; they should be golden brown and crisp!
- Once cooked, remove them from the oven and serve them immediately, or let them cool on a wire rack if you're preparing for later. Enjoy those delicious Crispy Baked Chicken Tenders!