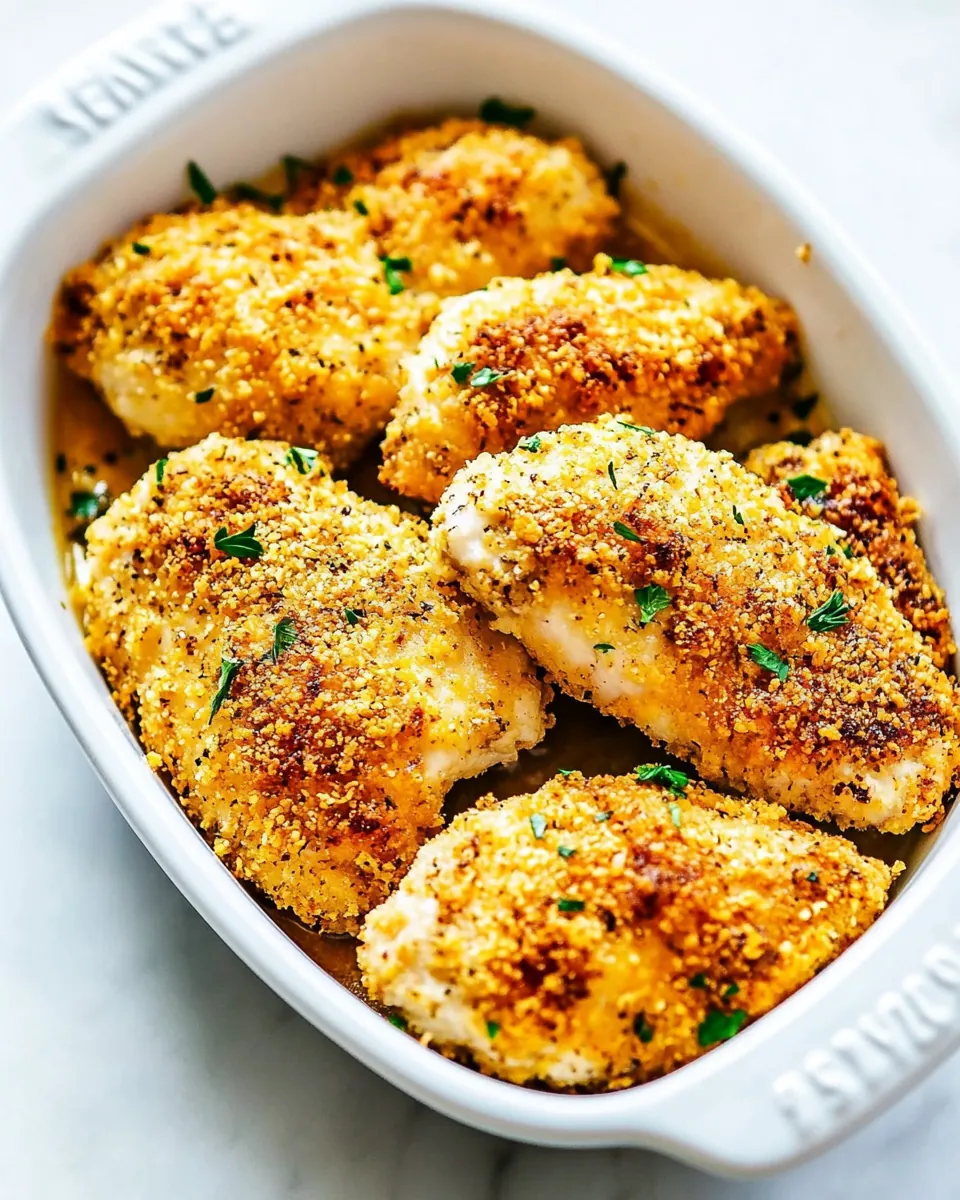
Crispy Ranch Chicken
When I think of comfort food, nothing quite compares to Crispy Ranch Chicken. I remember a cozy evening when I decided to whip up this dish, and the aroma that filled the kitchen was simply irresistible. The anticipation of biting into that crunchy, flavorful coating over juicy chicken made my mouth water. It all started with a simple craving for something crispy yet packed with flavor. At that moment, I knew I had to share this recipe with friends and family because it’s not just a meal, it’s a moment of happiness and warmth. We all have those days when we want something easy yet satisfying, and this Crispy Ranch Chicken is exactly that.
Recipe Snapshot
45 mins
15 mins
30 mins
Medium
420 kcal
40 g
Gluten-Free, Low FODMAP
20 g
9×13 Baking Pan
Why We Love This Crispy Ranch Chicken
It’s Incredibly Flavorful
The unique blend of ranch seasoning and Parmesan cheese takes the flavor profile to a whole new level. Each bite bursts with deliciousness, making it a hit for both kids and adults alike.
Simple and Easy to Make
This recipe is straightforward, which means you can have dinner on the table in no time. With just a few ingredients, you’ll create a dish that looks and tastes like a gourmet meal.
Perfect for Any Occasion
Whether it’s a casual family dinner or a gathering with friends, Crispy Ranch Chicken fits right in. It’s a versatile dish that pairs beautifully with many sides.
Great Leftovers
One of the best parts about this recipe is the leftovers. If there are any, they make for an excellent lunch the next day, maintaining their delicious crunch.
Customizable
This dish allows for creativity! Feel free to adjust the seasoning or pair it with your favorite sides. It’s a base recipe that encourages personal touches.
Crispy Ranch Chicken Shopping List
Gathering the right ingredients is essential for making Crispy Ranch Chicken. Each component plays a vital role in achieving that perfect crunch and flavor balance. Let’s take a closer look at what you’ll need to create this delightful dish.
- 4 boneless, skinless chicken breasts: This is the star of the show! The chicken should be fresh, ensuring tenderness and juiciness.
- Kosher salt and freshly ground black pepper: Simple yet effective seasonings to enhance the chicken’s natural flavors.
- ¾ cup all-purpose flour: The base for the coating that gives that initial crunch.
- 2 large eggs: Beaten eggs help the coating stick to the chicken, adding another layer of flavor.
- 1 cup Panko breadcrumbs: These are key for achieving that crispy texture that we all love.
- ½ cup freshly grated Parmesan cheese: Adds a savory, nutty flavor that complements the ranch seasoning.
- 1 ounce ranch seasoning: The secret ingredient that brings all the flavors together.
Crispy Ranch Chicken Instructions
Once you have everything ready, it’s time to dive into the cooking process for Crispy Ranch Chicken. This step-by-step guide will walk you through each phase, ensuring your chicken comes out perfectly crispy and flavorful.
- Preheat your oven to 375°F (190°C). While it heats up, grab your 9×13-inch baking pan and grease it with a bit of olive oil. This will help the chicken achieve a nice golden brown color as it bakes.
- Season the chicken breasts generously with Kosher salt and black pepper on both sides. This step is crucial for flavor, so adjust to your taste preferences.
- Set out three shallow bowls for the breading process. In the first bowl, mix the flour with a pinch of salt and pepper to season it lightly. The second bowl should contain the beaten eggs, and the third bowl is where you’ll combine the Panko breadcrumbs, Parmesan cheese, and ranch seasoning.
- Now it’s time to coat the chicken. Take a seasoned chicken breast and dip it into the flour mixture, covering it completely. Gently shake off any excess.
- Next, plunge the floured chicken into the beaten eggs, ensuring it’s well-coated. This sticky layer will help the breadcrumbs adhere properly.
- Finally, roll the chicken in the breadcrumb mixture, pressing gently to make sure the breadcrumbs stick well. You want a nice even coating for that extra crunch!
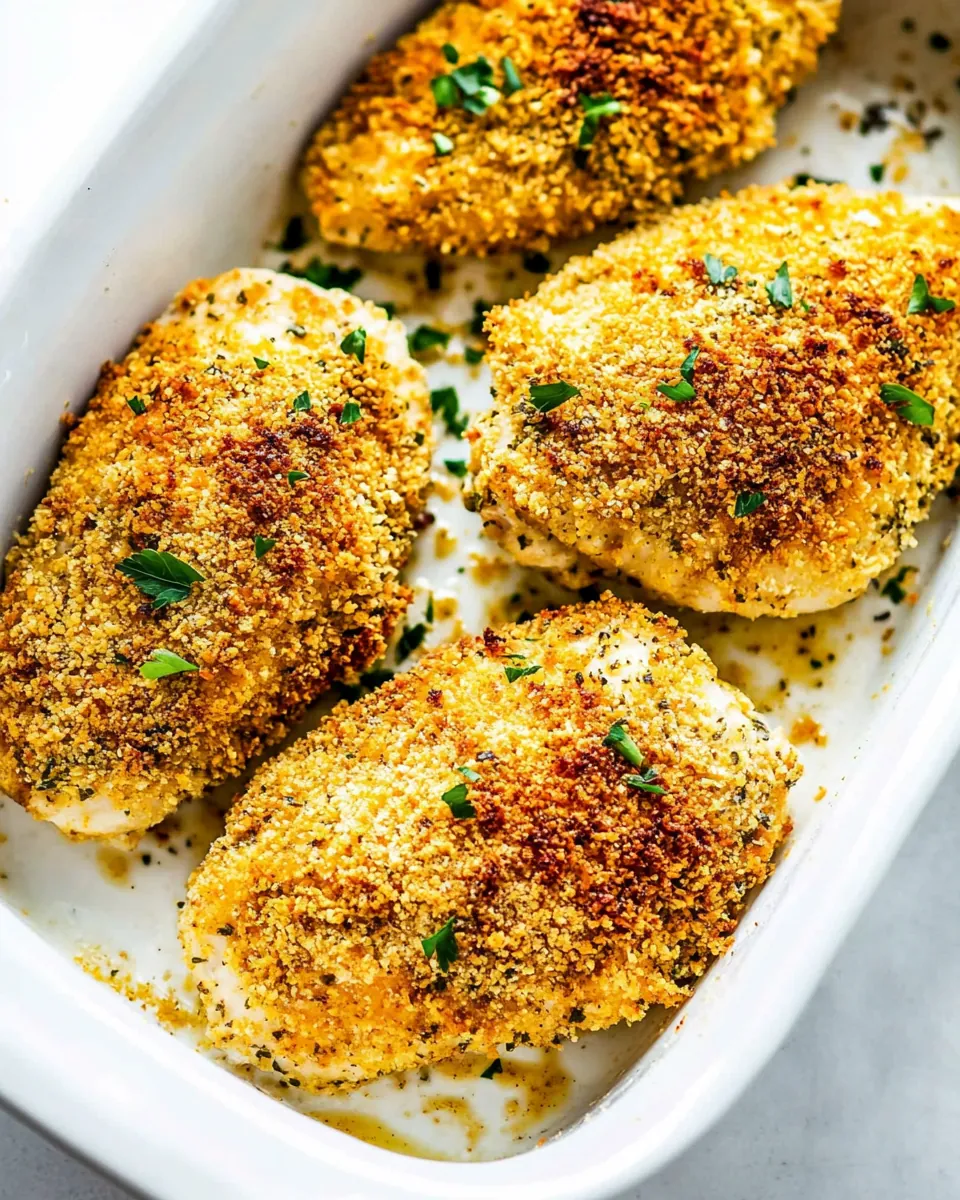
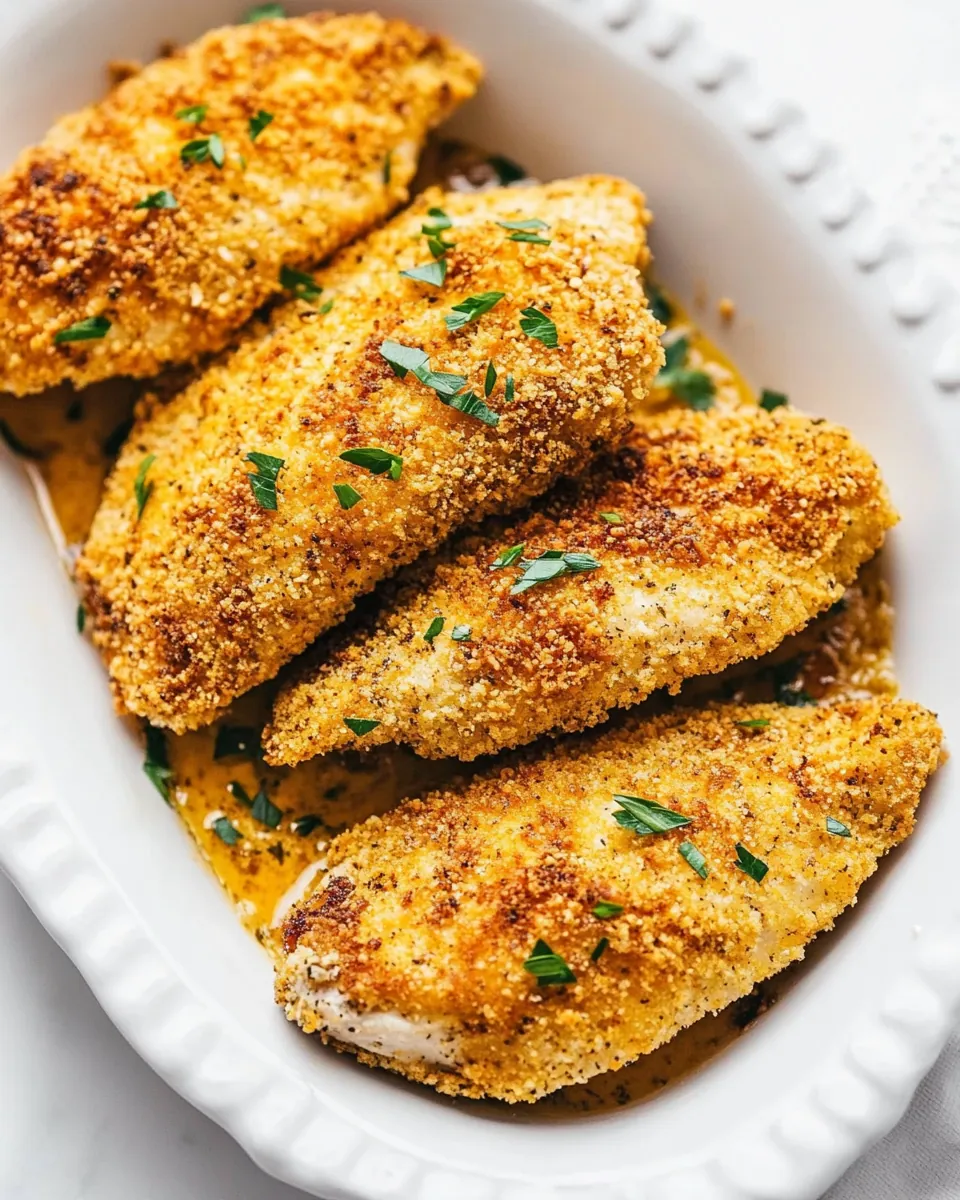
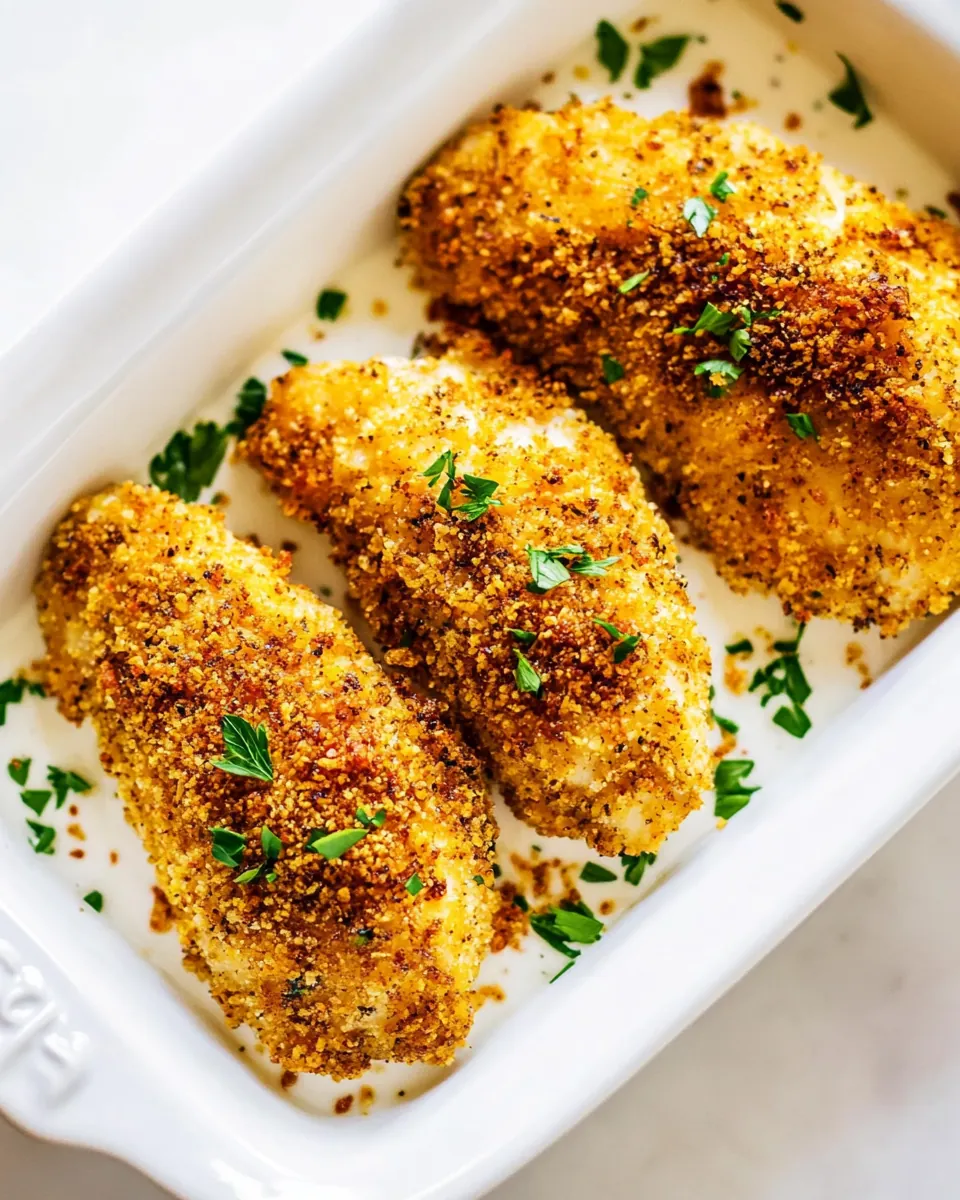
- Once all the chicken breasts are coated, place each one in the prepared baking dish. Give the tops a light spray with cooking spray to encourage browning.
- Bake in the preheated oven for 30 minutes. You’re looking for a beautiful golden brown color, and the internal temperature should reach 165°F (75°C) for safety.
- Once done, remove from the oven and allow the chicken to rest for a few minutes before serving. This will help the juices redistribute and keep your chicken moist.
Things Worth Knowing
- Use a Meat Thermometer: Always check your chicken’s internal temperature to ensure it’s cooked through. It should read 165°F (75°C).
- Resting Time: Let your chicken rest after baking to keep it juicy. This step is often overlooked.
- Crispier Coating: For an extra crunchy texture, try searing the chicken in a bit of hot oil before baking, as mentioned in the tips.
- Storage: Store leftovers in an airtight container in the fridge to maintain their crispiness for up to 3 days.
Making Adjustments
Every cook has their own flair, and the same goes for Crispy Ranch Chicken. Here are some tips to personalize this dish to your liking.
- Storage: Store any leftover Crispy Ranch Chicken in an airtight container in the refrigerator. They’ll stay fresh for about three days.
- Freezing: To freeze, allow the chicken to cool completely, then wrap tightly in plastic wrap. You can freeze it for up to three months.
- Pairing: Serve this chicken with a side salad or steamed vegetables for a balanced meal. It’s also delicious with mashed potatoes or rice.
- Spice It Up: If you love heat, add some cayenne pepper to the flour mixture for a spicy kick.
- Herb Variations: Experiment with different herbs in the breadcrumb mixture, like thyme or oregano, for added flavor.
Great Combinations for Crispy Ranch Chicken
When it comes to serving Crispy Ranch Chicken, the possibilities are endless. Here are some great combinations to consider:
- Fresh Salads: A crisp salad with mixed greens, cherry tomatoes, and a light vinaigrette pairs wonderfully with the richness of the chicken.
- Roasted Vegetables: Consider a medley of seasonal roasted veggies like carrots, broccoli, and bell peppers for a colorful and nutritious side.
- Mashed Potatoes: Creamy mashed potatoes add comfort and make this meal even more filling.
- Rice Pilaf: A seasoned rice pilaf is a great side that complements the flavors of the chicken.
- Perfect for Gatherings: This dish works just as well for family dinners or as a crowd-pleaser at parties. It’s simple yet impressive!
- Seasonal Pairings: For a summer meal, pair it with a light salad; in winter, opt for hearty roasted roots.
FAQ
Conclusion
The flavors and textures of Crispy Ranch Chicken truly make it a standout dish in any meal rotation. Its easy preparation and fantastic taste make it a go-to choice when you’re craving something comforting yet simple. I encourage you to give this recipe a try; it may just become your new family favorite!
Crispy Ranch Chicken
Ingredients
Equipment
Method
- Preheat your oven to 375°F (190°C). While it heats up, grab your 9×13-inch baking pan and grease it with a bit of olive oil. This will help the chicken achieve a nice golden brown color as it bakes.
- Season the chicken breasts generously with Kosher salt and black pepper on both sides. This step is crucial for flavor, so adjust to your taste preferences.
- Set out three shallow bowls for the breading process. In the first bowl, mix the flour with a pinch of salt and pepper to season it lightly. The second bowl should contain the beaten eggs, and the third bowl is where you'll combine the Panko breadcrumbs, Parmesan cheese, and ranch seasoning.
- Now it’s time to coat the chicken. Take a seasoned chicken breast and dip it into the flour mixture, covering it completely. Gently shake off any excess.
- Next, plunge the floured chicken into the beaten eggs, ensuring it’s well-coated. This sticky layer will help the breadcrumbs adhere properly.
- Finally, roll the chicken in the breadcrumb mixture, pressing gently to make sure the breadcrumbs stick well. You want a nice even coating for that extra crunch!
- Once all the chicken breasts are coated, place each one in the prepared baking dish. Give the tops a light spray with cooking spray to encourage browning.
- Bake in the preheated oven for 30 minutes. You’re looking for a beautiful golden brown color, and the internal temperature should reach 165°F (75°C) for safety.
- Once done, remove from the oven and allow the chicken to rest for a few minutes before serving. This will help the juices redistribute and keep your chicken moist.
Notes
- Tip 1: For an extra crispy crust, heat 1 tablespoon of butter and 1 tablespoon of oil in a pan. Sear the chicken until crispy on both sides, about 4 minutes.
- Tip 2: Feel free to use cornflakes for coating instead of Panko breadcrumbs.
- Tip 3: Store leftovers in an airtight container in the fridge to maintain their crispiness for up to 3 days.
- Tip 4: Allow the chicken to cool completely before freezing, then wrap tightly in plastic wrap.
- Tip 5: Experiment with different herbs in the breadcrumb mixture for added flavor.