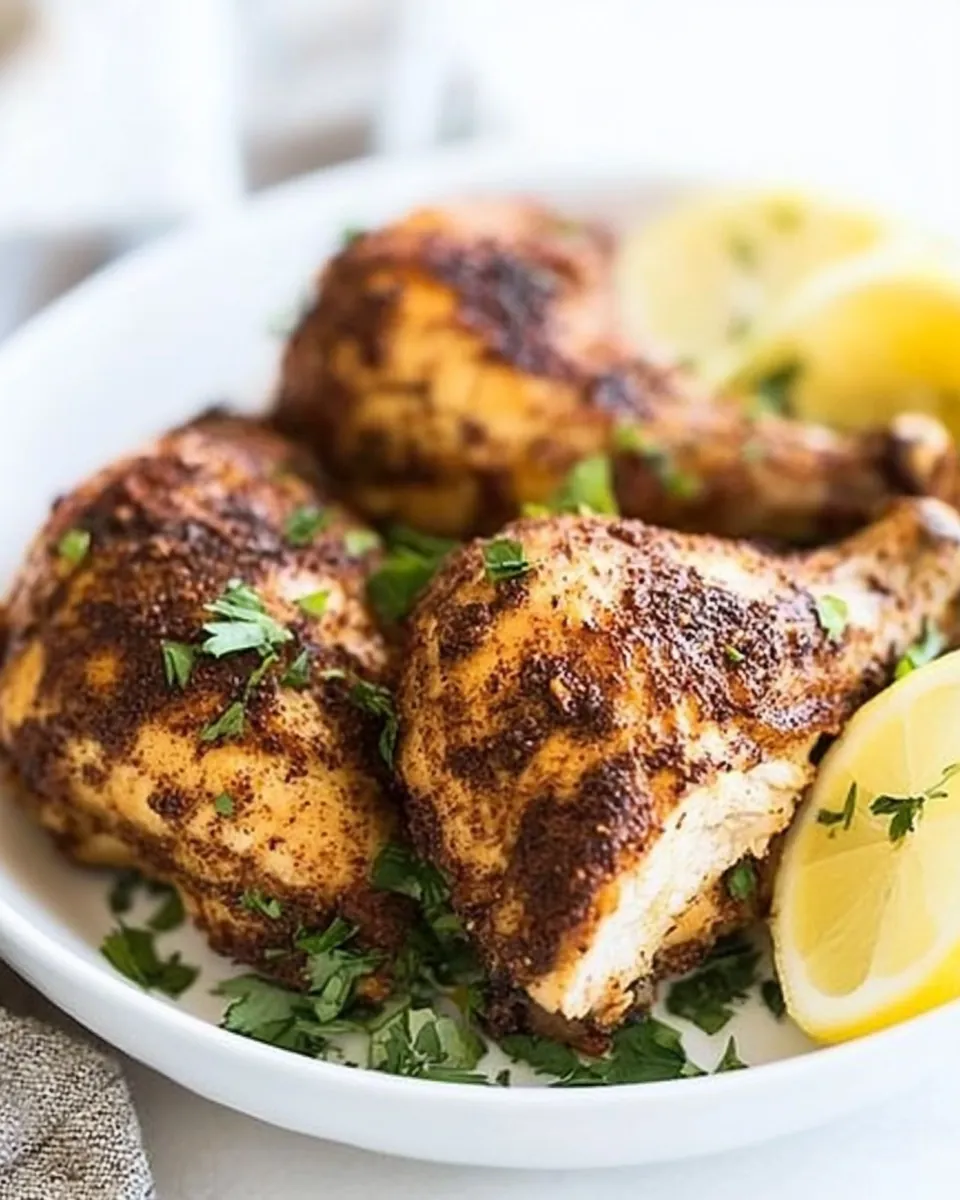
Dry Rub Baked Chicken
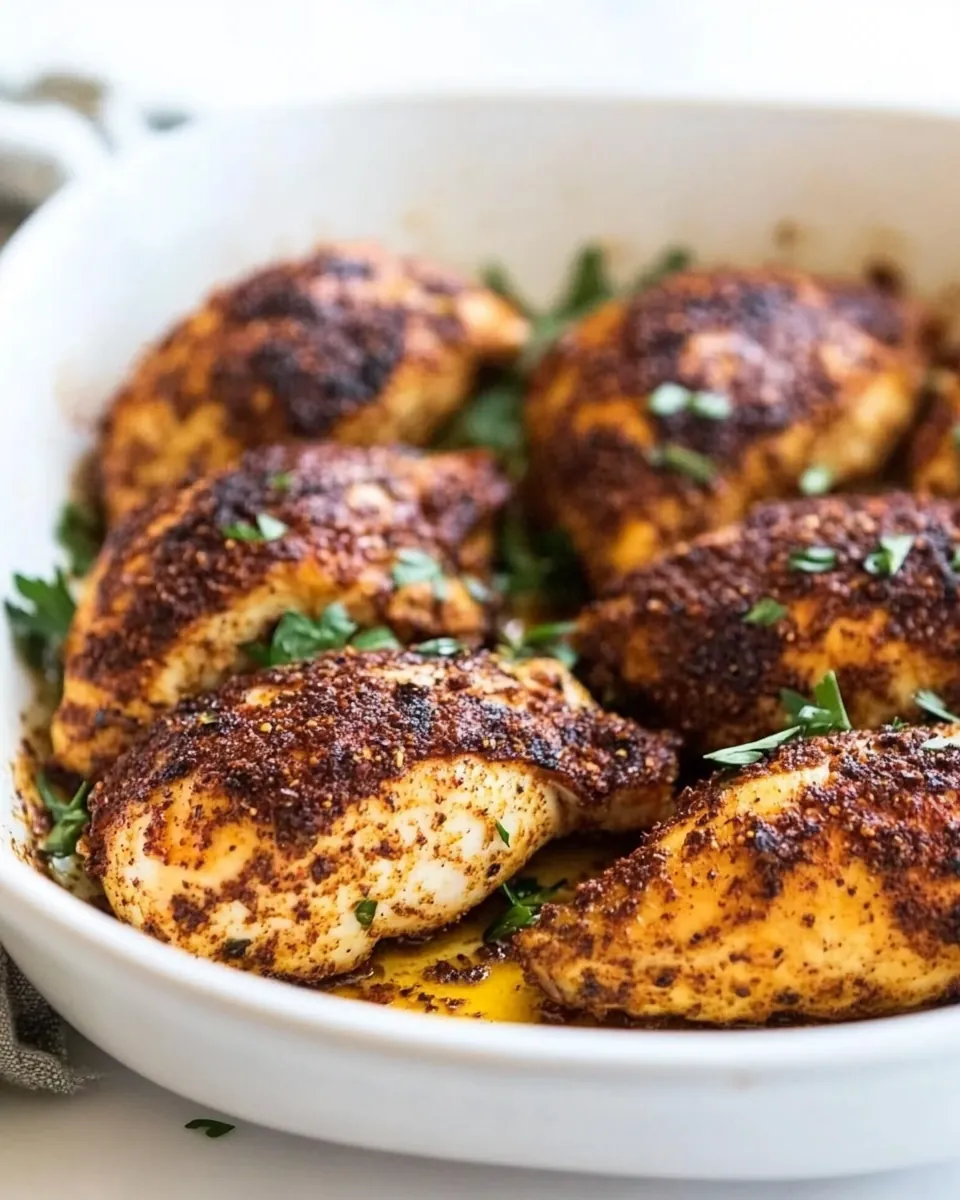
There’s something incredibly satisfying about the aroma of Dry Rub Baked Chicken wafting through the kitchen. I remember the first time I made this dish; it was a chilly evening, and I wanted something comforting yet simple. As the chicken baked in the oven, the spices mingled beautifully, creating a mouthwatering scent that filled my home. It became a staple in my dinner rotation, perfect for family gatherings or a cozy night in. Each bite bursts with flavor, and the crispy skin is just irresistible. Whether you’re cooking for yourself or hosting friends, this dish always impresses. So, let’s dive into this delicious recipe that will surely elevate your weeknight dinners!
Recipe Snapshot
40 mins
10 mins
30 mins
Medium
350 kcal
30 g
Keto, Paleo, Whole30
22 g
Oven, Baking Sheet
What’s Great About This Dry Rub Baked Chicken
Bold Flavors That Shine
The first reason I absolutely love Dry Rub Baked Chicken is the incredible flavor that comes from the dry rub. The combination of spices creates a savory experience that’s both satisfying and aromatic. You can customize the rub to suit your taste—add more heat or enhance certain spices to create your perfect blend.
Simple Preparation
Another reason this recipe stands out is its simplicity. With minimal ingredients and straightforward steps, even a beginner cook can pull this off. Just coat the chicken, let it bake, and you’ll have a succulent meal ready without spending hours in the kitchen.
Healthy Yet Indulgent
Dry Rub Baked Chicken is a healthier alternative to fried chicken. It gives you that crispy texture and rich flavors without the added calories and grease. Baking it allows the fat to drip off while still keeping the meat tender and juicy.
Versatile for Any Occasion
This dish is incredibly versatile! Whether you’re serving it at a casual family dinner or a festive gathering, it fits right in. It pairs beautifully with various sides like roasted vegetables or a fresh salad, making it a great choice for any meal.
Make-Ahead Friendly
If you’re like me and enjoy meal prepping, Dry Rub Baked Chicken is perfect for that as well. You can prepare the chicken with the rub in advance and store it in the fridge. When you’re ready to cook, just pop it in the oven for a quick meal!
Perfectly Cooked Every Time
Finally, this recipe ensures that your chicken is cooked to perfection every time. With precise baking times and temperatures, you’ll get juicy meat without the worry of undercooking.
Everything You Need for Dry Rub Baked Chicken
When it comes to making Dry Rub Baked Chicken, choosing the right ingredients is crucial. Each component works in harmony to create a dish that’s not only delicious but also satisfying. The key players here are fresh chicken drumsticks that soak up all those spices, a robust dry rub, and a hint of olive oil to help achieve that perfect crispy skin.
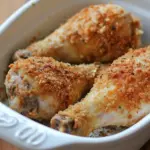
- 2 lbs (1 kg) chicken drumsticks: These are the star of the dish, offering a tender and juicy bite. Chicken drumsticks are ideal for baking, as they retain moisture well and develop a lovely crispy skin when roasted.
- 2 – 3 tablespoons meat dry rub: This dry rub adds layers of flavor to the chicken. You can make your own with spices like paprika, garlic powder, and black pepper or purchase a pre-made version.
- 1/2 teaspoon salt: A vital ingredient that enhances the overall flavor of the dish. It helps to draw out moisture and ensures each bite is seasoned perfectly.
- 1 tablespoon olive oil: Olive oil not only adds flavor but helps the skin crisp up beautifully in the oven.
- 1/3 cup BBQ sauce: This optional addition can be brushed on during the last few minutes of baking for an extra layer of flavor. It adds a sweet and tangy finish that complements the spices.
Step by Step Guide for Dry Rub Baked Chicken
Ready to dive into the cooking process? Making Dry Rub Baked Chicken is easier than you might think! Here’s how we can create this flavorful dish in just a few steps. Follow along, and soon you’ll be enjoying your delicious chicken!
- Preheat the oven to 375°F (190°C). This step is crucial because starting with a hot oven ensures the chicken cooks evenly and develops that lovely crispy skin.
- Rinse the chicken drumsticks under cold water, ensuring any residual blood or bone fragments are washed away. Drain them well and pat dry with paper towels. This will help the rub adhere better and promote crispiness.
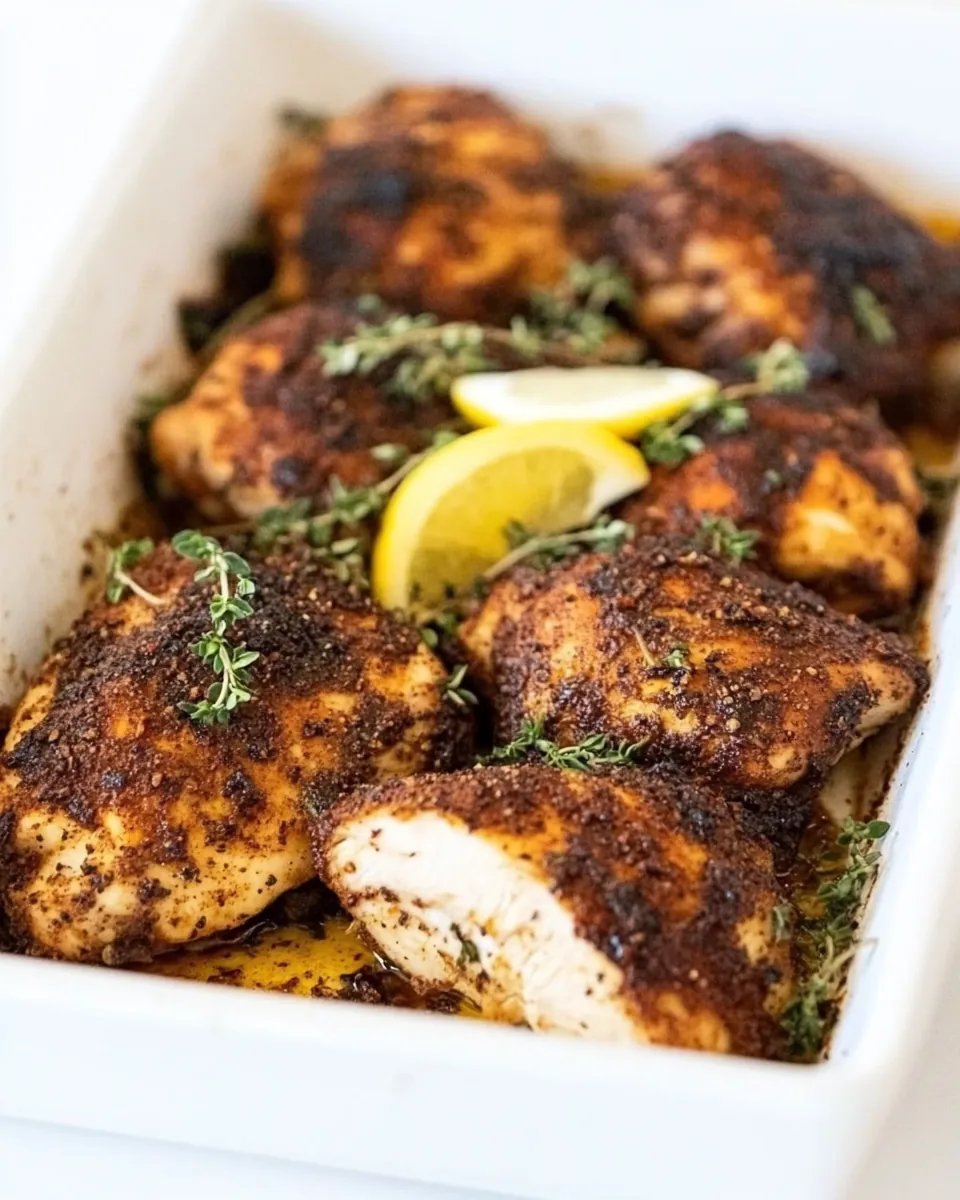
- In a mixing bowl, take your meat dry rub and sprinkle it generously over the chicken. Don’t be shy; coat every piece well so that each bite is packed with flavor. The spices should cover both the skin and the meat beneath.
- Once coated, transfer the chicken to a baking sheet lined with parchment paper. This not only prevents sticking but also makes for easy cleanup!
- Place the baking sheet in the preheated oven and bake for 30 minutes. At the 20-minute mark, remove the chicken and brush it with olive oil. This step enhances the color and provides a nice sheen to the skin.
- Turn the chicken drumsticks over so they brown evenly, and return them to the oven. Bake for an additional 10 minutes or until they reach a golden brown.
- To check for doneness, cut a slit through the thickest part of a drumstick. If the juices run clear and the meat is no longer pink, you’re good to go. If necessary, bake for an additional 5 to 10 minutes until cooked through.
- Once cooked, remove the chicken from the oven and let it rest for a few minutes. This step is essential to allow the juices to redistribute, ensuring each bite is juicy.
- Serve the Dry Rub Baked Chicken with your favorite BBQ sauce on the side. Enjoy the crispy skin and tender meat!
Things Worth Knowing
- Resting Time Matters: Allow your chicken to rest after baking. This ensures the juices settle, resulting in juicier meat.
- Storage Tips: Store any leftover chicken in an airtight container in the fridge for up to three days. Reheat in the oven for the best texture.
- Dry Rub Variations: Feel free to experiment with your dry rub. Add cayenne for heat, or try herbs like thyme or rosemary for a unique twist.
- Check for Doneness: Always ensure your chicken is fully cooked by checking the internal temperature, which should reach 165°F (75°C).
Tips and Tricks about Dry Rub Baked Chicken
When preparing Dry Rub Baked Chicken, a few tips can help you achieve the best results. Here’s what I’ve learned over time:
- Marinating Time: For deeper flavor, consider marinating the chicken with the rub for a few hours or overnight in the fridge.
- Use Fresh Ingredients: Always opt for fresh spices and high-quality chicken for the best taste. Fresh ingredients can significantly enhance the overall flavor of the dish.
- Monitor Cooking: Every oven is different. Keep an eye on the chicken as it cooks to avoid over-browning. If it gets too dark, cover it with foil.
- Serving Suggestions: Pair the chicken with roasted vegetables or a fresh salad for a balanced meal. The crispiness of the chicken complements the freshness of the sides perfectly.
- Grilling Option: If you prefer, you can also grill the chicken instead of baking it. Just follow the same rub application and grill until cooked through.
- Flavor Final Touch: For a tangy twist, brush the chicken with BBQ sauce during the last few minutes of baking to create a glaze.
- Don’t Discard the Drippings: Use the drippings left on the baking sheet as a base for a flavorful sauce to drizzle over your chicken or sides.
Great Combinations for Dry Rub Baked Chicken
Serving Dry Rub Baked Chicken opens up a world of delicious possibilities. Here are some great combinations that elevate your meal:
- Roasted Vegetables: Serve alongside a medley of roasted carrots, potatoes, and bell peppers to add a colorful and nutritious touch.
- Coleslaw: A tangy coleslaw pairs wonderfully with the crispy chicken, providing a refreshing crunch that balances the richness.
- Rice or Quinoa: Fluffy rice or quinoa makes for a satisfying base to soak up the juices from the chicken.
- Family Gatherings: This dish is perfect for gatherings, whether it’s a casual barbecue or a festive holiday dinner.
- Picnic Favorite: You can serve this chicken cold or at room temperature, making it an excellent choice for picnics or potlucks.
- Storage Tips: Store leftovers in an airtight container in the fridge for up to three days. Reheat in the oven for the best taste.
- Seasonal Pairing: In cooler months, serve with comforting sides like mashed potatoes or a warm green bean casserole.
FAQ
Conclusion
The Dry Rub Baked Chicken is a dish that brings comfort and flavor to the table. It’s simple enough for a weeknight meal yet impressive enough for gatherings. I encourage you to give this recipe a try—your taste buds will thank you! Whether it’s a family dinner or a casual get-together, this chicken is sure to make everyone happy. Enjoy the deliciousness every time you make it!
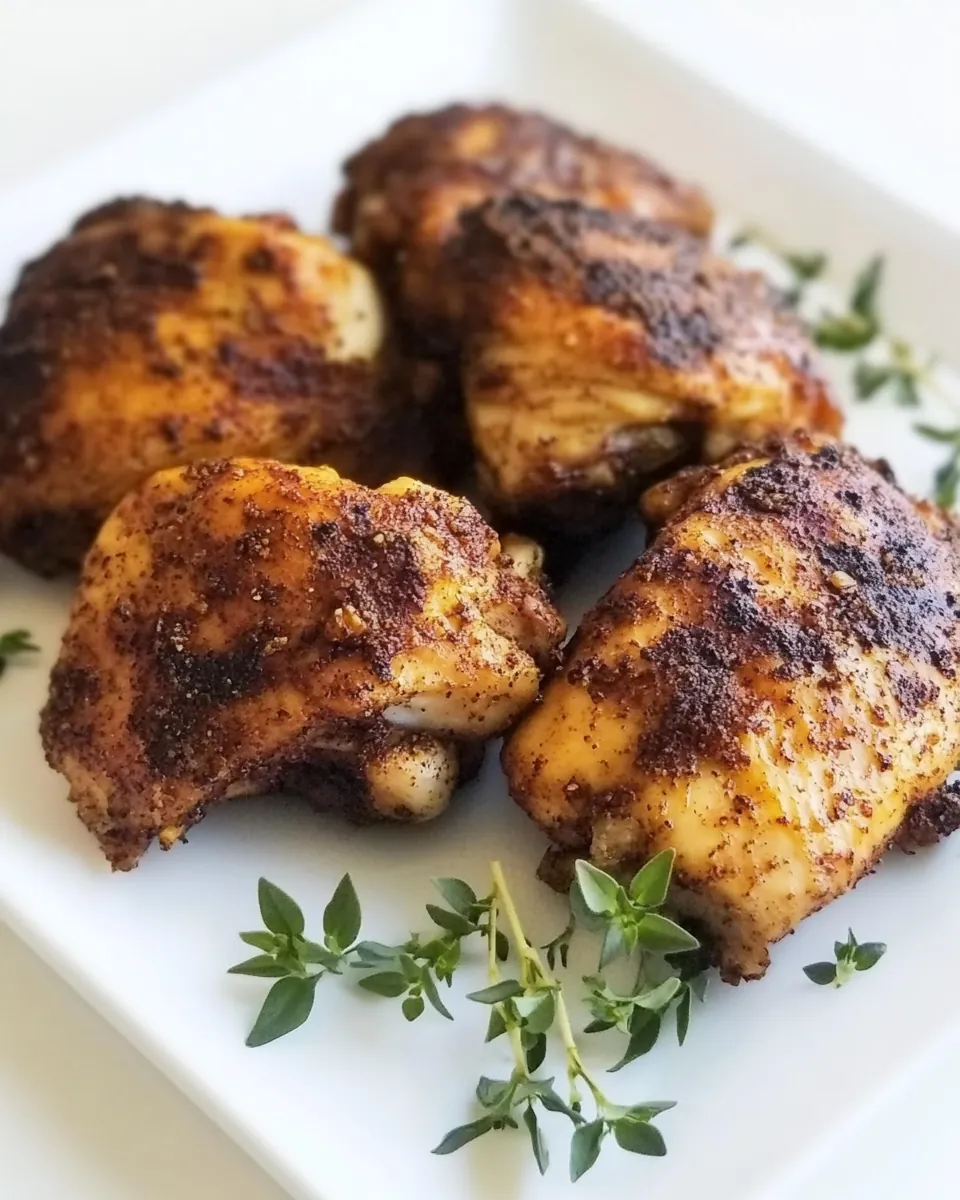
Dry Rub Baked Chicken
Ingredients
Equipment
Method
- Preheat the oven to 375°F (190°C).
- Rinse the chicken drumsticks under cold water, then drain and pat dry with paper towels.
- Rub the dry rub generously onto the skin and meat of the drumsticks.
- Transfer the chicken to a baking sheet lined with parchment paper and bake in the oven.
- At the 20-minute mark, remove the chicken and brush it with olive oil.
- Turn the chicken drumsticks to the other side and bake for an additional 10 minutes.
- Check the doneness of the chicken by cutting a slit through the meat.
- If the meat is not fully cooked, bake for an additional 5–10 minutes.
- Serve the chicken with BBQ sauce.
Notes
- Tip 1: To make the dry rub, please follow my homemade dry rub recipe.
- Tip 2: You can also buy bottled dry rub from grocery stores in the spices aisle.
- Tip 3: Do not discard the chicken dripping on the baking sheet. Save the dripping by scooping it up and pour it over the chicken.
- Tip 4: You can grill the chicken on an outdoor or indoor grill.