Easy Garlic Bread
There’s something incredibly comforting about the smell of fresh garlic bread wafting through the kitchen. It takes me back to my childhood when my mom would whip up a batch for our family dinners. The moment that butter and garlic hit the warm bread, the aroma would fill the air, enticing us to gather around the table. I can still hear the crunch of the crust as we eagerly tore into it, spreading on more butter before each bite. This Easy Garlic Bread recipe is a nod to those treasured moments, bringing joy to any meal, whether it’s a casual weeknight or a festive gathering.
Recipe Snapshot
20 mins
5 mins
15 mins
Medium
250 kcal
4 g
Keto, Gluten-Free
18 g
Chef’s Knife, Oven, Baking Sheet, Mixing Bowl
Why We Love This Easy Garlic Bread
Perfect Pairing for Any Meal
The beauty of Easy Garlic Bread lies in its versatility. It complements almost any dish, from pastas to salads, making it an ideal choice for family dinners, parties, or even a cozy night in. No meal feels complete without a warm, buttered slice of this delicious bread on the side.
Quick and Simple
With just a handful of ingredients, you can prepare this savory delight in no time. It’s a fantastic recipe for beginners and seasoned cooks alike. The simplicity of mixing butter, garlic, and herbs creates an irresistible topping that elevates the humble loaf to something extraordinary.
Customizable to Your Taste
What I love about this recipe is how easy it is to personalize. Whether you prefer a sprinkle of Parmesan cheese for a rich flavor or some fresh herbs for a garden touch, you can make it your own. Feel free to experiment with different types of cheese or add a hint of spice to suit your palate.
Perfect for Sharing
Garlic bread is a great shareable dish that brings people together. It’s perfect for casual gatherings or cozy dinners with friends. Once you serve a warm loaf fresh from the oven, you’ll see everyone gravitating towards it, eager to snag the first slice.
Comforting and Indulgent
Finally, there’s the sheer comfort that comes with a warm piece of garlic bread. It’s indulgent, yes, but it’s also a taste of home. Each bite is a reminder of warm family dinners and laughter, making it an essential addition to any table.
What You Need for Easy Garlic Bread
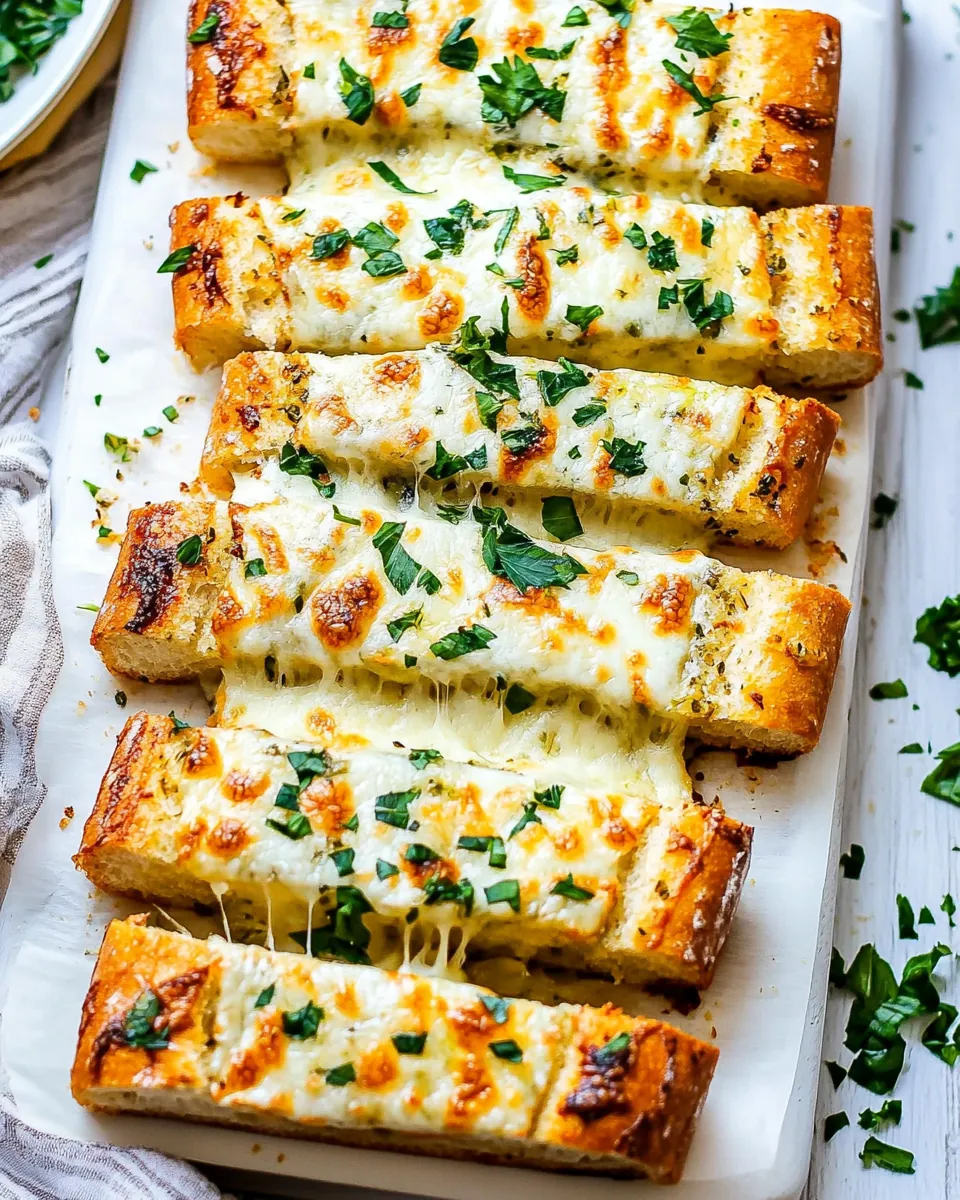
The ingredients for Easy Garlic Bread are simple yet incredibly flavorful. The combination of butter, garlic, and herbs creates a rich, savory topping that melts into the warm bread, resulting in a crispy, golden crust that everyone loves. Let’s take a closer look at these key players:
- ½ cup butter (softened, salted): Adds richness and flavor while helping the garlic and herbs adhere to the bread.
- 4 cloves garlic (minced, or use roasted garlic): This is the star of the dish, offering that beloved garlic punch.
- ½ cup Parmesan cheese (shredded): Provides a nutty, salty flavor that complements the butter and garlic.
- 1 tablespoon parsley (freshly chopped): Adds freshness and a pop of color to the garlic bread.
- 1 French loaf (sliced in half lengthwise): The base of our garlic bread, providing the perfect canvas for our toppings.
- 1 cup mozzarella cheese (shredded, optional): For those who love a cheesy twist, this adds gooeyness and extra flavor.
Step by Step Instructions for Easy Garlic Bread
Making Easy Garlic Bread is as enjoyable as eating it! Follow these steps for the perfect loaf. You’ll find that the process is straightforward, and the result is utterly delicious.
- Preheat your oven to 425°F. This ensures that your garlic bread cooks evenly and gets that lovely golden color.
- Line a baking sheet with parchment paper. This will prevent the bread from sticking and make cleanup easier.
- In a small bowl, combine the softened butter, minced garlic, Parmesan cheese, and parsley. Use a spatula to mix it well. The butter should be soft enough to blend easily, creating a smooth garlic spread.
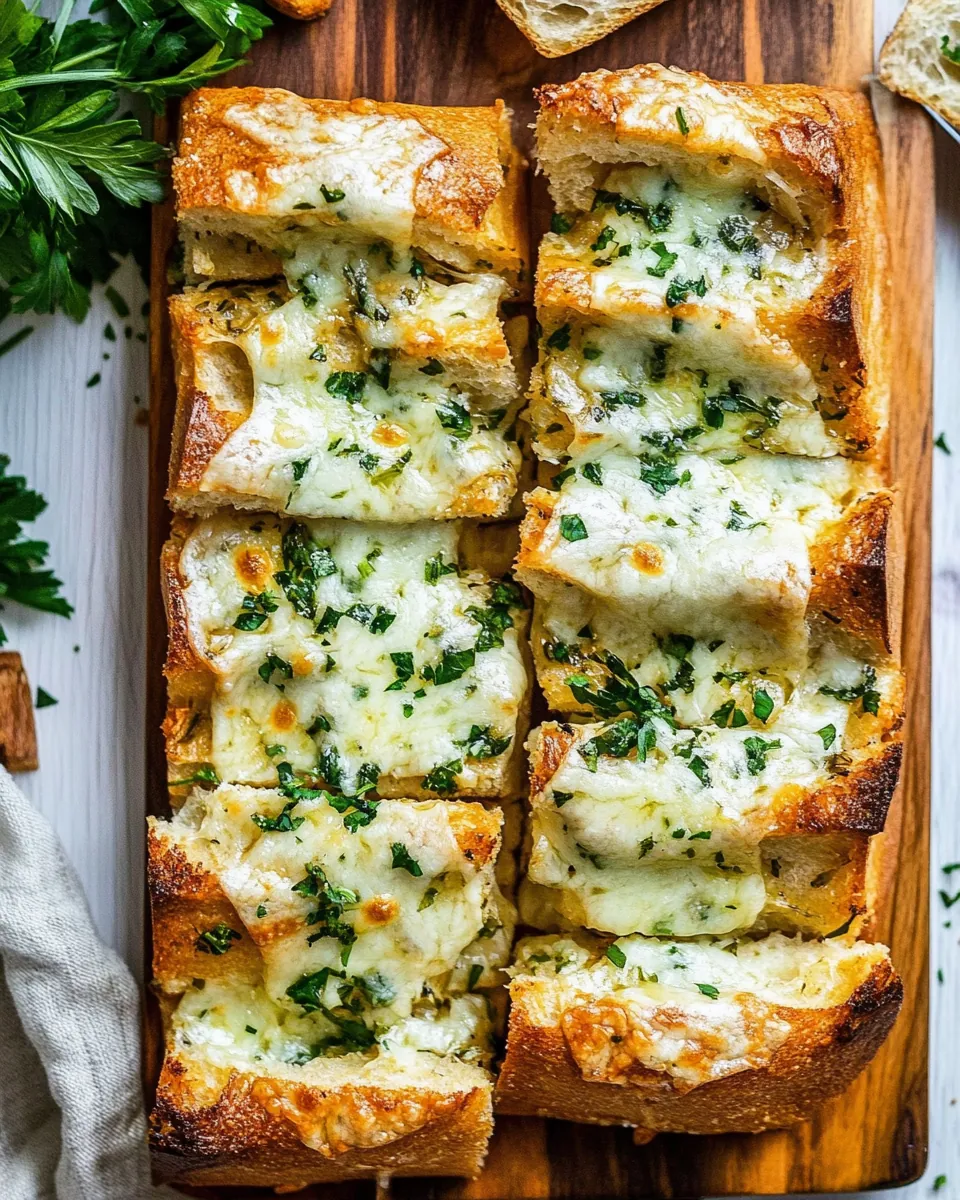
- Take your French loaf and slice it in half lengthwise. If you prefer, you can cut it into individual slices, but halving it gives you a beautiful presentation.
- Spread the garlic butter mixture generously over the cut sides of the bread. Use a spatula to cover it thoroughly, allowing the flavors to seep in.
- If you’re feeling indulgent, sprinkle the top with shredded mozzarella cheese for that extra cheesiness.
- Place the prepared bread on the baking sheet lined with parchment paper. This will help it become crispy without burning.
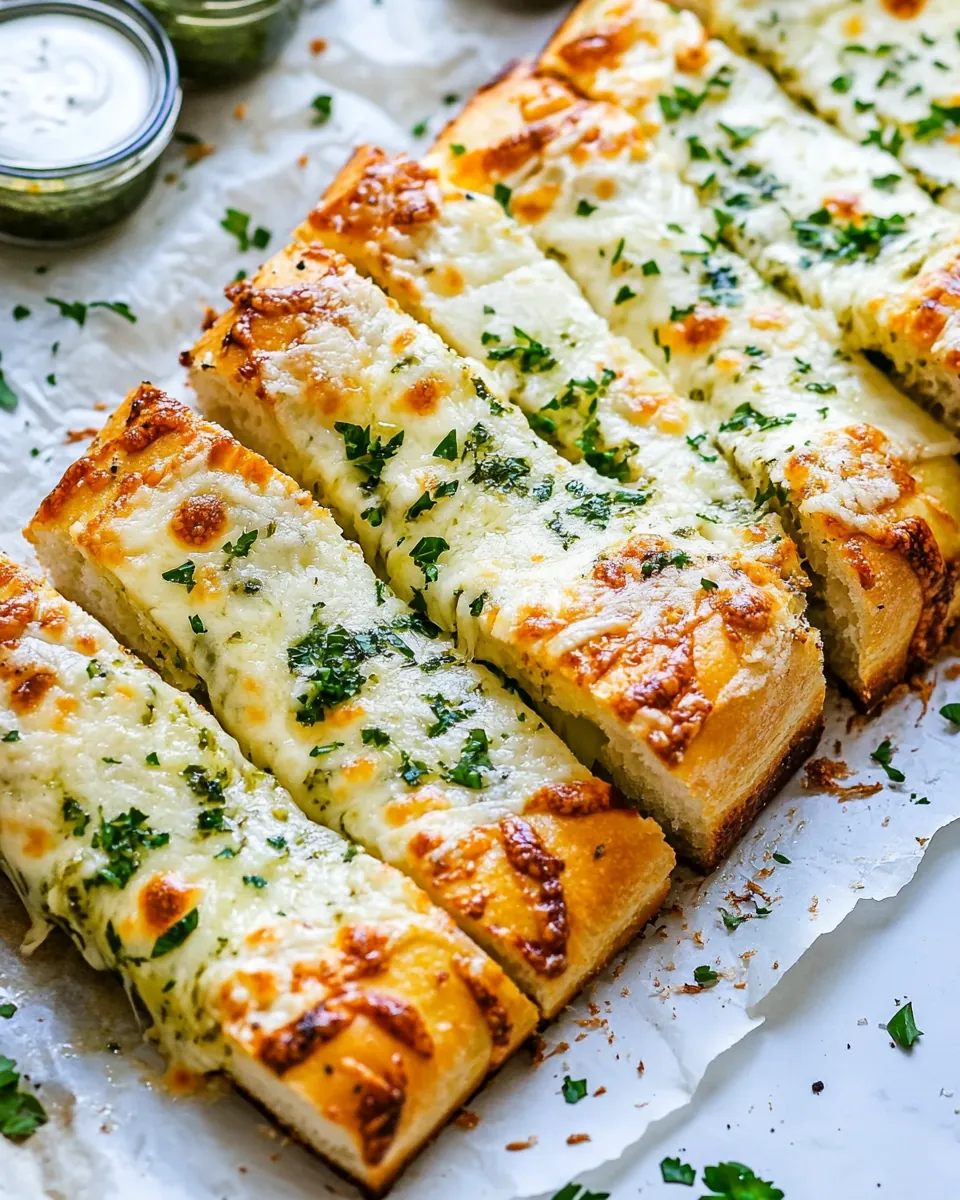
- Bake for 10 to 15 minutes, or until the edges of the bread turn golden brown and crispy. Keep an eye on it to avoid overcooking.
- If you love a deep golden color, broil the bread for an additional 2 minutes. Just make sure to watch it closely—things can go from golden to burnt in a flash!
- Once done, remove the garlic bread from the oven and let it cool for a few minutes. This will help the flavors settle and make slicing easier.
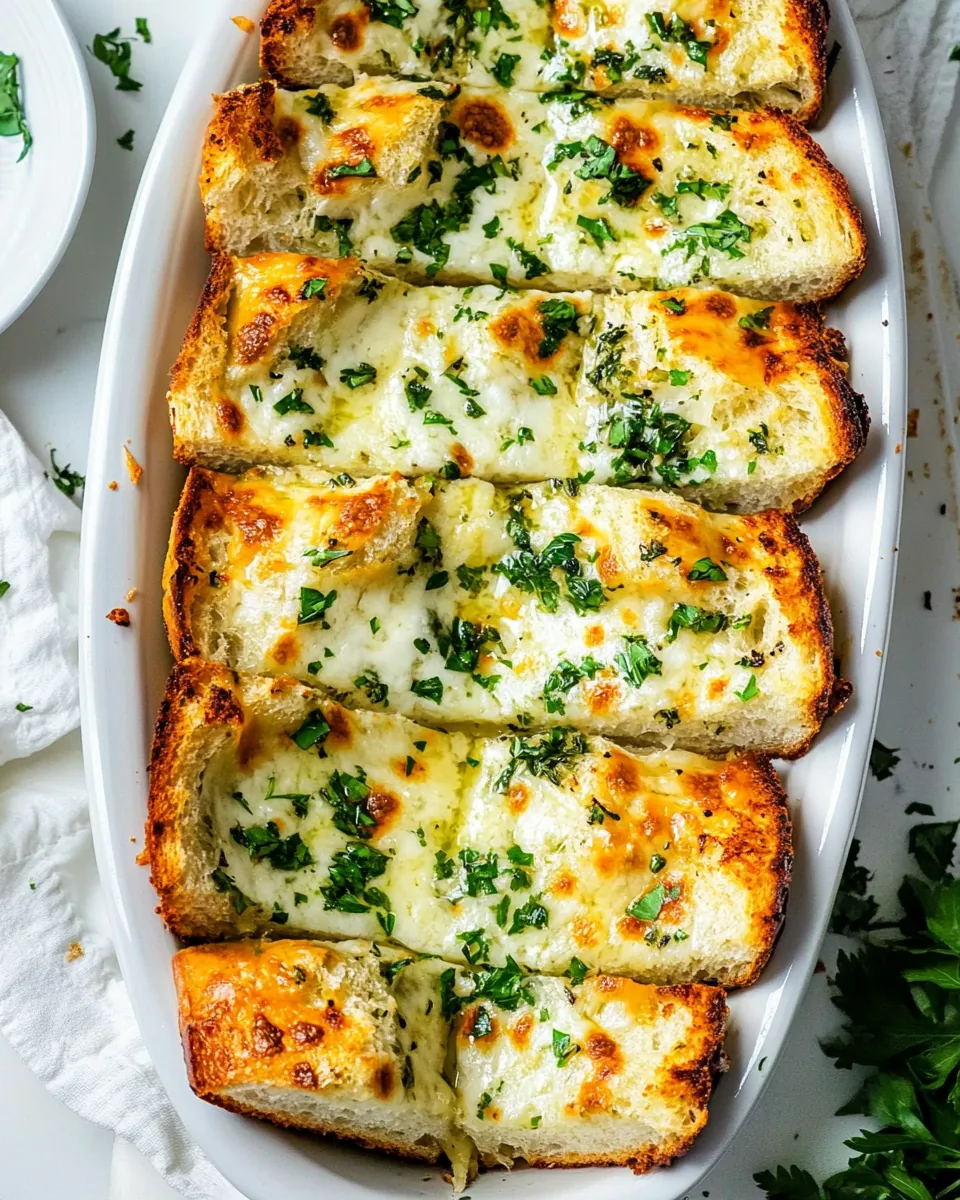
- Slice and serve your garlic bread warm. Enjoy it as a side dish, appetizer, or snack!
Things Worth Knowing
- Use fresh ingredients: Fresh garlic and freshly baked bread make all the difference in flavor.
- Lots of butter: Don’t skimp on the butter. It ensures the bread stays moist and flavorful.
- Roast your garlic: For the best flavor, consider roasting your garlic instead of using it raw.
- Watch the oven: Ovens vary, so keep an eye on your garlic bread as it bakes to achieve the perfect toastiness.
- Cool before slicing: Allow the bread to cool slightly for easier slicing and better texture.
Tips and Tricks about Easy Garlic Bread
Here are some helpful tips for making the best Easy Garlic Bread:
- Storage: Store leftover garlic bread at room temperature for up to 3 days in an airtight container. This keeps it fresh without getting soggy.
- Freezing: You can freeze garlic bread after baking. Wrap it tightly in plastic wrap and foil, then store it in the freezer for up to a month. When ready to eat, just bake it straight from frozen!
- Pairing: Serve garlic bread as a side with pasta dishes, soups, or salads for a delightful meal.
- Variations: Experiment with different cheeses like cheddar or asiago for varied flavors and textures.
- Herb options: Swap out parsley for basil or oregano to change up the flavor profile.
- Garlic intensity: Adjust the amount of garlic based on your preference. More garlic means stronger flavor!
Serving Suggestions
When it comes to serving Easy Garlic Bread, there are countless delightful options to consider:
- Accompaniment to pasta: Pair your warm garlic bread with classic Italian dishes such as spaghetti or fettuccine Alfredo for a complete meal.
- Great for soups: It makes a fantastic side for hearty soups like minestrone or tomato basil.
- Perfect for gatherings: Use it as a shareable dish at parties or gatherings. It’s a crowd-pleaser that never disappoints!
- Ideal for brunch: Serve slices alongside salads or as a base for bruschetta at brunch.
- Holiday favorite: It’s perfect for festive occasions and family dinners, adding warmth to your table.
- Storage note: If you have leftovers, simply store them at room temperature, and they will maintain their deliciousness for up to three days.
FAQ
Conclusion
In summary, Easy Garlic Bread is a delightful addition to any meal, bringing warmth and flavor to the table. With its crispy edges and buttery, garlicky goodness, it’s hard to resist. I encourage you to try making it for your next dinner or gathering. You won’t regret the smiles and satisfied appetites it brings!
Easy Garlic Bread
Ingredients
Equipment
Method
- Preheat your oven to 425°F. This ensures that your garlic bread cooks evenly and gets that lovely golden color.
- Line a baking sheet with parchment paper. This will prevent the bread from sticking and make cleanup easier.
- In a small bowl, combine the softened butter, minced garlic, Parmesan cheese, and parsley. Use a spatula to mix it well. The butter should be soft enough to blend easily, creating a smooth garlic spread.
- Take your French loaf and slice it in half lengthwise. If you prefer, you can cut it into individual slices, but halving it gives you a beautiful presentation.
- Spread the garlic butter mixture generously over the cut sides of the bread. Use a spatula to cover it thoroughly, allowing the flavors to seep in.
- If you’re feeling indulgent, sprinkle the top with shredded mozzarella cheese for that extra cheesiness.
- Place the prepared bread on the baking sheet lined with parchment paper. This will help it become crispy without burning.
- Bake for 10 to 15 minutes, or until the edges of the bread turn golden brown and crispy. Keep an eye on it to avoid overcooking.
- If you love a deep golden color, broil the bread for an additional 2 minutes. Just make sure to watch it closely—things can go from golden to burnt in a flash!
- Once done, remove the garlic bread from the oven and let it cool for a few minutes. This will help the flavors settle and make slicing easier.
- Slice and serve your garlic bread warm. Enjoy it as a side dish, appetizer, or snack!
Notes
- Use fresh ingredients: Fresh garlic and freshly baked bread make all the difference in flavor.
- Lots of butter: Don’t skimp on the butter. It ensures the bread stays moist and flavorful.
- Roast your garlic: For the best flavor, consider roasting your garlic instead of using it raw.
- Watch the oven: Ovens vary, so keep an eye on your garlic bread as it bakes to achieve the perfect toastiness.
- Cool before slicing: Allow the bread to cool slightly for easier slicing and better texture.