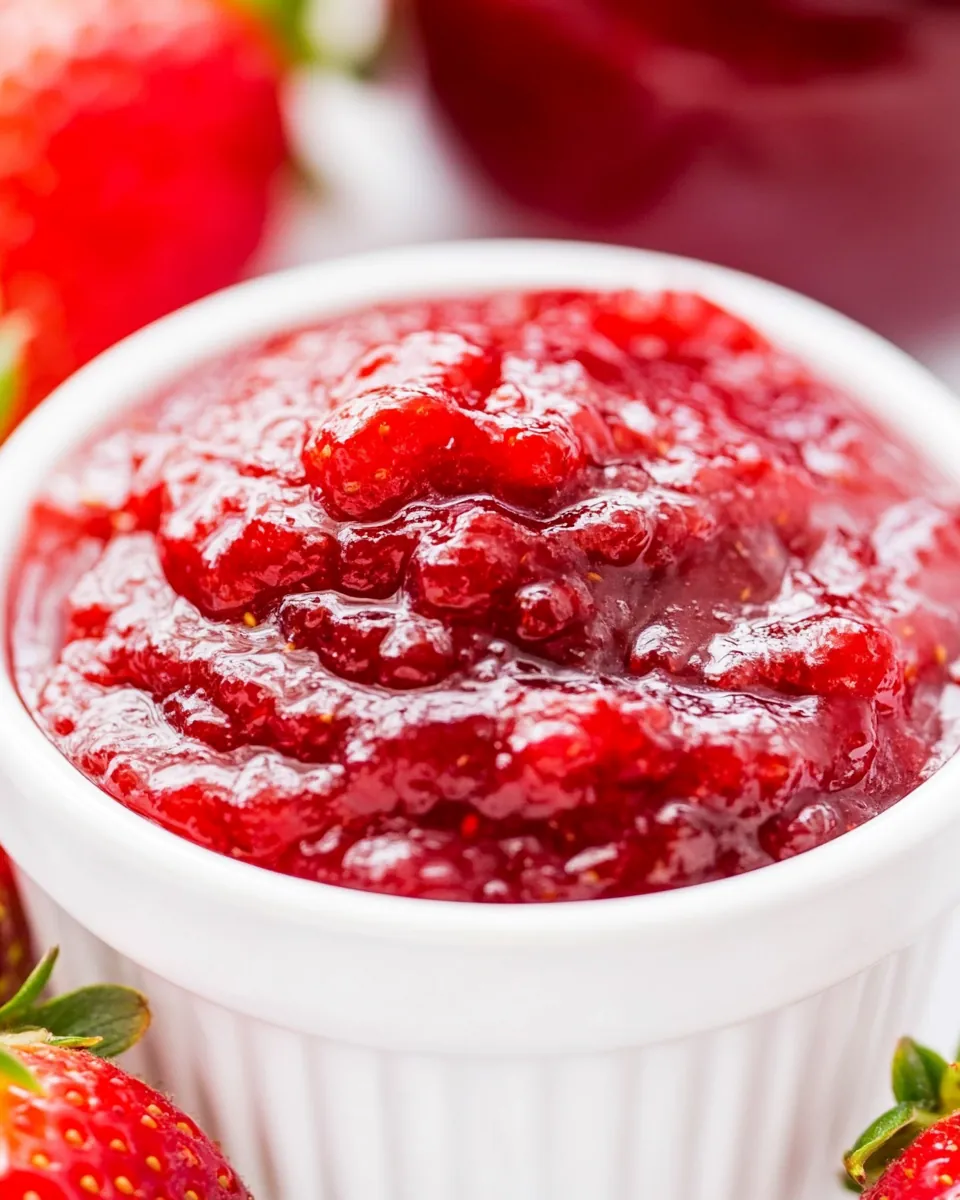
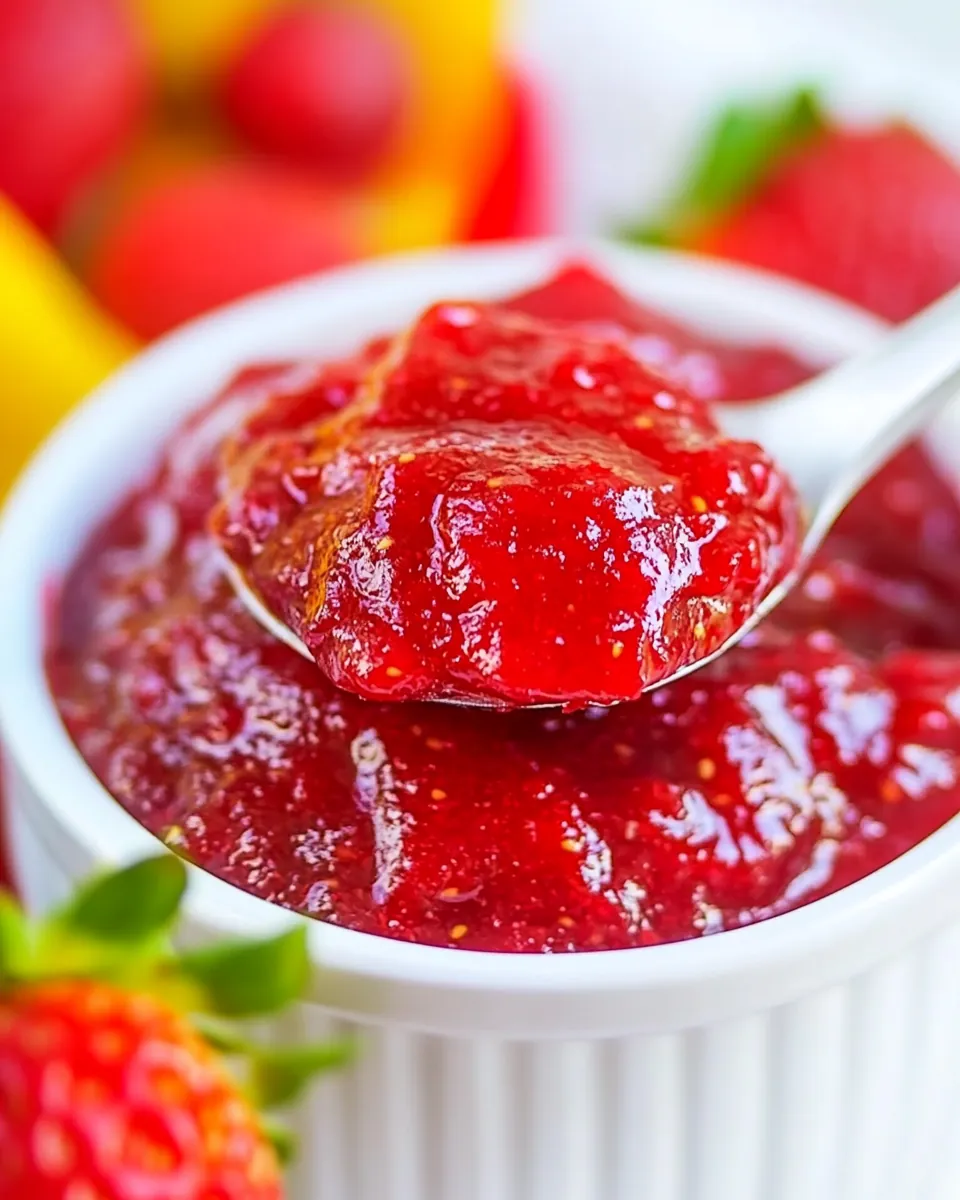
Easy Strawberry Jam
There’s something truly magical about homemade preserves, and my Easy Strawberry Jam is no exception. The very first time I made this jam, it was a sunny spring afternoon, and I had just come back from the farmer’s market with a basket full of vibrant, ripe strawberries. As I chopped and mashed the fruit, the sweet, tangy aroma filled my kitchen and transported me back to my childhood, where my grandmother would whip up batches of jam that seemed to last forever. I can still remember the taste of that fresh jam spread on warm toast, paired with butter melting into every crevice. Making your own strawberry jam is not only a fun and rewarding process, but it also allows you to enjoy the burst of fresh strawberry flavor all year round. Trust me, once you try my Easy Strawberry Jam, you’ll never want to buy store-bought again! You can customize it, share it with friends, or just keep it all to yourself.
Recipe Snapshot
45 mins
15 mins
30 mins
Medium
70 kcal
0 g
Vegan, Gluten-Free, AIP
0 g
Large Pot, Food Processor, Saucepan, Frying Pan, Wooden Spoon, Cutting Board, Chef’s Knife, Mixing Bowl
Why Try This Easy Strawberry Jam
Fresh Strawberries
Using fresh strawberries is key to achieving that burst of flavor in every bite of your Easy Strawberry Jam. The quality and ripeness of the berries you choose will significantly impact the final taste. Ripe strawberries are naturally sweet and provide the perfect base for your jam.
Easy Preparation
The beauty of this recipe lies in its simplicity. There’s no need for complicated techniques or ingredients; just fresh strawberries, sugar, lemon juice, and a touch of cornstarch. You’ll be amazed at how quickly you can whip up a batch!
No Pectin Needed
Many jam recipes call for pectin, a thickening agent, but this recipe relies on the natural pectin found in strawberries and the cooking process to create a perfectly spreadable jam. This means you get to enjoy a more natural flavor without any additives.
Perfect for Gifting
Homemade jam makes for a thoughtful and delicious gift. Imagine presenting a jar of your Easy Strawberry Jam to a friend or family member, complete with a handwritten label. It’s a personal touch that shows you care.
Versatile Use
This jam is not just for spreading on toast! Use it as a topping for pancakes, a filling for pastries, or even a sweet addition to yogurt. The uses are endless, making it a versatile staple in your kitchen.
Preserving Sweet Memories
Each jar of your Easy Strawberry Jam holds not just flavor but also memories. It’s a way to capture the essence of spring and summer in a jar, allowing you to savor those moments long after berry season has passed.
Ingredients for Easy Strawberry Jam
Great jams are built on great ingredients, and my Easy Strawberry Jam is no exception. You’ll find that the combination of fresh strawberries, sugar, and lemon juice creates a delightful balance of sweetness and tartness, while cornstarch helps achieve the perfect consistency. Let’s break down the essential components:
- 2 pounds of fresh strawberries cleaned and chopped: These juicy fruits are the star of the show, bursting with flavor and natural sweetness.
- 1 1/2 to 2 cups of white granulated sugar: The sugar helps to balance the tartness of the strawberries and creates the ideal sweetness.
- Juice of one lemon: Fresh lemon juice brightens the flavor and enhances the jam’s overall taste.
- 1 tablespoon of lemon zest: The zest adds a fragrant citrus note that complements the strawberries beautifully.
- 2 tablespoons of cornstarch: This helps to thicken the jam without the need for pectin.
- 4 tablespoons of water: Used to dissolve the cornstarch, ensuring a smooth texture in your jam.
How to Make Easy Strawberry Jam
Making your own jam is a rewarding experience, and with my Easy Strawberry Jam recipe, you’ll see just how straightforward it can be! Follow these steps for a delicious homemade treat.
- Start by washing your strawberries just before you’re ready to use them. It’s important to keep the stems on while washing to prevent them from absorbing extra water. Once washed, let them drain in a colander for a few minutes. Discard any mushy or moldy berries you find.
- Next, remove the stems from the strawberries and slice them into quarters or dice them, depending on your texture preference for the jam. You can keep the pieces larger for a chunkier jam or cut them smaller for a smoother consistency.
- In a large, heavy-bottomed saucepan, add the sliced strawberries. Using a potato masher, mash the strawberries to your desired consistency. If you prefer a chunkier jam, mash just a bit; for a smoother jam, go to town!
- Now, add the sugar, lemon juice, and lemon zest to the mashed strawberries. Let this mixture sit for about 20 to 30 minutes. This allows the strawberries to release their juices and start macerating.
- After the maceration period, place your saucepan over low to medium heat. Stir the mixture until the sugar is completely dissolved. This is a crucial step to ensure you don’t have any gritty texture in your jam.
- Once the sugar has dissolved, increase the heat to medium-high and bring the mixture to a rolling boil. Keep an eye on it, as it can bubble over quickly!
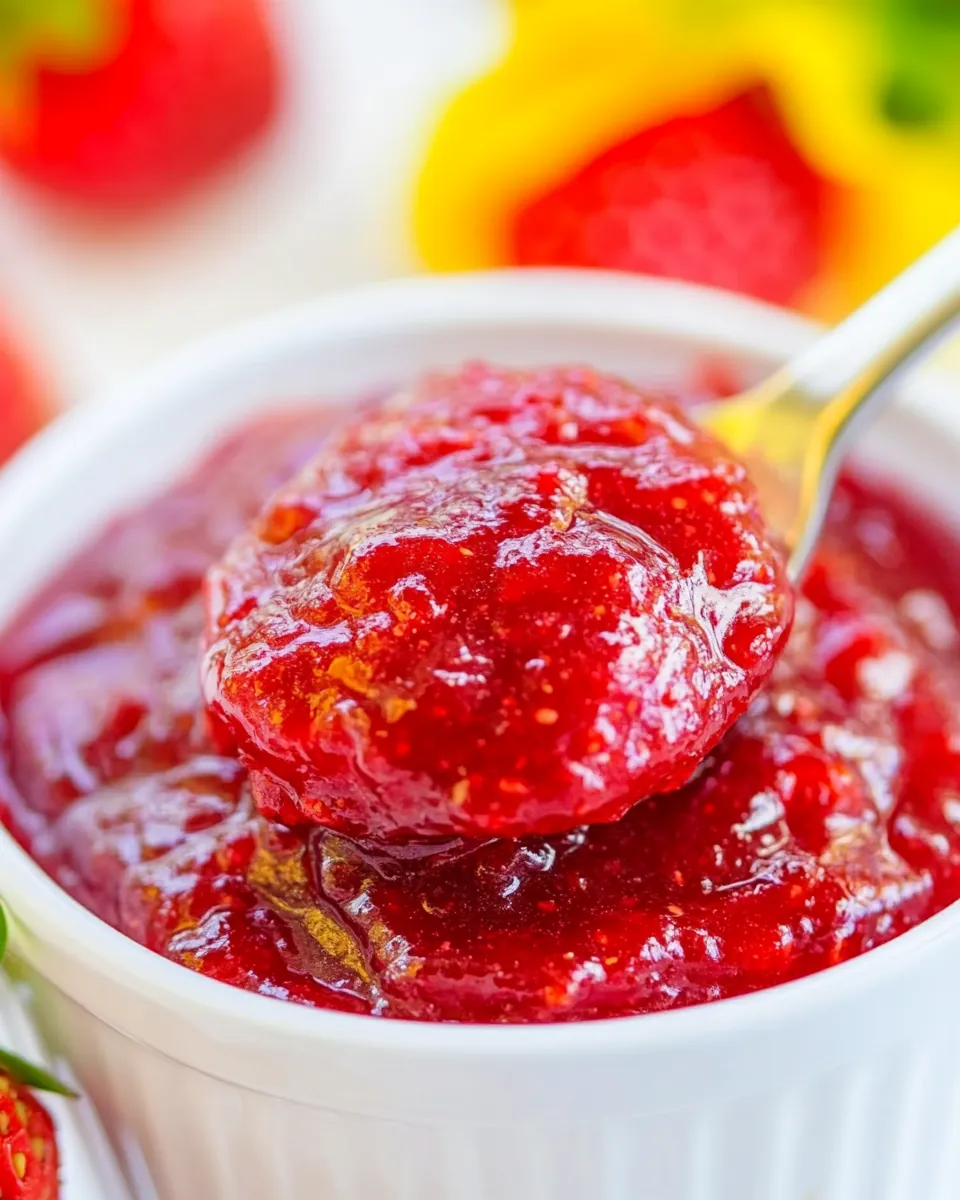
- When the mixture reaches a boil, reduce the heat to medium. Let it simmer while stirring occasionally for about 15 to 20 minutes. You’re looking for a bubbly, thick consistency, and the jam should coat the back of a spoon.
- If you want your jam to be thicker, mix the cornstarch with water in a separate cup until fully dissolved. Then, add this mixture to the jam and stir well. Continue to simmer for a few more minutes, keeping in mind that the jam will thicken as it cools.
- Once you’re satisfied with the thickness of your jam, pour it into sterilized jars. Allow it to cool to room temperature. Once cooled, seal the jars and store them in the refrigerator. Your Easy Strawberry Jam will last for up to two weeks or can be frozen for longer storage.
Things Worth Knowing
- Choosing Strawberries: Always select ripe but firm strawberries. Soft berries will make your jam watery.
- Mashing Preferences: You can adjust how much you mash the strawberries based on your taste. Keep in mind, the more you mash, the more water will be released.
- Constant Stirring: Always stir the jam while it simmers. This prevents it from burning and helps to thicken it evenly.
- Cool Test: To check for doneness, place a small spoonful of jam on a chilled plate. If it runs, it needs more time. If it holds its shape, it’s ready!
- Cooling Before Jarring: Let the jam cool slightly before transferring it to jars to reduce condensation and maintain its texture.
- Clean Serving: Always use a clean spoon when serving to avoid cross-contamination.
Substitutions and Tips
If you’re looking to make your Easy Strawberry Jam even better, consider these helpful tips.
- Storage: Store your homemade jam in the refrigerator for up to two weeks. Make sure the jars are sealed properly to preserve freshness.
- Freezing: You can freeze the jam for up to a year. Just be sure to leave some space in the jars for expansion as the jam freezes.
- Pairing: This jam pairs beautifully with toast, pancakes, and even stirred into yogurt for a sweet treat.
- Serving Size: This recipe yields approximately 4 cups of jam, perfect for sharing or enjoying throughout the season.
- Variations: Feel free to mix in other fruits like raspberries or blueberries for unique flavor combinations!
Best Served With
Nothing compares to the joy of sharing your Easy Strawberry Jam with loved ones! Here are some delightful serving suggestions:
- Breakfast Treat: Spread the jam generously on freshly toasted bread or warm biscuits to start your day with a smile.
- Pancake Topping: Elevate your pancake breakfast by spooning some of this luscious jam on top, adding a burst of flavor to every bite.
- Yogurt Parfait: Layer the jam with Greek yogurt and granola for a delicious breakfast or snack that’s both satisfying and nutritious.
- Cheese Board Addition: Pair the jam with a selection of cheeses for a delightful contrast of sweet and savory flavors at your next gathering.
- Gifts from the Kitchen: Pour the jam into decorative jars and gift them to friends and family. A sweet homemade gift that’s always appreciated.
- Seasonal Celebrations: Use the jam during seasonal occasions like brunches or holiday parties to add a festive touch to your spread.
FAQ
Conclusion
Homemade Easy Strawberry Jam is a delightful treat that captures the essence of fresh strawberries. With simple ingredients and an easy process, it’s a recipe you’ll want to keep in your kitchen arsenal. I encourage you to give it a try and savor the sweet, fruity goodness. You won’t be disappointed—there’s nothing quite like enjoying freshly made jam on a warm piece of toast!
Easy Strawberry Jam
Ingredients
Equipment
Method
- Wash strawberries only when you are ready to use them. Do not remove the stems before washing, as the strawberries will absorb extra water.
- After you wash them under cold water, let them drain in a colander for a few minutes. Check and discard any mushy or moldy berries.
- Cut and discard the stems, and slice the strawberries into quarters or dice them.
- Add them to a large, heavy-bottomed saucepan and mash using a potato masher. Mash them as much as you want, depending on whether you prefer the jam chunkier or smoother.
- Add sugar, lemon juice, and lemon zest and let them macerate for about 20-30 minutes. The strawberries will release more juice.
- Place the saucepan over low to medium heat and stir until the sugar is completely dissolved. Then, increase the heat to medium-high and bring the mixture to a rolling boil.
- Once boiling, reduce the heat to medium and let it simmer, stirring occasionally, for about 15 to 20 minutes. If needed, continue simmering until the mixture becomes bubbly and thick.
- If you would like your jam to be thicker, mix two tablespoons of cornstarch with four tablespoons of water in a cup until it is fully dissolved. Then, add this mixture to the jam and stir well. Simmer for a few minutes. If necessary, you can repeat this process, but remember that the jam will continue to thicken as it cools.
- Pour the slightly cooled jam into jars and allow it to cool to room temperature. Seal the jars and store them in the refrigerator for up to two weeks or longer.
Notes
- Choosing Strawberries: Look for ripe but firm berries. If they are too soft, the jam will be watery.
- Mashing: Mash the berries to your liking; the more you mash, the more liquid will be released.
- Stir Constantly: Keep stirring to prevent burning and ensure even thickening.
- Cool Test: Test for doneness by placing a spoonful on a chilled plate; if it runs, it needs more cooking time.
- Cool Before Jarring: Allow the jam to cool slightly to reduce condensation before jarring.
- Clean Spoon: Always use a clean spoon to prevent contamination.