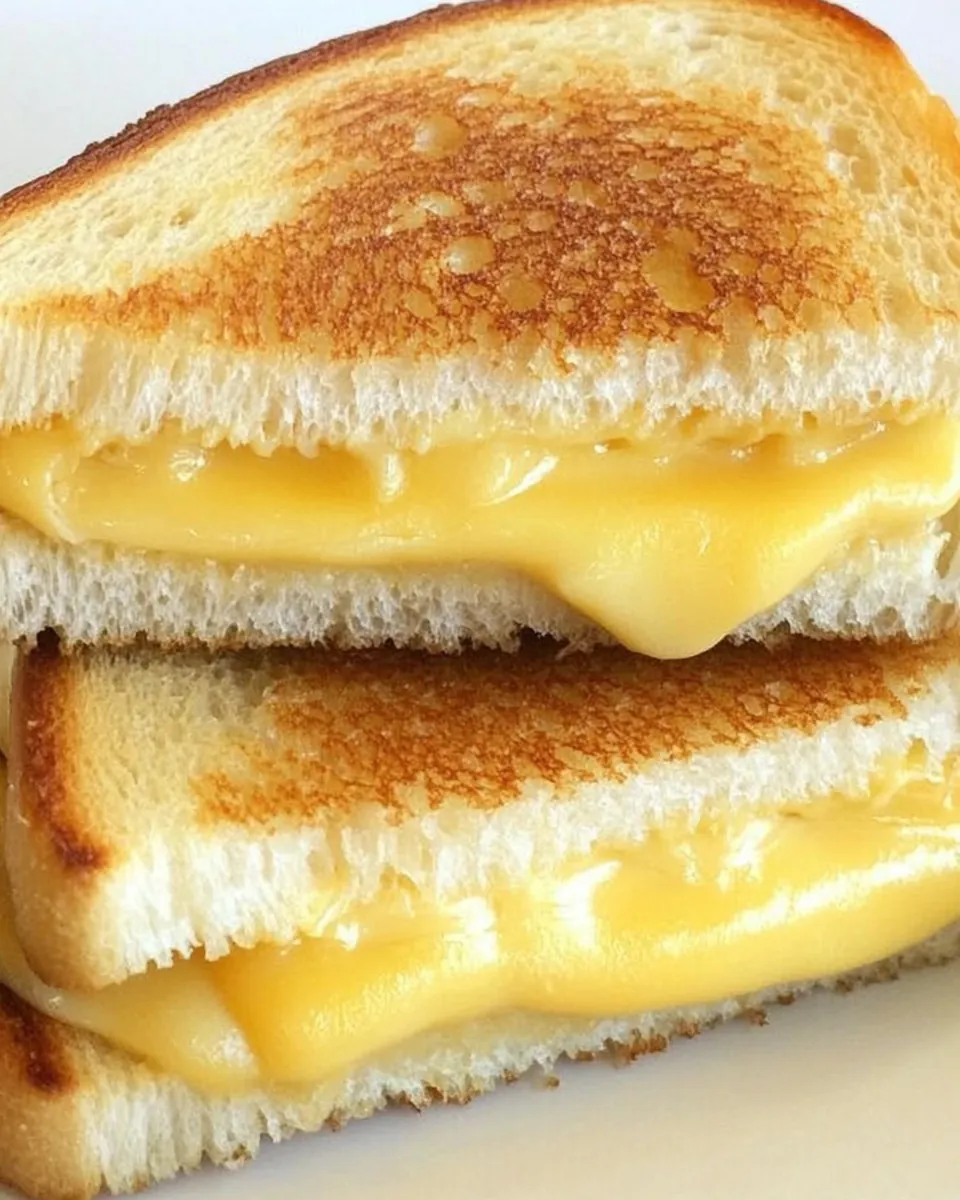
Grilled Cheese Sandwich
There’s something magical about the simplicity of a Grilled Cheese Sandwich. I remember my childhood days, standing by the stove, watching my mom expertly flip the sandwich in the pan. The aroma of crispy, golden bread mingling with the rich scent of melting cheese filled the air, making my mouth water in anticipation. Each bite was a delightful adventure, with the crunch of the bread giving way to the gooey, comforting embrace of cheese. Whether it was a rainy day after school or a quick lunch on a busy weekend, this classic dish always felt like home. What I love most about the Grilled Cheese Sandwich is its versatility. You can stick with the traditional cheese and bread, or you can throw in some extras like tomatoes or avocado for a fun twist. If I’m feeling fancy, I might even use sourdough or add a sprinkle of herbs. This recipe is not just about food; it’s about moments and memories, sharing bites with loved ones and the joy that comes from something so seemingly simple yet so satisfying.
Recipe Snapshot
25 mins
5 mins
20 mins
Medium
450 kcal
14 g
Gluten-Free, Low FODMAP
30 g
Chef’s Knife, Frying Pan
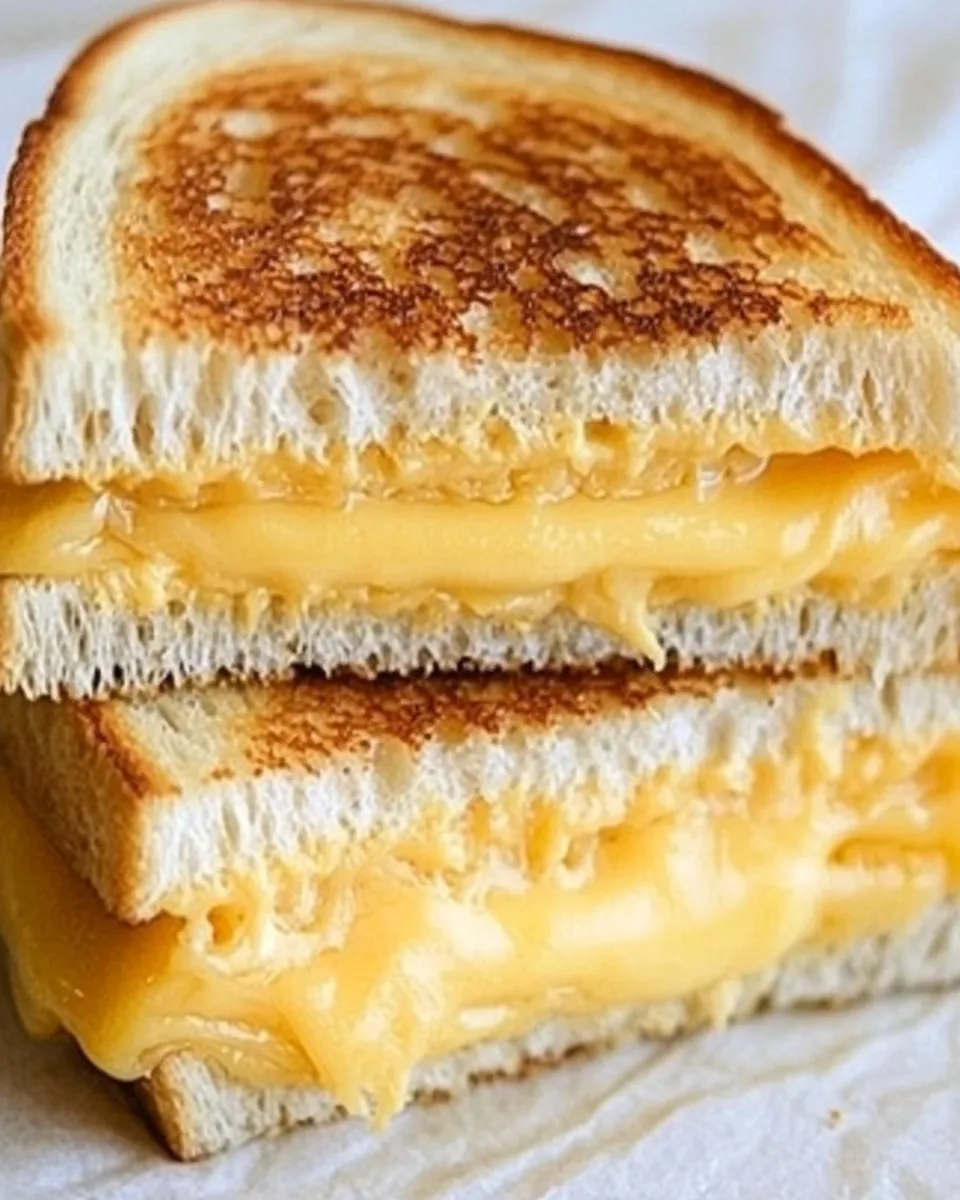
Why This Grilled Cheese Sandwich Is So Good
Comfort Food at Its Best
Every bite of a Grilled Cheese Sandwich is like a warm hug. It’s the ultimate comfort food that can brighten even the gloomiest of days. It’s quick, simple, and delivers that nostalgic flavor we all crave. I often find myself daydreaming about it during a busy workday, and there’s nothing quite like biting into one at home.
Easy to Customize
I love how easy it is to customize a Grilled Cheese Sandwich. You can switch up the types of bread or cheese to match your mood. Feeling adventurous? Try adding some fresh spinach or a slice of tomato. The possibilities are endless, and that’s what makes it so appealing!
Perfect for Any Occasion
Whether it’s a cozy night in or a lunch with friends, a Grilled Cheese Sandwich fits right in. Pair it with a steaming bowl of tomato soup for a classic combo, or enjoy it solo. It’s a dish that works in any scenario.
Kid-Friendly Fun
This recipe is great for involving kids in the kitchen! They can help spread the butter and choose their favorite cheeses. It’s a fun way to teach them cooking skills while making delicious memories together.
Quick and Satisfying
Life gets busy, and the Grilled Cheese Sandwich is a lifesaver. It comes together in just a few minutes, making it the ideal meal for those hectic days. You get a satisfying, warm meal without spending hours in the kitchen.
Grilled Cheese Sandwich Ingredients
Creating the perfect Grilled Cheese Sandwich starts with the right ingredients. The combination of bread, butter, and cheese is timeless, and each element plays a vital role in making it special. The bread provides a hearty base, the butter adds flavor and crispness, and the cheese brings that melty goodness we all love. Here’s what you need:
- 2 slices bread (your favorite sandwich bread is perfect!)
- 2 tablespoons butter (room temperature for easiest spreading)
- 3 ounces medium cheddar cheese (we love Tillamook medium cheddar)
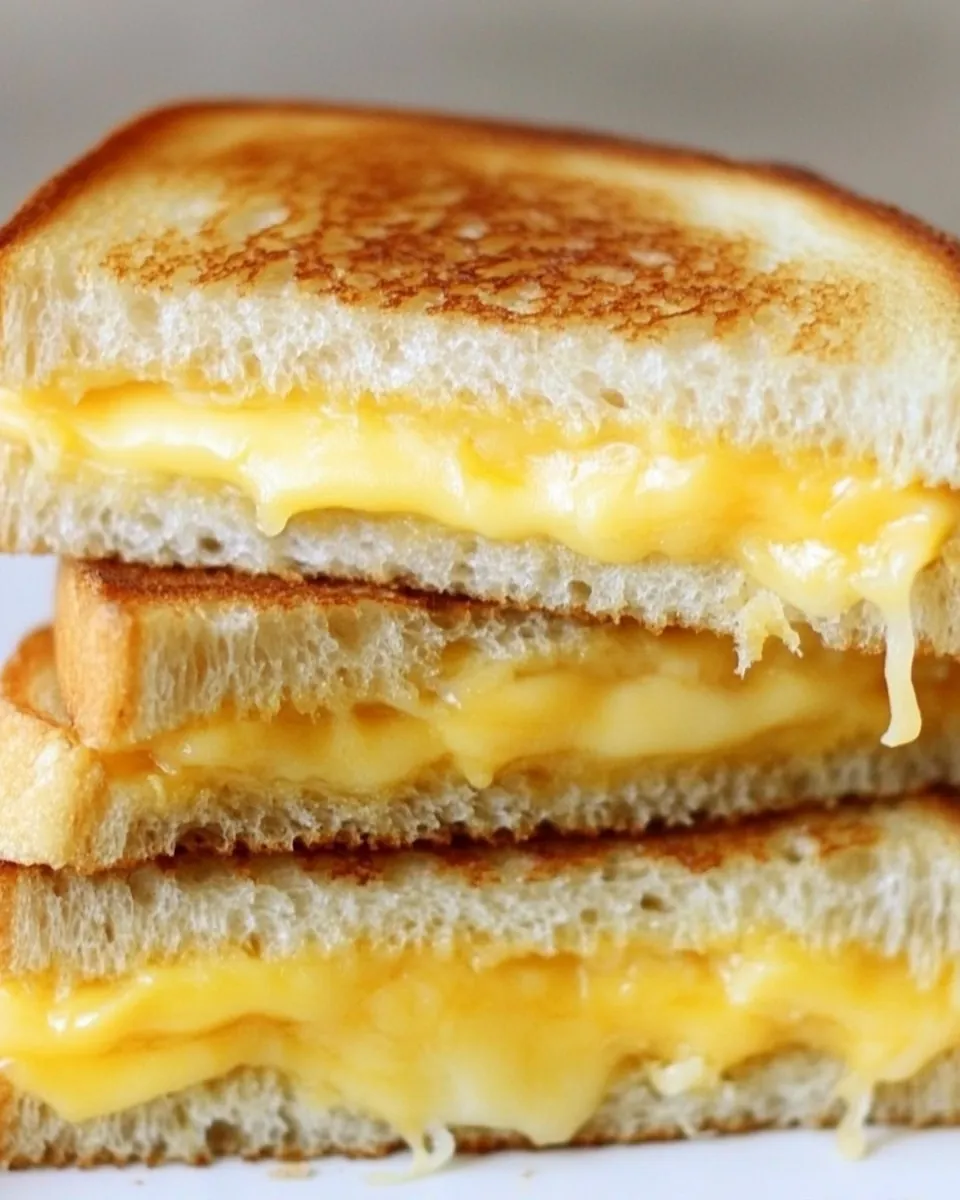
Putting Together Grilled Cheese Sandwich
Making a Grilled Cheese Sandwich is truly an art form. Each step is important, and I love to take my time to ensure everything turns out perfect. Let’s dive into how to create this masterpiece!
Generously slather one side of each piece of bread with your room-temperature butter. Remember, the buttered sides will be on the outside of the sandwich, so if your bread is an unusual shape, you might want to plan accordingly for a nice fit when the sandwich is closed.
Turn the bread over so the unbuttered side is facing up. To one piece of the bread, add a single layer of cheddar cheese sliced 1/8-inch to 1/4-inch thick. Make sure to cover every last bit, overlapping slightly if necessary.
Top the sandwich with the second piece of bread, ensuring the buttered side is facing up this time.
If you’re using an electric griddle, set the temperature to about 275 degrees. Alternatively, you can use a roomy sauté pan over medium-low heat. Place the sandwich on your preheated cooking surface.
Let it cook for about 5 minutes, checking occasionally to ensure it’s not burning. Remember, it’s tempting to press down on the sandwich, but try not to, unless you prefer it extra flat!
After the first five minutes, carefully flip the sandwich with a spatula and cook the other side for another 5 minutes. Keep an eye on it; you want it to achieve that beautiful golden brown.
Once flipped, continue to cook each side for a couple more minutes. The bread should start to brown nicely, and the cheese should be melting into perfection.
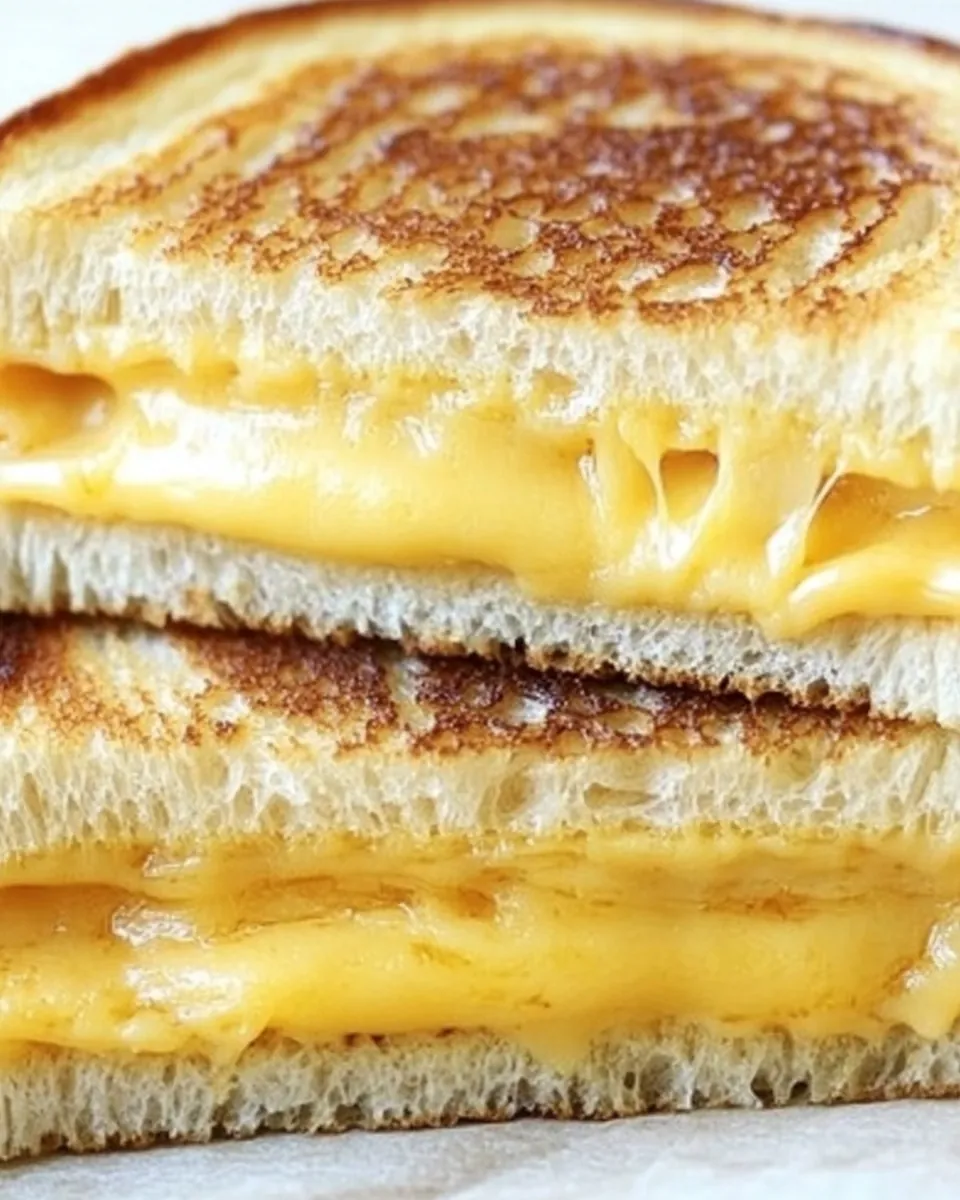
After cooking for about 15 minutes over medium-low heat, increase the heat to medium. Turn the sandwich occasionally, keeping a watchful eye until the bread is perfectly toasted a deep golden brown and the cheese is bubbling.
Finally, remove the sandwich from the heat. If desired, cut it in half and enjoy your perfect Grilled Cheese Sandwich!
Things Worth Knowing
- Butter: Use room-temperature butter for easy spreading.
- Cheese Choice: Different cheeses can provide unique flavors and melting qualities.
- Heat Control: Cooking on low to medium heat prevents burning while ensuring the cheese melts thoroughly.
- Grilling Method: Experiment with different cooking surfaces like a pan, griddle, or even a sandwich press!
Expert Tips about Grilled Cheese Sandwich
If you want to elevate your Grilled Cheese Sandwich game, here are some expert tips that will make all the difference:
- Storage: If you have leftovers, store them in an airtight container in the refrigerator. They can be reheated in a skillet for the best results.
- Freezing: You can freeze your assembled sandwich before cooking. Wrap it tightly in plastic wrap and foil for up to a month. Cook from frozen, adding a few extra minutes to the cooking time.
- Pairing: Serve your Grilled Cheese Sandwich with a side of tomato soup or a crisp salad for a well-rounded meal.
- Variations: Consider adding extras like sliced tomatoes, cooked bacon, or avocado to your sandwich for added flavor and texture.
- Cooking Surface: A non-stick skillet or cast-iron pan can help achieve that perfect crust without sticking.
Accompaniments for Grilled Cheese Sandwich
When it comes to serving your Grilled Cheese Sandwich, the possibilities are endless. Here are some suggestions to enhance your meal:
- Soup Pairing: A classic pairing is tomato soup, which complements the sandwich beautifully.
- Salads: A fresh green salad can provide a nice contrast to the richness of the sandwich.
- Dips: Consider serving it with a side of marinara or pesto for a unique twist.
- Snack Time: Enjoy it as a quick dinner option or a comforting lunch on a rainy day.
- Seasonal Flavors: In fall, add a hint of apple or pear to your sandwich for a seasonal twist.
FAQ
Conclusion
The Grilled Cheese Sandwich is more than just a meal; it’s a nostalgic delight that brings comfort and joy. Whether you choose to keep it classic or add your favorite ingredients, it’s a dish that never disappoints. So why not give it a try tonight? Your taste buds will thank you for this cheesy goodness!
Grilled Cheese Sandwich
Ingredients
Equipment
Method
- Generously slather one side of each piece of bread with your room-temperature butter. The buttered sides will be on the outside of the sandwich, so if your bread is a crazy shape like mine was and you want the pieces of bread to match up when the sandwich is closed, plan accordingly.
- Turn the bread over, unbuttered side up. To one piece of the bread, add a single layer of cheddar cheese sliced 1/8-inch to 1/4-inch thick. Cover every last little bit of the bread, overlapping here and there if necessary.
- Top the sandwich with the second piece of bread, buttered side up.
- If you’re using an electric griddle, set the temperature to about 275 degrees. Or use a roomy saute pan over medium-low heat. Place the sandwich on the preheated cooking surface and let it cook for about 5 minutes, checking occasionally to make sure it’s not burning (it probably won’t at such low heat, but cooking surfaces vary from kitchen to kitchen). It’s tempting, but don’t press down on the sandwich! Unless you like your grilled cheese extra flat, in that case, go for it.
- After the first five minutes, carefully flip the sandwich with a spatula and cook the other side for 5 minutes.
- Flip and cook each side for a couple more minutes each. The bread should start to get golden brown and the cheese nice and melty.
- After about 15 minutes of cooking over medium-low heat, increase the heat to medium and, turning every so often, watch the sandwich carefully until the bread is perfectly toasted a golden brown.
- Remove the sandwich from the heat, carefully cut in half if you would like, and enjoy your perfect grilled cheese sandwich.
Notes
- Tip for Vegetarians: If you’re concerned about rennet in your cheese, Tillamook’s cheeses are made with a vegetable-based rennet.