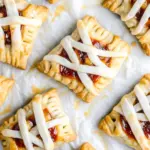
Homemade Twix Bars
Whenever I’m in need of a sweet pick-me-up, I find myself reaching for these Homemade Twix Bars. There’s something magical about creating a classic treat right in my own kitchen. The combination of a buttery crust, sticky caramel, and rich chocolate is a nostalgic reminder of my childhood. I remember the first time I tried to replicate those candy bars; it was a delightful mess, but the end result was so worth it! Each layer of these bars sings with flavor, and they are perfect for sharing with friends or enjoying as a guilty pleasure. I love how this recipe transforms simple ingredients into something extraordinary and indulgent. The best part? You can tailor them to your liking, whether you prefer dark chocolate or a drizzle of sea salt on top. Join me as we dive into this delicious journey of making Homemade Twix Bars!
Recipe Snapshot
30 mins
10 mins
20 mins
Medium
190 kcal
2 g
Gluten-Free, Low FODMAP
8 g
Large Pot, Oven, Baking Sheet, Frying Pan, Wooden Spoon, Chef’s Knife, Mixing Bowl
What We Adore About This Homemade Twix Bars
Classic Flavor Combination
One of the reasons I adore these Homemade Twix Bars is the classic flavor combination that never fails to impress. The buttery crust is the perfect base, holding up to the gooey caramel and rich chocolate. Each bite is a delightful contrast of textures; crisp, soft, and chewy, all at once. It’s a treat that reminds me of my childhood, and I relish every moment of making them.
Customizable Delight
Another fantastic aspect of this recipe is its adaptability. You can switch out the chocolate for your favorite kind—whether it’s a creamy milk chocolate or a deep dark chocolate. Feeling adventurous? You could even add a sprinkle of sea salt to enhance the flavor profiles. These bars can also be cut into different shapes or sizes, making them unique every time.
Great for Any Occasion
These Homemade Twix Bars are perfect for any occasion. Whether you’re hosting a party, attending a gathering, or just craving something sweet at home, these bars are a hit. I love bringing them to potlucks or family gatherings; they’re always the first treat to disappear. Plus, they make for a wonderful gift when wrapped nicely!
Simple Ingredients
Despite their rich taste, the ingredients are straightforward and often found in most pantries. You’ll need unsalted butter, confectioners’ sugar, flour, caramel, heavy cream, and chocolate. Making something delicious doesn’t have to be complicated or require rare ingredients.
Fun to Make
Making these bars is a fun activity, especially if you have kids or friends to help. From melting the caramel to spreading the chocolate, each step is enjoyable and rewarding. I often find it therapeutic to bake in the kitchen, and these bars bring a sense of joy and satisfaction.
Perfect for Meal Prep
These bars also lend themselves beautifully to meal prep. Just make a batch on the weekend, and you’ll have a tasty sweet treat ready for the week ahead. They store well in the fridge, and you can take them out whenever you need a little indulgence. They’re great to have handy for those unexpected sweet cravings!
Everything You Need for Homemade Twix Bars
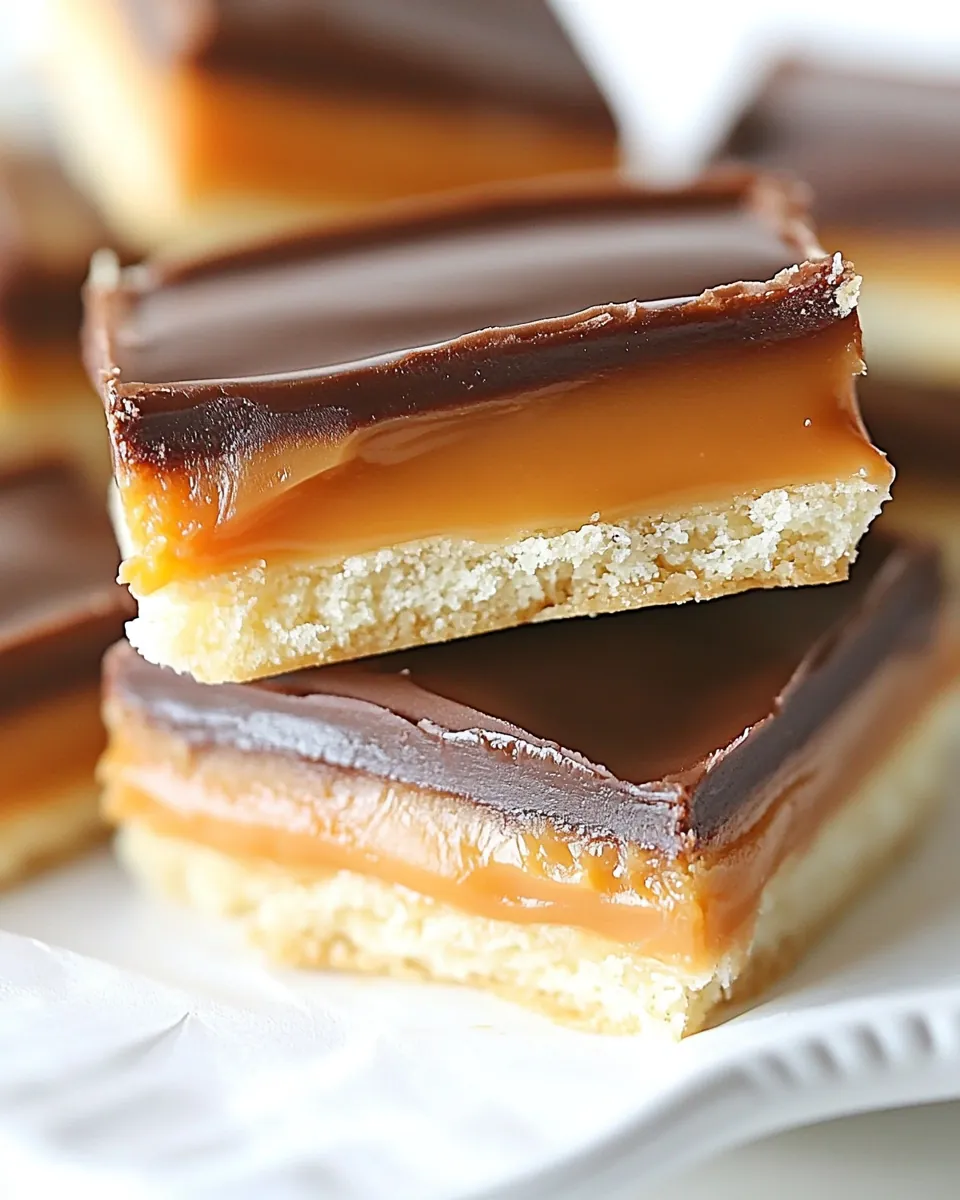
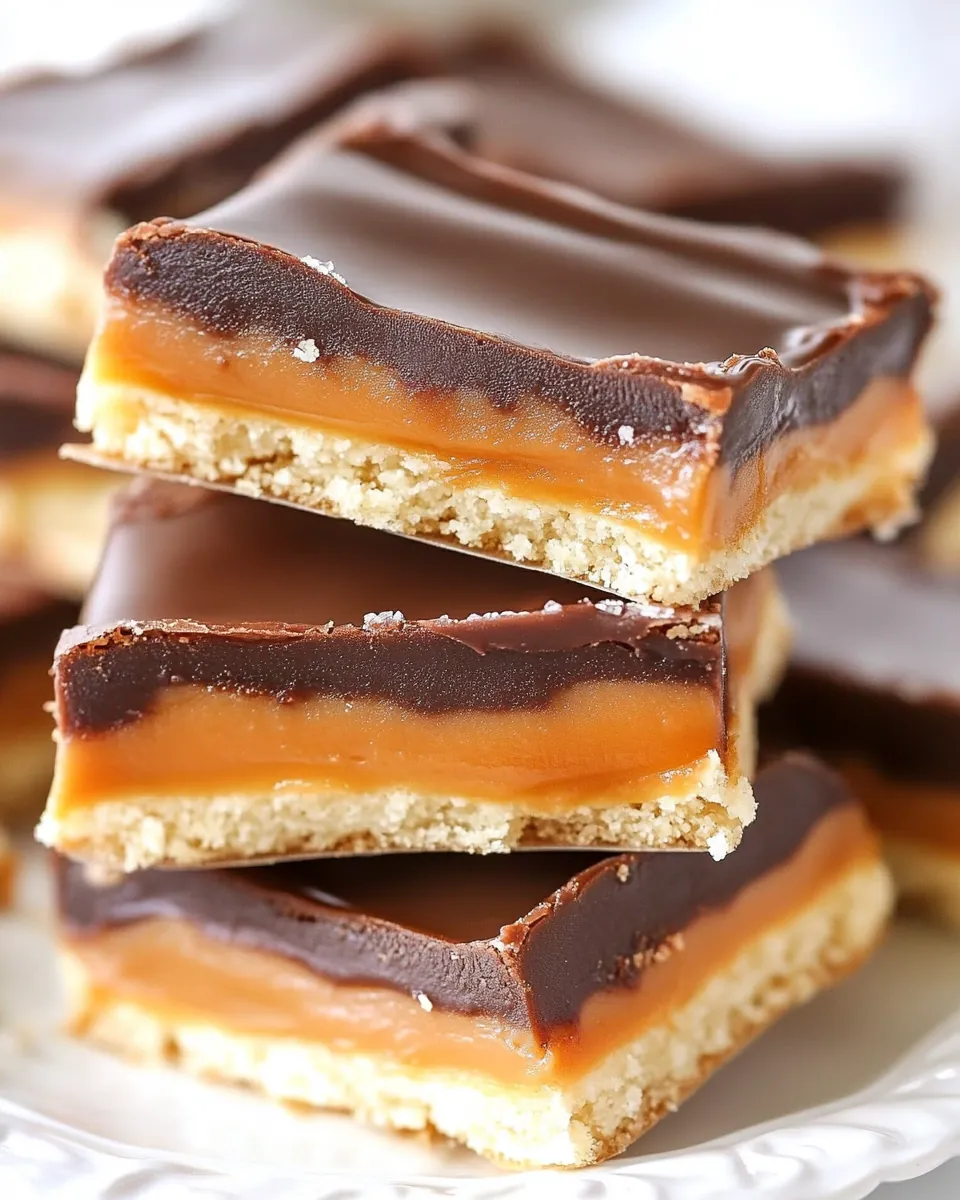
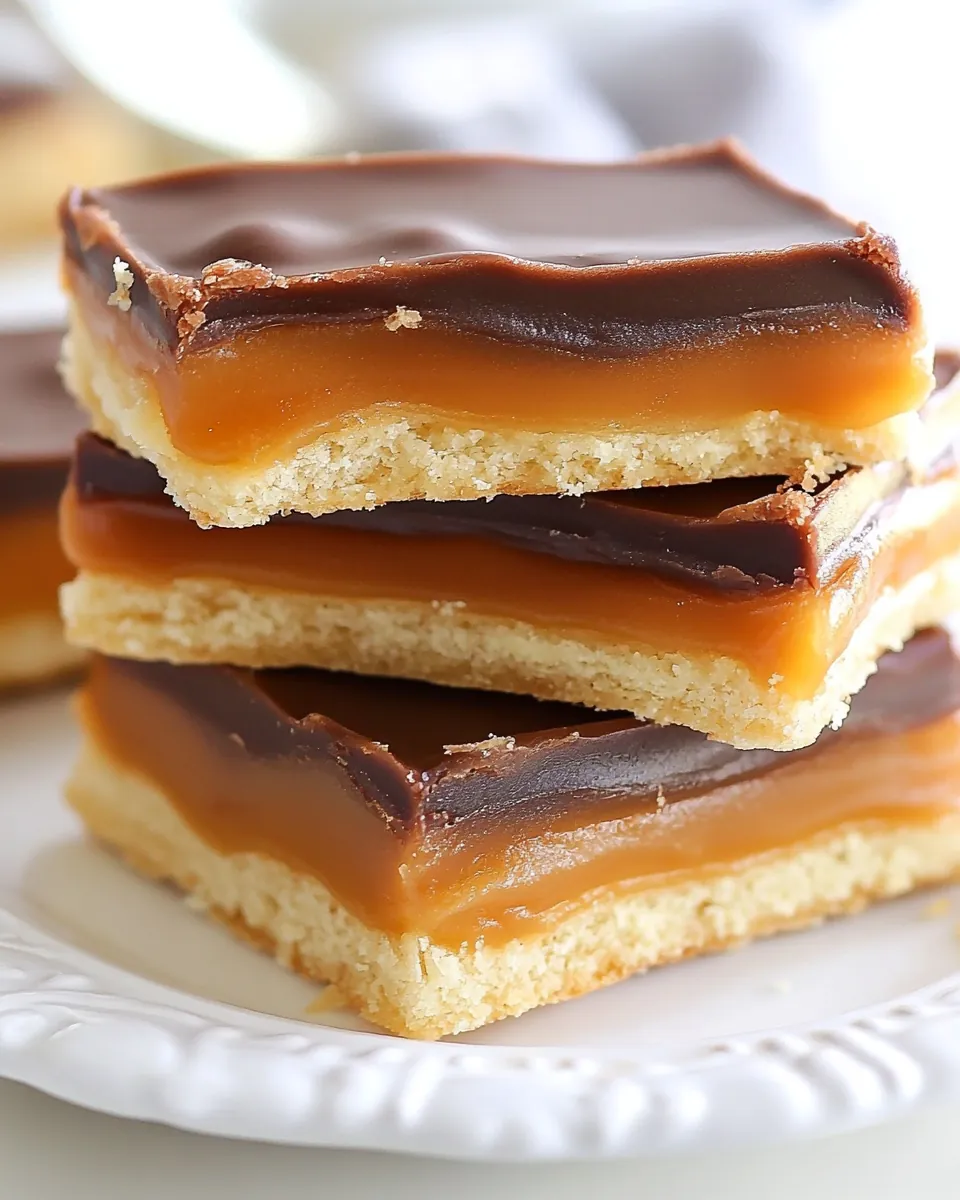
Understanding the harmony of ingredients in Homemade Twix Bars is essential. From the rich unsalted butter to the smooth chocolate, each component plays a critical role in bringing this treat to life. The buttery crust provides a sturdy base, while the caramel layer adds sweetness and chewiness. Finally, the melted chocolate crowns the bars with a luscious finish. Together, these flavors and textures create an unforgettable dessert experience.
- Unsalted Butter: 1 cup (2 sticks), at room temperature. This is the key player for a rich, buttery crust that holds the bars together.
- Confectioners’ Sugar: 1 cup. Sweetens the crust and adds a delectable smoothness to the mixture.
- Vanilla Extract: 2 teaspoons. A hint of vanilla enhances the overall flavor profile.
- King Arthur Unbleached All-Purpose Flour: 2 cups. This forms the bulk of the crust, giving it structure.
- Salt: 1/2 teaspoon. A pinch of salt balances the sweetness of the dessert.
- Caramel: 2 cups, cut into small chunks (about 14 ounces). This creates the chewy layer that Twix bars are known for.
- Heavy Cream: 3 tablespoons. Adds creaminess to the caramel layer, making it smooth and luscious.
- Chopped Milk or Dark Chocolate: 3 cups, melted. This is the final layer, bringing richness and a satisfying chocolate flavor.
- Vegetable Shortening: 1 tablespoon (optional). This can thin out the chocolate layer for a smoother finish.
How to Prepare Homemade Twix Bars
Preparing Homemade Twix Bars is a delightful process that transforms simple ingredients into a decadent treat. Follow these steps closely to ensure that each layer is perfect. Here’s how to do it:
- Preheat your oven to 300°F (150°C) and prepare a 9″ x 13″ pan by lining it with parchment paper. This makes it easier to remove the bars later.
- For the crust, in a medium-sized bowl, combine the unsalted butter, confectioners’ sugar, and vanilla extract. Beat together until fully blended, creating a creamy mixture.
- Next, add the flour and salt to the bowl. Mix well; the dough will seem dry at first, but don’t worry—it will come together with a little mixing.
- Press the dough evenly into the prepared pan. If you flour your fingertips lightly, it helps prevent sticking. Use a fork to prick the top of the crust to avoid bubbles while baking.
- Place the pan in the preheated oven and bake the crust for about 35 to 45 minutes, or until it’s lightly golden brown on top and the edges are deeper golden. Keep an eye on it!
- Once baked, remove the pan from the oven and run a knife around the edges to loosen the crust while it’s still warm. Allow it to cool completely in the pan.
- For the caramel layer, melt the caramel and heavy cream together. You can do this in a microwave-safe bowl, heating in 30-second intervals and stirring in between, or over low heat on the stove. Stir until the mixture is smooth.
- Pour the melted caramel over the cooled crust, spreading evenly. Place it in the refrigerator for about 30 minutes to chill and firm up.
- To prepare the chocolate layer, melt the chocolate in a microwave or a double boiler. Again, use 30-second intervals if in the microwave, making sure to stir until fully melted. If desired, add a tablespoon of vegetable shortening to create a smoother consistency.
- Once melted, pour the chocolate over the chilled caramel layer, spreading it evenly to cover the entire surface. Return the dessert to the refrigerator until the chocolate is set.
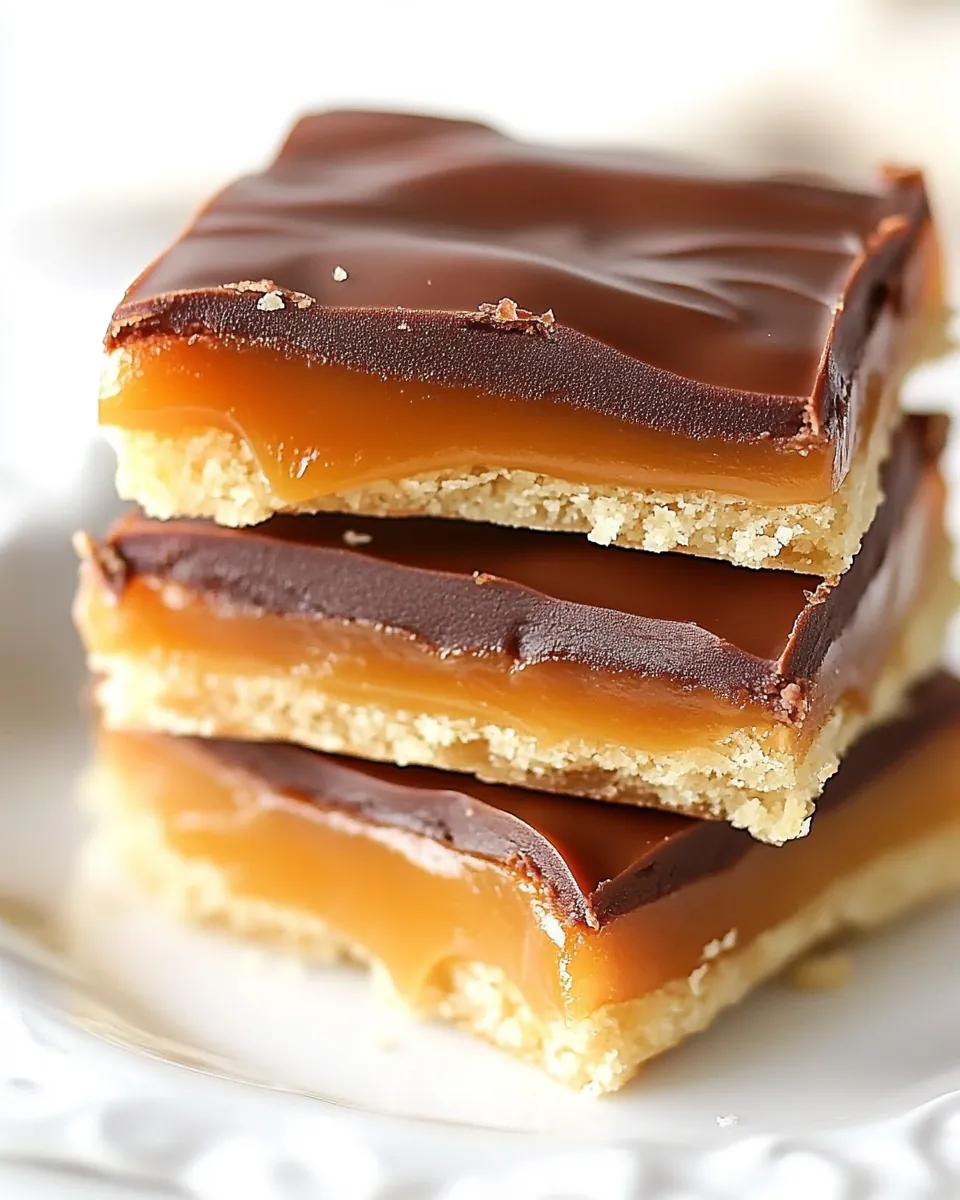
- When the bars are set, lift the entire slab out of the pan using the parchment. Cut into squares or fingers, depending on your preference. Let them sit at room temperature for a few minutes to make cutting easier.
- Store any leftover bars in the refrigerator. Remember, the caramel softens at room temperature, so keep them cool for the best texture!
Things Worth Knowing
- Measure Flour Accurately: Make sure to spoon the flour into your measuring cup and level it off to avoid using too much, which can make your crust crumbly.
- Don’t Rush the Chilling: Allowing the caramel layer to firm up in the refrigerator is essential for a perfect cut. Resist the temptation to skip this step!
- Use Quality Chocolate: The flavor of the melted chocolate is crucial. Choose a good quality chocolate for the best results.
- Experiment with Flavors: Feel free to add your own twist by including a sprinkle of sea salt on top or incorporating different flavors of chocolate.
Ways to Adapt This Recipe
Ready to customize your Homemade Twix Bars? Here are some suggestions to make this recipe your own!
- Storage: Store leftovers in an airtight container in the refrigerator to maintain freshness and texture.
- Freezing: Yes, you can freeze these bars! Simply wrap them well in plastic wrap and place them in a freezer-safe container. They can last for up to three months.
- Pairing: These bars pair wonderfully with a cup of coffee or hot chocolate—a delightful afternoon treat!
- Add Nuts: For a crunchy texture, consider adding some chopped nuts, like pecans or almonds, into the chocolate layer.
- Mini Versions: Make mini versions of these bars by using a mini muffin tin for bite-sized treats!
Side Dish Ideas for Homemade Twix Bars
When it comes to serving Homemade Twix Bars, there are several creative ways to enjoy them:
- Afternoon Snack: These bars make for an excellent afternoon snack or a sweet treat after dinner.
- Party Dessert: Cut them into smaller pieces and serve them at gatherings—they’re sure to impress your guests!
- Picnic Treat: Perfect for picnics, these bars travel well. Just pack them in a container and enjoy them outdoors.
- Holiday Gift: Consider wrapping these bars in festive packaging to give as gifts during the holiday season.
- Game Day Snack: They’re a great addition to any game day spread. Who wouldn’t want a sweet treat while cheering for their favorite team?
FAQ
Conclusion
These Homemade Twix Bars stand out as a fun and delicious treat that captures the essence of a beloved classic. The combination of buttery crust, gooey caramel, and rich chocolate makes them irresistible. I encourage you to give this recipe a try—you won’t be disappointed. Enjoy the joy of making and sharing these treats with family and friends!
Homemade Twix Bars
Ingredients
Equipment
Method
- Preheat your oven to 300°F and line a 9" x 13" pan with parchment. This makes it easier to cut the bars later.
- For the crust: In a medium-sized bowl, beat together the butter, confectioners' sugar, and vanilla. Add the flour and salt. Mixture will be dry but will come together after mixing.
- Press dough evenly into the pan. Lightly flouring your fingertips will help with any sticking. Prick the crust all over with a fork to prevent bubbles.
- Bake the crust until it's lightly golden brown on top and the edges are deeper golden brown, about 35 to 45 minutes. Remove from the oven and immediately run a knife around the edges to loosen the crust. Set it aside to cool completely.
- For the caramel layer: Melt the caramel and heavy cream in 30 second intervals in a microwave-safe bowl, stirring in between. This can also be done on the stove. Stir until smooth. Pour the caramel over the cooled crust and set in the refrigerator for 30 minutes to chill and firm up.
- To make the chocolate layer: Melt the chocolate slowly in a double boiler or in the microwave in 30 second intervals. Add a tablespoon of shortening to thin it out if desired. Pour evenly over the chilled caramel layer and spread to cover all of the caramel. Return to the fridge until the chocolate is well set.
- Cut into 2" x 2" squares to serve. Let bars sit at room temperature for a couple of minutes to make cutting easier.
- Store bars in the fridge. Caramel will soften at room temperature.
- These bars can also be cut and dipped in melted chocolate to resemble Twix bars. After the caramel layer has chilled firm, cut into long strips, then dip into melted chocolate and place on parchment paper to set.
Notes
- Measure your flour properly: Spoon flour into a measuring cup and level off with a knife. Adding too much flour will make your crust crumbly.