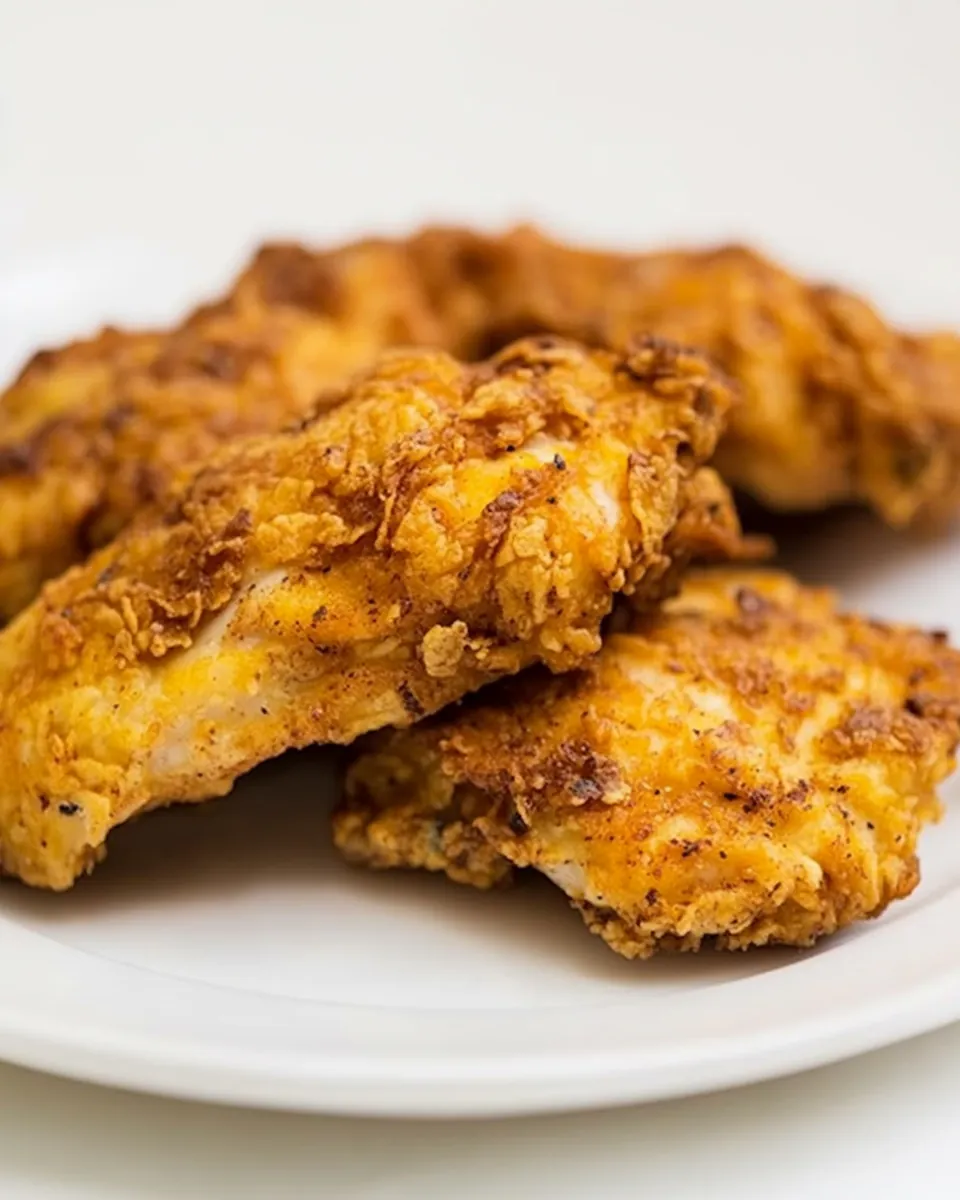
Juicy Fake Fried Chicken
When I think about comfort food, nothing satisfies quite like Juicy Fake Fried Chicken. This dish has become a staple in my home, especially on those nights when I crave something that feels indulgent yet is still on the lighter side. Growing up, fried chicken was a family favorite, but I wanted to create a version that doesn’t pack in the calories and still delivers on that delicious flavor. The first time I made this recipe, I was skeptical—could I really achieve that crispy, juicy taste without deep frying? But as soon as I pulled that golden-brown chicken from the oven, I knew I had struck gold!
This recipe is not only easy to make, but it also brings back all those warm, nostalgic memories of family dinners. The blend of spices and the zing from the hot sauce transforms the simple ingredients into something truly special. And the best part? You don’t need special equipment or hours in the kitchen. Just mix, coat, and bake. I remember enjoying this with my loved ones, and now, I’m thrilled to share it with you. Let’s get cooking!
Recipe Snapshot
60 mins
0 mins
0 mins
Medium
320 kcal
28 g
Whole30
12 g
Oven, Baking Sheet, Mixing Bowl, Whisk
The Magic of This Juicy Fake Fried Chicken
Healthier Alternative
We all love fried chicken, but traditional recipes can often be heavy and greasy. Juicy Fake Fried Chicken gives you that same taste without the guilt. By baking instead of frying, you cut down on unnecessary fats while still enjoying crunchy, flavorful goodness.
Easy to Prepare
This recipe is incredibly straightforward. With just a few ingredients, you can have a delicious meal on the table in no time. It’s perfect for busy weeknights or when you want to impress guests with minimal effort.
Customizable Flavors
The spice blend in Juicy Fake Fried Chicken is so versatile. You can adjust the heat level by playing around with the amount of hot sauce or even adding different spices to suit your taste. It’s a dish that can evolve with your culinary adventures.
Family-Friendly
Kids and adults alike love this dish! It’s a great way to introduce children to new flavors while keeping it familiar. Plus, you can serve it with a variety of sides to please everyone at the table.
Perfect for Meal Prep
If you’re looking to save time during the week, Juicy Fake Fried Chicken is an excellent choice. You can prepare the chicken ahead of time, store it in the fridge, and simply pop it in the oven when you’re ready to eat.
What You’ll Need for Juicy Fake Fried Chicken

Gathering the right ingredients is essential for achieving that perfect balance of flavor and texture. In Juicy Fake Fried Chicken, each ingredient plays a vital role. The combination of spices and the marinating process ensure your chicken is both juicy and full of flavor. Let’s dive in!
- 1/2 cup non-fat buttermilk or 1/2 tablespoon lemon juice (or vinegar) mixed with 1/2 cup 1 percent milk: This is the base for marinating the chicken, adding moisture and tanginess.
- 1 1/2 tablespoons Dijon mustard: Provides a zesty kick that complements the chicken perfectly.
- 2 garlic cloves, minced: Garlic adds depth and a savory note.
- 2 teaspoons hot sauce: For those who like a bit of heat!
- 2 to 2 1/2 pounds split chicken breasts (bone-in, skin removed, optional boneless): The star of the dish—choose bone-in for more flavor or boneless for convenience.
- 1 cup flour (we used white whole wheat): Coating the chicken to create that crispy crust.
- 1 teaspoon paprika: Adds a beautiful color and slight smokiness.
- 1 teaspoon dried thyme: This herb brings a wonderful aroma and flavor.
- 1 teaspoon baking powder: Helps the coating to puff up and become airy.
- 1/8 teaspoon kosher or sea salt: Enhances all the flavors.
- 1/2 teaspoon black pepper: A classic seasoning to add a touch of heat.
Step by Step Guide for Juicy Fake Fried Chicken

Now that we have our ingredients ready, it’s time to dive into the cooking process! I love how easy it is to make Juicy Fake Fried Chicken. Just follow these simple steps, and you’ll be enjoying a delicious meal in no time.
- Preheat your oven to 425 degrees F. This step is crucial for achieving that perfect golden-brown finish on your chicken.
- In a wide and shallow bowl, whisk together the buttermilk, Dijon mustard, minced garlic, and hot sauce. This mixture will act as a marinade, tenderizing the chicken and infusing it with flavor. Make sure every piece is well coated.
- Add the chicken to the marinade, flipping it to coat both sides. I like to let it marinate for at least 15 minutes, but you can go longer if you have the time.
- While the chicken is marinating, line a baking sheet with parchment paper for easy cleanup and to prevent sticking.
- In a separate small bowl, whisk together the flour, paprika, thyme, baking powder, salt, and pepper. This is your seasoned flour, which will give the chicken that sought-after crunch.
- Now, place the seasoned flour in a bowl with an airtight lid. It makes coating the chicken easier and mess-free.
- Add the marinated chicken pieces to the flour, two pieces at a time. Seal the lid and shake to coat well. Remove the chicken, shaking off any excess flour.
- Carefully place the coated chicken on the parchment-lined baking sheet. Make sure they’re spaced out to allow proper cooking.
- Coat the top and sides of the chicken with cooking spray or brush with olive oil. This helps achieve that crispy texture without frying.
- Bake the chicken in the preheated oven until golden brown and no longer pink in the center, about 40 to 50 minutes. You’ll want to check to make sure it reaches an internal temperature of 165 degrees F.
Things Worth Knowing
Things Worth Knowing
- Marinade Time: Letting the chicken soak in the marinade for at least 15 minutes enhances the flavor.
- Cooking Temperature: Always preheat your oven to ensure even cooking and a crispy exterior.
- Don’t Rush the Baking: Give it enough time in the oven for that golden-brown crust.
- Experiment with Spices: Feel free to add your favorite spices or herbs to the seasoning mix for a personal touch.
Make It Your Own
Every cook has their own flavor preferences, and Juicy Fake Fried Chicken is no different. Here are some creative tips to make this dish your own!
- Storage: Store any leftovers in an airtight container in the fridge for up to three days. Reheat in the oven to maintain crispiness.
- Freezing: You can freeze the uncooked coated chicken for up to two months. Thaw in the fridge before baking.
- Pair with Sides: This chicken pairs beautifully with mashed potatoes, coleslaw, or a fresh garden salad.
- Make it Spicy: Add more hot sauce to the marinade for an extra kick or incorporate cayenne pepper into the flour mixture.
- Herb Variations: Experiment with different herbs like rosemary or oregano for a unique flavor profile.
What to Serve Alongside Juicy Fake Fried Chicken
When it comes to serving Juicy Fake Fried Chicken, the possibilities are endless! Here are some delicious ideas to enhance your meal:
- Classic Mashed Potatoes: Creamy mashed potatoes are a comfort food classic that pairs perfectly with crispy chicken.
- Coleslaw: A refreshing coleslaw brings a crunchy texture and a tangy contrast to the savory chicken.
- Green Beans: Steamed or sautéed green beans add a healthy touch and a burst of color to your plate.
- Mac and Cheese: For a truly indulgent experience, serve with rich and creamy mac and cheese.
- Salads: A light garden salad with a vinaigrette can balance the meal and add freshness.
- Perfect for Gatherings: This dish is ideal for family dinners, potlucks, or any gathering where comfort food is a must.
- Storage Tips: Leftovers can be stored in the fridge and reheated in the oven, maintaining that crispy texture.
FAQ
Conclusion
In summary, Juicy Fake Fried Chicken offers the satisfying crunch and flavor of traditional fried chicken while being a healthier option. It’s perfect for casual dinners or special occasions. I encourage you to give this recipe a try—your taste buds will thank you, and it might just become a new family favorite!
Juicy Fake Fried Chicken
Ingredients
Equipment
Method
- Preheat your oven to 425 degrees F. This step is crucial for achieving that perfect golden-brown finish on your chicken.
- In a wide and shallow bowl, whisk together the buttermilk, Dijon mustard, minced garlic, and hot sauce. This mixture will act as a marinade, tenderizing the chicken and infusing it with flavor. Make sure every piece is well coated.
- Add the chicken to the marinade, flipping it to coat both sides. I like to let it marinate for at least 15 minutes, but you can go longer if you have the time.
- While the chicken is marinating, line a baking sheet with parchment paper for easy cleanup and to prevent sticking.
- In a separate small bowl, whisk together the flour, paprika, thyme, baking powder, salt, and pepper. This is your seasoned flour, which will give the chicken that sought-after crunch.
- Now, place the seasoned flour in a bowl with an airtight lid. It makes coating the chicken easier and mess-free.
- Add the marinated chicken pieces to the flour, two pieces at a time. Seal the lid and shake to coat well. Remove the chicken, shaking off any excess flour.
- Carefully place the coated chicken on the parchment-lined baking sheet. Make sure they're spaced out to allow proper cooking.
- Coat the top and sides of the chicken with cooking spray or brush with olive oil. This helps achieve that crispy texture without frying.
- Bake the chicken in the preheated oven until golden brown and no longer pink in the center, about 40 to 50 minutes. You’ll want to check to make sure it reaches an internal temperature of 165 degrees F.
Notes
- Tip 1: Letting the chicken soak in the marinade for at least 15 minutes enhances the flavor.
- Tip 2: Always preheat your oven to ensure even cooking and a crispy exterior.
- Tip 3: Give it enough time in the oven for that golden-brown crust.
- Tip 4: Feel free to add your favorite spices or herbs to the seasoning mix for a personal touch.