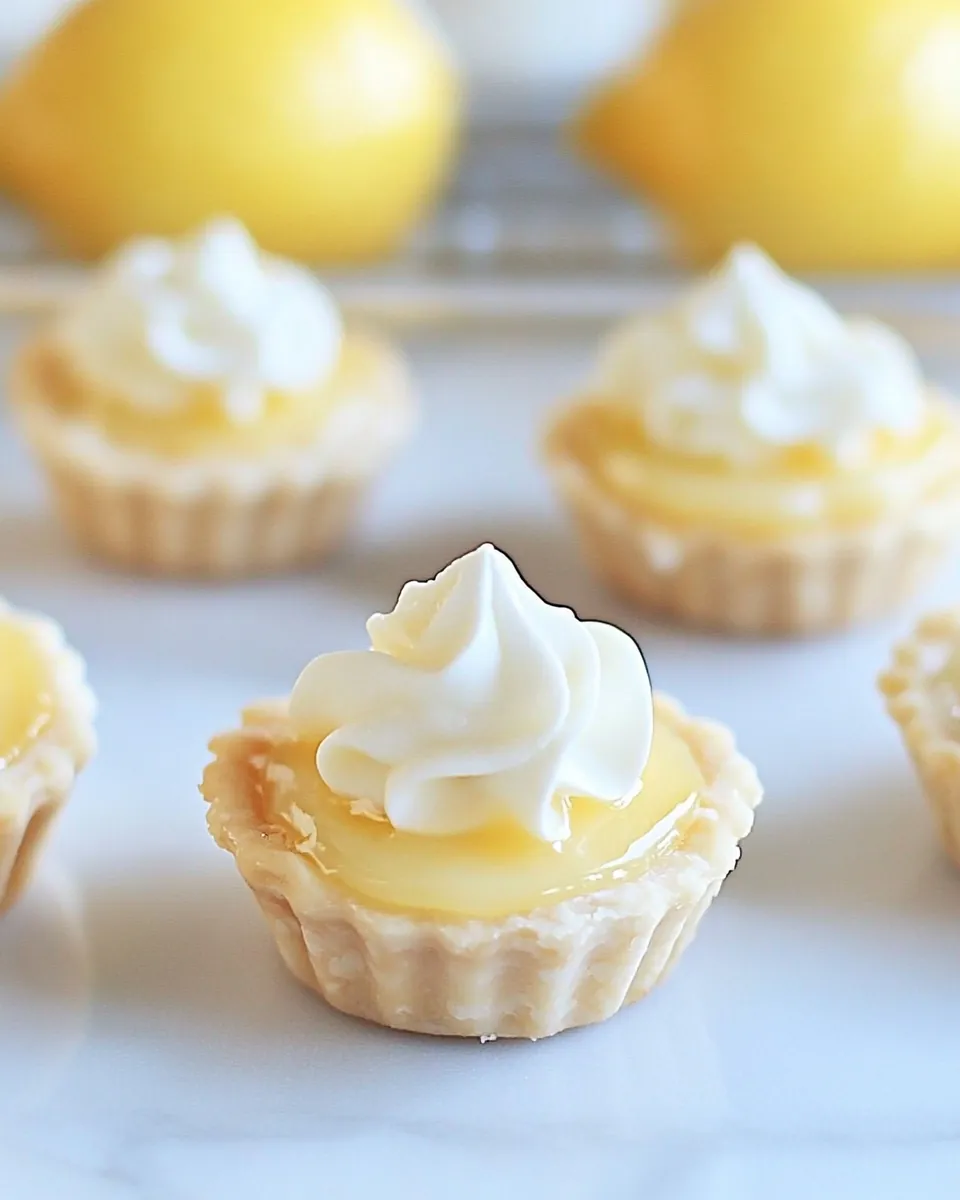
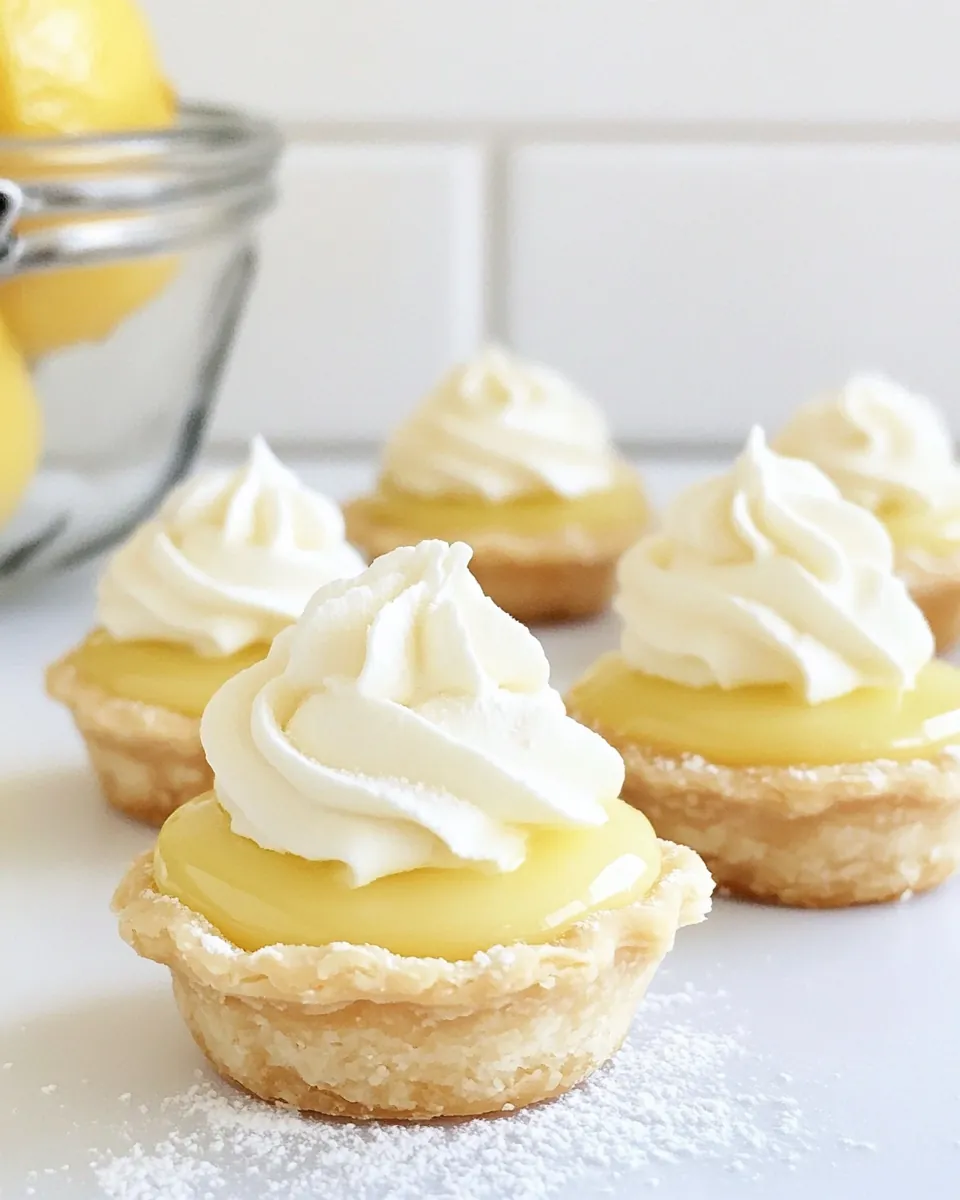
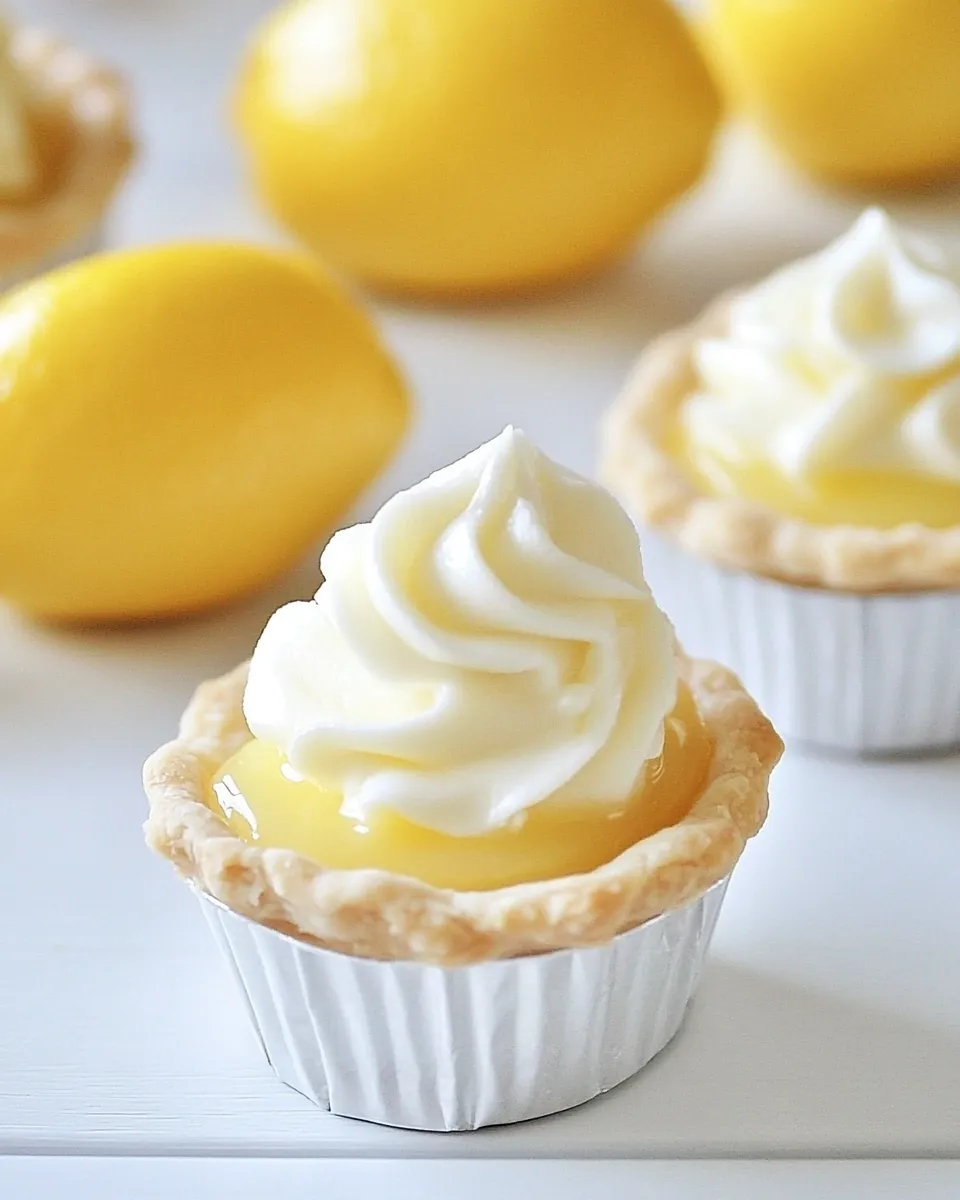
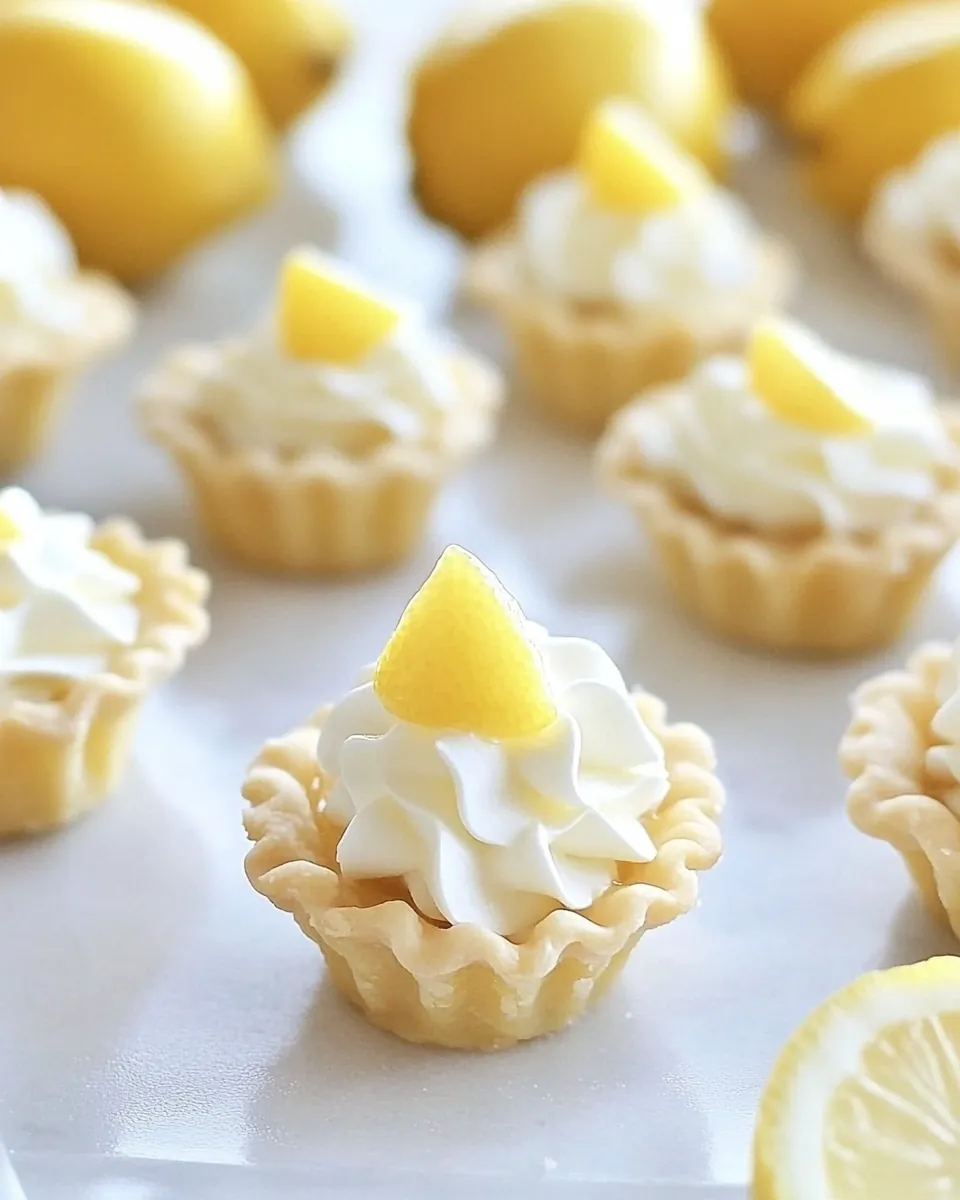
Mini Lemon Cream Pies
There’s something incredibly refreshing about a bite-sized dessert, especially when it comes to making Mini Lemon Cream Pies. I remember the first time I tasted these delightful tarts at a family gathering; the tangy sweetness of the lemon curd paired with the creamy filling had me coming back for more. They were the perfect finish to a summer barbecue, and ever since that day, I knew I had to recreate them in my own kitchen. These little pies not only look adorable but are surprisingly easy to make. With the right balance of flavors, they can brighten up any occasion, whether it’s a picnic in the park or a cozy gathering at home. The vibrant lemon flavor is like sunshine on a plate, making them an instant favorite among friends and family.
Recipe Snapshot
20 mins
10 mins
10 mins
Medium
180 kcal
2 g
Keto, Paleo, Whole30
8 g
Oven, Baking Sheet, Mixing Bowl, Whisk
The Best Thing About This Mini Lemon Cream Pies
So, why do Mini Lemon Cream Pies stand out in the crowd of desserts? Let me share some compelling reasons that make these little treats a must-try.
1. Bright Flavor Profile
Nothing says refreshing quite like the zest of lemon. The combination of tart and sweet in Mini Lemon Cream Pies delivers a flavor punch that’s simply irresistible. Each bite is a burst of sunshine, making them perfect for summer gatherings or any time you want to brighten someone’s day.
2. Easy to Make
Despite their fancy appearance, Mini Lemon Cream Pies are surprisingly simple to whip up. The steps are straightforward, allowing you to focus on enjoying the process. Even novice bakers will find joy in creating these delightful little tarts!
3. Perfect for Any Occasion
Whether it’s a birthday party, a summer picnic, or a holiday feast, these pies will fit right in. Their small size makes them ideal for serving, allowing everyone to indulge without feeling guilty. You’ll often hear guests exclaim over their cuteness and flavor!
4. Versatile Filling Options
While I love the classic lemon curd and creamy filling combination, you can easily switch it up. Try adding a hint of coconut, or even a layer of fresh berries for a burst of color and flavor. The possibilities are endless, making each batch unique!
5. Crowd-Pleaser
There’s something about these tarts that makes them universally loved. I’ve yet to meet anyone who hasn’t raved about the taste and presentation. They’re not just food; they’re something people can get excited about, and that’s what makes sharing them even more special.
6. Make Ahead Convenience
Another fantastic aspect of Mini Lemon Cream Pies is that they can be prepared ahead of time. You can assemble them a day in advance and store them in the refrigerator. This makes them a practical choice for busy days or when you’re entertaining guests.
Mini Lemon Cream Pies Ingredients
The beauty of Mini Lemon Cream Pies lies in their simplicity and the harmonious blend of flavors. The key players are the tart lemon curd, rich creaminess from the Cool Whip, and the buttery pie crust, all working together to create a delightful dessert experience.
- 2 pie crusts, unbaked: These provide the perfect buttery and flaky base for our filling.
- 1/2 cup lemon curd: The star ingredient, offering that zesty brightness that makes these pies so refreshing.
- 1 cup milk, cold: This adds a creamy texture to the filling, balancing the tartness of the lemon.
- 3.4 oz lemon instant pudding mix: This helps thicken the filling, giving it a delightful creaminess.
- 8 oz Cool Whip, thawed: This adds a light, airy texture to the filling, making it incredibly enjoyable.
Mini Lemon Cream Pies Instructions
Making Mini Lemon Cream Pies is a rewarding process, and I can assure you that the end result will be worth every moment spent in the kitchen. Let’s dive into these delightful steps together!
Preheat your oven to 450 degrees F (232 degrees C). This high temperature will ensure that the pie crusts bake to a perfect golden brown. You’ll want to smell that buttery aroma wafting through your kitchen!
Grab a 3-inch flower or round cookie cutter. Use this to punch out as many shapes as you can from the pie crusts. Roll any scraps of dough together and continue cutting out shapes until you have 24 total. This is where the fun begins!
Next, place the pie cutouts on the back of a mini muffin tin. Make sure to space them nicely so that the edges do not touch. This will ensure even baking and prevent any sticking together.
Now, bake those crusts for about 8 to 10 minutes, or until they turn a light golden brown. It’s crucial to keep an eye on them as they bake – we want them golden, not burnt!
Once baked, let them cool in the muffin tin for a few minutes. Carefully twist and pull each pie shell up to remove them. They should pop out nicely if you’ve greased the tin properly.
Fill each cooled pie shell with a teaspoon of jarred lemon curd. This is where the magic happens; the tartness of the curd will provide a beautiful contrast to the creaminess of the filling.
In a medium bowl, whisk together the cold milk with the lemon pudding mix until smooth. This mixture should blend seamlessly, creating a nice base for our creamy filling.
Gently fold in the Cool Whip until fully combined. The key here is not to deflate the mixture; we want it to remain light and airy.
Finally, spoon a tablespoon of the lemon mousse on top of each pie shell. Make sure to generously top each one to create a lovely mound of cream.
Store your delicious creations in the fridge until you’re ready to enjoy! They’ll be perfectly chilled and ready to impress your guests.
Things Worth Knowing
- Watch the Bake Time: Keep a close eye on the crust while baking; it can quickly go from golden to burnt.
- Chill Before Serving: Letting the pies chill for at least an hour allows the flavors to meld beautifully.
- Use a Mini Muffin Tin: This size is crucial for achieving that perfect mini tart shape.
- Keep Ingredients Cold: Using cold ingredients like milk can help maintain the light texture of the filling.
Change It Up
Feeling adventurous? Here are some tips to customize Mini Lemon Cream Pies and make them your own!
- Storage: Store leftovers in an airtight container in the refrigerator for up to three days.
- Freezing: These pies can be frozen. Just make sure to layer them carefully to avoid sticking.
- Pairing: Serve with fresh berries or a sprig of mint for an extra pop of flavor and color.
- Alternative Flavors: Try using different fruit curds like raspberry or passionfruit for a twist.
- Single Large Pie: To make a single large pie, use one pie shell and follow the same filling instructions. Bake according to the pie crust instructions.
What to Pair With Mini Lemon Cream Pies
When serving Mini Lemon Cream Pies, consider the setting and the crowd. Here are some delightful pairings and occasions:
- Summer Picnics: These little pies are a refreshing dessert at any outdoor gathering. Pair them with chilled fruit salads or a light pasta salad.
- Barbecue Parties: Their zesty flavor complements grilled meats beautifully—perfect for summer barbecues.
- Tea Parties: The elegant look of these mini pies makes them a charming addition to any afternoon tea spread.
- Seasonal Celebrations: Serve them during spring and summer holidays like Memorial Day or Independence Day when lemon flavors shine.
- With Drinks: Pair with iced tea, lemonade, or a sparkling drink for a festive touch.
FAQ
Conclusion
In summary, Mini Lemon Cream Pies are a delightful treat that combines the refreshing zing of lemon with a creamy texture that’s hard to resist. They are not only simple to make but also perfect for a variety of occasions. I encourage you to give this recipe a try and share the joy of these cute little pies with your family and friends. With each bite, you’ll bring a little sunshine to your table!
Mini Lemon Cream Pies
Ingredients
Equipment
Method
- Preheat your oven to 450 degrees F (232 degrees C). This high temperature will ensure that the pie crusts bake to a perfect golden brown. You’ll want to smell that buttery aroma wafting through your kitchen!
- Grab a 3-inch flower or round cookie cutter. Use this to punch out as many shapes as you can from the pie crusts. Roll any scraps of dough together and continue cutting out shapes until you have 24 total. This is where the fun begins!
- Next, place the pie cutouts on the back of a mini muffin tin. Make sure to space them nicely so that the edges do not touch. This will ensure even baking and prevent any sticking together.
- Now, bake those crusts for about 8 to 10 minutes, or until they turn a light golden brown. It’s crucial to keep an eye on them as they bake – we want them golden, not burnt!
- Once baked, let them cool in the muffin tin for a few minutes. Carefully twist and pull each pie shell up to remove them. They should pop out nicely if you’ve greased the tin properly.
- Fill each cooled pie shell with a teaspoon of jarred lemon curd. This is where the magic happens; the tartness of the curd will provide a beautiful contrast to the creaminess of the filling.
- In a medium bowl, whisk together the cold milk with the lemon pudding mix until smooth. This mixture should blend seamlessly, creating a nice base for our creamy filling.
- Gently fold in the Cool Whip until fully combined. The key here is not to deflate the mixture; we want it to remain light and airy.
- Finally, spoon a tablespoon of the lemon mousse on top of each pie shell. Make sure to generously top each one to create a lovely mound of cream.
- Store your delicious creations in the fridge until you’re ready to enjoy! They’ll be perfectly chilled and ready to impress your guests.
Notes
- Tip 1: If you would like to make this into a single large pie, just use one pie shell and pre bake according to box instructions. Fill with lemon curd and top with the lemon mousse. Chill until ready to enjoy.