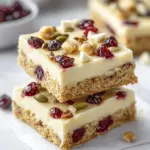
No Bake Chocolate Chip Protein Bars
When I first decided to whip up a batch of No Bake Chocolate Chip Protein Bars, I was in search of a quick and healthy snack that would satisfy my sweet tooth without derailing my healthy eating goals. It was one of those busy afternoons where I had a million things on my plate, and I wanted something that I could grab on the go. After a bit of experimenting, I found the perfect balance of flavors and textures, and voila! These bars have become a staple in my kitchen. The best part? They’re incredibly easy to make, and you don’t even have to turn on the oven. With just a few simple ingredients, you can create a deliciously satisfying treat that feels like indulgence but is packed with nutrition. Whether you’re hitting the gym, prepping for a long day, or just need a midday boost, these bars are the answer.
Recipe Snapshot
20 mins
20 mins
0 mins
Medium
180 kcal
6 g
Gluten-Free
8 g
Food Processor, Blender, Frying Pan, Wooden Spoon, Chef’s Knife, Mixing Bowl
Why This No Bake Chocolate Chip Protein Bars Works
Healthy and Nutritious
One of the standout features of the No Bake Chocolate Chip Protein Bars is their nutritional profile. Each bar is loaded with wholesome ingredients like oats, protein powder, and flax seeds, making them not only delicious but also a great source of energy. These ingredients work together to provide a balanced ratio of carbohydrates, protein, and healthy fats, ensuring you won’t experience a sugar crash after indulging in one or two.
Quick and Easy Preparation
Who doesn’t love a recipe that can be prepared in no time? With the No Bake Chocolate Chip Protein Bars, you’ll spend less time in the kitchen and more time enjoying life! There’s no baking required, which means less mess and fewer dishes to wash. Simply combine your ingredients, press them into a pan, and let them chill in the refrigerator. It’s as easy as that!
Customizable to Your Taste
Another reason I love these bars is the versatility they offer. You can easily customize the ingredients based on your preferences. Not a fan of raisins? Swap them out for your favorite dried fruits! Want to add a little crunch? Toss in some nuts or seeds. The possibilities are endless, and you can create a batch that suits your taste perfectly.
Perfect for Meal Prep
Meal prepping can be a game-changer, and these No Bake Chocolate Chip Protein Bars fit right into that strategy! You can make a large batch at the beginning of the week and have a healthy snack ready to go for those busy days ahead. Just slice them into bars and store them in the fridge for a quick grab-and-go option whenever you need it.
Kid-Friendly Treat
If you’re looking for a healthy snack to satisfy your kids, look no further! The No Bake Chocolate Chip Protein Bars can be a hit among children, thanks to their sweet and chocolatey flavor. Plus, they won’t even realize how nutritious they are, making them an excellent choice for after-school snacks or lunchbox treats.
Essential Ingredients for No Bake Chocolate Chip Protein Bars
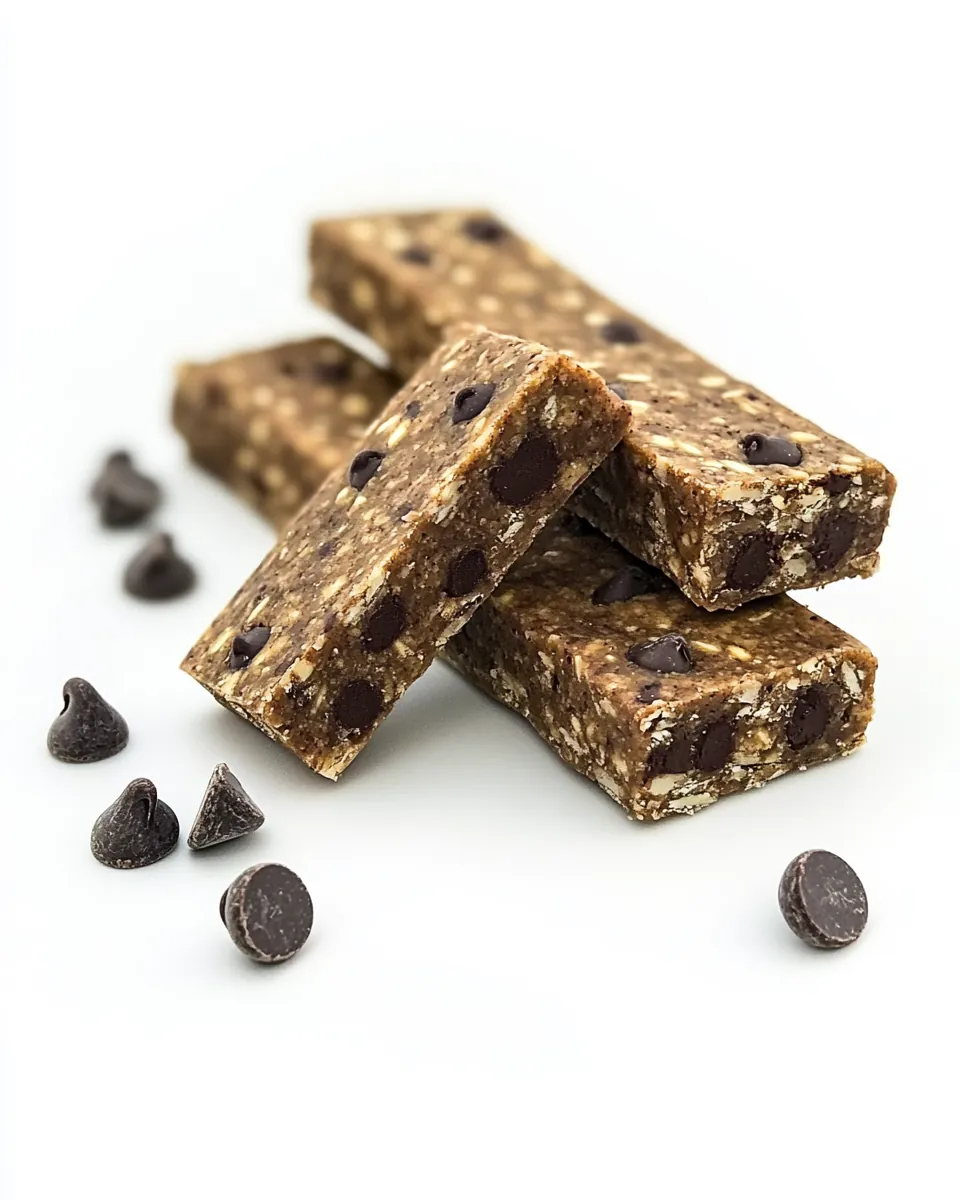
When it comes to the ingredients in the No Bake Chocolate Chip Protein Bars, each one plays a vital role in not only the flavor but also the texture and nutritional value of the bars. The key players like old-fashioned oats provide a hearty base, while peanut butter adds creaminess and healthy fats. Together, they create a satisfying snack that’s perfect any time of the day.
- 2 cups old-fashioned oats: The backbone of these bars, oats are packed with fiber, helping to keep you full longer.
- 2 tablespoons protein powder: Adds a protein boost, making these bars a great post-workout snack.
- 1/2 cup vegan chocolate chips: Sweet and satisfying, chocolate chips bring a touch of indulgence to the mix.
- 2/3 cup raisins: These dried fruits add natural sweetness and chewiness to every bite.
- 1/2 cup ground flax seeds: High in omega-3 fatty acids, flax seeds provide heart-healthy benefits and help bind the mixture.
- 1 cup peanut butter: Creamy or crunchy, peanut butter brings richness and flavor, making these bars deliciously satisfying.
- 1/2 cup nut milk: This non-dairy milk helps achieve the right consistency for the bars; feel free to adjust based on your preference.
- 1/4 cup pure maple syrup: A natural sweetener that enhances the flavor of the bars while keeping them healthy.
How to Cook No Bake Chocolate Chip Protein Bars
Making these No Bake Chocolate Chip Protein Bars is a breeze! Just follow these simple steps to create a delicious and healthy snack.
- Start by adding old-fashioned oats to a food processor or blender. Pulse them a few times until they reach a mill-like consistency. This helps to create a finer texture for the bars.
- In a large mixing bowl, combine the pulsed oats, protein powder, vegan chocolate chips, raisins, and ground flax seeds. Use a large spoon to mix everything together thoroughly.
- In a separate small mixing bowl, combine the peanut butter, nut milk, and maple syrup. Stir until the mixture is smooth and well combined.
- Pour the peanut butter mixture into the oat mixture and stir until everything is thoroughly combined. You want to make sure that all the dry ingredients are well-coated.
- Prepare a 9 x 13-inch pan by lining it with parchment paper or lightly greasing it. This will make it easier to remove the bars later.
- Transfer the mixture into the prepared pan. Using the back of a wooden spoon or your hands, press the mixture down firmly and evenly. This step is crucial for the bars to hold together.
- Once the mixture is pressed down, cover the pan with a lid or foil. Place it in the refrigerator and let it chill for 2 to 3 hours. This allows the bars to firm up nicely.
- After chilling, remove the pan from the refrigerator. Use a sharp knife to slice the mixture into 12 even bars. If you find it easier, you can also cut them into squares.
- Store the sliced bars in an airtight container in the refrigerator until ready to eat. They make for a convenient snack that’s always on hand!
Things Worth Knowing
- Using old-fashioned oats provides the best texture and chewiness for these bars. Avoid instant oats as they may turn mushy.
- For a gluten-free option, make sure to choose certified gluten-free oats and protein powder.
- Feel free to experiment with different types of nut butters like almond or cashew for a unique flavor twist.
- The bars can be stored in the fridge for up to two weeks, making them perfect for meal prep.
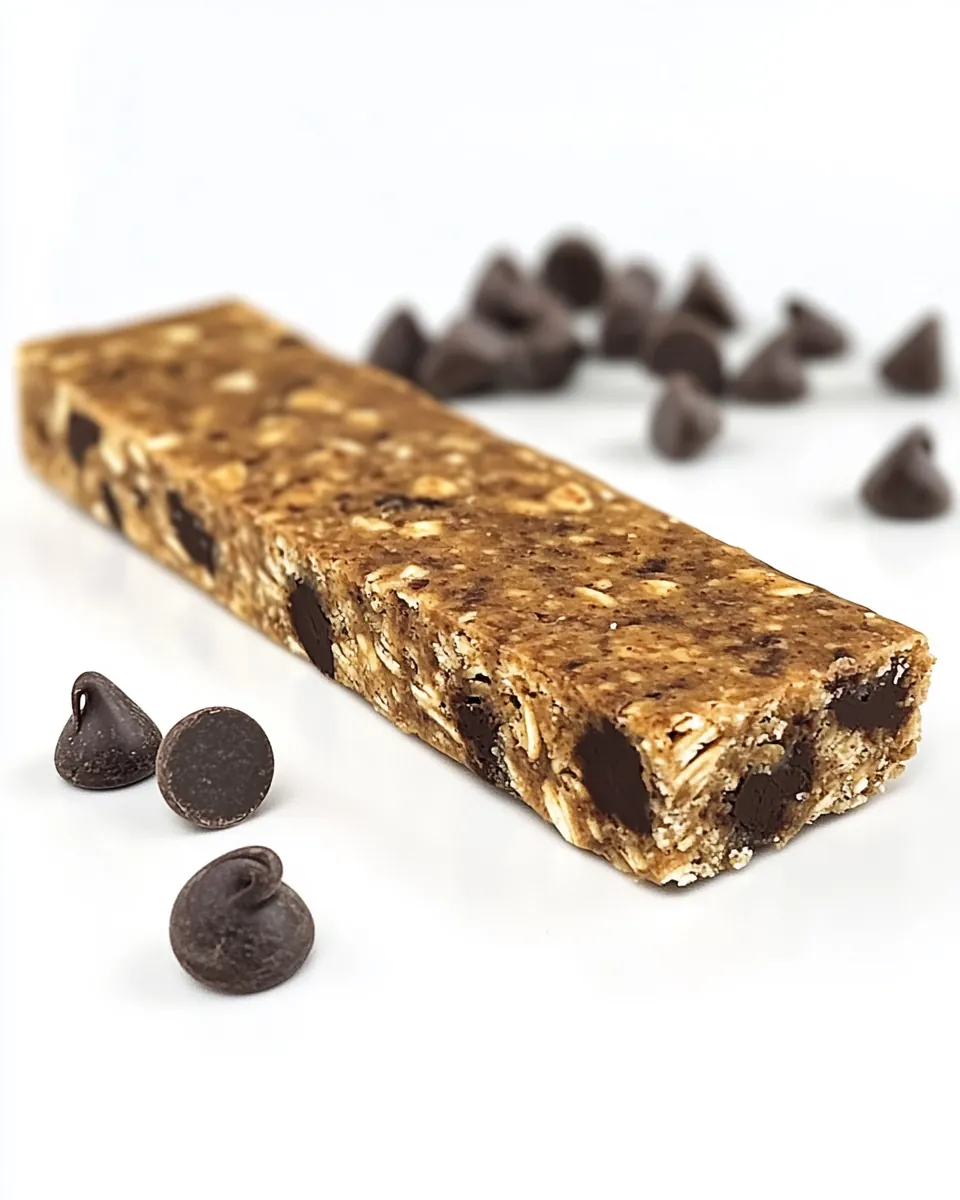
Recipe Tips about No Bake Chocolate Chip Protein Bars
To ensure the best results with your No Bake Chocolate Chip Protein Bars, consider these helpful tips. They’ll help you achieve perfect bars every time!
- Storage: Store your bars in an airtight container in the refrigerator to maintain freshness. They should last for about two weeks, perfect for meal prep!
- Freezing: Yes, you can freeze these bars! Wrap them individually in plastic wrap and place them in a freezer-safe container. They can be frozen for up to three months.
- Variations: Feel free to add your favorite mix-ins such as nuts, seeds, or different dried fruits for added texture and flavor.
- Serving: The bars are great on their own but can pair wonderfully with a glass of nut milk or a side of yogurt for a more filling snack.
- Texture: If you prefer a softer bar, add a little more nut milk to the mixture before pressing it into the pan.
Side Dish Ideas for No Bake Chocolate Chip Protein Bars
If you’re looking to enjoy the No Bake Chocolate Chip Protein Bars as part of a meal or snack, here are some great pairing ideas:
- Fresh Fruit: Serve with sliced bananas or apples for a refreshing contrast to the rich bars.
- Yogurt: A dollop of Greek yogurt can complement the bars nicely and adds a creamy texture to your snack.
- Smoothies: Pair these bars with a protein smoothie for a balanced breakfast or post-workout refuel.
- Nut Milk: A glass of your favorite nut milk like almond or soy can be a perfect drink alongside these bars.
- Salads: For a light lunch, enjoy these bars with a side salad filled with mixed greens and colorful veggies.
- Meal Prep:** These bars are great for on-the-go snacks, making them ideal for busy workdays or as a quick breakfast option.
FAQ
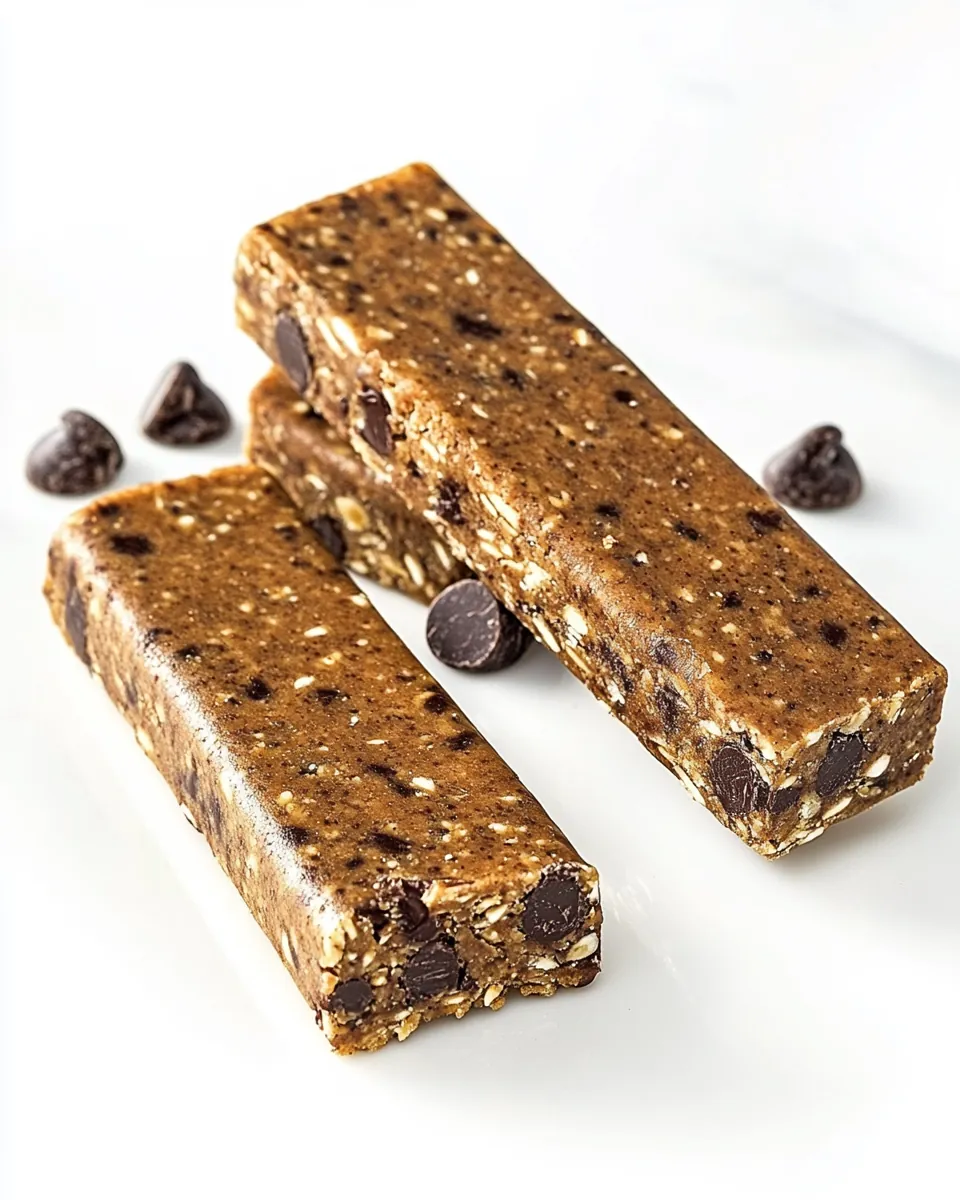
Conclusion
The No Bake Chocolate Chip Protein Bars are not just a simple snack; they’re a delightful fusion of flavor and nutrition. Perfect for busy days or after workouts, they’re sure to satisfy your cravings without any guilt. I encourage you to try making these bars at home; you might just find your new favorite treat!
No Bake Chocolate Chip Protein Bars
Ingredients
Equipment
Method
- Start by adding old-fashioned oats to a food processor or blender. Pulse them a few times until they reach a mill-like consistency.
- In a large mixing bowl, combine the pulsed oats, protein powder, vegan chocolate chips, raisins, and ground flax seeds. Use a large spoon to mix everything together thoroughly.
- In a separate small mixing bowl, combine the peanut butter, nut milk, and maple syrup. Stir until the mixture is smooth and well combined.
- Pour the peanut butter mixture into the oat mixture and stir until everything is thoroughly combined.
- Prepare a 9 x 13-inch pan by lining it with parchment paper or lightly greasing it.
- Transfer the mixture into the prepared pan and press down firmly and evenly.
- Once the mixture is pressed down, cover the pan with a lid or foil. Place it in the refrigerator and let it chill for 2 to 3 hours.
- After chilling, remove the pan from the refrigerator. Use a sharp knife to slice the mixture into 12 even bars.
- Store the sliced bars in an airtight container in the refrigerator until ready to eat.
Notes
- Storage: Store your bars in an airtight container in the refrigerator to maintain freshness. They should last for about two weeks, perfect for meal prep!
- Freezing: Yes, you can freeze these bars! Wrap them individually in plastic wrap and place them in a freezer-safe container. They can be frozen for up to three months.
- Variations: Feel free to add your favorite mix-ins such as nuts, seeds, or different dried fruits for added texture and flavor.
- Serving: The bars are great on their own but can pair wonderfully with a glass of nut milk or a side of yogurt for a more filling snack.
- Texture: If you prefer a softer bar, add a little more nut milk to the mixture before pressing it into the pan.